Hammond Re-Engineered DIY Guides · No. 10
Replace an Electric Water Heater
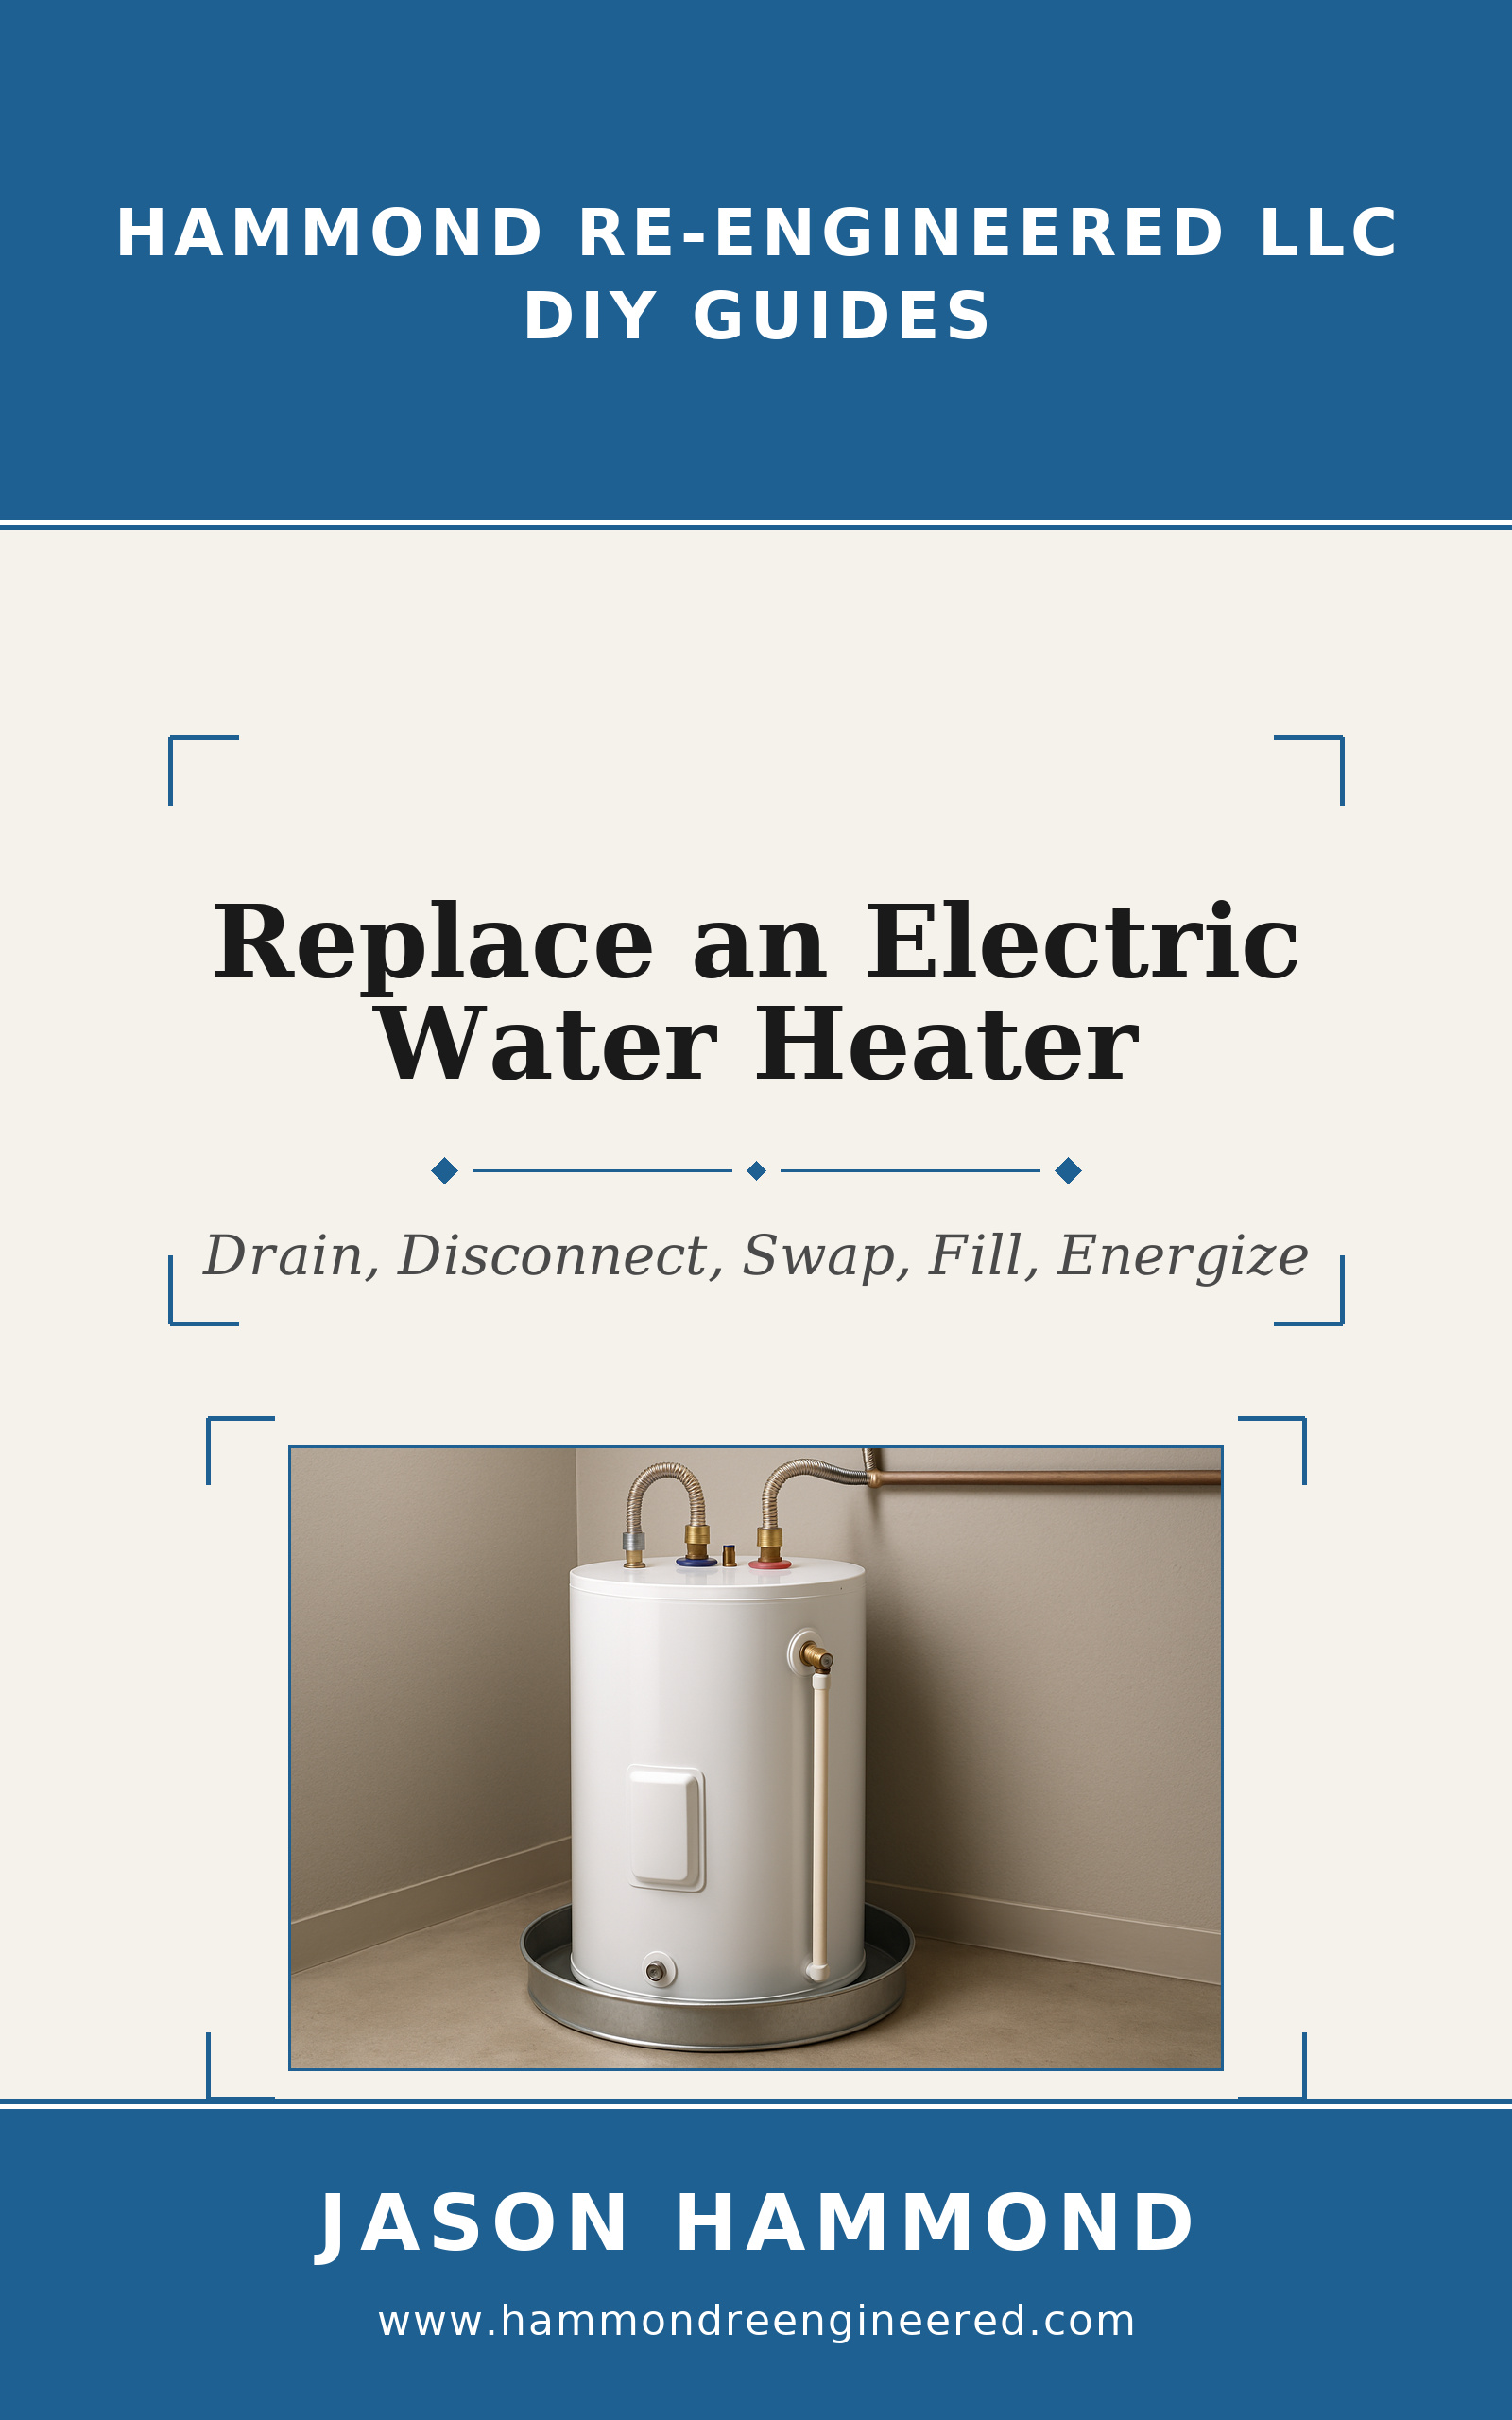
Drain, Disconnect, Swap, Fill, Energize
Replace an electric water heater in a single Saturday — drain, disconnect, swap, fill, energize. The sequence that keeps the job from turning into two trips to the hardware store and a cold Sunday shower.
About This Guide
Six hours. One Saturday. Cold showers Friday night, ## hot water Saturday night.
An electric water heater is the single most DIY-able major appliance in a house. The connections are simple (two 240V wires, two water lines, one drain line), the plumbing is standard, and the electrical is straightforward — but the combination of 50 gallons of hot water and 240V in the same fixture means the sequence matters.
This book walks the complete replacement:
- Diagnosis: is it actually the heater, or the thermostat?
- Sizing the replacement (gallons, height, width, connection
- location).
- Shutoff and drain (the step that takes the longest).
- Disconnecting supply lines and electrical.
- Getting the old tank out (always heavier than you think).
- Positioning the new tank.
- Plumbing the supply lines with flex connectors.
- Wiring the 240V supply.
- The T&P valve and drain pan — code requirements.
- Filling and purging air (the step that fries elements if
- skipped).
- Energizing and testing temperature.
Written for the homeowner with basic electrical and plumbing experience. If you've replaced a faucet and changed a 240V circuit breaker, you have the skill to do this.
Read the First Chapter Free
Preview the opening chapter to see the voice and pacing before you buy. Full guide unlocks every chapter, every image, and every checklist.
Open Preview →