A standard electric water heater install runs $1,200-$1,800 by a plumber, depending on local rates and disposal fees. The actual job is one Saturday, basic tools, and roughly $500-$700 in materials. The skills required are within reach of any homeowner who’s swapped a faucet and isn’t afraid of basic electrical work.
The catch: most municipalities require a permit and inspection for water heater work, and electric water heaters have a 240V circuit that must be handled correctly. Both are manageable.
Here’s the full sequence.
Before You Buy
Match the size: Standard residential electric heaters are 30, 40, 50, or 80 gallons. Replace like-for-like unless you have specific reason to upsize (more bedrooms, larger family, more bathrooms).
Match the connections: Check whether your existing supply lines are 3/4-inch copper, PEX, or flexible braided. New heaters use 3/4-inch threaded inlets, so any of those connect.
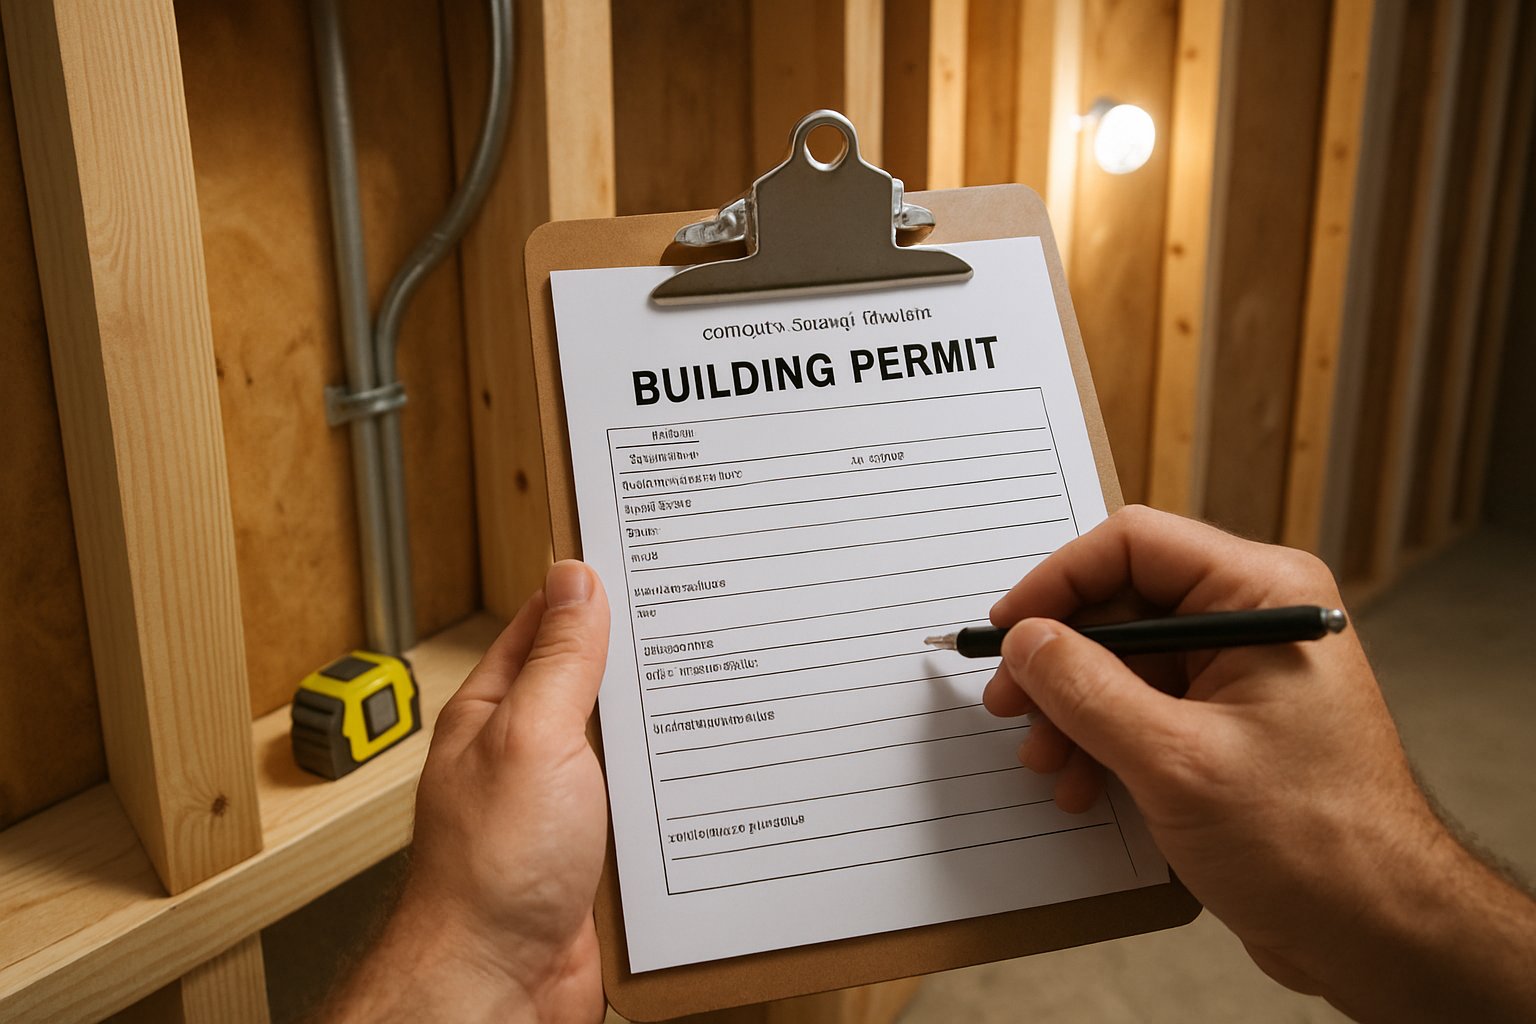
Permit: Call your municipal building department. Most charge $50-$150 for a water heater permit and require an inspection. Plumbers often roll permit cost into their quote without telling you.
Tools and Materials
- The new water heater (Rheem and AO Smith are mainstream; Bradford White is the pro favorite)
- 2 new flexible water connectors with shutoff (3/4” FIP × 3/4” FIP, 18-24 inches)
- Teflon tape
- Pipe wrenches (2)
- Adjustable wrench
- Voltage tester
- Garden hose (for draining)
- Bucket
- Pipe insulation foam (for new lines)
- New T&P relief valve discharge pipe (3/4” CPVC or copper, ~6 feet)
- Drain pan if not present
- A friend (mandatory — heaters weigh 100-150 pounds)
Step 1: Drain and Disconnect the Old Heater
Kill the breaker. Find the 30-amp double-pole breaker labeled “water heater.” Flip it off. Verify with a voltage tester at the heater’s electrical access plate.
Shut off the cold water supply. Above the heater, the cold inlet has a shutoff valve. Turn clockwise to close.
Drain the tank.
- Connect a garden hose to the drain valve at the bottom of the heater.
- Run the hose to a floor drain, sump pit, or outside.
- Open a hot water faucet somewhere in the house (allows air in, helps drain).
- Open the heater’s drain valve.
- Wait. A 50-gallon tank takes 20-30 minutes.
Disconnect:
- Open the electrical access cover at the top of the heater. Disconnect the wires (typically 2 hots and a ground).
- Disconnect the supply lines at the top — both the cold inlet and hot outlet.
- Disconnect the T&P relief valve discharge pipe.
- Remove the heater. Tilt and slide. Two people minimum.
Step 2: Install the New Heater
Position: Place the new heater on the existing pad or new drain pan. Check the manual — most require an aluminum drain pan if the heater is in a finished space.
Apply Teflon tape to the threaded nipples on top of the new tank. 3-4 wraps clockwise.
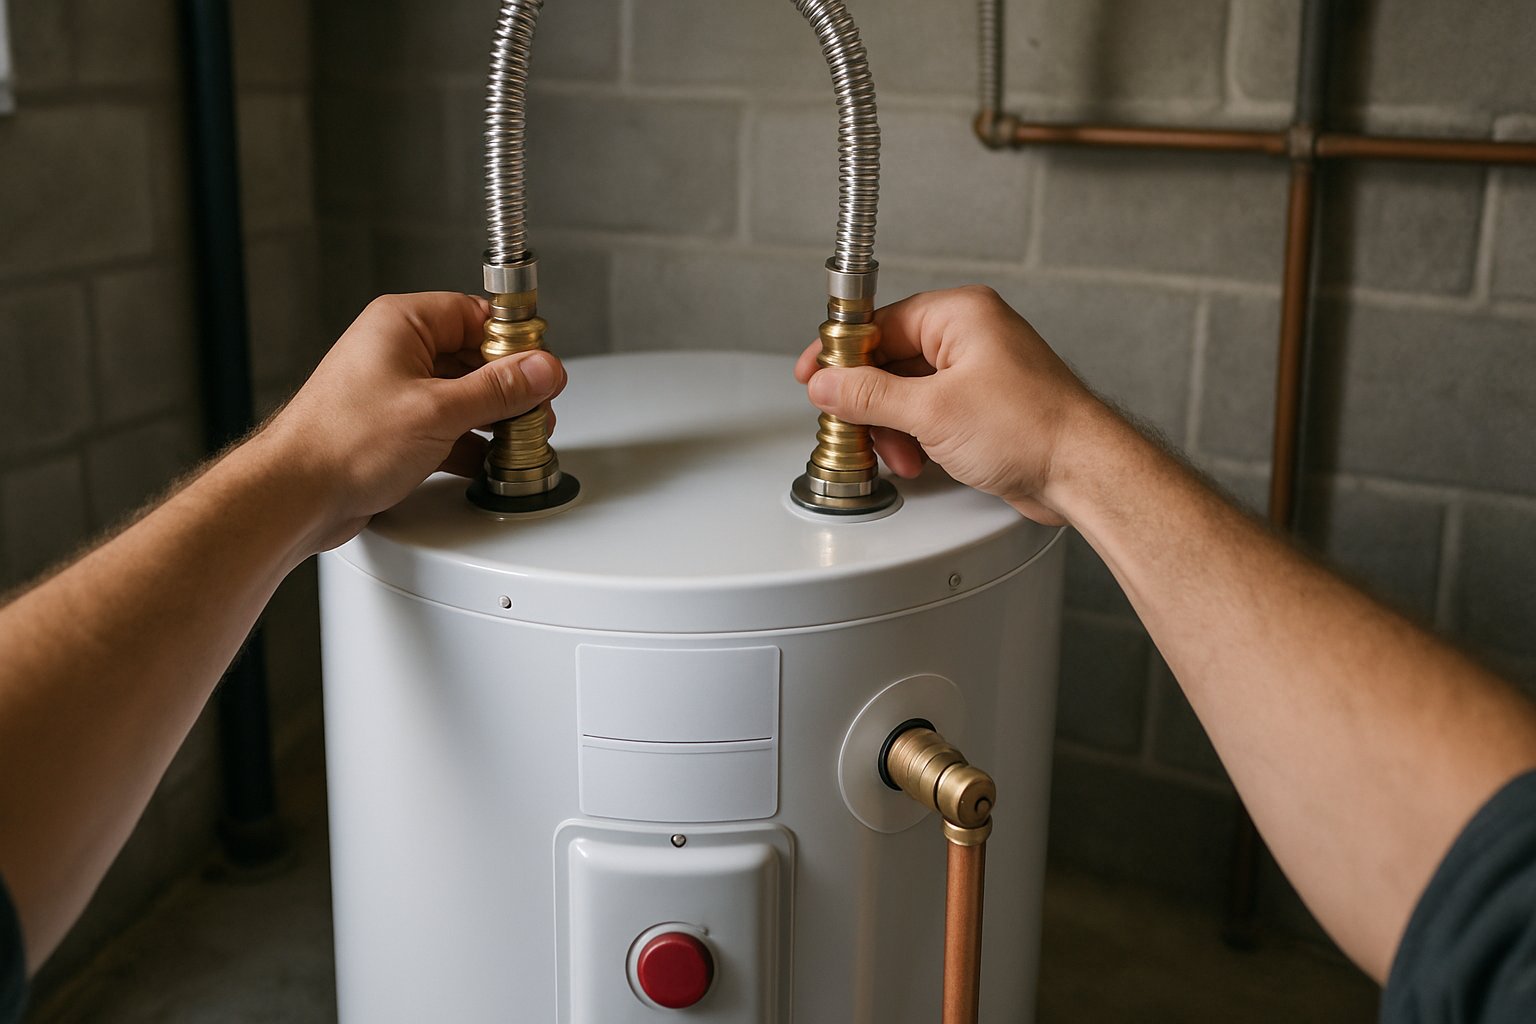
Connect supply lines:
- Cold supply to the inlet labeled “Cold” (usually blue)
- Hot supply to the outlet labeled “Hot” (usually red)
- Use the new flexible connectors with shutoff valves
- Don’t overtighten — snug + 1/4 turn
Install the T&P discharge pipe: Most local codes require this to terminate within 6 inches of the floor (or to drain to the outside). Run a length of CPVC or copper from the T&P relief valve down to the floor, with no upward bends.
Connect the electrical:
- Open the access cover.
- Pull the existing cable through the cable clamp.
- Connect black wires together, white wires together (this is 240V — both wires are hot but one is conventionally white in older wiring).
- Connect ground wire to the green grounding screw.
- Tighten cable clamp and replace cover.
Step 3: Fill and Power Up
- Open the cold supply valve to fill the tank.
- Open a hot faucet upstairs to allow air to escape.
- Wait until water flows steadily from the faucet (tank is full — typically 10-20 minutes).
- Close the upstairs faucet.
- Inspect every connection at the heater for leaks.
- Only after the tank is fully filled, restore power at the breaker. Running an electric heater dry instantly burns out the heating element.
- Wait 30-60 minutes, then test hot water at a faucet. Should be hot.
Common Mistakes
- Powering up a dry tank. Burns out the heating element ($100-$200 part) within seconds. Always fill first.
- Skipping the T&P discharge pipe. Code requires it. Inspectors fail this. The discharge pipe must terminate close to the floor or to drain.
- Reversing hot and cold connections. Cold goes to the inlet (usually with a dip tube inside that delivers cold water to the bottom). Hot goes to the outlet at the top. Reversing means cold water comes out of hot taps.
- No drain pan in a finished space. Code requires a pan with a drain line in any heater above living space. Inspector fails this.
- Forgetting the permit. If you sell the house later, unpermitted water heater work shows up in the inspection and becomes the buyer’s negotiation lever.
Frequently Asked Questions
Should I switch to a tankless water heater? Tankless saves space and provides endless hot water but costs 2-3x more upfront and needs different gas/electric requirements. For most replacements, like-for-like tank is the practical choice unless you have specific motivation.
What’s the lifespan of a new electric water heater? 8-12 years for standard models. Premium models (lifetime warranty) last 15+. The anode rod degrades first; some homeowners extend life by replacing the rod every 5 years.
Should I drain my heater annually? Some recommend it; in practice, most homeowners don’t and the heater still lasts. Sediment buildup at the bottom does shorten life slightly. If your area has hard water, annual draining is worth it.
The Bottom Line
A water heater swap is a one-Saturday DIY for any homeowner comfortable with basic plumbing and electrical. The savings vs. a plumber are $600-$1,000. The permit and inspection take a couple of hours of administrative work but protect you on resale.
For the full sequence including gas water heater alternatives, sizing calculations, and the venting requirements for tankless conversions, see Replace an Electric Water Heater.
For a whole-house plumbing review or planning a kitchen/bath remodel that includes water heater repositioning, send your photos for a $9.99 diagnostic report.