A running toilet is almost always caused by one of three things: a bad flapper, a bad fill valve, or a chain that’s too tight. Nine times out of ten, a $6 flapper fixes it in 15 minutes — no plumber, no shutoff to the house.
I’ve fixed this on every house I’ve owned. Here’s exactly how to diagnose it, which part to replace, and how to avoid the mistake that sends people back to the hardware store a second time.
Why Your Toilet Keeps Running
When a toilet runs continuously or cycles on by itself every few minutes (“phantom flushing”), water is leaking out of the tank faster than the fill valve can keep up. There are only three places it can be leaking from:
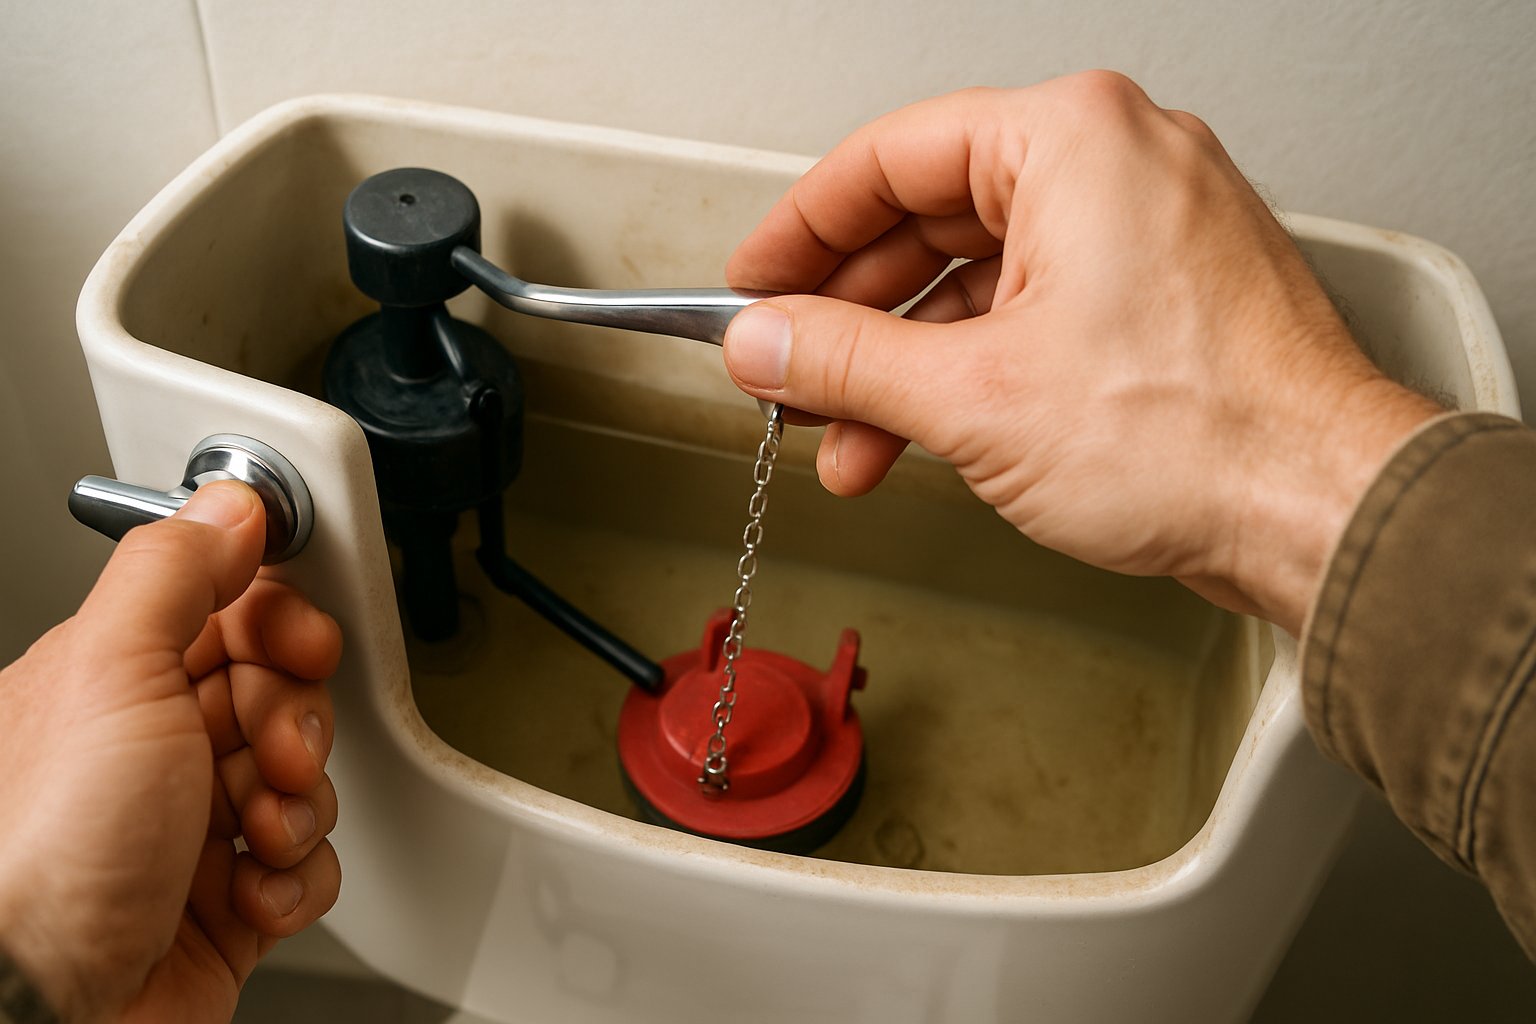
- The flapper — the rubber disc at the bottom of the tank. When it warps or gets a mineral crust on the seal, water seeps past it into the bowl.
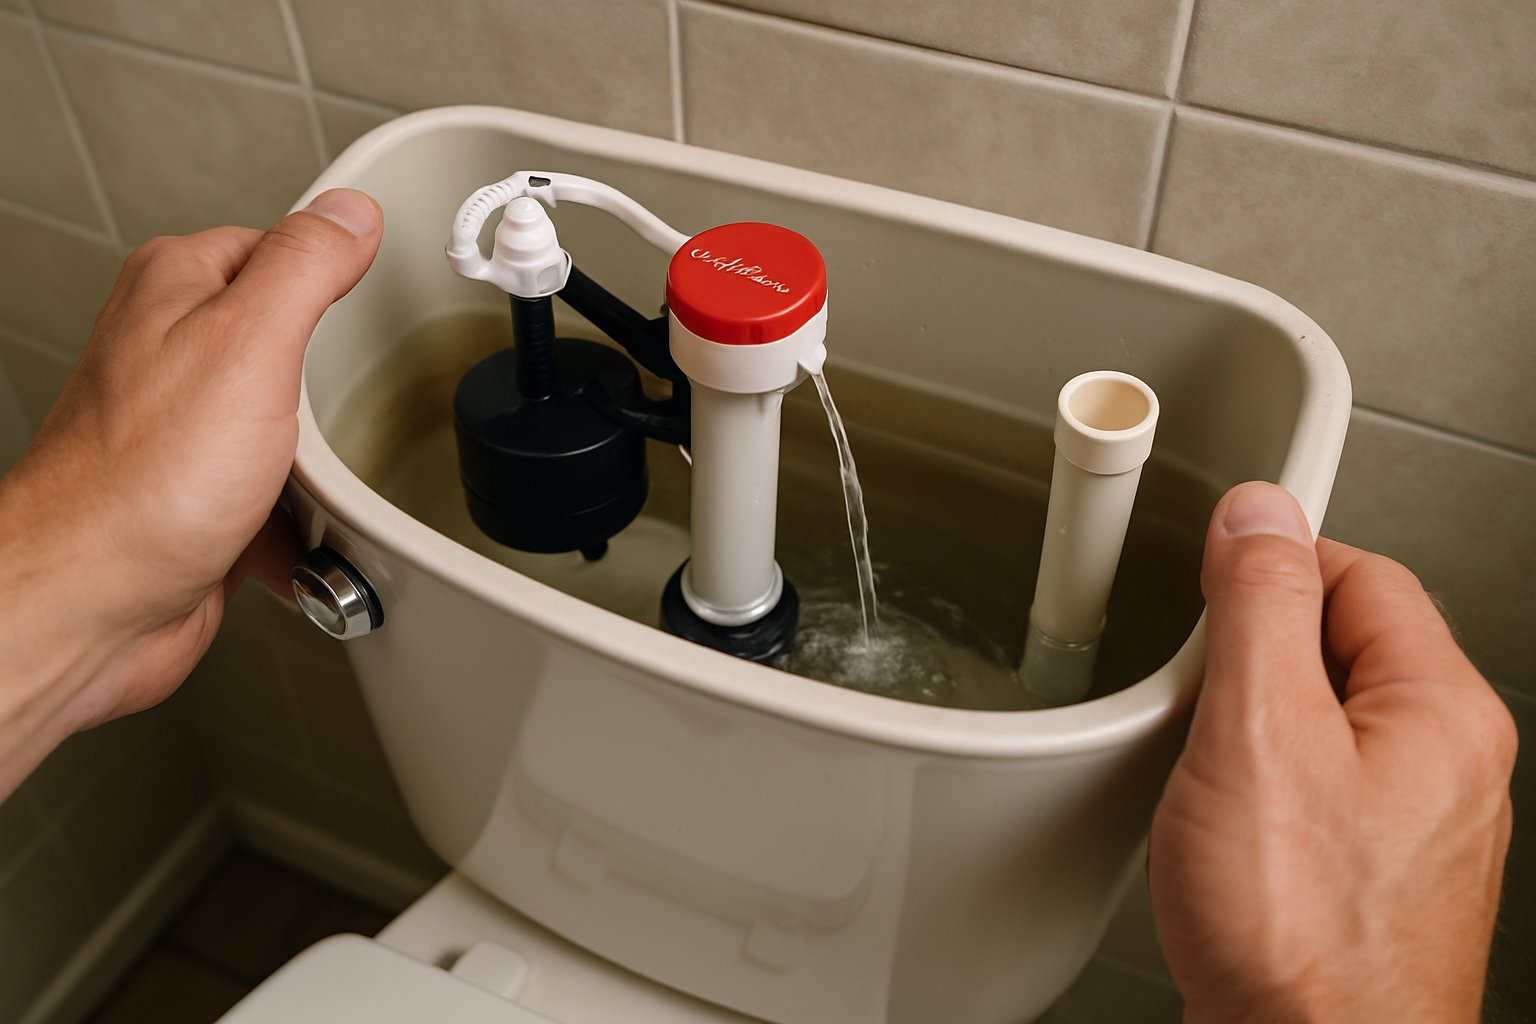
- The fill valve — the tall assembly on the left side of the tank. When the valve fails, it won’t shut off when the tank is full.
- The overflow tube — the tall plastic tube in the middle. If the water level is set too high, it spills continuously down the overflow.
That’s it. Once you know which of the three is leaking, the fix is straightforward.
How to Diagnose the Cause in 2 Minutes
Step 1: Take the tank lid off. Set it on a towel on the floor — the porcelain chips easily.
Step 2: Look at the water level. Is it spilling into the overflow tube (the tall center tube)? If yes, your issue is the fill valve or the float adjustment — skip to the fill valve fix below.
Step 3: Do the dye test. Put a few drops of food coloring in the tank. Don’t flush. Wait 15 minutes. If color appears in the bowl, your flapper is leaking.
Step 4: Check the chain. If the chain between the flush lever and the flapper is too short or getting caught under the flapper, the flapper won’t seat properly. This is a 30-second fix — just re-clip the chain with one link of slack.
Fix 1: Replace the Flapper (Most Common — $6 Part, 15 Minutes)
Tools: Just your hands. Maybe a rag.
Materials: A new flapper. Bring the old one to the hardware store, or take a photo of the brand stamped on your toilet — Korky and Fluidmaster make universal replacements that fit 90% of toilets.
- Turn off the water supply at the shutoff valve behind the toilet (turn clockwise until it stops).
- Flush the toilet to drain the tank.
- Unclip the chain from the flush lever.
- Unhook the two rubber ears of the flapper from the pegs on the overflow tube.
- Install the new flapper by reversing the process.
- Clip the chain with one link of slack — not tight, not sagging.
- Turn the water back on and let the tank refill.
- Flush a few times to confirm it seals.
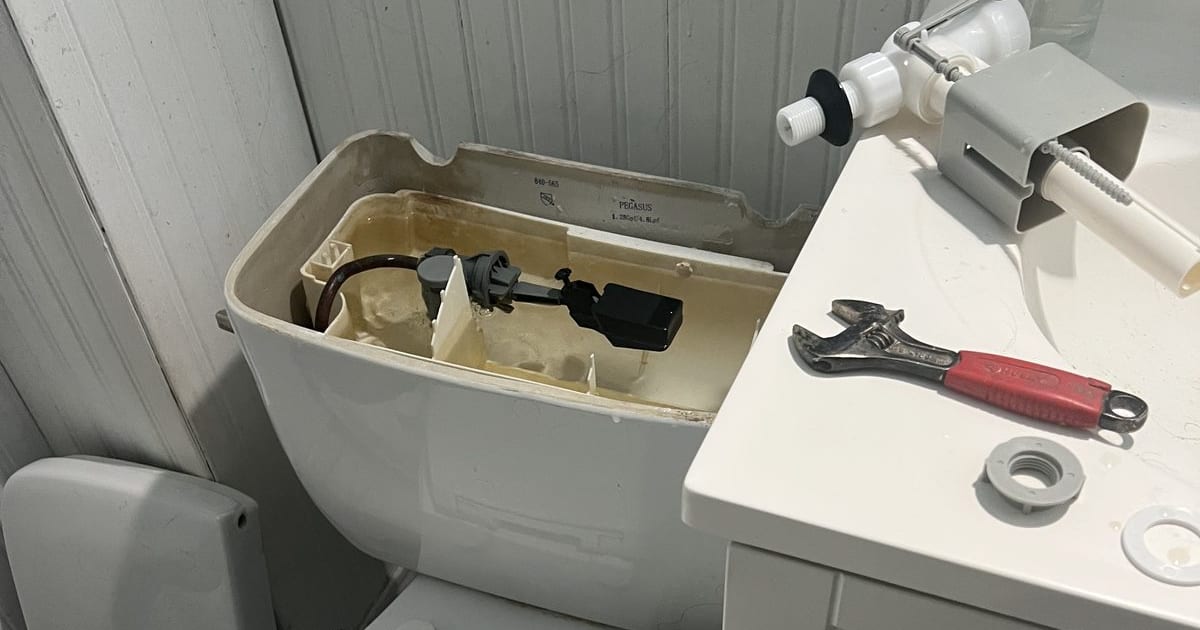
Fix 2: Replace the Fill Valve ($12 Part, 30 Minutes)
If your water level won’t stop rising or the valve hisses continuously, replace the fill valve. Fluidmaster 400A is the industry standard and fits virtually every toilet.
- Turn off the water supply and flush to empty the tank.
- Sponge out the remaining water in the tank.
- Disconnect the supply line from the bottom of the tank.
- Unscrew the locknut underneath the tank holding the old fill valve in place.
- Lift the old valve out.
- Adjust the new valve height so the top is at least 1 inch above the overflow tube.
- Drop it in, hand-tighten the locknut from below, then give it a quarter turn with a wrench — do not overtighten.
- Reconnect the supply line.
- Turn the water on and adjust the float so the water level sits 1 inch below the top of the overflow tube.
Fix 3: Adjust the Float (Free, 2 Minutes)
If the water is running into the overflow tube but the fill valve isn’t bad, the float is set too high.
- Modern cup-style float: Pinch the clip on the float and slide it down the shaft to lower the water level.
- Old ball-style float: Gently bend the metal arm downward — or turn the plastic adjustment screw counterclockwise.
Set the water level to 1 inch below the top of the overflow tube.
Common Mistakes
- Overtightening the locknut on the fill valve. You will crack the tank. Hand-tight plus a quarter turn — nothing more.
- Not matching the flapper to the flush valve. 2-inch flappers don’t work on 3-inch flush valves. Measure the drain opening at the bottom of the tank before buying.
- Leaving the chain too tight. No slack = the flapper lifts slightly at all times = slow leak. Always leave one link of slack.
- Ignoring hard water buildup. If your flapper keeps failing every 6 months, you have hard water. Clean the flush valve seat with a green scrub pad before installing the new flapper.
When to Call a Plumber
- The shutoff valve behind the toilet is frozen or leaks when you turn it — that’s a separate fix (replacing the stop valve) that involves cutting the water supply to the house.
- You see water on the floor around the base — that’s not a running-toilet issue, that’s a wax ring failure.
- You’ve replaced the flapper and fill valve and it still runs — there may be a crack in the flush valve seat, which requires replacing the entire flush valve (tank comes off).
Frequently Asked Questions
How much water does a running toilet waste? A continuously running toilet can waste 150–200 gallons per day. That’s $50–$100 extra on a monthly water bill in most NJ municipalities.
How long does a toilet flapper last? Typically 4–5 years. Hard water and in-tank cleaning tablets (like blue drop-ins) will shorten that significantly — those tablets eat rubber.
Do I need to shut off the water to the whole house? No. Every toilet has its own shutoff valve on the wall behind it. Turn it clockwise until it stops.
Why does my toilet run for 10 seconds every few minutes? That’s phantom flushing. The flapper is leaking slowly, the tank drops a little, and the fill valve kicks on to top it off. Replace the flapper.
Can I use a universal flapper? Yes — for 90% of toilets. But measure the flush valve opening first. Standard is 2 inches; newer high-efficiency toilets often use 3 inches.
The Bottom Line
A running toilet is the single most common DIY plumbing fix in any home — and one of the cheapest. A $6 flapper and 15 minutes of your time solves it in the overwhelming majority of cases. If you’re not sure which part is failing, run the dye test first — it tells you definitively in 15 minutes.
If you’re planning a bathroom remodel and want a materials list, fixture plan, and permit checklist tailored to your project, send your photos for a $9.99 diagnostic report.