A sweating toilet tank drips condensation onto the bathroom floor, eventually rotting the subfloor and causing mold under the tile or vinyl. The fix is not a plumbing repair — it’s a temperature fix. Cold incoming water chilling the tank below the bathroom dew point causes condensation on the outside.
Three solutions, ranked by cost and effectiveness: an anti-sweat mixing valve ($40), a tank liner kit ($25), or improved bathroom ventilation (varies). Here’s how each works and when to use it.
Why a Toilet Tank Sweats
Cold water from the supply enters the tank at roughly 45–55°F (NJ groundwater temperature). The tank holds that cold water continuously. Bathroom air is warm (70–75°F) and humid (especially after showers). When the warm, humid air hits the cold porcelain tank exterior, water vapor condenses — same physics as a cold drink on a humid day.
Four factors control sweating:
- Incoming water temperature (cold = more sweat)
- Bathroom air temperature (warm = more sweat)
- Bathroom humidity (humid = more sweat)
- Tank material (porcelain is very cold to the touch)
You can’t change #4. Fixing sweat means addressing #1, #2, or #3.
How to Tell If It’s Condensation, Not a Leak
Condensation forms on the outside of the tank — you can feel cold, beaded water on the exterior. Run your hand around it. If the tank is wet all over (not just from the base), it’s condensation.
A wax ring leak shows water only at the base, dry tank. A supply line leak shows water coming from the connection at the bottom rear, with an otherwise dry tank exterior.
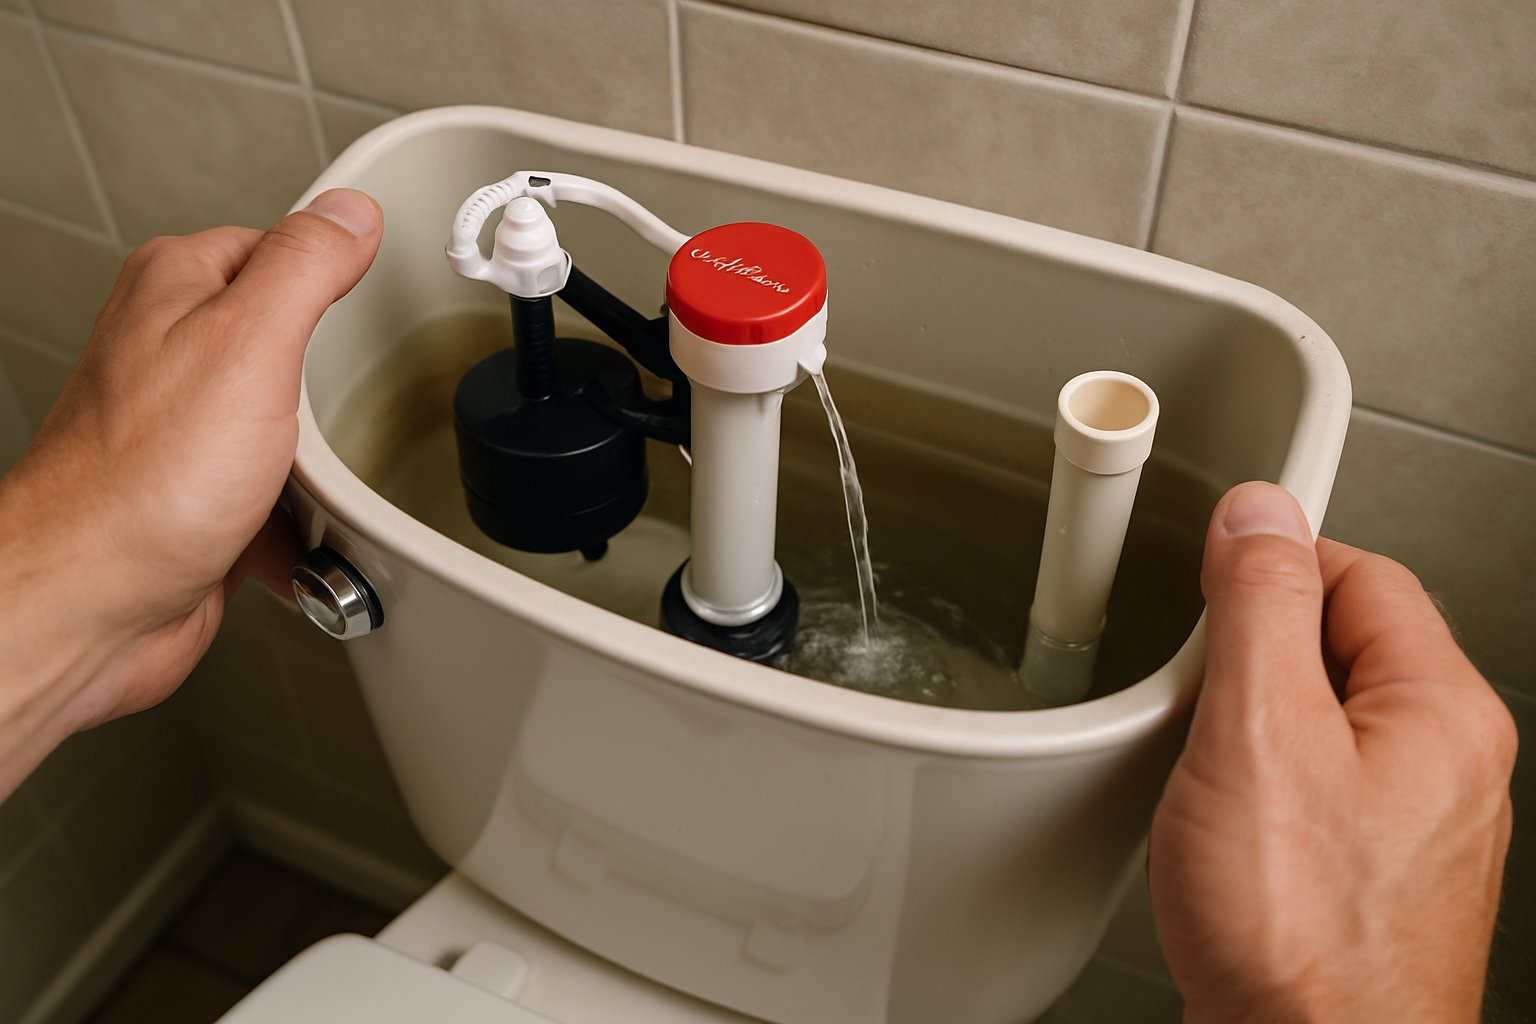
Fix 1: Anti-Sweat Mixing Valve (Most Effective, $40)
An anti-sweat valve mixes a small amount of warm water with the incoming cold supply. The tank water ends up at about 65–70°F — still cool enough for the toilet to function fine, but warm enough that condensation doesn’t form.
How it works: A small tempering valve is installed in the supply line between the shutoff and the toilet. It draws a branch of hot water from somewhere nearby (usually the sink’s hot supply) and blends it into the cold feed at a set ratio.
Install steps:
- Identify a hot water source nearby. Typically the bathroom sink’s hot supply under the vanity.
- Shut off water to both the toilet and the bathroom sink.
- Install a tee on the sink’s hot supply line to branch off a feed to the toilet.
- Run a line (PEX, copper, or braided stainless) from the sink hot tee to the anti-sweat valve, and from the valve to the toilet.
- Tune the mixing ratio on the valve to taste — warmer reduces sweat more, but consumes more hot water per flush.
Pros: Permanent fix. No maintenance. Cons: Requires plumbing work. Best for a finished install — challenging if you don’t already have hot water near the toilet.
Fix 2: Tank Liner Kit ($25, DIY)
A tank liner is a thin foam-rubber panel that adheres to the inside of the tank. It insulates the porcelain from the cold water, preventing the exterior from getting cold enough for condensation.
Install steps:
- Shut off water, flush the toilet, sponge the tank completely dry.
- Remove the tank from the bowl if necessary — two or three bolts from below (some liners can be installed without removing the tank, but it’s much harder).
- Clean and completely dry all interior surfaces of the tank.
- Cut the foam pieces to size per the kit instructions — typically pieces for all four interior walls of the tank.
- Peel and stick each panel. Use the kit’s adhesive for permanent bond.
- Critical: Let the adhesive cure for 24 hours with the tank bone-dry before putting water back in. Any moisture during cure = failed adhesion.
- Reinstall tank on bowl, turn water on, test.
Pros: No plumbing changes. DIY-able with basic tools. Cons: Requires removing the tank. Adhesive can fail over 5–10 years requiring redo. Reduces tank water capacity slightly — verify your toilet still flushes fully after install.
Fix 3: Bathroom Ventilation and Humidity
Sometimes the simplest fix is the right one: lower the bathroom humidity so condensation doesn’t form at all.
- Run the exhaust fan during and 20+ minutes after every shower. Most homes don’t run the fan long enough. A timer switch ($25) set to 30 minutes automates this.
- Check exhaust fan flow. Hold a piece of toilet paper near the vent — it should suck hard. If it barely pulls, the fan is weak, clogged, or the duct is blocked/disconnected.
- Make sure the duct exits outside the building, not into the attic (common mistake that creates mold and worsens humidity).
- Consider upgrading the fan. A 110 CFM fan moves significantly more air than the typical 50 CFM builder-grade unit. Panasonic WhisperCeiling is the gold standard.
- If humidity is chronically high, a bathroom dehumidifier (small portable unit) can help during humid months.
Fix 4: Bowl Drip Tray (Cheap Temporary Fix)
If the tank sweat is only causing floor damage (not aesthetic concern), a drip tray that catches condensation before it hits the floor provides a stopgap. $15 at any plumbing supply.
Not a permanent solution but buys time while you plan Fix 1 or Fix 2.
Combining Fixes
For serious sweat problems (very cold groundwater, very humid bathroom):
- Tank liner + improved ventilation = usually solves it
- Anti-sweat valve + ventilation = completely eliminates it
- All three = overkill but bulletproof
What NOT to Do
- Don’t lower your hot water heater to make incoming cold “warmer.” You can’t — incoming cold is from the municipal supply or well, not your heater.
- Don’t insulate the outside of the tank with towels or wraps. Looks bad, traps moisture against the porcelain, can cause mildew on the wrap itself.
- Don’t ignore it. A sweating tank drops 4–8 oz of water per day onto the floor in humid months. Over a summer, that’s enough to rot flooring and subfloor around the toilet base.
Common Mistakes
- Installing a tank liner with incomplete drying. Adhesive fails, liner falls off, redo required.
- Wrong-sized liner pieces. Measure the interior dimensions carefully before cutting. Too small = gaps where condensation still forms on exposed porcelain.
- Underpowered bathroom fan. If your fan is 50 CFM but the bathroom is 100+ sq ft, it can’t keep up. Upgrade to 110+ CFM.
- Sealing the bathroom airtight. Modern bathrooms without adequate ventilation become condensation machines for everything — tank, walls, ceiling, windows.
Frequently Asked Questions
Does a sweating tank mean my toilet is leaking? No — it’s condensation on the outside of the tank. Confirm by running your hand around the tank and feeling for cold water droplets on the exterior.
Will insulating the tank reduce my flush performance? A tank liner reduces tank volume by roughly 5–10%. Most toilets still flush fully, but test after install. If flush performance drops, you can slightly raise the fill valve’s water level (up to 1” below overflow top) to compensate.
Why does my toilet only sweat in summer? Summer = highest bathroom humidity (showers + warm outdoor air) + coldest relative temperature differential. Winter air is dry, so even cold tanks often don’t condense.
Can hard water cause tank sweat? Indirectly — mineral-heavy water cools more slowly but still reaches groundwater temperature by the time it sits in the tank. Water hardness doesn’t change the condensation physics.
How much does it cost to hire a plumber for this? Anti-sweat valve install: $300–$500 in NJ. Tank liner install: $150–$250. Most homeowners DIY it.
The Bottom Line
A sweating toilet tank isn’t a plumbing failure — it’s a physics problem. Address it with a tank liner (cheapest DIY), an anti-sweat valve (most effective), or better ventilation (solves multiple bathroom problems at once). Left alone, the daily drip will rot your floor.
If you’re planning a bathroom remodel and want a plumbing plan, ventilation spec, and permit checklist tailored to your project, send your photos for a $9.99 diagnostic report.