A smoke detector is the cheapest life-safety device in a house and one of the most important. Hardwired interconnected detectors — where one detector triggering sounds all of them — have been required by code in most US new construction since the late 1990s. Older houses often still have only standalone battery units, which work but are less effective.
Replacing an existing hardwired detector is genuinely DIY. Adding new ones to bedrooms that don’t have any is a bigger job that often needs an electrician. Here’s the breakdown of both — and the code requirements that determine which you need.
Code Basics (Most US Jurisdictions)
Modern code typically requires:
- A smoke detector inside every bedroom
- A smoke detector outside every sleeping area (hallway adjacent to bedrooms)
- At least one smoke detector on every floor, including basement and unfinished attic
- Detectors must be hardwired AND interconnected in new construction; battery-only is allowed in some retrofit scenarios in older houses
- CO detectors required outside every sleeping area in homes with attached garages, fuel-burning appliances, or fireplaces
- Combined smoke/CO detectors count for both requirements
When you sell a house in NJ (and most other states), the inspector will check that detectors meet current code. So bringing detectors up to code before listing is common.
Battery-only detectors must be replaced every 10 years (the sensor degrades). Hardwired detectors also need replacement every 10 years — same sensor lifecycle.
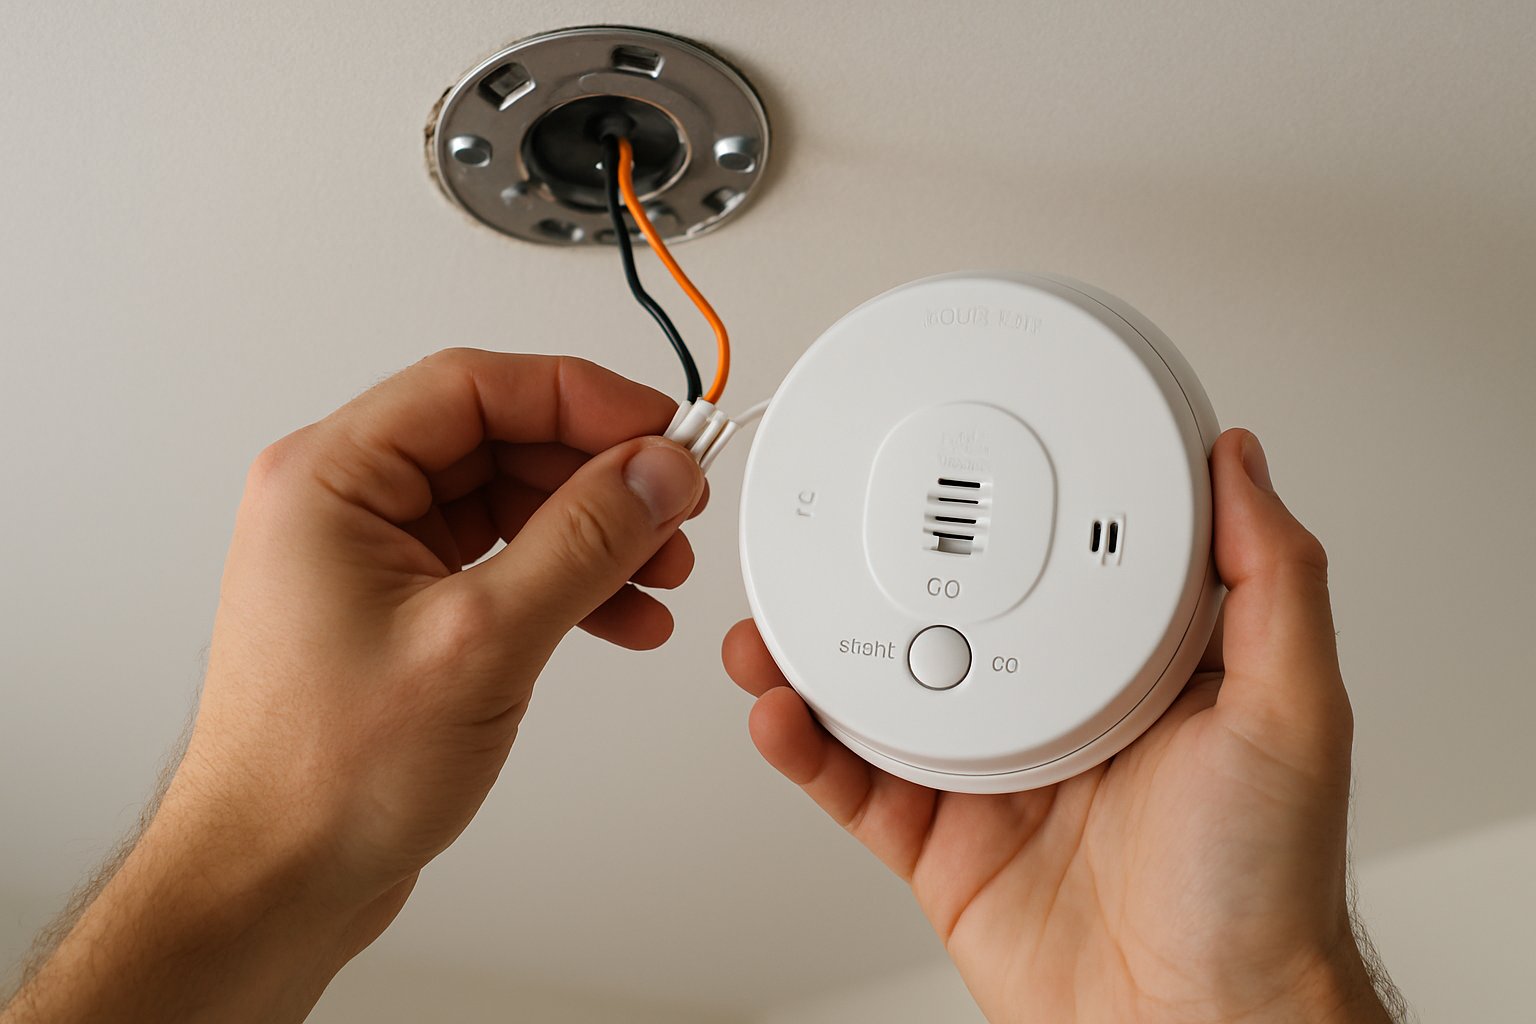
Replacing an Existing Hardwired Detector
If you already have hardwired detectors and you’re swapping for new ones, this is a straightforward 30-minute job per unit.
Tools and materials:
- New combination smoke/CO detectors (Kidde, First Alert, BRK are the standard brands)
- Phillips screwdriver
- Step ladder
- Phone with camera (for documenting wiring)
Step 1: Turn off the breaker that feeds the detector circuit. Most houses run all detectors on a single 15-amp circuit, often labeled “smoke detectors.”
Step 2: Verify dead with a voltage tester at the detector’s mounting plate (after removing the unit).
Step 3: Remove the old detector.
- Twist the detector counterclockwise (most have a bayonet mount).
- The unit comes free of the mounting plate.
- Disconnect the wiring harness — there’s a small clip you press to release.
- Note the wires: typically a black, white, and a red or yellow “interconnect” wire that runs to all the other detectors in the house.
Step 4: Install the new detector.
- Match the new detector’s mounting plate orientation. Most modern brands fit the same hole spacing as older ones — should screw right in.
- Connect the new wiring harness to the house wires (the new detector usually comes with a pigtail harness): black to black, white to white, red/yellow to interconnect.
- Wire-nut each connection.
- Tuck wires into the box.
- Plug the harness into the new detector.
- Twist the detector clockwise onto the mounting plate.
Step 5: Install the battery backup (most modern hardwired detectors have a 9V or sealed lithium backup that powers the detector if the AC fails).
Step 6: Restore power and test.
- Flip the breaker.
- Press the test button. The local detector should beep loudly.
- Within 30 seconds, every other interconnected detector in the house should also start beeping. If any don’t, that detector is either bad or the interconnect wire wasn’t connected.
- Press test on each other detector and confirm reciprocal sounding.
Installing New Hardwired Detectors Where None Exist
This is electrician territory in most cases — running new wire through walls and ceilings. But there’s a middle-ground option.
Option: Use 10-year sealed battery interconnected detectors.
Modern interconnected detectors (Kidde Wireless or First Alert Onelink) communicate via radio frequency between units instead of wires. They run on sealed 10-year lithium batteries. You can put one in every required location without running new wire.
- Cost: $35–$50 per unit
- Install: 10 minutes per unit (drill 2 holes, screw to ceiling, install batteries)
- All units link via RF — when one alarms, all alarm
- 10-year sealed battery means no annual battery replacement
- Compliant with current code in most jurisdictions for retrofit
This is the practical solution for most older homes that lack hardwired detectors in bedrooms.
Common Mistakes
- Not testing the interconnect after install. A new detector that beeps locally but doesn’t trigger the others isn’t doing its job. Always test all units after any change.
- Mounting too close to a vent or ceiling fan. Air movement disrupts smoke detection. Code requires at least 36 inches from any HVAC vent and 12 inches from a ceiling fan blade.
- Mounting in a kitchen or bathroom. Kitchens get nuisance trips from cooking; bathrooms from steam. Use heat detectors in kitchens (different device) and avoid bathrooms entirely.
- Mixing brands on an interconnect circuit. Most brands’ interconnect protocols only work within their own brand. If you replace one detector with a different brand, the interconnect breaks. Stick to one brand throughout the house.
- Skipping the CO detector requirement. A smoke-only detector doesn’t catch carbon monoxide — invisible, odorless, deadly. If you have any fuel-burning appliance or attached garage, you need CO detection. Combination units are the simplest fix.
- Painting over the detector grille. Block the airflow, block the detection. Never paint detectors or paint over the openings.
Where to Mount Detectors
- Ceiling, ideally — smoke and CO both rise. 4 inches from any wall.
- High on a wall if ceiling mount isn’t possible — within 12 inches of the ceiling.
- Inside each bedroom — typically near the door, on the ceiling.
- In the hallway outside the bedrooms — at the high point of the hallway.
- One per floor minimum — finished basement included.
- Near (but not in) the kitchen — far enough away to avoid cooking trips, close enough to detect actual fires.
Frequently Asked Questions
How often should I test detectors? Manufacturers say monthly. Realistic minimum: when you change clocks for daylight saving, twice a year, test every detector in the house. Press the button, confirm interconnect alarm, replace the unit if dead.
The detector chirps once every 30 seconds. What does that mean? Low battery (in detectors with replaceable batteries) or end-of-life (the entire unit). If the unit is over 10 years old (check the date stamp on the back), replace it entirely.
Can I install hardwired detectors in a house that doesn’t currently have any wiring for them? Yes, but it requires running thermostat-style 14/3 cable from a power source (usually a junction box near the panel) to each detector, daisy-chained. Electrician territory unless you’re comfortable with wire fishing through walls and ceilings.
Do I need to install carbon monoxide detectors if I don’t have gas appliances? Yes, in most modern code. CO can also come from attached garages (running a car for warmup), fireplaces, or even from a poorly-vented neighbor in townhouse-style construction.
The Bottom Line
Hardwired interconnected smoke and CO detectors are the gold standard for home safety. Replacing existing ones is straightforward DIY. Adding new ones is electrician work — unless you go with 10-year sealed wireless interconnected battery units, which give you most of the safety benefit with none of the wiring work.
For the full sequence including the new-construction wiring, retrofit options, and the placement code for every room in the house, see Hardwire a Smoke and CO Detector.
For a whole-house safety review or planning a major remodel that requires bringing detectors to current code, send your photos for a $9.99 diagnostic report.