A dimmer switch is a 15-minute install that adds a level of control to a room you don’t realize you’re missing until you have it. The job itself is barely harder than swapping a regular switch.
But here’s the thing nobody tells you: the reason most LED bulbs buzz, flicker, or refuse to dim past 30% is that the dimmer wasn’t designed for LEDs. Pair the right dimmer with the right bulbs and the result is silent, smooth, full-range control. Get it wrong and you’re stuck blaming the bulbs.
Here’s the pairing rules and the install.
The Critical First Decision: Match the Dimmer to the Bulb Type
Three dimmer technology categories, each designed for different loads:
Standard incandescent dimmer (e.g., Leviton’s basic models): For incandescent or halogen bulbs only. Don’t use with LEDs — causes buzzing and flicker. Sold cheap because most stores don’t bother stocking the LED versions in their economy line.
LED-rated dimmer (e.g., Lutron Maestro, Lutron Diva LED, Leviton Decora SureSlide): Specifically designed for the smaller wattages and different load characteristics of LED bulbs. Quiet, full-range dimming. Cost: $15–$25.
Smart dimmer (e.g., Lutron Caseta, Kasa, Hue, Leviton Decora Smart): WiFi or Zigbee/Z-wave connected. App control, schedules, voice control via Alexa/Google. Cost: $40–$80. Same wiring as a regular dimmer but pairs with a hub or Wi-Fi.
For a typical install: buy the LED-rated dimmer or a smart dimmer. Don’t buy the basic incandescent type unless you’re knowingly pairing with non-LED bulbs.
Bulb Compatibility Lists Matter
Lutron and other manufacturers publish “compatibility lists” — which dimmers work cleanly with which bulbs. Before buying, search “[bulb model] dimmer compatibility list” and confirm the dimmer you’re considering is on the bulb manufacturer’s recommended list.
Most reputable LED bulb brands (Philips, GE, Cree, Sylvania) work with the major LED-rated dimmers. Cheap private-label LEDs often don’t dim well with anything.
Tools and Materials
- The new dimmer
- Non-contact voltage tester
- Phillips screwdriver
- Wire strippers (sometimes needed)
- A wall plate (some dimmers come with one; some don’t)
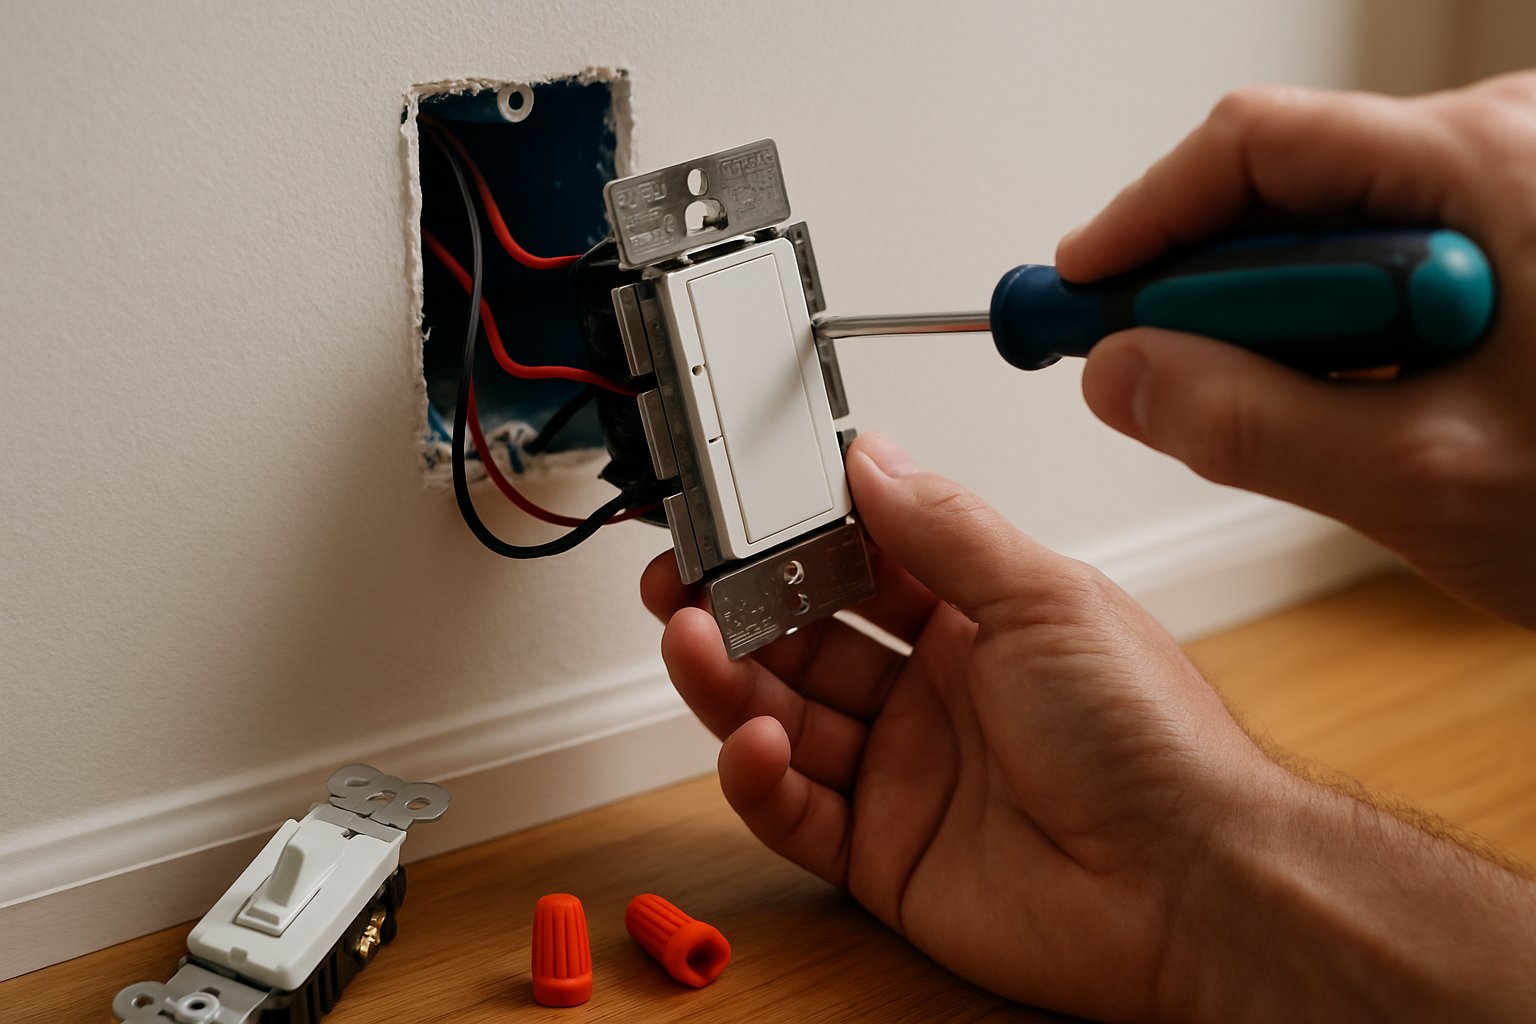
The Install
Step 1: Turn off the breaker that feeds the switch. Verify with the voltage tester at the existing switch — touch the tester to each terminal screw with the cover plate off.
Step 2: Remove the old switch. Unscrew the wall plate, then the two screws holding the switch to the box. Pull the switch out.
Step 3: Identify the wires.
A standard “single-pole” switch (one switch controlling one light) has:
- Two black wires connected to the switch’s brass screws
- A bare or green wire connected to the green ground screw
- Sometimes a bundle of white wires capped together in the back of the box (these are the neutrals — pass straight through, not connected to a single-pole switch)
A “three-way” switch (light controlled from two locations) has three wires + a ground. More complex, but most modern dimmers handle three-way wiring with included instructions.
Step 4: Disconnect the old switch. Loosen the screws and unhook the wires. They should remain in the box, just freed from the old switch.
Step 5: Wire the new dimmer.
For a single-pole dimmer:
- Connect the dimmer’s two black or red leads to the two black house wires (one to each). Twist together with a wire nut. Order doesn’t matter for a basic dimmer — both are “hot.”
- Connect the dimmer’s green or bare ground wire to the bare house ground. Wire nut.
- If the dimmer is a smart switch and requires a neutral: Connect the dimmer’s white wire to the bundle of white house neutrals (you may need to remove the existing wire nut, add the dimmer’s neutral, and re-cap). Most basic dimmers don’t need a neutral; most smart dimmers do.
For a three-way dimmer: follow the included diagram — the wiring is similar but uses an extra “traveler” wire.
Step 6: Tuck wires into the box. Don’t pinch.
Step 7: Mount the dimmer to the box with the two long screws.
Step 8: Install the wall plate.
Step 9: Restore power and test. Flip the breaker. Operate the dimmer — bulbs should turn on at the level set by the dimmer, dim and brighten smoothly with no flicker.
Common Mistakes
- Using a basic incandescent dimmer with LED bulbs. Causes buzzing, flicker, won’t dim below 30%. Always use an LED-rated dimmer for LED bulbs.
- Skipping the bulb compatibility check. Even an LED-rated dimmer can have issues with cheap private-label LEDs. Stick to listed combinations.
- Trusting the wall switch instead of the breaker. Standard safety mistake — kill power at the panel.
- Forgetting the ground. Modern dimmers (especially smart ones) can fail in unsafe ways without a ground.
- Installing a smart dimmer with no neutral wire in the box. Many smart dimmers REQUIRE a neutral. If your box doesn’t have one, you need a no-neutral-required model (Lutron Caseta is the standard).
- Wiring a three-way circuit as if it were single-pole. The dimmer turns on but won’t function correctly from both switches. Read the included three-way wiring diagram.
- Using a dimmer beyond its rated wattage. Dimmers are rated in watts (e.g., 600W maximum for incandescent, 150W for LED). Exceeding burns out the dimmer. Add up the wattages of all bulbs on that circuit and stay under the rated max.
When to Call an Electrician
- The switch box has more than 4 wires going in (multi-circuit boxes need more analysis).
- You want a dimmer in a location that currently has no switch (running new wire = pro job).
- You’re replacing a “smart” or specialty switch you don’t understand.
- The wiring is aluminum (silver-colored), cloth-jacketed, or otherwise non-standard.
Frequently Asked Questions
Why do my LED bulbs flicker even with a new LED-rated dimmer? Bulb compatibility. Try a different LED bulb brand from the dimmer manufacturer’s compatibility list. Some bulbs and some dimmers just don’t play well together, even when both are LED-rated.
Can I use one dimmer for multiple bulbs in the same fixture? Yes, as long as the total wattage is under the dimmer’s rating.
My dimmer feels warm to the touch. Is that normal? Slight warmth, yes — dimmers dissipate energy as heat. If it’s actually hot (uncomfortable to touch), you’re at or over the wattage rating. Reduce the bulb count or upgrade to a higher-rated dimmer.
Smart dimmer vs. smart bulb — which is better? Smart dimmer + dumb bulbs: cheaper, works with any switch flip, single physical interface. Smart bulb + dumb dimmer: more expensive per bulb, but each bulb is independently controllable. For most rooms, smart dimmer is the better choice.
The Bottom Line
A dimmer is a 15-minute upgrade that genuinely improves a room. The whole game is matching the dimmer technology to the bulb technology. LED bulbs need LED-rated dimmers. Smart bulbs add app control on top. Get the pairing right and the install is straightforward.
For the full sequence including three-way and four-way wiring, smart-home integration, and the wattage-load math for multi-bulb circuits, see Install a Dimmer Switch.
For a whole-house lighting plan — recessed cans, smart controls, room-by-room scheme — send your photos for a $9.99 diagnostic report.