You did a radon test — maybe for a sale, maybe out of caution — and the number came back above 4.0. Now there’s a mitigation quote on the counter for around fifteen hundred dollars and a knot in your stomach. Here’s the honest version: radon is a real health risk and worth taking seriously, and a single short-term test is the weakest piece of evidence in the whole process. Before you write that check, it’s worth knowing what the number actually tells you — because the most common reason for a scary reading is a test that ran high for reasons that have nothing to do with your house’s long-term risk.
I’m not a health authority and I won’t pretend to be one. What I can tell you is how to keep from paying to solve a problem you might not have — and how to make sure you actually solve it if you do.
What 4.0 even means
The EPA’s action level is 4.0 pCi/L (picocuries per liter). At or above that, they recommend fixing it; between about 2 and 4, they suggest considering it. That’s a genuine guideline, not marketing. But the key word people miss is average — radon isn’t a fixed property of your house like the size of the basement. It swings enormously from day to day and season to season with weather, soil moisture, and how the house is being used. A number is a snapshot, and a snapshot can lie.
Why the short-term test is the weakest evidence
Most scary readings come from a short-term charcoal test — the little canister that sits out for two to seven days. Several ordinary things push those high:
- Closed-house conditions. The test is supposed to run with windows and doors kept shut. During a real-estate test that’s often taken to an extreme — the house sealed tight for days — which concentrates radon far above how anyone actually lives in it.
- Weather. A passing storm, a big drop in barometric pressure, high winds, or frozen ground can all spike a reading during the exact days the test happened to run.
- Placement. The canister belongs in the lowest lived-in level, in a normal spot. Set it on the floor of an unfinished corner, next to the sump, or in a closed-up crawlspace and you’ll read the worst air in the house, not the air you breathe.
Any one of these can turn a genuinely fine house into a 5 or 6 for a week. That’s why one canister should start the conversation, not end it.
What to do before you buy a fan
- Retest — better. The single most valuable step is a second test, ideally a long-term test (90+ days) or a continuous radon monitor that reports an average instead of a few days’ worth. If the honest average is comfortably under 4, you may be done for the price of a test.
- Check how the first test was run. Confirmed closed-house conditions? Reasonable placement? Any storms during the window? If the setup was off, the number is suspect.
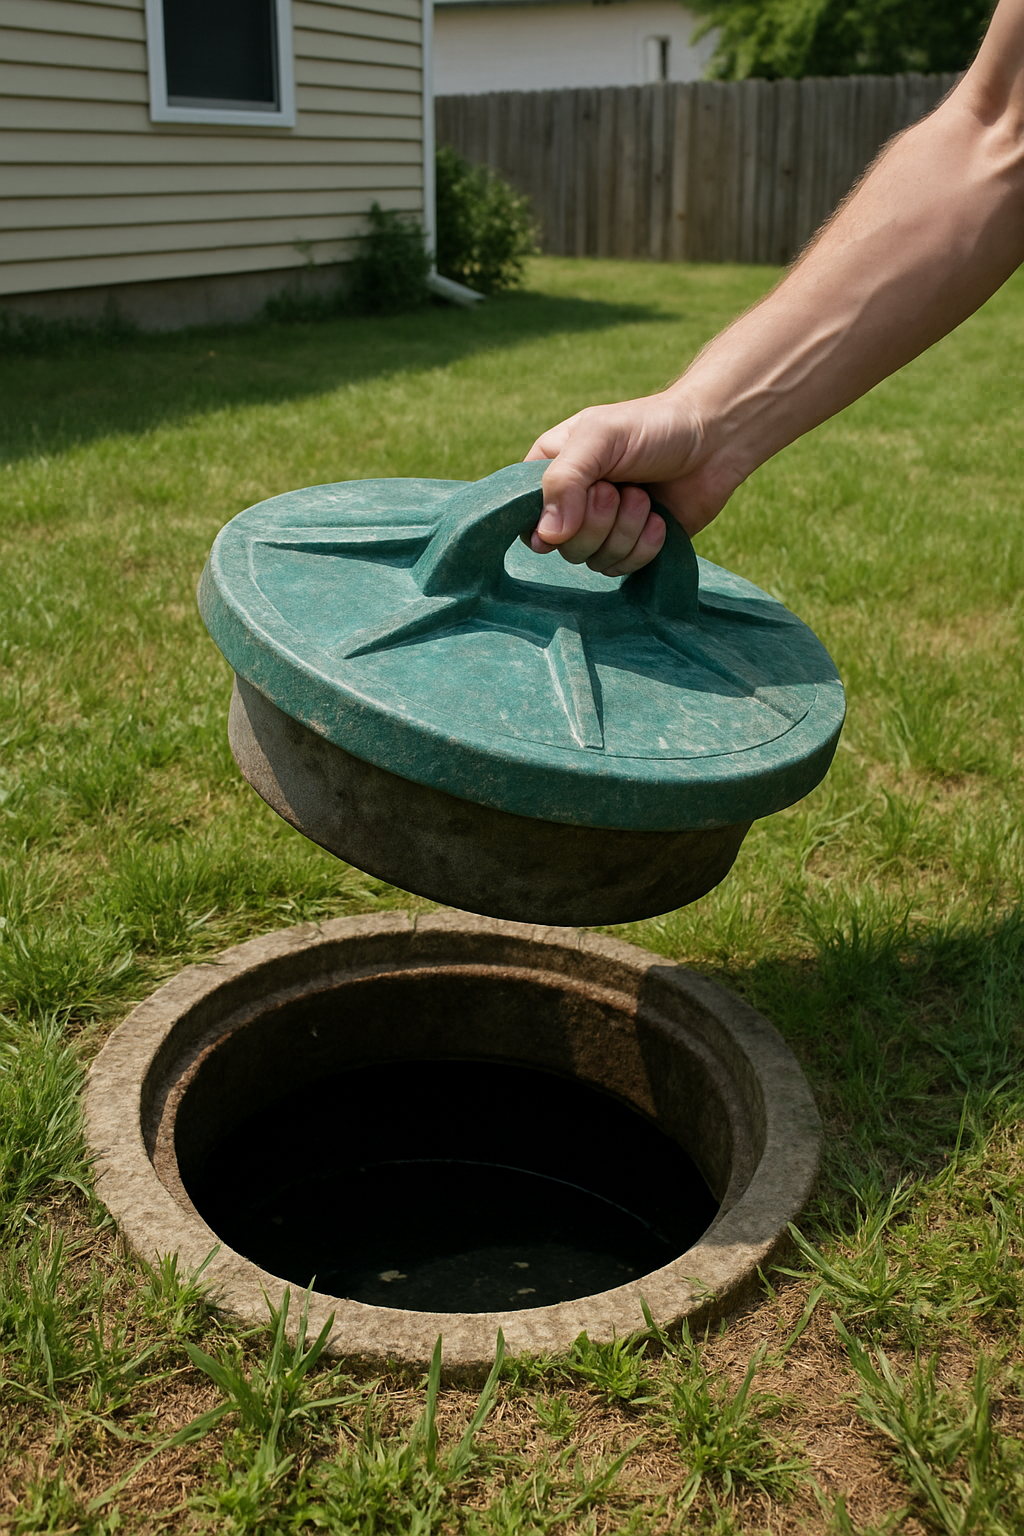
- Do the cheap sealing first. Radon comes up through gaps — an open sump pit, cracks in the slab, the gap around the perimeter. A sealed sump lid and filled slab cracks won’t replace a real system on a truly high house, but they’re cheap, they help, and they’re worth doing regardless.
When mitigation is genuinely the answer
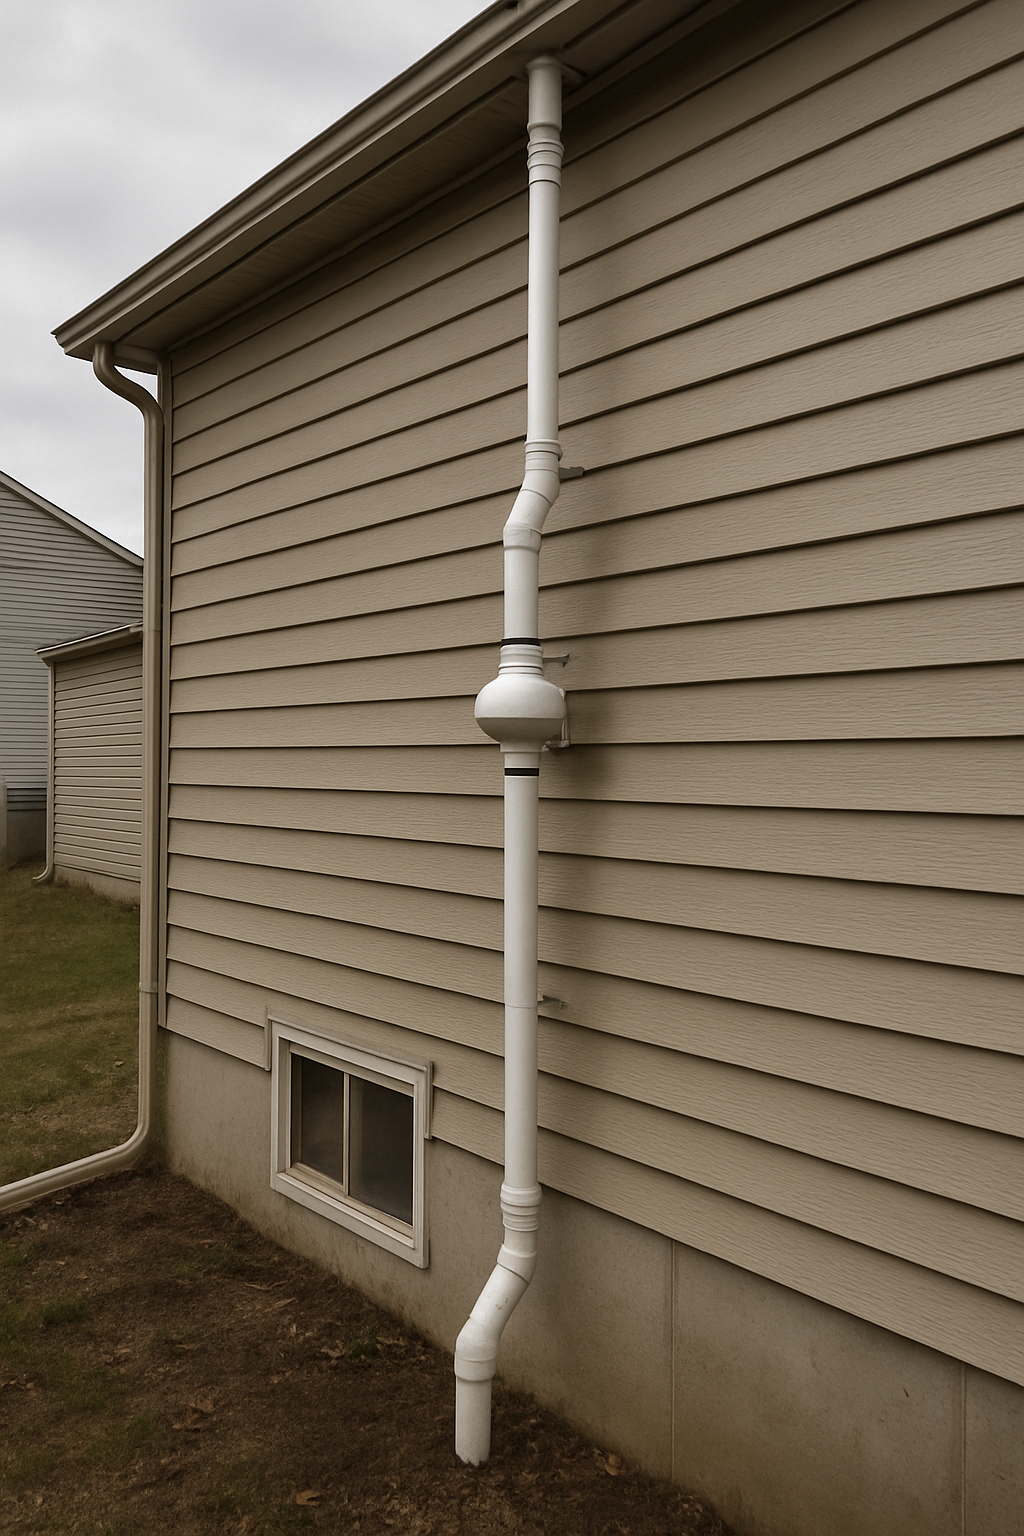
If a good test — especially a long-term average or two agreeing short-term tests — comes back at or above 4.0, and particularly if you’ve got a finished, occupied basement where people spend real time, then yes: mitigate, and don’t cut corners. The standard fix is sub-slab depressurization — that white PVC pipe and quiet fan that pulls air from under the slab and vents it above the roof. Done right it reliably drops levels well below the action line, and a good installer will re-test afterward to prove it worked. Typical cost runs roughly $800–$2,500 depending on the house and how many suction points it needs. That’s real money well spent on a confirmed problem.
The point of all this isn’t to talk you out of protecting your family. It’s the opposite — it’s to make sure that if you spend the money, you’re spending it on a real, confirmed number, and that if you don’t have a problem, you’re not buying a fan to fix a storm that blew through during a four-day test.
DIY or not
Testing is absolutely DIY — long-term kits and even consumer continuous monitors are inexpensive, and doing your own follow-up test is the smartest cheap move here. A mitigation system is usually worth a qualified installer: sizing the fan, finding the right suction points, sealing properly, and verifying the result are where it goes right or wrong. Handy homeowners do install their own sub-slab systems, but if you go that route, test before and after so you know it actually worked.
Not sure what your number is telling you?
Send me your test result, how and where the test was run, and a photo of the basement — the slab, the sump, any cracks. I’ll tell you whether that reading is solid enough to act on, what I’d retest first, and whether you’re looking at a real mitigation job or a storm-week false alarm: a written diagnostic with the specific next step, $19.99, back to you in minutes.