A roof leak is almost always visible in the attic for weeks or months before it shows up as a stain on the ceiling below. By the time water makes it through the insulation, across the ceiling joist, and bubbles the paint on the drywall — you’ve already had a slow leak for a long time, and the roof deck above it is rotting.
The good news: an attic inspection takes about an hour, costs nothing, and finds 90% of roof leaks before they become ceiling repairs. I do this every spring on every house I own.
Here’s how.
When to Inspect
Two natural triggers:
- After heavy rain or snow melt — water leaks show up immediately on the underside of roof sheathing as visible wet spots.
- First warm dry day of spring — gives you a chance to find dried-up evidence of winter leaks (staining, mold, swollen wood) before the rainy season.
Don’t wait for ceiling stains. By then you’re past the early-detection window.
What to Bring Up With You
- A bright flashlight or headlamp (the brighter the better — phone flashlight is barely adequate)
- A camera or your phone (photograph anything questionable)
- A notepad or sketch
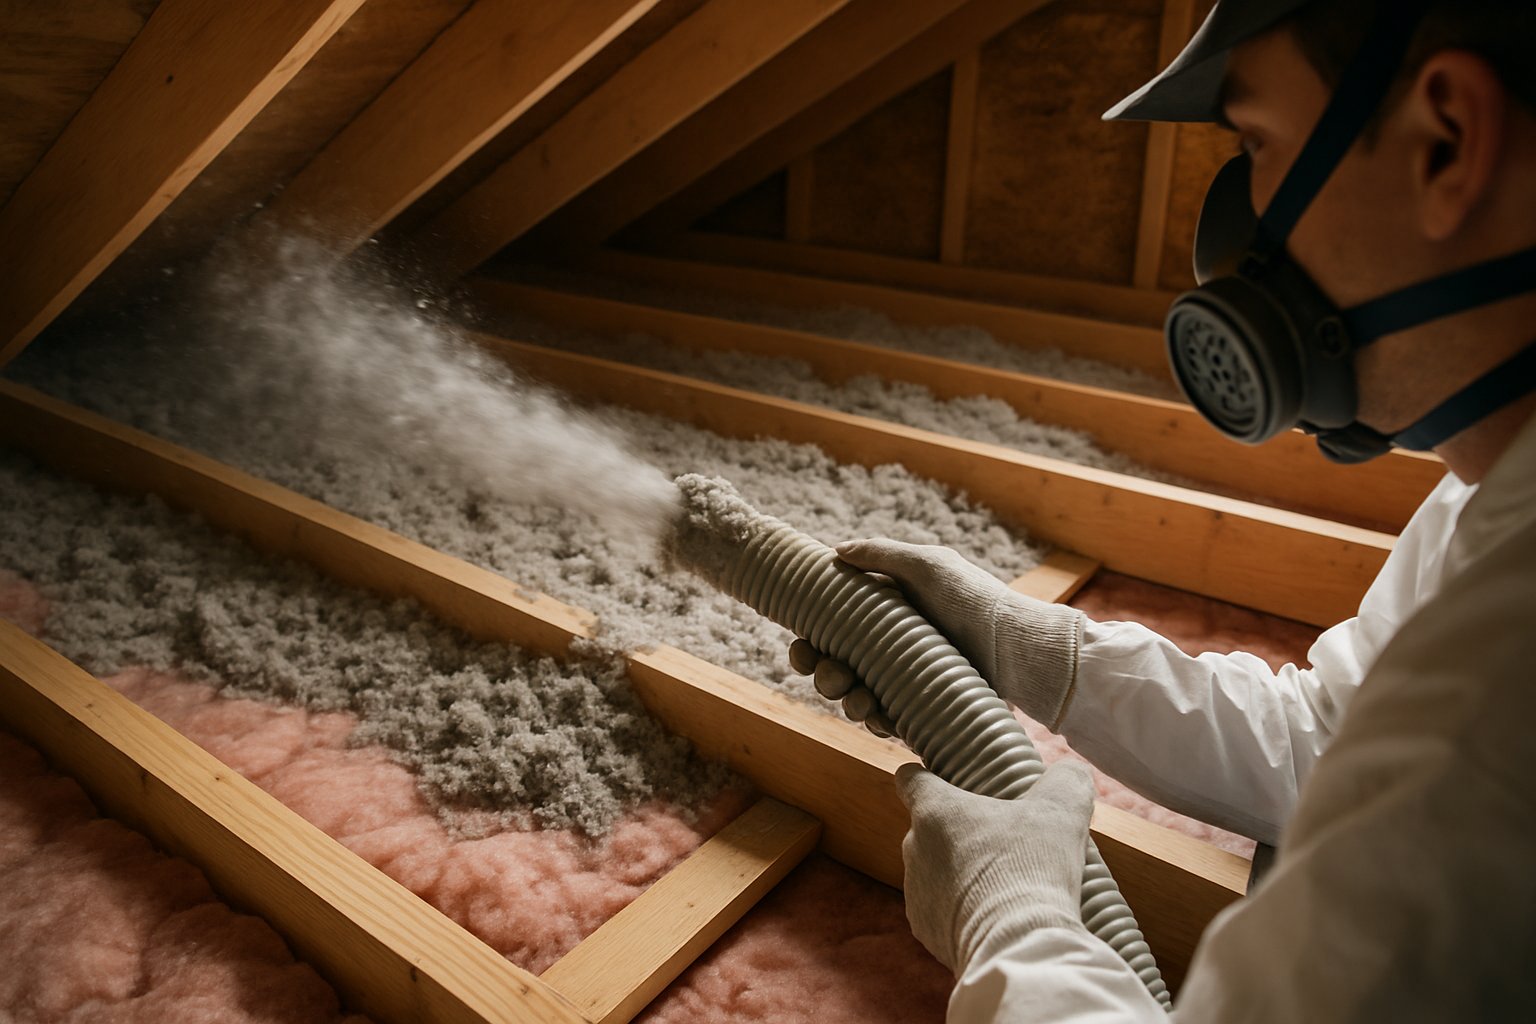
- A dust mask (insulation is fiberglass; you don’t want to inhale it)
- Long sleeves and gloves
- Sturdy shoes that won’t slip on rafters
- Optional: a moisture meter (a $20 pin-style meter from any hardware store reads the moisture content of wood; over 20% means active or recent water)
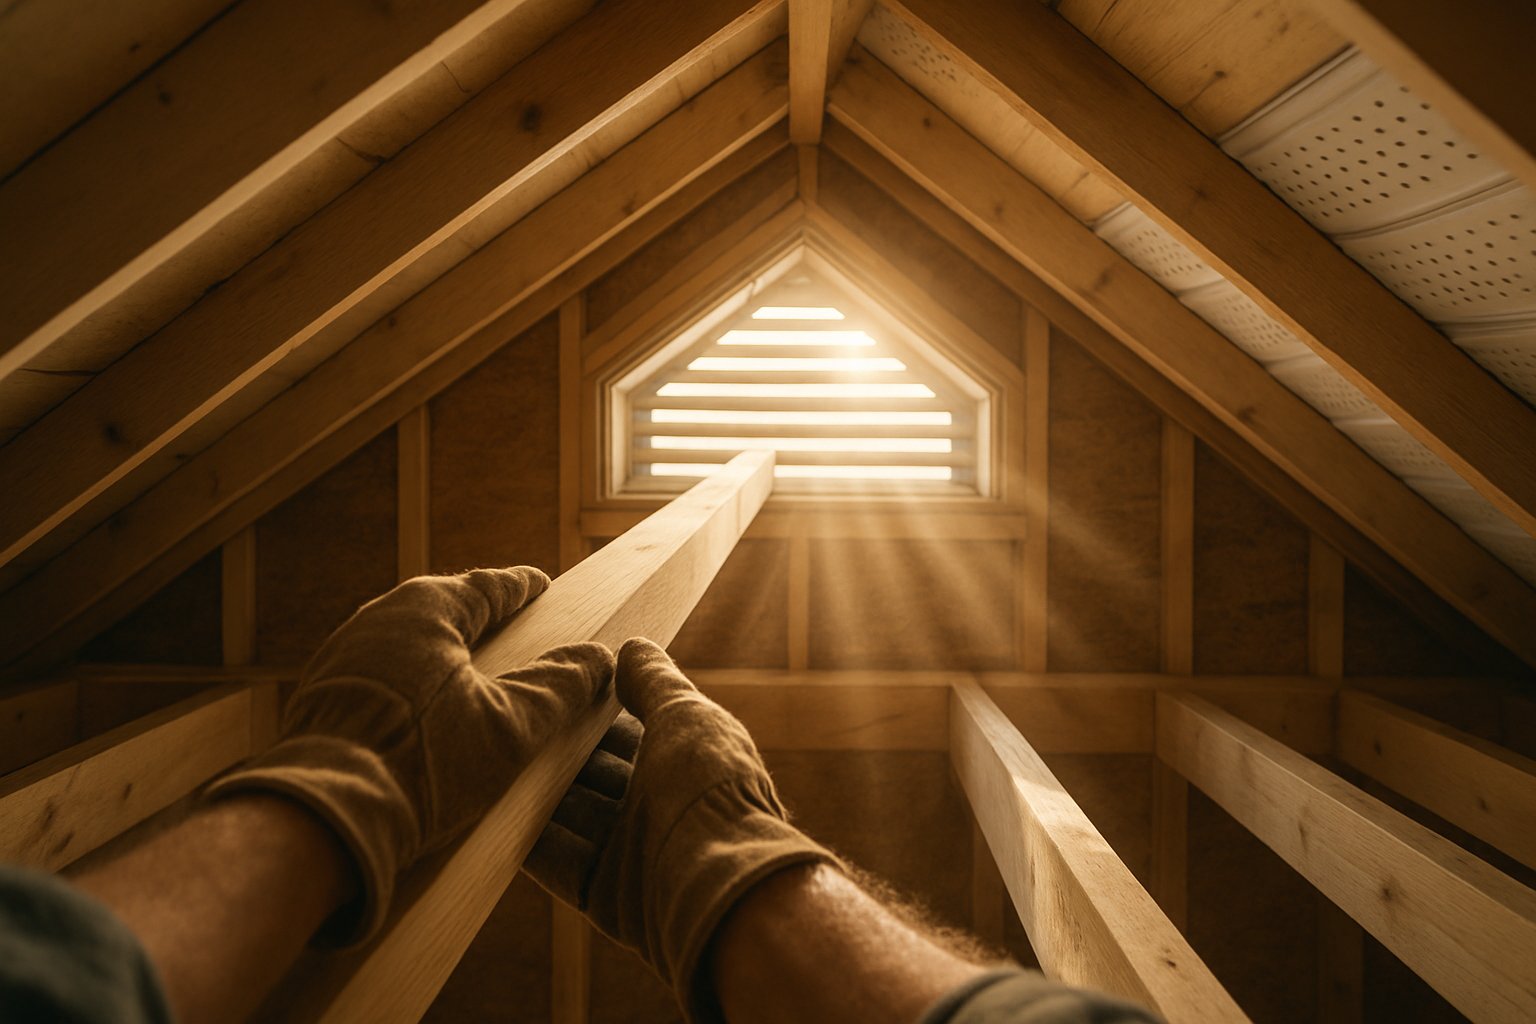
Stay on the Joists, Not the Insulation
Critical safety note: in most attics, the only thing between you and the ceiling below is drywall. Drywall doesn’t hold weight. Step on the wood ceiling joists or rafter cross-pieces, never on insulation alone, or you’ll fall through.
Most attics have joists running parallel, spaced 16 or 24 inches on center, with insulation laid between them. Walk by stepping on the joists like a balance beam. If the attic has a plywood walking deck, use it — that’s what it’s there for.
Step 1: Look Up at the Underside of the Roof Deck
This is the highest-yield inspection. Stand near the center of the attic and slowly sweep your flashlight across the entire underside of the roof.
You’re looking for:
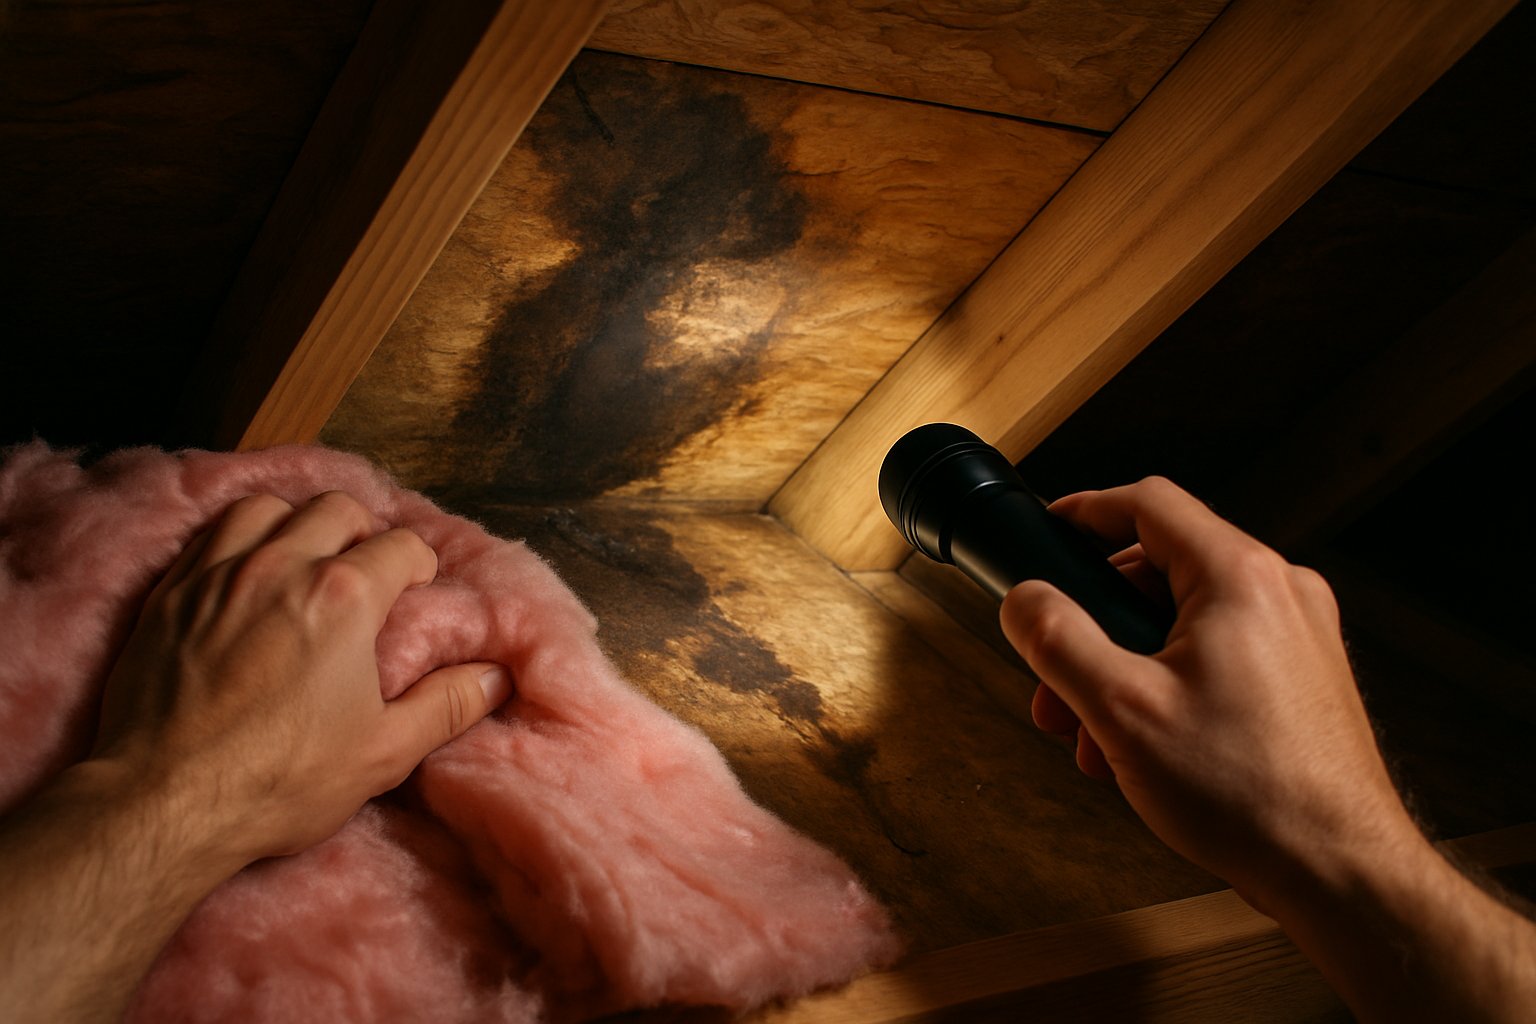
- Wet, dark, or stained wood — fresh staining is dark brown; older staining is grayish.
- White streaks or efflorescence — mineral deposits left behind as water evaporates from the wood. A telltale sign of slow chronic leaking.
- Black or green mold spots — anywhere mold is growing means water has been there.
- Sagging or swollen plywood/OSB — the roof deck is supposed to be flat and tight to the rafters. Bulges or droops mean rot underneath.
- Daylight visible through the deck — straight-up holes you can see through. Self-explanatory.
- Rust on nail tips — exposed roofing nail tips poke through the underside of the deck. A tiny bit of rust is normal; bright orange rust streaks running down the wood mean significant moisture.
Look especially closely at:
- Around plumbing vents (the vertical pipes that come up through the roof)
- Around the chimney base
- Around any roof-mounted vents (bathroom fan exhaust, dryer vent, range hood vent if it goes through the roof)
- Where two roof slopes meet (valleys)
- Skylights, if you have any
- Edges of the roof near the eaves
Roof leaks are 80% of the time at one of these penetrations or transitions, not in the open field of the roof.
Step 2: Look Down at the Insulation and Ceiling Joists
Now flip your inspection downward. Walk slowly along the joist tops, sweeping the light across the insulation and the wood underneath.
You’re looking for:
- Dark, compressed, or wet insulation — water-damaged insulation looks matted down and stained. Pull it back gently to look at the ceiling drywall underneath.
- Stains on the back of the drywall (the side facing up into the attic) — water dripping from above lands on the insulation, soaks through, and stains the drywall from above before it shows below.
- Mouse droppings or bird debris concentrated in one spot — animals are drawn to leaks because the wood softens and the area stays damp.
- A musty smell concentrated in one area of the attic — your nose will tell you where the wet zone is even if you can’t see it yet.
If you find wet insulation: pull it back completely from that area. Photograph the underlying ceiling drywall. The drywall stain will show you exactly which room/wall is being affected below.
Step 3: Trace Backward From a Wet Spot to Its Source
Water travels downhill along the underside of the roof deck before it drips. So a wet spot you find on the rafter or insulation is rarely directly below the actual leak — the leak is uphill from the wet spot.
If you find evidence of water dripping at a specific spot:
- Look UP and uphill (toward the roof peak) along the line of the rafter and roof deck.
- Trace water trails — dark streaks running down the wood, mineral deposits, rust trails.
- The actual leak is at the topmost end of the trail, often at a flashing or penetration.
This is why inspecting around penetrations matters — the leak point is often well above where the water actually drips.
Step 4: Check the Soffit-to-Roof Transition
A surprising number of “roof leaks” are actually water that’s blowing back under the roof edge — from clogged gutters, ice dams, or wind-driven rain getting past the drip edge.
Inspect the lower edge of the roof deck where it meets the soffit (the underside of the eave). Water staining or rotted wood here often means:
- Gutters are overflowing and water is wicking back under the roof edge
- Ice dam in winter pushed water uphill under the shingles
- Drip edge flashing is missing or installed wrong
These need different fixes than a hole in the roof — but they look identical from inside the attic if you don’t trace the source.
What You Can Actually Fix Yourself
Most roof leaks need a roofer (or specifically, working on a roof — which is one of the top causes of home-DIY hospital visits). But some attic-side fixes are real DIY:
- Tighten or replace a vent boot. The rubber boot around a plumbing vent pipe is a 10-year part. From the attic, you can see if it’s cracked. Replacement is from the roof, but identification is from the attic.
- Caulk a small gap in flashing from the roof side. Possible if you’re comfortable on a low-pitch roof. Skip if you’re not.
- Re-secure loose roof deck nails. From inside the attic, drive screws into rafter framing where the original nails have backed out. This doesn’t fix a leak directly but stiffens the roof.
- Pull back insulation from a wet area so the wood underneath can dry and you can monitor for further leaking. Important interim step before repair.
Common Mistakes
- Looking only after rain. A dry day doesn’t mean no leak — the wood will still show the staining and mineral evidence even when the active drip has stopped.
- Assuming the leak is directly above the ceiling stain. Water travels. The actual roof leak is often 5–20 feet away from where the ceiling shows damage. Trace it.
- Ignoring small mineral streaks because there’s no current dripping. Those streaks are evidence of repeated chronic leakage. Even if the rate is slow, the wood underneath is rotting.
- Stepping off the joists. Putting your foot through the bedroom ceiling is the most expensive mistake in this list. Stay on the wood.
- Trying to seal a leak from inside the attic with caulk or tar. It doesn’t work. Water finds its way around the patch. Roof leaks have to be fixed at the roof surface.
- Skipping the chimney area. Chimneys are the #1 source of roof leaks in older houses. Always inspect carefully where the masonry meets the roof.
When to Call a Roofer
- You find active dripping or running water during a leak event.
- The roof deck is visibly rotted (you can poke a screwdriver into it without resistance).
- Water staining covers more than a 2-by-2-foot area.
- The leak is near the chimney, a skylight, or any complex flashing detail.
- Mold growth is widespread (more than a couple of palm-sized spots).
- The roof is over 20 years old and showing widespread evidence of moisture — you may be looking at a re-roof, not a repair.
For minor issues — a single popped vent boot, a clear-cut hole, or evidence of one specific failed flashing — most roofers will quote the repair specifically rather than push a re-roof. Get two quotes.
Frequently Asked Questions
How often should I inspect the attic for leaks? Twice a year minimum: early spring (look for winter damage) and late fall (last chance before snow). Plus immediately after any major storm with significant wind or hail.
What if I see a stain but the wood is dry now? Mark it with painter’s tape so you know it was there, photograph it, and check it after the next rain. If it gets wet again, you have a confirmed slow leak. If it stays dry, it might be from an old fixed leak — no action needed but keep watching.
My attic smells musty even though I don’t see visible damage. What does that mean? Either you have a leak you can’t see (look more carefully at corners, edges, and behind insulation), or you have a ventilation problem. A poorly-vented attic traps humidity from the house below and grows mold even without an external leak.
Can I use a thermal camera (FLIR) to find leaks? Yes — and it’s a great tool. Wet wood shows up cooler than dry wood. A $200 phone-attachable FLIR camera makes finding leaks dramatically easier. If you’ve got persistent issues, it’s worth the investment.
The Bottom Line
The attic is the place you find roof leaks before they cost you a ceiling repair. Once a year minimum, walk the joists with a flashlight, look up and look down, and photograph anything questionable. The actual fix usually requires a roofer — but catching the problem at the attic stage is the difference between a $200 repair and a $5,000 ceiling-and-insulation replacement.
For the full sequence on diagnosing what’s already showing up below — when the leak has reached the ceiling — see Diagnose a Ceiling Leak.
If you’ve got widespread attic moisture, signs of chronic leakage, or you want a professional second opinion before deciding between repair and re-roof, send your photos for a $9.99 diagnostic report.