A dripping shower head is almost always caused by a failing cartridge inside the shower valve — the mixing valve behind the wall. Replacement takes 45–90 minutes depending on how fused the old cartridge is, costs $25–$60 for the part, and does not require opening the wall as long as the valve body itself is intact.
Here’s how to identify your brand, remove the old cartridge (including the stuck ones), and install the new one correctly.
Why Shower Cartridges Fail
The cartridge contains rubber seals that control hot/cold mixing. Over 5–15 years:
- Rubber seals harden and crack
- Mineral buildup scores the ceramic or brass internal surfaces
- Debris from the water lines gets lodged between seals
When that happens, water leaks past the shut-off seals and you get a slow drip from the showerhead even when the handle is off.
Identify Your Valve Brand
Before buying a cartridge, identify the valve. Look at the trim:
- Moen: Often has “Moen” stamped on the escutcheon or handle. Uses 1200/1222/1225 cartridges (single-handle).
- Delta: Often a distinctive teardrop or round handle. Uses RP series cartridges (RP19804 for Monitor 17 series, etc.).
- Kohler: Usually labeled. Uses GP500520, GP76851, or similar.
- Price Pfister / Pfister: Stamped on trim. Uses 974-042 and variants.
- American Standard: Usually labeled. Uses Copper core or Reliant cartridges.
- Symmons: Temptrol valves — distinctive large single lever.
- No markings: Remove the handle and trim and photograph the cartridge stem — most hardware stores can identify from the photo.
Bring the old cartridge to the store or take photos. Universal cartridges exist but brand-matched is always more reliable.
Tools & Materials
- New cartridge (brand/model matched)
- Screwdriver (Phillips and flat-head)
- Allen wrench set
- Channel-lock pliers
- Cartridge puller (specific to some brands — Moen’s is tool #104421)
- Plumber’s grease (silicone-based — not petroleum)
- Rag and bucket
- Flashlight
- Optional: white vinegar for mineral soaking
Step-by-Step: Replace the Cartridge
1. Shut Off Water to the Shower
Most NJ homes don’t have dedicated shutoffs for the shower — you’ll need to shut off the main water to the house. Do this at the main valve (usually in the basement near where the water meter enters).
Open the shower and a sink to drain any pressure and residual water.
2. Remove the Handle
Find the set screw:
- Single-handle lever: screw is usually on the underside of the lever, often hidden under a decorative cap.
- Two-handle: screw is in the center of the handle, often hidden under a decorative cap labeled H or C.
Pry off the cap with a flat-head, then loosen the set screw (usually Allen). Pull the handle straight off.
3. Remove the Escutcheon
The escutcheon is the large decorative plate against the wall. Depending on the brand:
- Some unscrew by hand
- Some have small screws behind the handle
- Some are held on with adhesive — gently pry with a putty knife
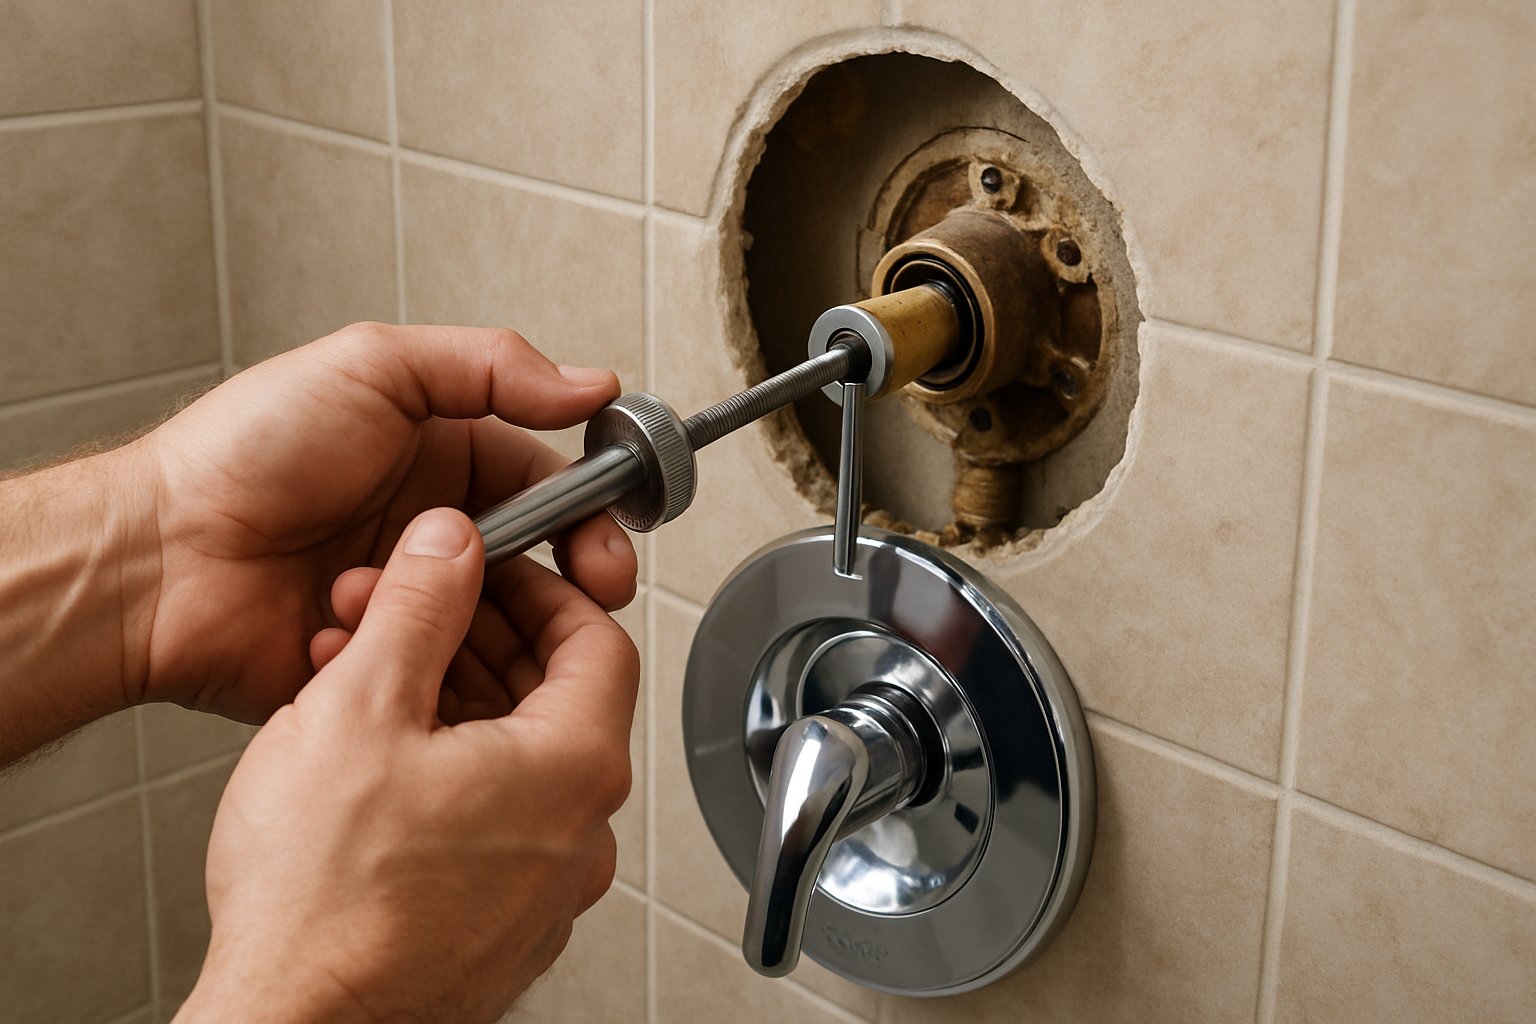
4. Locate the Cartridge
Behind the escutcheon you’ll see the valve body (usually brass) with the cartridge stem sticking out. There’s a retaining mechanism:
- Retaining clip (Moen): U-shaped metal clip at the top. Pull it out with needle-nose pliers.
- Retaining nut (Delta, Kohler): Large hex or round nut around the stem. Unscrew counterclockwise.
- Screws (some brands): 2–4 small screws holding a retaining plate.
Remove whichever you find.
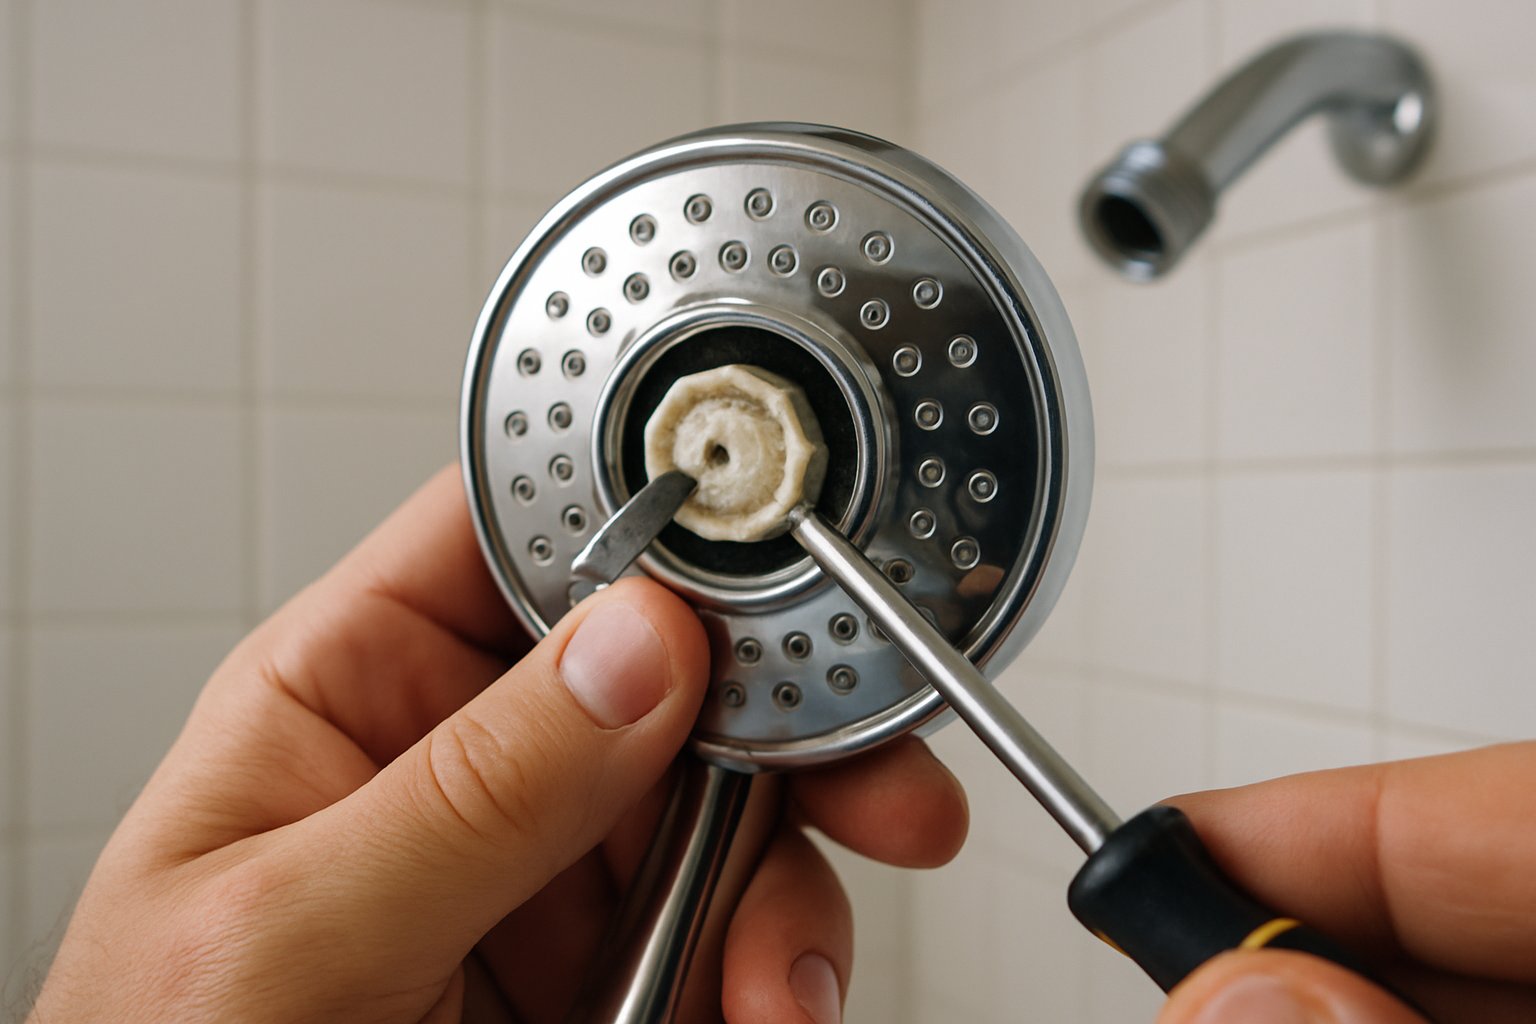
5. Pull the Old Cartridge
Easy scenario: Grip the cartridge stem with pliers and pull straight out.
Stuck scenario (more common): The cartridge is fused with mineral buildup.
- Use a cartridge puller tool (brand-specific — Moen’s is about $15, Delta uses RP42083).
- For Moen, spray penetrating oil around the cartridge, wait 30 minutes, attach the puller, tighten the puller’s threads to pull the cartridge straight out.
- For really stuck cartridges, soak the area with vinegar-soaked rags for an hour before pulling.
Do not pry or twist excessively — you can crack the valve body, which means opening the wall to replace the valve.
6. Inspect the Valve Body
With the cartridge out, shine a flashlight into the valve body. You should see brass or ceramic surfaces. If you see visible cracks or heavy scoring, the valve itself needs replacing (wall-opening job). If it’s just mineral buildup, clean with a toothbrush and vinegar before installing the new cartridge.
7. Install the New Cartridge
Orientation matters. Most cartridges have a tab, flat, or notch that must align with a groove in the valve body. Get this wrong and the hot/cold will be reversed, or the handle range will be off.
- Apply a thin layer of silicone plumber’s grease to the new cartridge’s O-rings.
- Align the orientation key.
- Push the cartridge straight in. It should seat fully — no gap between the cartridge and the valve body.
8. Reinstall the Retaining Mechanism
Put the retaining clip, nut, or screws back in. For clips and nuts, make sure they’re fully seated — a partially seated clip lets the cartridge blow out under pressure.
9. Test Before Reinstalling Trim
Turn the main water back on slowly. Stand away from the shower — occasionally a fresh install seats itself with a jet of water for a second.
Turn the shower on. Test:
- Hot and cold on the correct sides
- Handle rotation feels smooth
- No leaks from around the cartridge
- Shower shuts off completely (no drip)
10. Reinstall the Trim
If everything tests clean, put the escutcheon, handle, and set screw back on. Caulk around the escutcheon with silicone if you removed caulk during removal.
Common Mistakes
- Wrong cartridge orientation. Reversed hot/cold. Check the alignment key before seating.
- Skipping plumber’s grease. O-rings wear quickly without lubrication. Always grease new cartridges.
- Overtightening the retaining nut. Cracks the brass body. Snug.
- Forcing a stuck cartridge with a screwdriver. Cracks the body. Use a proper puller tool.
- Not turning water off at the main. Many showers don’t have local shutoffs. Skipping this = water damage.
When the Valve Body Itself Is Bad
If the valve body is cracked, stripped, or you can’t get the cartridge out without damage, you need to replace the whole valve. This involves:
- Opening the wall on the back side (typically into an adjacent closet or bedroom — plan your access)
- Cutting the copper or PEX supply lines
- Soldering or PEX-crimping a new valve in place
- Patching the wall afterward
This is not beginner DIY. Hire a plumber, or at minimum consult one before starting.
Frequently Asked Questions
Can I replace a shower cartridge without turning off the main? Only if you have a dedicated shutoff for the shower (rare in NJ homes built before 1990). Without one, main water must be off.
My new cartridge is installed but the shower still drips — why? Usually wrong orientation, wrong cartridge model, or the valve seat inside the body is damaged. Double-check the cartridge part number. If it’s right, the valve body may need replacing.
How do I know which direction is hot? Most US valves: hot is counterclockwise, cold is clockwise. Single-handle levers: handle to the left (when facing the shower) = hot.
The cartridge came with two o-rings and a white ring — what’s that? The extra ring (usually white or translucent) is a stem extender for deep-set valves. Use only if your old cartridge had one — otherwise discard.
How often do shower cartridges need replacing? Quality cartridges: 10–20 years. In hard water: 5–10 years. A dripping shower is a signal, not a sudden failure — replace as soon as you notice the drip.
The Bottom Line
Replacing a shower cartridge looks intimidating because it’s behind the wall — but it isn’t actually opening the wall. Handle off, escutcheon off, clip or nut off, cartridge out, new cartridge in, reverse. Get the brand-matched part and use a proper puller if yours is stuck.
If you’re planning a bathroom remodel and want a fixture plan, plumbing layout, and permit checklist tailored to your project, send your photos for a $9.99 diagnostic report.