Luxury vinyl plank (LVP) is the most homeowner-friendly flooring product on the market. It’s waterproof, scratch-resistant, locks together without nails or glue, installs over almost any existing floor, and looks legitimately good when done right. A 200 sq ft room is a one-weekend job for a first-timer.
The catch: most install failures come from skipping the prep, not from the install itself. Get the prep right and the rest is just snapping planks together.
Here’s the full sequence.
Pick the Right LVP
Thickness: 5mm minimum for residential. 6-8mm for high-traffic areas. Thicker = more durable but also more expensive.
Wear layer: The clear protective layer on top. Look for 12-20 mil for residential, 22+ mil for kitchens and high-wear areas. Sub-6 mil products are throwaway quality.
Pad attached: Many modern LVP products include a foam underlayment attached to the bottom. Saves you a step and provides sound dampening.
Brand recommendations: Mohawk RevWood Plus, Shaw Floorte, COREtec, Lifeproof (Home Depot), LVT 7-series. Avoid generic warehouse-brand budget products — the wear layer fails fast.
Buy 10% more than your room square footage to account for cuts and waste.
Tools and Materials
- LVP planks (calculated square footage + 10%)
- Underlayment if not built in (vapor barrier + foam pad)
- Tapping block (often included with LVP packs)
- Pull bar (also often included)
- Rubber mallet
- Utility knife with fresh blades (for cutting LVP)
- Measuring tape
- Pencil
- Safety glasses
- Knee pads (you’ll thank me)
- A friend (helpful for awkward cuts)
Step 1: Prep the Subfloor (THE STEP PEOPLE SKIP)
LVP installs over almost any existing floor IF the subfloor is flat. Most installation failures come from ignoring this step.
Test for flatness:
- Use a 6-foot straight edge or a level
- Lay it on the floor and look for gaps
- LVP requires the subfloor flat to within 3/16 inch over 10 feet
- Gaps larger than that cause LVP to flex and click joints to separate
Fix flatness issues:
- For low spots: use self-leveling compound ($30-$50 per bag)
- For high spots: sand or grind them down
- Don’t skip this — out-of-flat subfloor turns into clicking, separating joints within months
Other prep:
- Remove existing baseboards (they’ll go back on top of the new floor)
- Vacuum thoroughly — no debris under the new floor
- If installing over concrete: install a vapor barrier first (6-mil plastic sheeting, taped seams)
- If installing over wood subfloor in a basement: same vapor barrier
- Acclimate the LVP for 48 hours in the room where it will be installed (let it equilibrate to room temperature and humidity)
Step 2: Plan the Layout
LVP looks best with a staggered random pattern, not all joints aligned.
Direction: Run planks parallel to the longest wall in most rooms (makes the room look longer). Some prefer to run perpendicular to the main light source.
Stagger: Cut the first plank of each row to a different length than the row before. Aim for joints offset at least 6-8 inches from the previous row’s joints. Random pattern looks more natural.
First-row planning: Measure the room width perpendicular to plank direction. Divide by plank width. If the last row will be less than 2 inches wide, plan to rip the FIRST row narrower so the last row isn’t a sliver.
Step 3: Install the First Row
- Lay underlayment if not built into the planks. Tape seams.
- Place 1/4-inch spacers along the wall to maintain expansion gap (LVP needs room to expand and contract — ALWAYS leave 1/4 inch gap at every wall).
- Position the first plank with the tongue side facing the wall. The groove side faces into the room.
- Snap the next plank into the end of the first using the click-lock joint — angle, push together, lower flat.
- Continue across the wall. Cut the last plank to length using a utility knife (score multiple times, then snap cleanly).
- Use the cut-off piece as the start of row 2 — keeps stagger random and minimizes waste.
Step 4: Install Subsequent Rows
- Each new row’s planks lock into the previous row’s groove side.
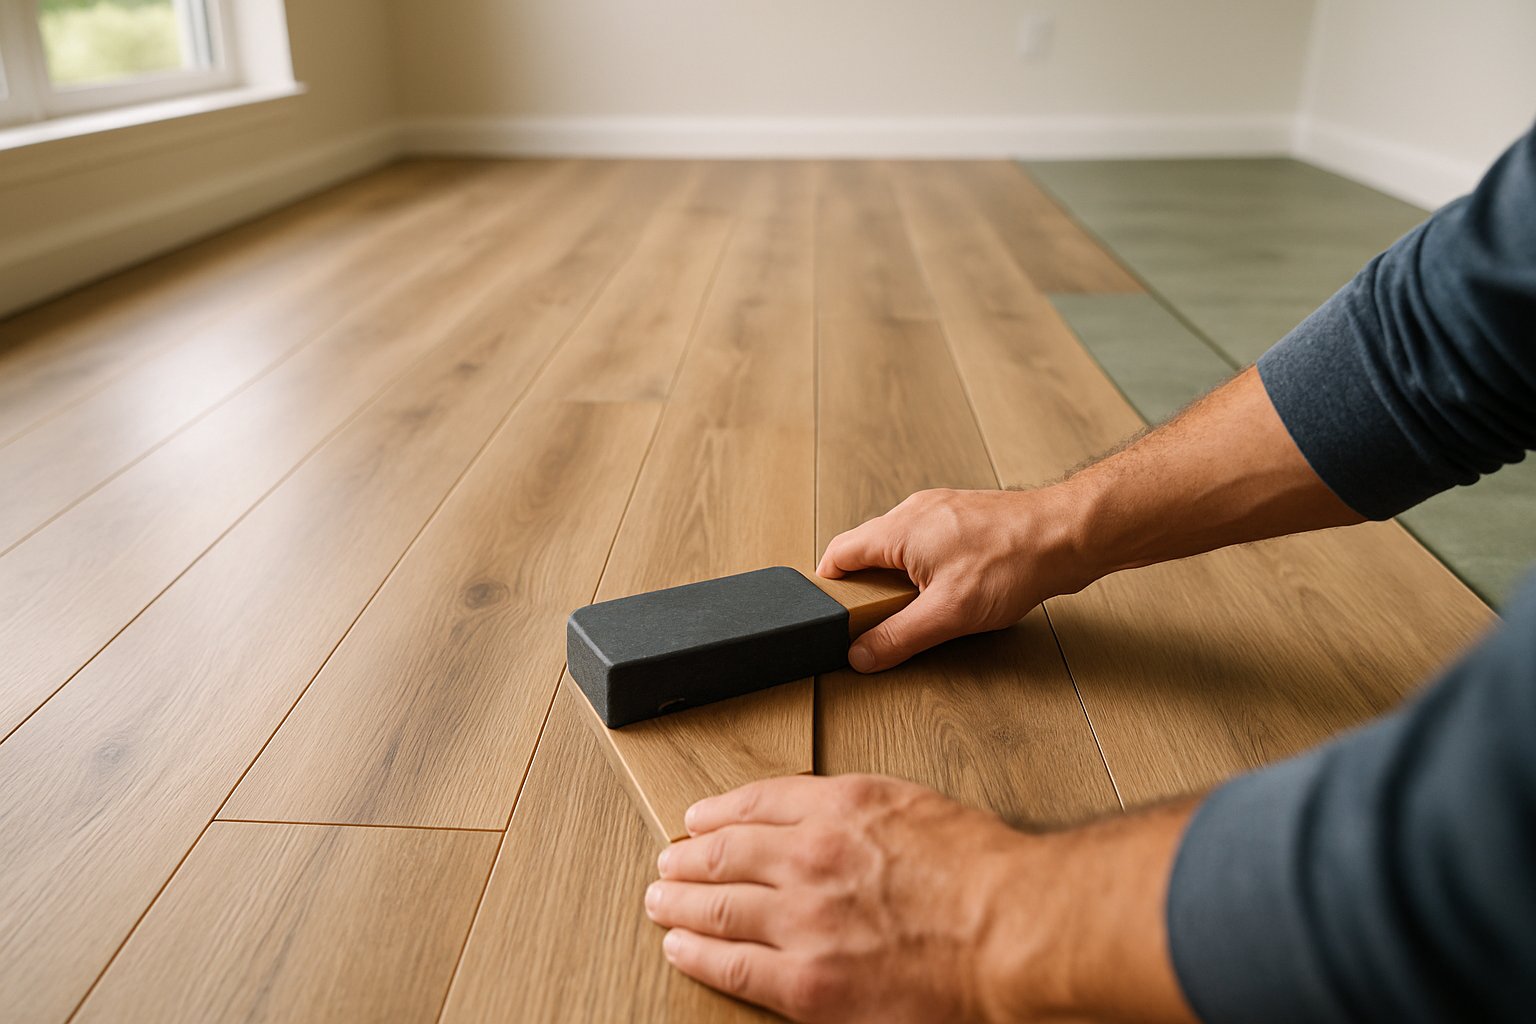
- Angle the new plank to engage the long-edge click joint, then lower it flat.
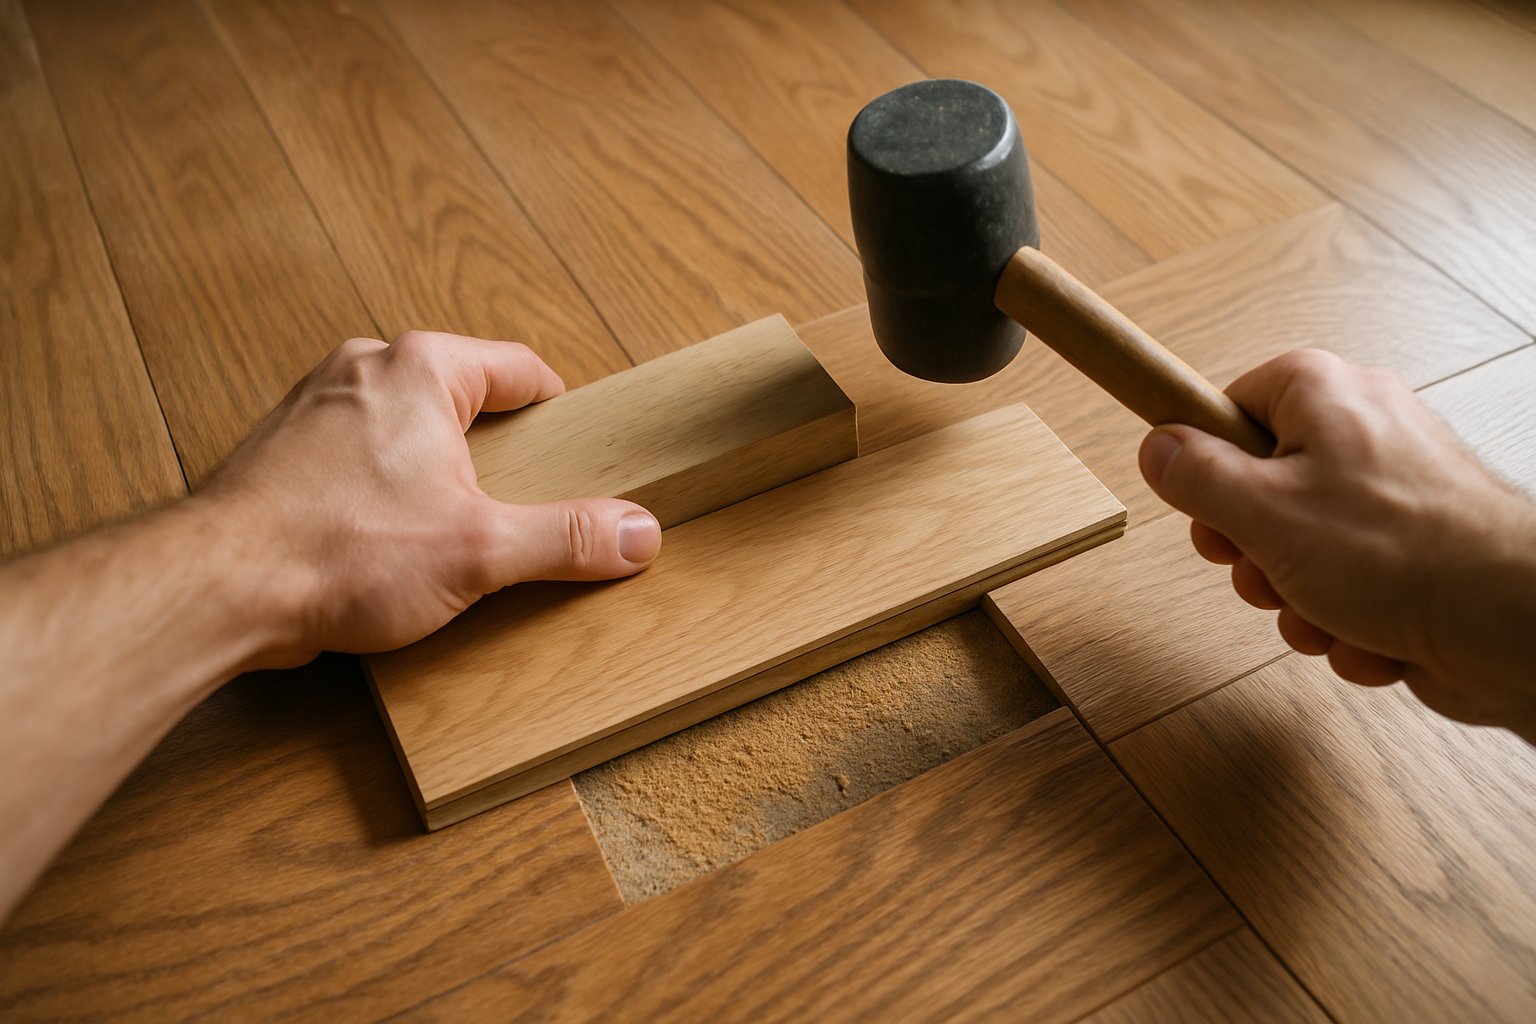
- Use the tapping block and rubber mallet to seat each plank fully. Tap gently — too hard damages the click mechanism.
- End joints between adjacent rows should stagger at least 6-8 inches from each other.
For the last row against the far wall:
- Measure the gap between the previous row and the wall (account for 1/4-inch expansion gap)
- Mark the new plank to that width minus 1/4 inch
- Score the plank face with a utility knife multiple times along the cut line
- Snap clean
Step 5: Install Around Obstacles
Door jambs:
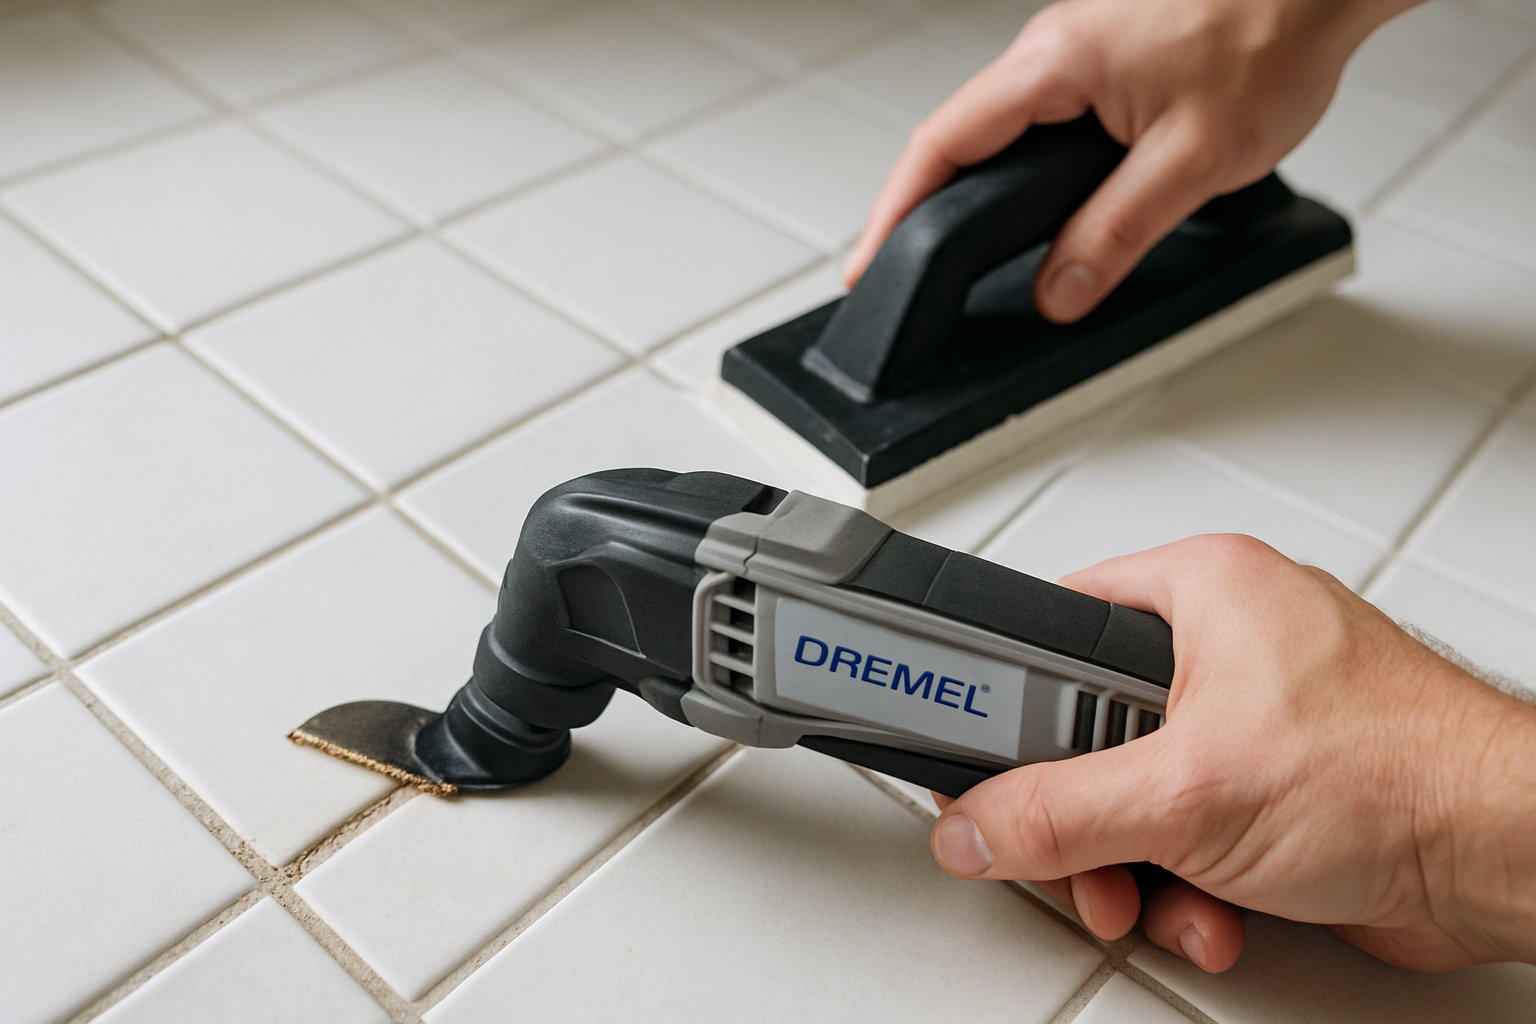
- Use a flush-cut saw to undercut the door jamb. Slide the LVP under the jamb (cleaner than cutting LVP to fit around the jamb).
Toilets, vanity, fixed cabinets:
- Cut LVP to match the obstacle’s footprint. Use a piece of cardboard as a template — cut the cardboard to fit, then trace onto the LVP.
Vents and outlets:
- Mark and cut with a utility knife or jigsaw.
Step 6: Finish
- Remove all 1/4-inch spacers.
- Reinstall baseboards. The baseboard hides the expansion gap and the unfinished cut edge.
- Add shoe molding if there’s any remaining gap visible.
- Caulk the baseboard-to-wall joint (NOT the baseboard-to-floor joint — that needs to flex).
Common Mistakes
- Skipping subfloor flatness. The single most common cause of LVP failure. Floor flexes, joints separate, planks click apart over time.
- No expansion gap. LVP must have 1/4 inch all around. Without it, when temperature/humidity changes, planks buckle.
- Caulking baseboard to floor. Stops the floor from moving with seasonal changes. Causes joint separation.
- Hammering planks together with too much force. Damages the click joint. Snug taps with the tapping block, not crushing blows.
- Running planks the wrong direction. Looks awkward in narrow rooms. Plan direction before starting.
- Not acclimating the planks. LVP at the wrong temperature/humidity will expand or contract after install, causing problems.
When LVP Isn’t the Right Choice
- Direct-glued tile floors: Better to keep tile if it’s in good shape — LVP over tile sometimes shows the grout lines through over time.
- Multi-room continuous installs over uneven subfloors: A pro can plan transitions where DIY won’t.
- High-end remodels: Real hardwood adds more home value than LVP.
The Bottom Line
LVP is genuinely the most DIY-friendly flooring product available. The work is in the prep — flat subfloor, expansion gaps, and acclimation. The actual install is satisfying snap-together work that goes faster than you expect.
For the full sequence including underlayment selection, transition strips between rooms, and the larger multi-room installs, see Install LVP in One Room.
For a whole-floor or whole-house flooring plan, send your photos for a $9.99 diagnostic report.