Hardwood floors are repairable in ways most homeowners don’t realize. A damaged board — water-stained, deeply gouged, burned from a dropped iron — does NOT require ripping up the whole floor and refinishing. You can replace just the damaged board (or two, or three) and blend the new wood into the existing floor.
The trick is the cutting technique. Done right, the new board slides in cleanly with no visible difference. Done wrong, you’ve made the damage permanent.
Here’s the sequence.
What You Can Repair This Way
- Single damaged boards in any solid hardwood floor (oak, maple, hickory, walnut)
- Engineered hardwood (the wear layer over plywood) — same technique
- Up to 4-5 boards in one area — beyond that, the patch becomes obvious
What you CAN’T repair this way:
- Floating laminate floors (different installation method — these come up in sections)
- Glued-down vinyl plank or LVT (replace the whole plank rather than patching)
- Floors with extreme color variation from sun exposure (new wood will be obvious next to faded old wood)
Tools and Materials
- Replacement boards (must match width, thickness, and species — bring a sample to the flooring store)
- Circular saw with a fine-tooth blade (40+ teeth)
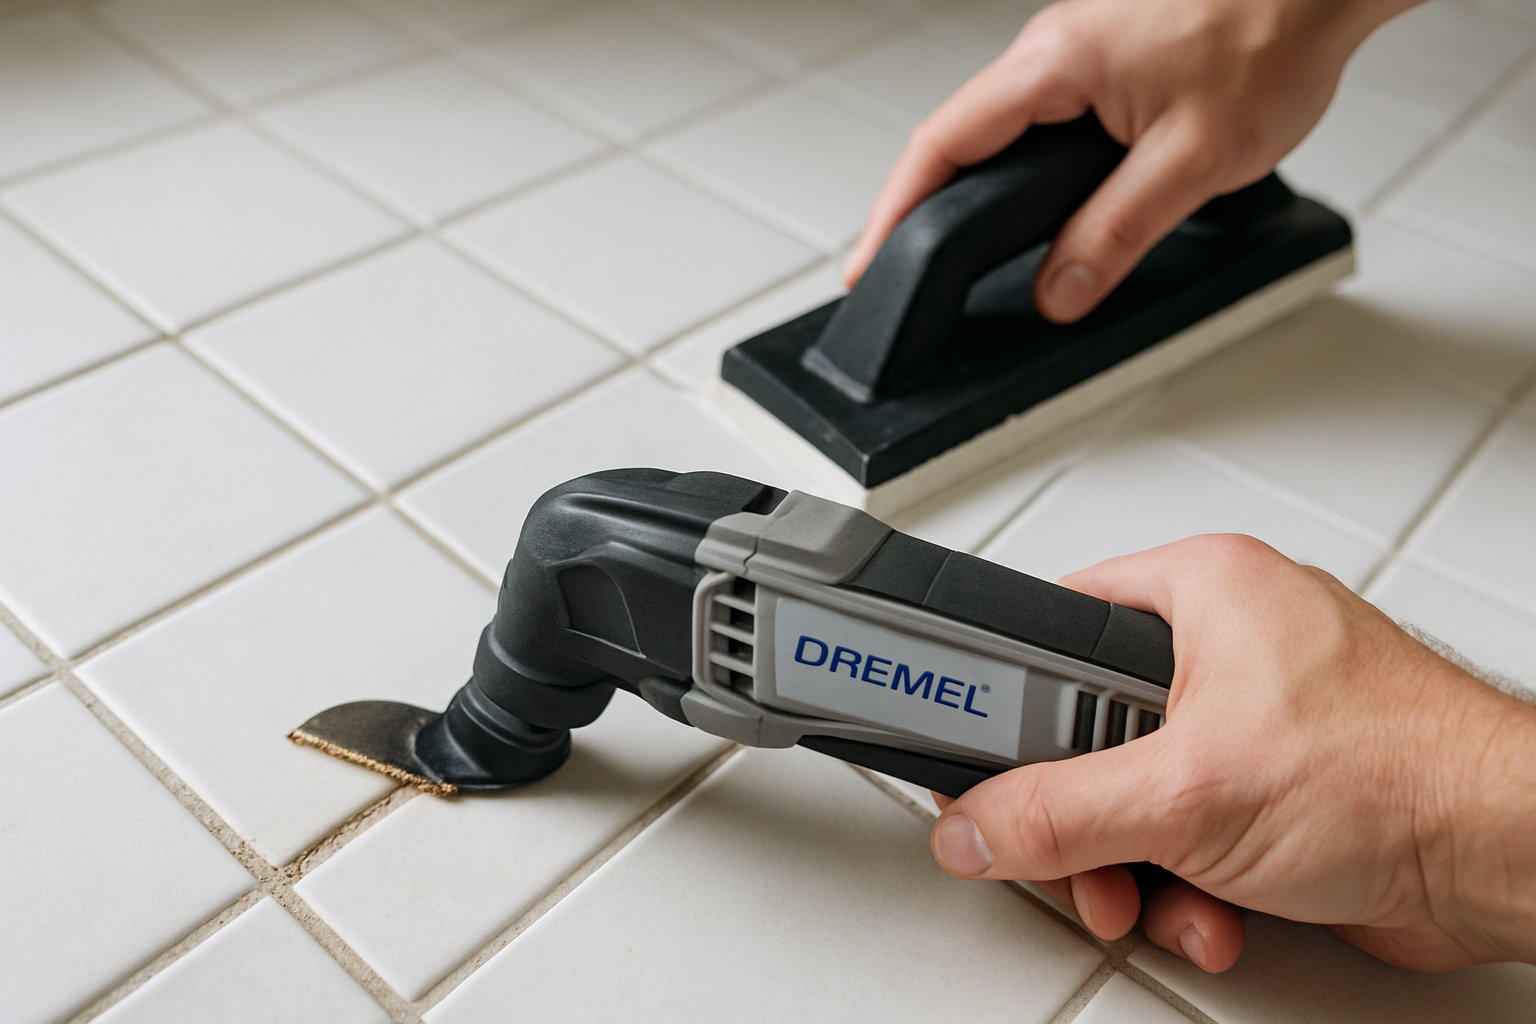
- Multi-tool / oscillating cutter (for cleaner cuts in tight spaces)
- Hammer
- Wood chisel
- Tapping block
- Rubber mallet
- Pry bar
- Wood glue
- Stain (matching, if applicable)
- Polyurethane (matching gloss level)
- Painter’s tape
- Drop cloth and dust mask
Step 1: Find Matching Replacement Boards
This is harder than you’d think. New oak doesn’t match 20-year-old oak. The wood’s color has darkened with age and UV exposure.
Options:
- Lift a board from a closet or under a kitchen toe-kick. Most floors have hidden areas where boards can be borrowed without showing. Use those for the visible repair, and replace the borrowed boards with new wood (which will show only in the closet).
- Buy new wood and stain it darker to match. Test-stain a scrap first.
- Find reclaimed wood of the same species at a salvage yard. Closer color match for old houses.
Match by species, width, and thickness. Don’t try to use 3.25-inch oak in a 2.25-inch oak floor — even slight width differences are visible.
Step 2: Cut Out the Damaged Board
The challenge: how do you remove a single board without damaging the boards next to it?
Technique:
- Mark the damaged area with painter’s tape — extend the marks at least 6 inches past the visible damage in each direction.
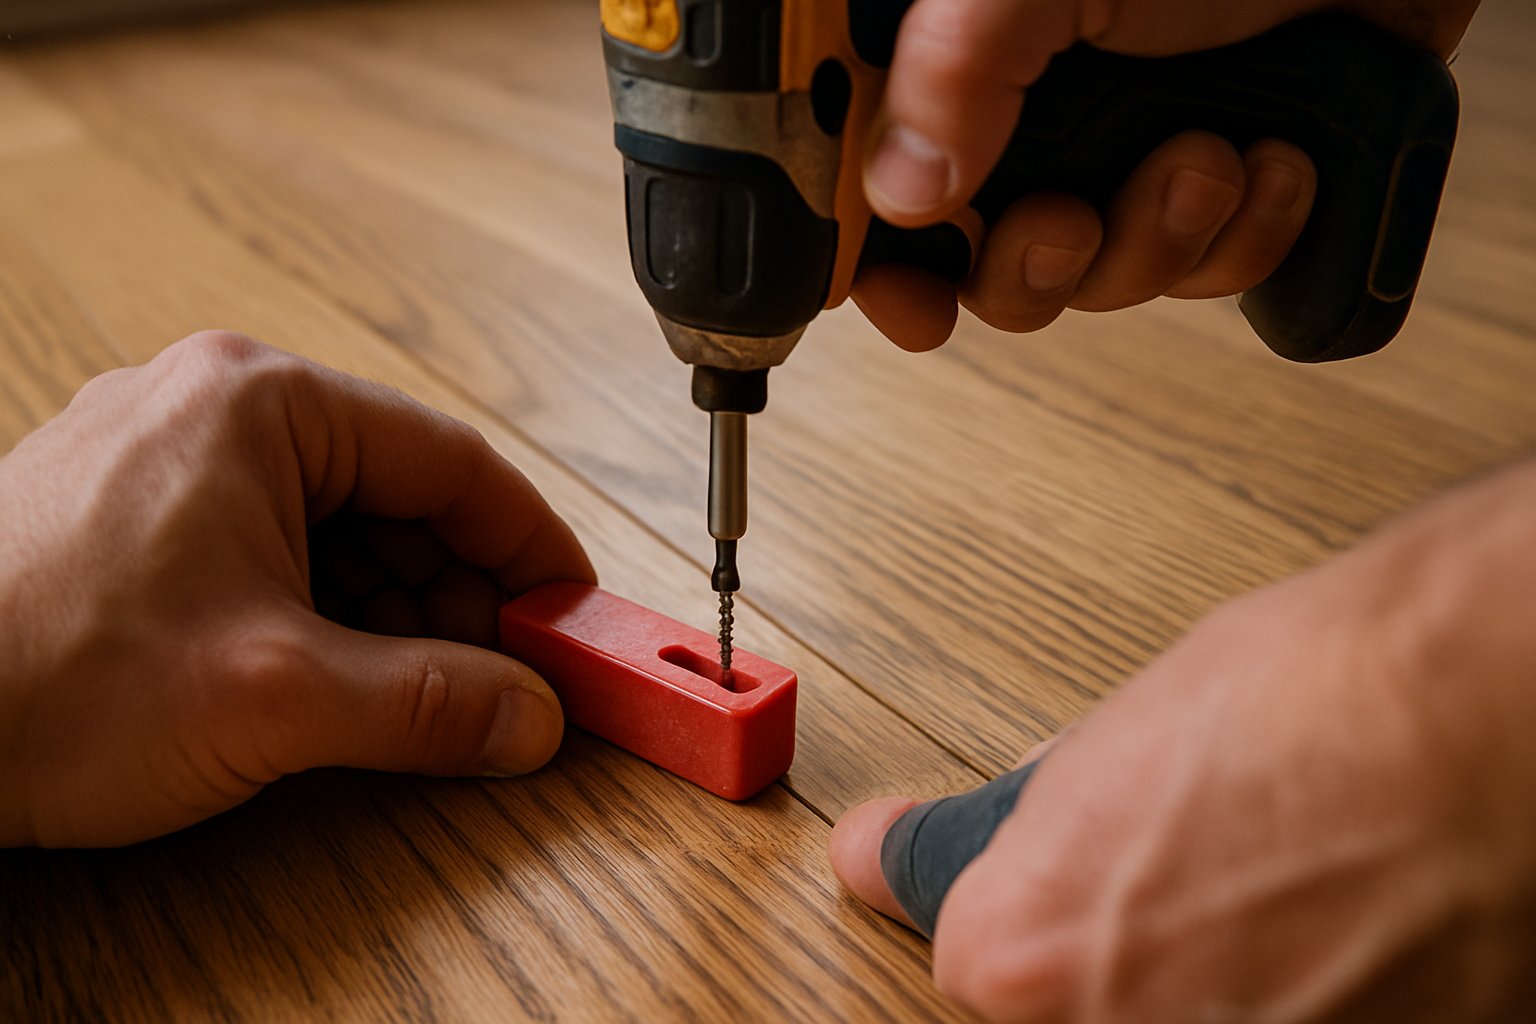
- Set the circular saw blade depth to the EXACT thickness of the floorboard — not deeper, or you’ll cut the subfloor underneath.
- Plunge-cut down the center of the damaged board, the long way. Stop short of the ends of the board.
- Make additional plunge cuts parallel to the first, every 1.5 inches across the board’s width.
- Use a chisel to carefully break out the strips between cuts.
- Now you can attack the tongue and groove edges — chisel them away from the surrounding boards.
- The damaged board comes out without forcing the boards next to it.
For the ends of the board (where the circular saw can’t reach):
- Use the multi-tool / oscillating cutter to cut crosswise through the board.
- This gives you clean square ends at exactly the right length.
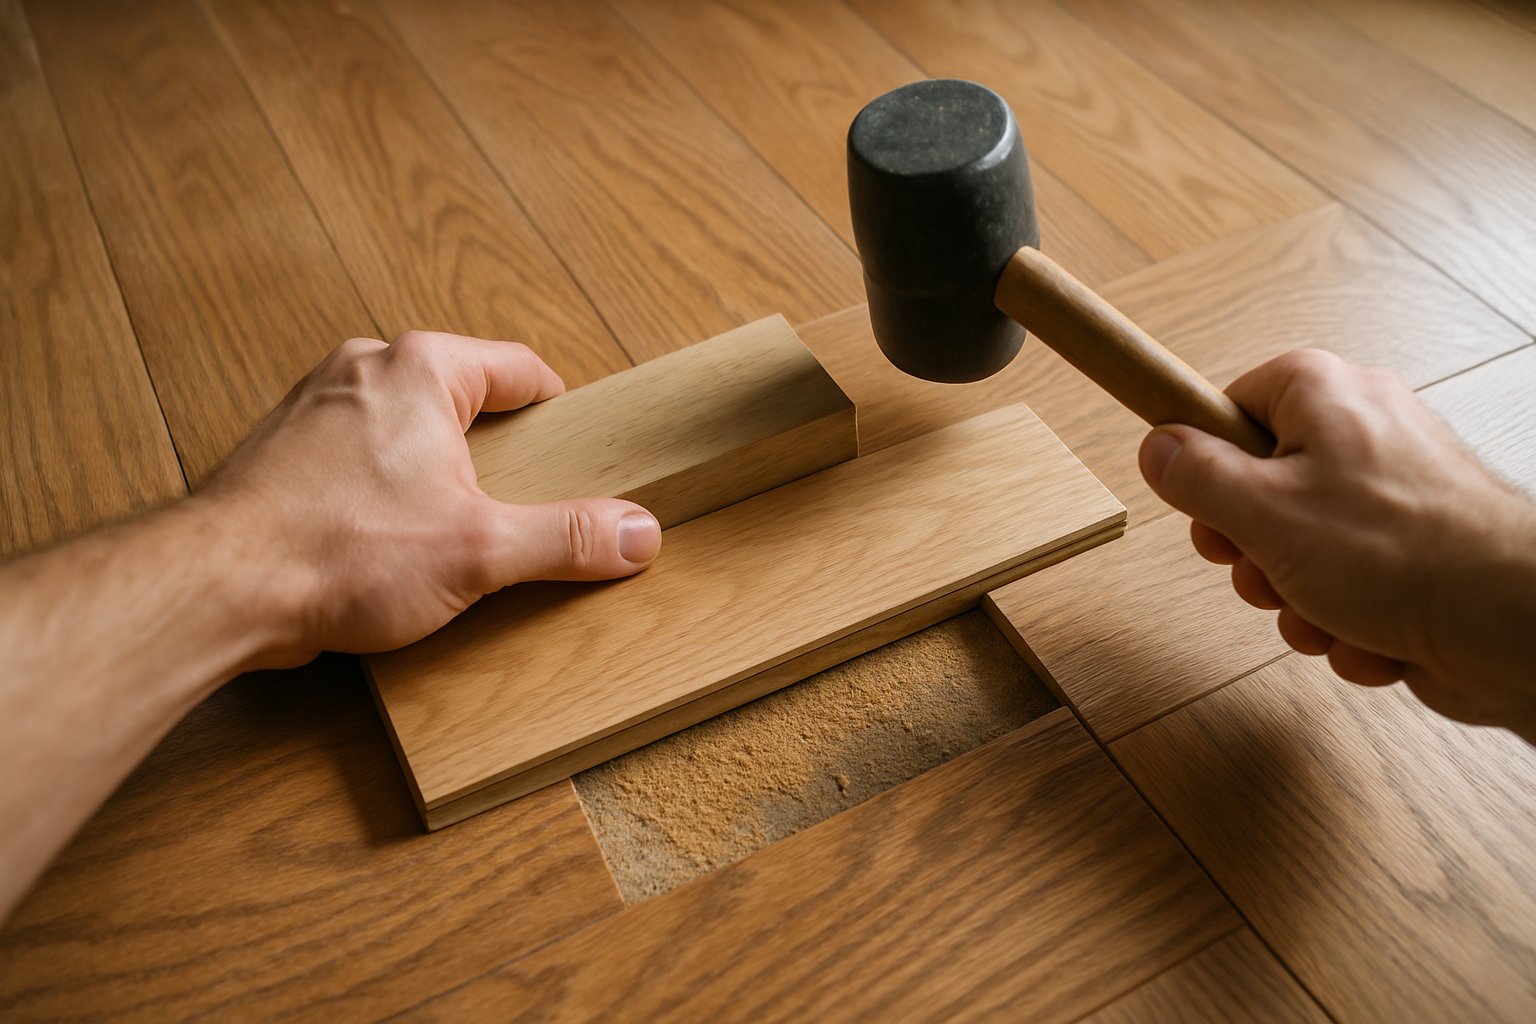
Step 3: Prepare the Replacement Board
The new board has a tongue on one side and a groove on the other. To slide it into the gap:
- Cut the bottom of the groove side off — only the groove, not the face. This lets the board drop in from above without needing to slide it horizontally.
- The tongue side stays intact.
- Test-fit. The board should drop into the gap with about 1/16 inch of clearance all around.
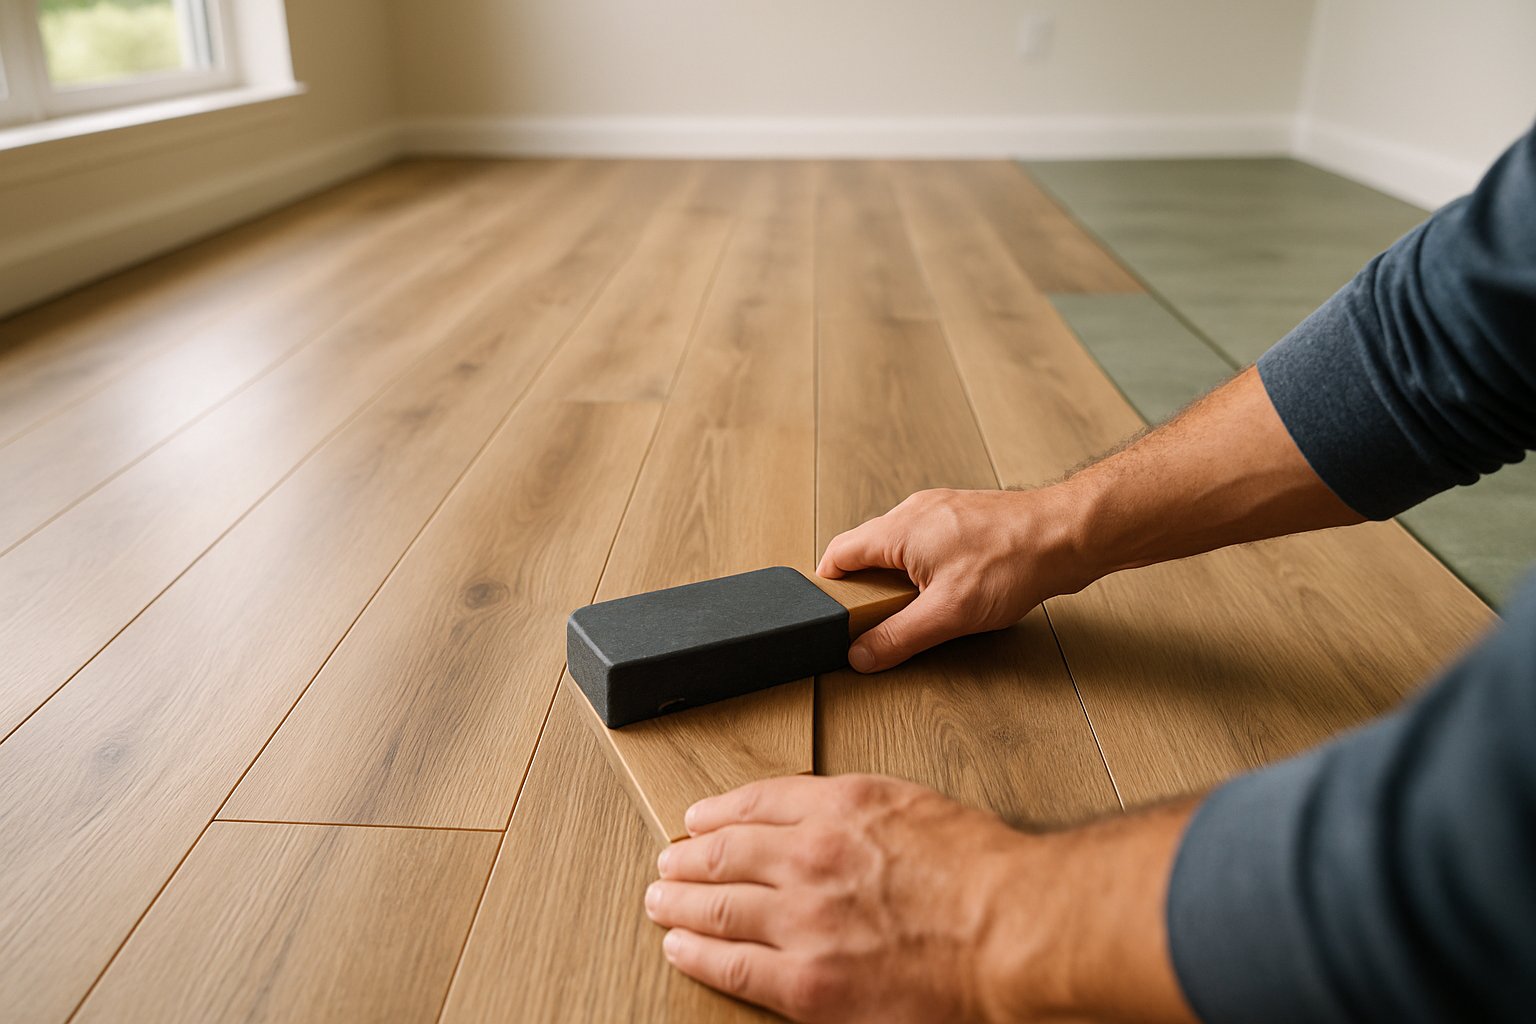
Step 4: Install the Replacement
- Apply wood glue (Titebond II or III) to the bottom of the gap and to the tongue side of the new board.
- Insert the tongue side first, sliding it under the existing groove.
- Drop the modified-groove side down into place.
- Use a tapping block and rubber mallet to seat the board fully — work the long edges first, then the short edges.
- Wipe excess glue with a damp rag.
- Weight the board down for at least 12 hours while the glue cures. A bag of sand or some books work.
Step 5: Sand and Finish
- Sand the new board flush with the surrounding floor using 80-grit, then 120-grit, then 180-grit.
- Vacuum thoroughly.
- Wipe with a tack cloth.
- Stain to match if the new wood is a different color. Test on a scrap first to confirm the match.
- Apply polyurethane in 2-3 thin coats, sanding lightly between coats with 220-grit.
- Match the surrounding gloss level — don’t use semi-gloss poly on a satin floor.
The repaired board may show slightly for a few months until the new wood ages and oxidizes to match. After 6-12 months, it usually disappears.
Common Mistakes
- Setting the circular saw too deep. Cuts the subfloor or even the floor joist below. Always test-set the blade depth before plunge-cutting.
- Trying to slide the new board in horizontally. The tongue-and-groove geometry won’t allow it. Cut off the bottom of one groove side so the board drops in from above.
- Not weighting the new board while glue cures. Without weight, it can shift slightly and end up proud of the surrounding floor.
- Forgetting to match the gloss level of the finish. A satin board next to semi-gloss boards stands out. Always match the surrounding finish.
- Trying to repair more than 4-5 boards in one area. Beyond that, the patch becomes a visible “fix” rather than an invisible repair. For larger areas, refinishing makes more sense.
When to Refinish Instead
- 5+ boards damaged in one area
- The whole floor is scratched or worn
- The repair would require boards from a closet that’s already been borrowed from
- The floor is over 50 years old and has been refinished multiple times (third refinish often goes through to tongue-and-groove and ruins the floor)
For full refinishing, hire a pro — sanding equipment is rentable but tricky. A pro refinish is $3-$5 per square foot. New floors are $8-$15 per square foot installed.
The Bottom Line
Hardwood floor damage is fixable on a board-by-board basis. The technique requires careful cutting and a willingness to do the surgery rather than just refinishing the whole floor. For 1-3 damaged boards, this saves thousands compared to refinishing.
For the full sequence including matching reclaimed wood, blending stain colors, and the structural-repair scenarios where rotted subfloor is found beneath, see Replace a Section of Damaged Hardwood.
For larger flooring projects or hardwood over a damaged subfloor, send your photos for a $9.99 diagnostic report.