Every squeak in a wood floor is the same thing happening — the subfloor (the layer below the visible floor) has separated from the joist below it by a fraction of an inch, and walking on that spot rubs the two surfaces together. The wood-on-wood or nail-on-wood friction is the noise.
The fix is to re-attach those two surfaces. There are three ways to do that, and the right one depends on whether you have access to the floor from below.
I’ve fixed squeaks in hundred-year-old plank floors, modern engineered hardwood, and laminate. Same root cause, three different methods.
Method 1: The Talc Trick (No Tools, 5 Minutes, Often Works)
For a squeak in a hardwood floor where the gap between boards is creating the noise, the cheapest fix is to lubricate the boards.
- Sprinkle baby powder, talcum powder, or powdered graphite over the squeaky area.
- Use a soft brush or the edge of a credit card to work the powder into the seams between boards.
- Walk on the area to push the powder down into the joints.
- Vacuum up the excess.
This is a temporary fix — it can last a few months to a year, but the squeak will eventually return as the powder works out. It’s the right first try because it costs nothing and takes 5 minutes.
If it works for a week and stops working, the problem isn’t board-on-board friction; it’s subfloor-on-joist friction. That needs Method 2 or 3.
Method 2: Screw From Above (Hardwood or Carpet, 30 Minutes Per Squeak)
If you have access from above only — there’s finished ceiling below, like a second-floor bedroom over a finished basement — you screw the floor to the joist from above.
There are two products that make this work without leaving visible damage:
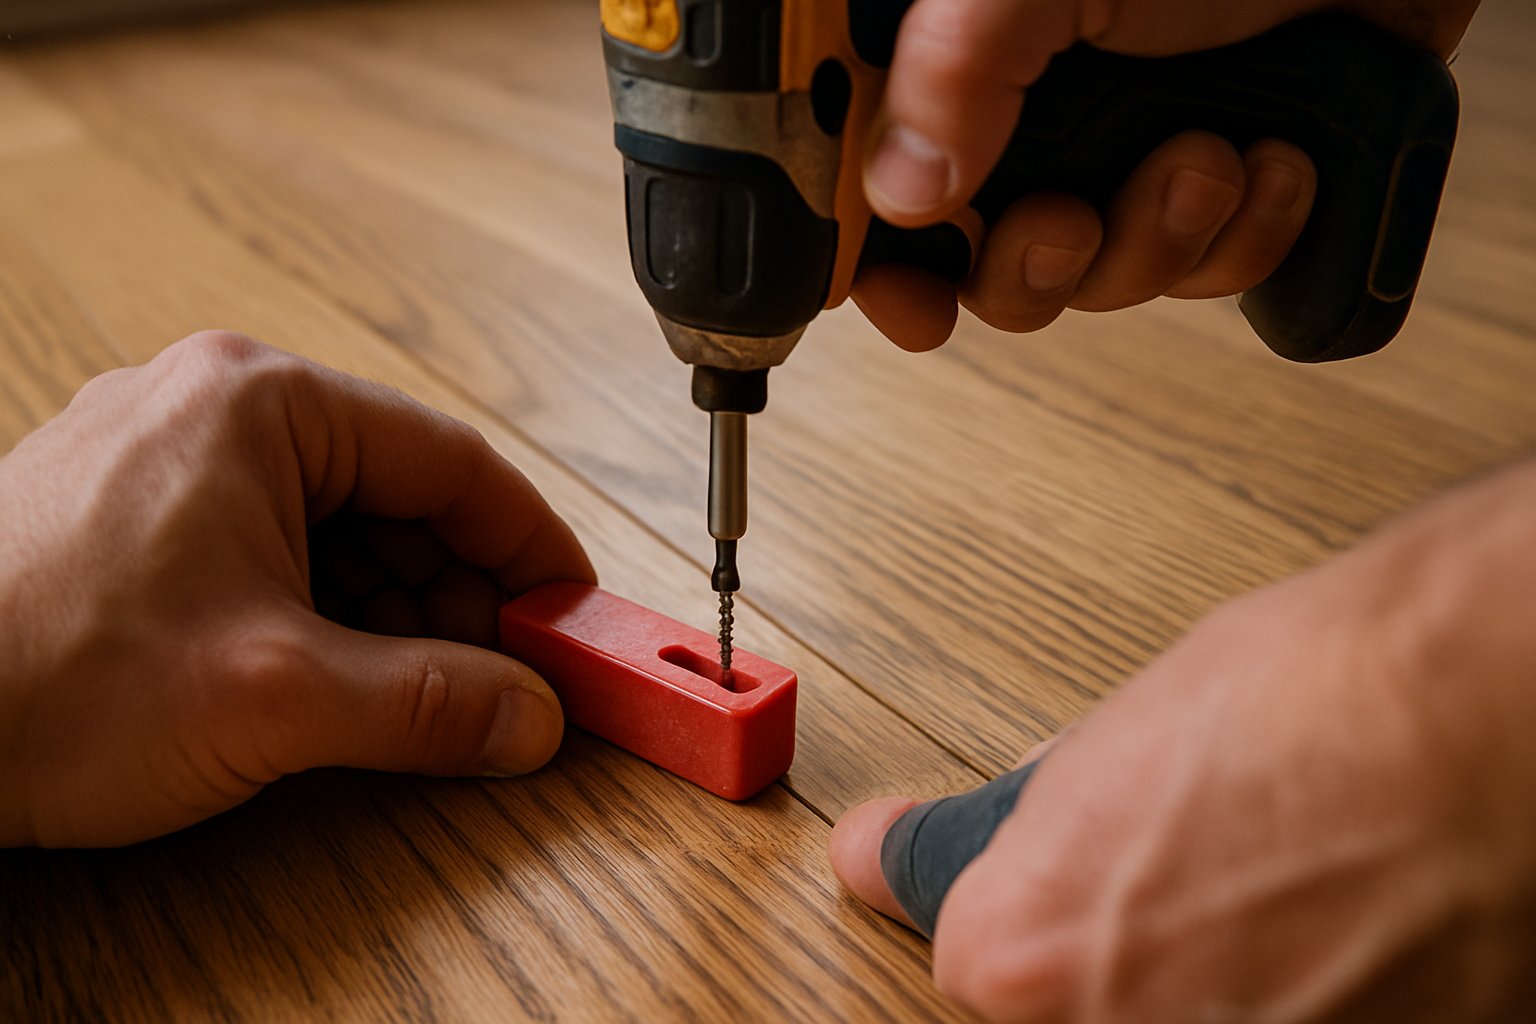
Carpeted floors: “Squeak-No-More” or “O’Berry Enterprises” kit. The screws have a breakaway shaft — you drive them through the carpet into the joist, then snap the head off below the carpet pile. The carpet hides the hole completely.
Hardwood floors: “Counter Snap” kit (same manufacturer). Same breakaway-screw concept, but the screw is a trim screw with a tiny head. After it snaps, the head sits below the wood surface and you fill the hole with matching wood filler.
Technique (carpet version):
- Walk slowly across the floor and identify the exact spot of the squeak. Mark it with a piece of painter’s tape.
- Use a stud finder to locate the joist below — joists in a typical house run perpendicular to floor boards or parallel to the long dimension of the room, spaced 16 inches on center.
- Position the kit’s metal alignment plate over the joist at the squeak.
- Drive a breakaway screw through the carpet and subfloor into the joist. The kit’s depth control stops the screw at the right depth.
- Rock the screwdriver bit sideways — the head snaps off cleanly below the carpet surface.
- Fluff the carpet pile back. The hole disappears.
- Walk on the spot. Squeak should be gone. If not, drive another screw 6 inches away along the same joist.
Technique (hardwood version):
- Same — locate the squeak, find the joist below.
- Drive a trim screw straight through a floor board into the joist using the kit’s depth-stop.
- Snap the head off.
- Fill the small hole with a wax stick or wood filler that matches the floor. The repair is invisible from a few feet away.
Method 3: From Below (The Right Way, If You Have Access)
This is the best fix and it’s only available if you have an unfinished basement or crawlspace under the squeaky floor — meaning you can see the joists from below.
You’re going to add support between the joist and the subfloor without driving anything through the visible floor surface.
Materials:
- A handful of cedar shims (the wedge-shaped wood shims used for door installs)
- Wood glue (Titebond II or III)
- A small can of Wood-Putty or Liquid Nails Heavy Duty (optional, see below)
Technique — small gaps:
- Walk above to identify the squeak. Have a helper stand above and step on the spot.
- From below, watch the joint between the joist and the subfloor while the helper steps. You’ll see the subfloor flex away from the joist visibly.
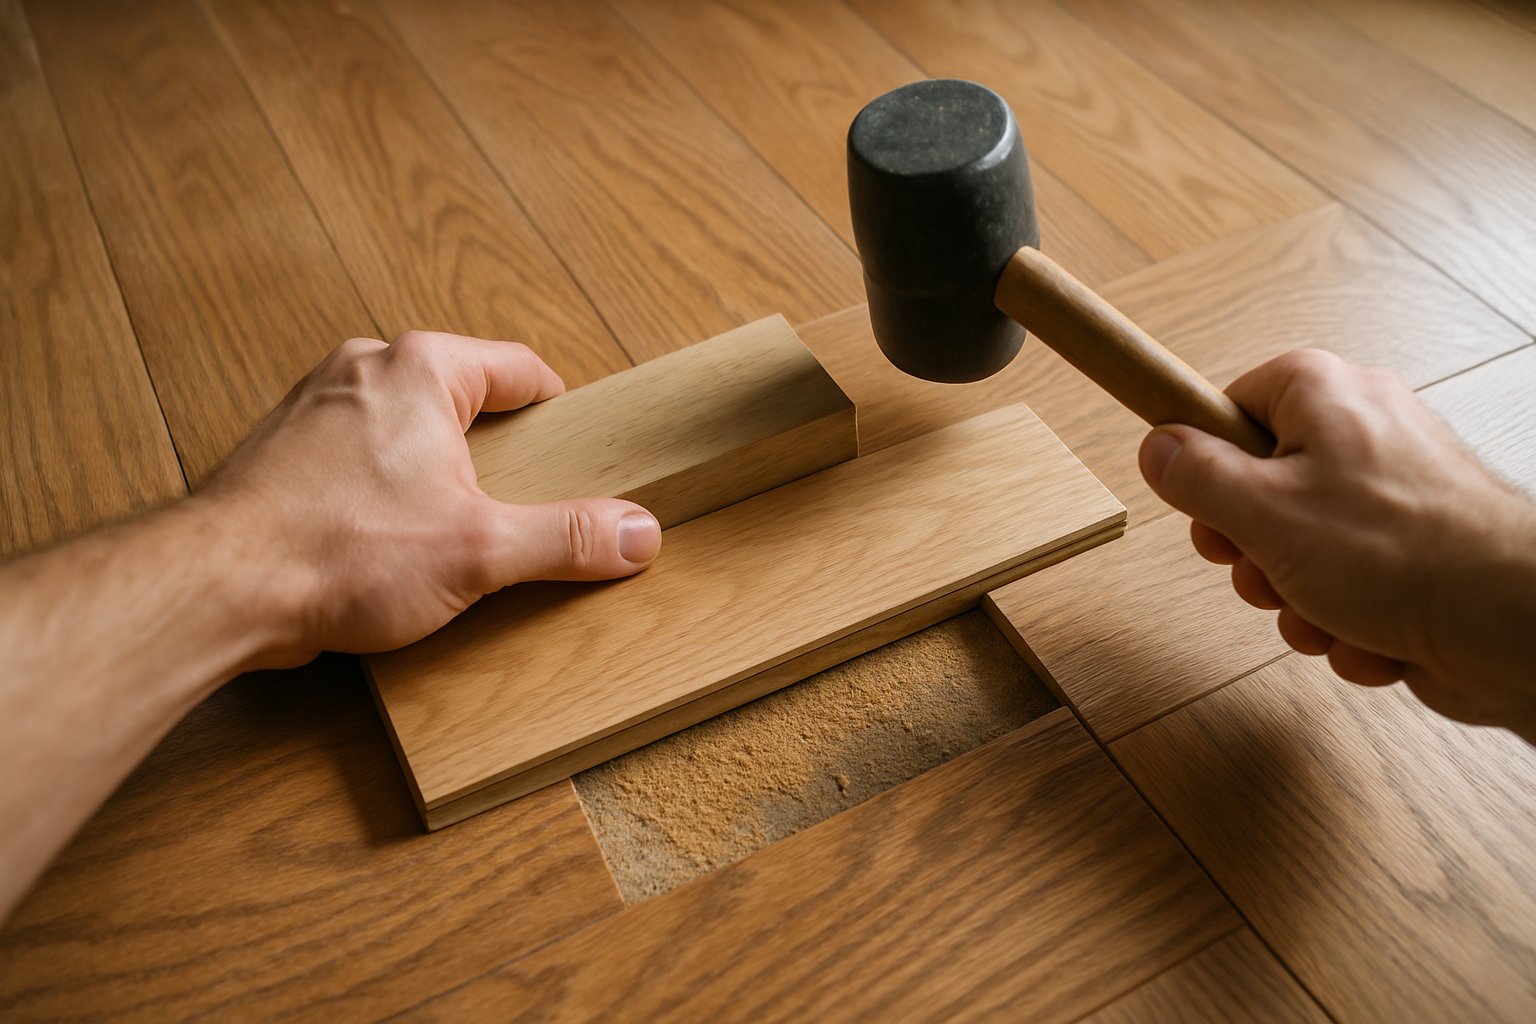
- Apply wood glue to a cedar shim.
- Tap the shim into the gap between the subfloor and the joist at the squeak. Stop tapping when you feel firm resistance — do NOT hammer it in further. Driving the shim in too far will lift the subfloor and create a new high spot in the floor above.
- Score and snap off the excess shim flush with the joist.
- Have the helper step on the spot again. Squeak should be gone.
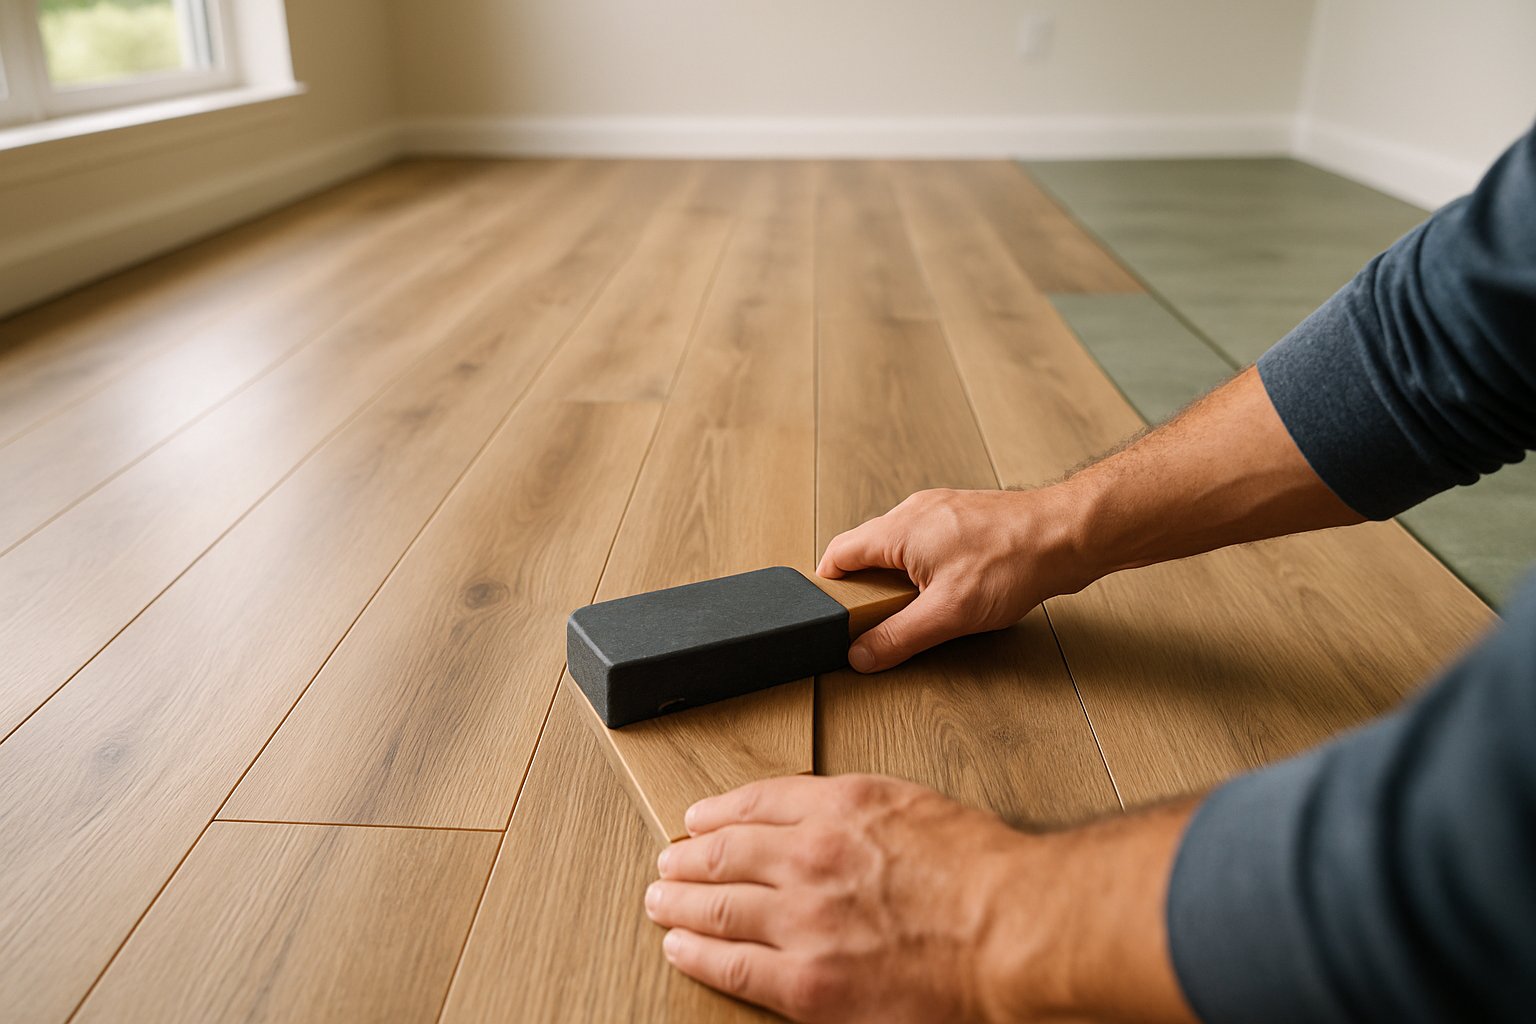
Technique — larger areas of squeaking: For a whole section of floor that’s separated from a joist, use steel “Squeak-Ender” brackets. They screw into the joist from the side, bridge across the subfloor, and pull the subfloor down tight against the joist with a threaded bolt. Hardware stores carry them. They’re cheap and they work.
Common Mistakes
- Driving regular screws straight through hardwood. A standard wood screw leaves an obvious round hole that wood filler never quite hides. Use the breakaway trim-screw kits.
- Screwing into a floor when there’s no joist below. A screw into thin air does nothing. Use a stud finder and confirm the joist location. If you screw and it goes in easily without resistance, it missed.
- Hammering shims in too hard from below. A shim driven in past the gap pushes the subfloor up, creates a hump in the floor above, and starts a new squeak elsewhere. Tap gently — feel for resistance, then stop.
- Trying to fix a squeak in a floating laminate floor. Floating floors aren’t attached to anything; the squeak is between the laminate and the underlayment. There’s no good fix from above. The only solution is to lift the floor in that area and replace the underlayment — usually not worth it.
- Using non-breakaway screws under carpet. A screw head left protruding under carpet wears through the carpet from below over time and eventually snags vacuum cleaners.
When the Squeak Means Something Worse
A squeak that’s accompanied by visible movement (the floor flexes when you step on it), gaps between baseboards and the floor, or doors that have started rubbing the floor — that’s not a squeak problem. That’s a structural problem with the joist or the subfloor itself, possibly water damage from above. Don’t just silence the squeak; figure out why the floor is moving.
Other red flags:
- The floor squeaks across a wide area, not just one spot.
- You see staining or sagging in the ceiling below the squeak.
- The squeak coincides with a noticeable temperature difference (cold spot in winter often = subfloor delamination from a long-running leak).
Frequently Asked Questions
Will fixing a squeak void my floor warranty? Probably not for the breakaway-screw method on a finished hardwood floor — you’re not modifying the floor surface visibly. But if you’ve got a brand-new floor under warranty and it’s already squeaking, call the installer first. New floors shouldn’t squeak.
My floor squeaks in the winter and stops in the summer. What’s that? Wood expands and contracts seasonally. The joists shrink slightly in dry winter air, opening up a tiny gap where the squeak develops. It’s annoying but not a structural problem. The talc method or screw-from-above method fixes it permanently.
Do squeaks ever just stop on their own? Sometimes — humidity changes can swell the wood enough to close the gap and silence the squeak temporarily. But it’ll come back next dry season unless you actually re-attach the subfloor to the joist.
What about the powder-and-glue method I read about? Powdered graphite mixed with a tiny amount of wood glue, brushed into the seam between boards — it’s a real technique and it works for board-on-board squeaks (Method 1 territory). It’s not a substitute for re-attaching a separated subfloor.
The Bottom Line
Try the talc trick first because it’s free. If that doesn’t hold, the breakaway-screw kits ($15 at any hardware store) handle most squeaks in 30 minutes per spot. If you have basement access, fix it from below — that’s the permanent solution and it’s invisible from above.
For the full sequence, including the structural diagnosis flowchart and the deeper repairs for damaged subfloors, see Fix a Squeaky Floor.
If your squeaks are part of a bigger floor or remodel project — refinishing, replacing damaged sections, or installing new floor over an old one — send your photos for a $9.99 diagnostic report.