A door that drags on the floor, won’t latch without slamming, or rubs the jamb at the top corner is almost never a problem with the door itself. Most homeowners reach for a plane or a sander to “fix” the door — and end up with a door that’s been ruined by removing wood that didn’t need to come off. The actual problem is almost always the hinges or the frame, and the fix is usually 20 minutes with a single tool.
I’ve fixed dozens of these in my own houses. Here’s the sequence that diagnoses the cause before you cut anything.
The Three Most Common Causes
Cause 1: Loose hinge screws. Over time, the short screws (3/4 inch) that came with the hinge work loose. The hinge sags slightly, the door tilts, and now the corner hits the jamb. This is by far the most common cause and the easiest fix.
Cause 2: House has settled. The door frame is no longer perfectly square. Common in older houses. The fix is similar to loose hinges but might require shimming the frame.
Cause 3: Door has swelled or warped. Less common. Wood doors absorb humidity and swell in summer. Less of a sag than a “tight in summer, fine in winter” pattern.
The diagnosis takes 60 seconds and saves you hours of unnecessary work.
Diagnose Before You Fix
Step 1: Open the door slowly. Watch how it moves through its arc.
- Drags on the floor at the strike side (the side opposite the hinges)? Top hinge is loose — the door is tilting forward at the top.
- Rubs the jamb at the top corner near the strike side? Same — top hinge sagging.
- Rubs at the bottom on the hinge side? Bottom hinge is loose — less common but possible.
- Hits the floor evenly across the bottom? Floor has rolled (carpet thicker, subfloor swelled, or floor has been replaced higher). Different fix.
- Door binds against the latch jamb in the middle? The frame has racked — needs a different fix.
Step 2: Check the gap around the door. With the door closed, look at the gap on all four sides:
- Should be even, about 1/8 inch all around.
- Wider at top hinge corner, narrower at top strike corner = top hinge sagging.
- Wider in middle of latch side = frame has racked outward.
- Narrower in middle of latch side = frame has racked inward.
The gap pattern tells you exactly where the problem is.
Fix 1: Tighten Loose Hinge Screws (10 Minutes)
If the diagnosis points to a sagging hinge, this is the first try. Often it’s the only fix needed.
Tools: Phillips screwdriver. That’s it.
- Open the door.
- Test each hinge screw — try to tighten with the screwdriver. Most will turn slightly and snug back up.
- If a screw spins freely without tightening, the hole is stripped. Skip to Fix 2.
If all the screws snug up, close the door and check the gap again. Often this 10-minute step solves the problem entirely.
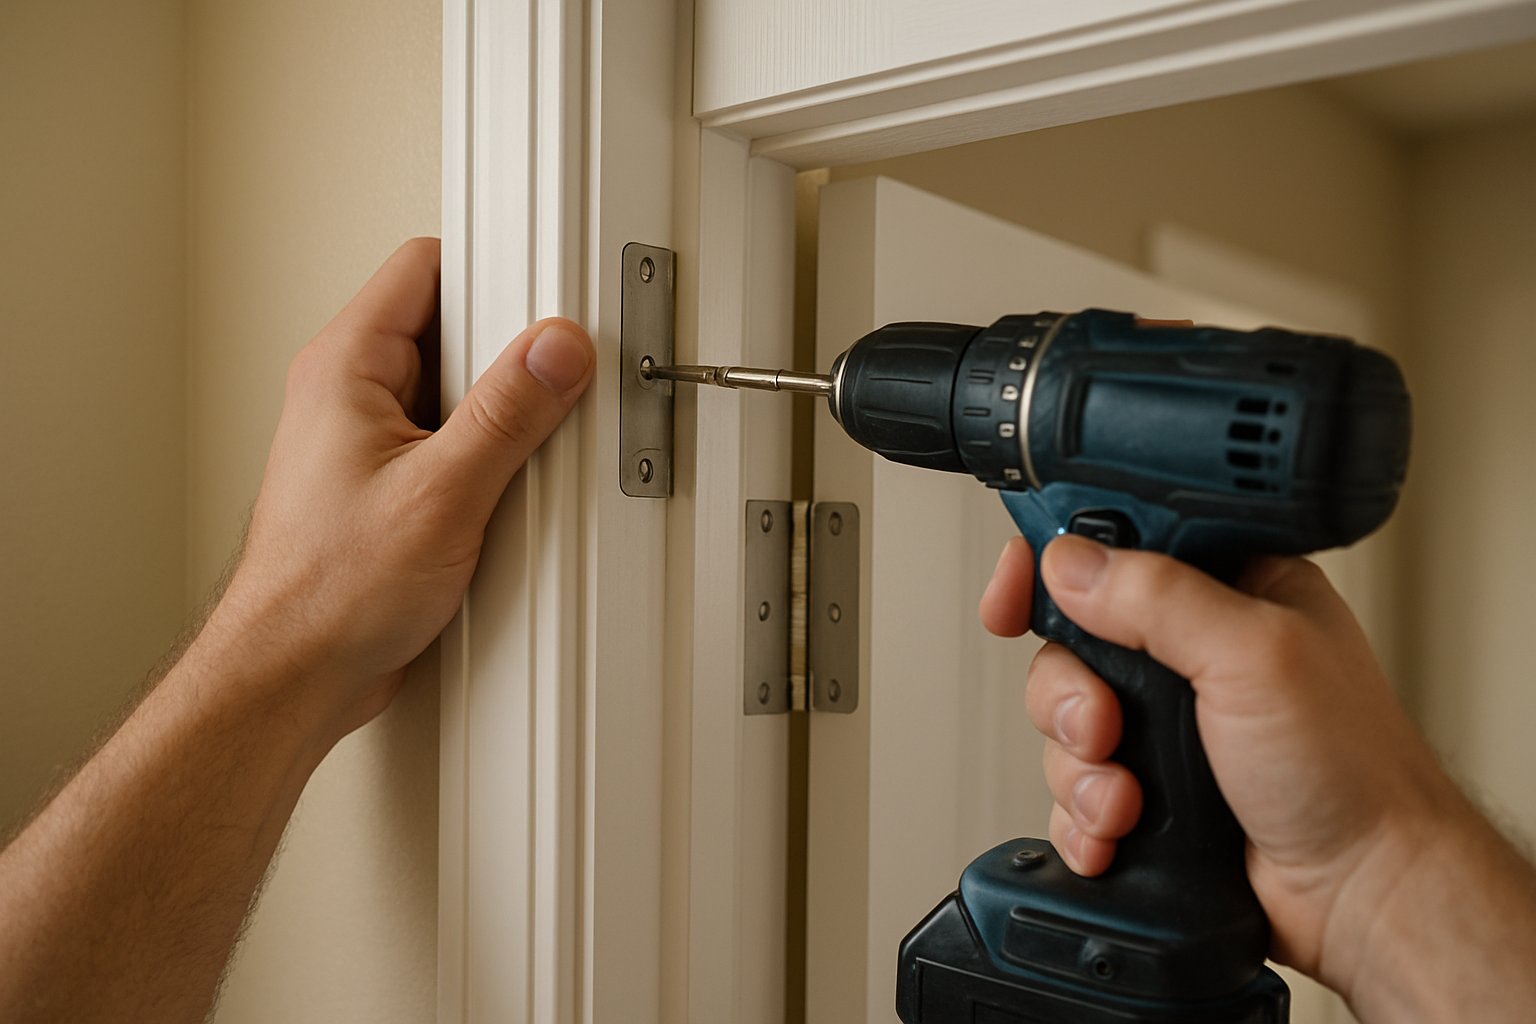
Fix 2: Replace Short Hinge Screws With Long Screws (20 Minutes)
This is the magic fix that most homeowners don’t know about. Standard interior door hinges ship with 3/4-inch screws — long enough to bite into the door jamb, but not long enough to reach the wall framing behind the jamb.
The fix: replace the short screws with 3-inch wood screws that reach into the framing.
Tools:
- Phillips or Robertson screwdriver (or cordless drill)
- 3-inch wood screws, 6 of them (sold as “hinge screws” in any home center, $4 a pack)
Technique:
- Open the door fully.
- Working on the top hinge first (the most common failure point):
- Remove the top screw of the top hinge.
- Replace with a 3-inch screw, driving until snug. Don’t overtighten — you can pull the jamb out of square.
- Replace one or two more screws in the same hinge with 3-inch versions.
- Repeat on the bottom hinge if needed.
- Test the door operation.
The 3-inch screw passes through the jamb and into the wall stud behind it, anchoring the hinge to actual structure instead of just the (often soft) jamb wood. This is a permanent fix that holds for decades.
Fix 3: Repair Stripped Hinge Screw Holes (15 Minutes)
If a screw spins without grabbing, the hole has stripped — common in old softwood jambs. Don’t just buy a bigger screw; the bigger screw will strip too.
Technique 1 — toothpicks and glue (works great):
- Remove the stripped screw.
- Dip 3-4 wooden toothpicks in wood glue.
- Push them into the stripped hole until packed tight.
- Snap off flush with the jamb surface.
- Wait 30 minutes for the glue to set.
- Re-drive the original screw — it’ll bite into the toothpicks and hold tight.
Technique 2 — golf tee:
- Remove the stripped screw.
- Coat a wooden golf tee with wood glue.
- Tap it into the hole with a hammer.
- Snap off flush.
- Drill a small pilot hole and drive the screw back in.
Both techniques restore the hole strength so a normal screw bites and holds.
Fix 4: Shim the Hinges (Door Hits Latch Side)
If the door binds against the latch-side jamb in the middle, the hinges are slightly out of alignment with the latch — the door pivots in an arc that brings it too close to the jamb.
The fix is to “shim out” the hinges so the door pivot moves slightly toward the hinge side.
Technique:
- Open the door, remove all screws from one hinge (work one hinge at a time).
- Lift the hinge leaf out of the mortise (the recess in the jamb).
- Place a piece of cardboard (cereal-box thickness) into the bottom of the mortise.
- Reinstall the hinge over the cardboard. The hinge now sits slightly proud of the jamb — pushing the door away from the latch jamb.
- Test door operation. If still binds, add another cardboard layer.
A single cardboard layer moves the door about 1/16 inch — enough to fix most binding issues without affecting the latch alignment significantly.
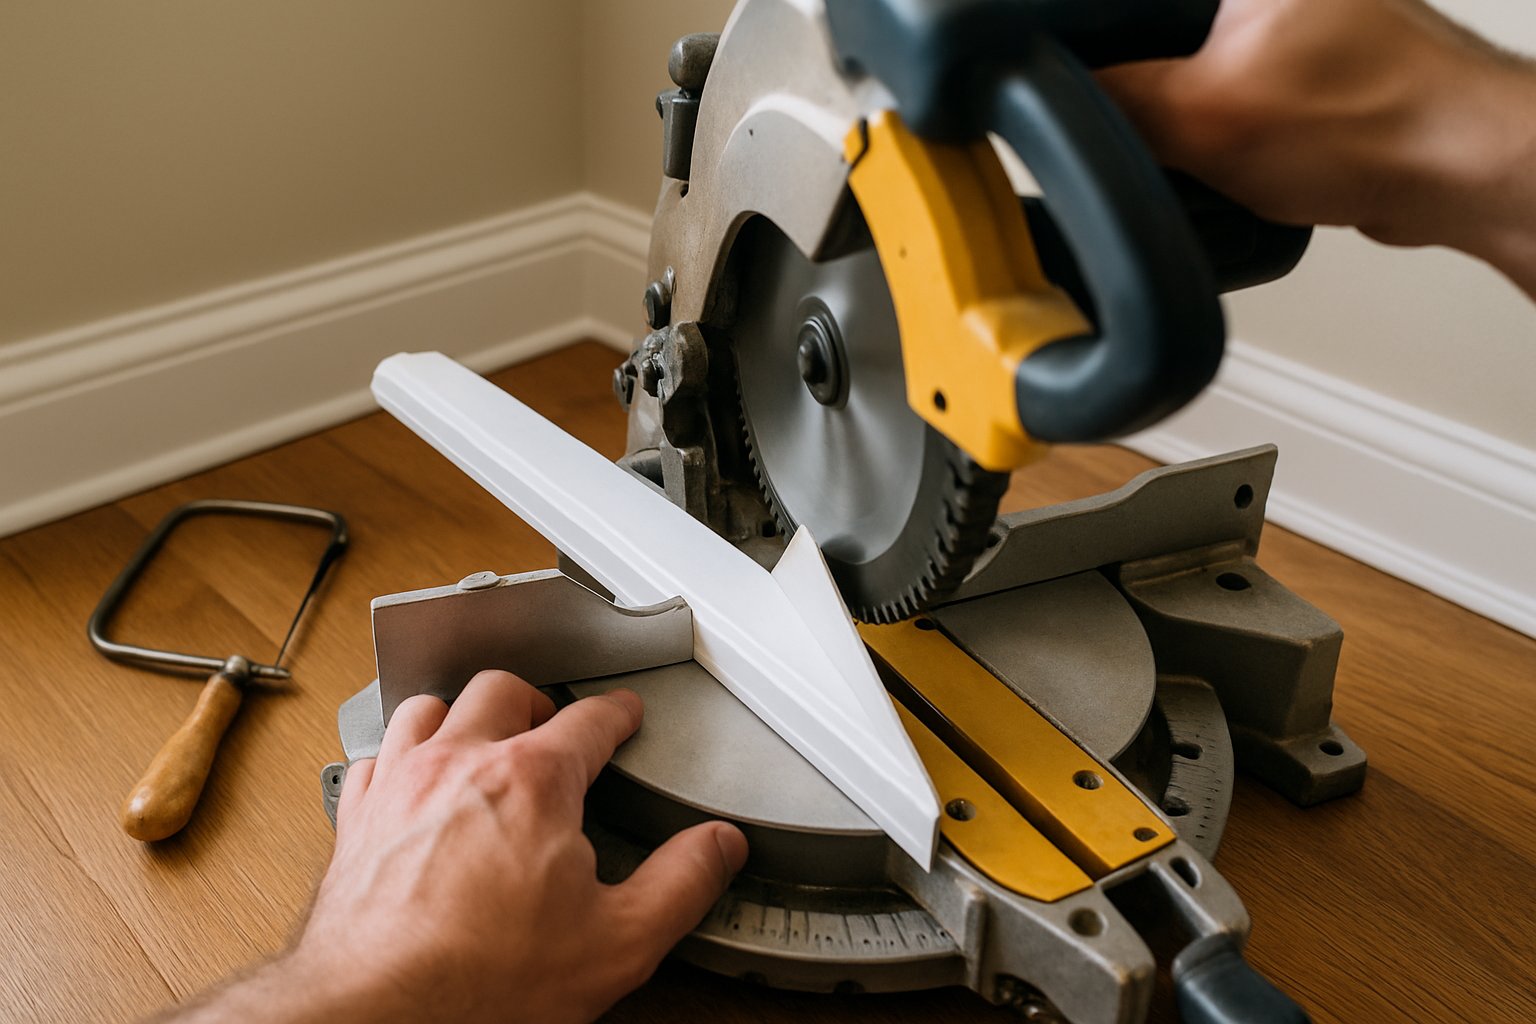
When to Plane (Last Resort)
Only plane the door when:
- Hinge tightening hasn’t fixed it
- Long screws haven’t fixed it
- Toothpick repair hasn’t fixed it
- Shimming hasn’t fixed it
- AND the door visibly has wood-to-wood contact at a specific spot
If you have to plane, only plane the spot that’s hitting — not the whole edge. A block plane or a sanding block on a 1-inch belt sander, removing 1/16 to 1/8 inch from just the high spot, almost always solves it. Then re-stain or paint the planed area to seal the wood.
Common Mistakes
- Planing before checking hinges. You can’t undo a plane. Always exhaust the hinge fixes first.
- Using all 3-inch screws on a hinge. Replace 1-2 per hinge max. All long screws can pull the jamb so far it racks the frame.
- Forcing the door closed when it binds. Damages the latch and the strike plate. Diagnose first.
- Trying to fix a warped door. Wood doors that have warped need replacement. Solid-core doors rarely warp; hollow-core doors warp more easily and don’t unwarp with effort.
- Ignoring weather-related changes. A door that sticks only in summer is reacting to humidity. Don’t plane it — it’ll be loose in winter.
When to Replace the Door
- Door is visibly warped (lay a straight edge across it; reveals the bow).
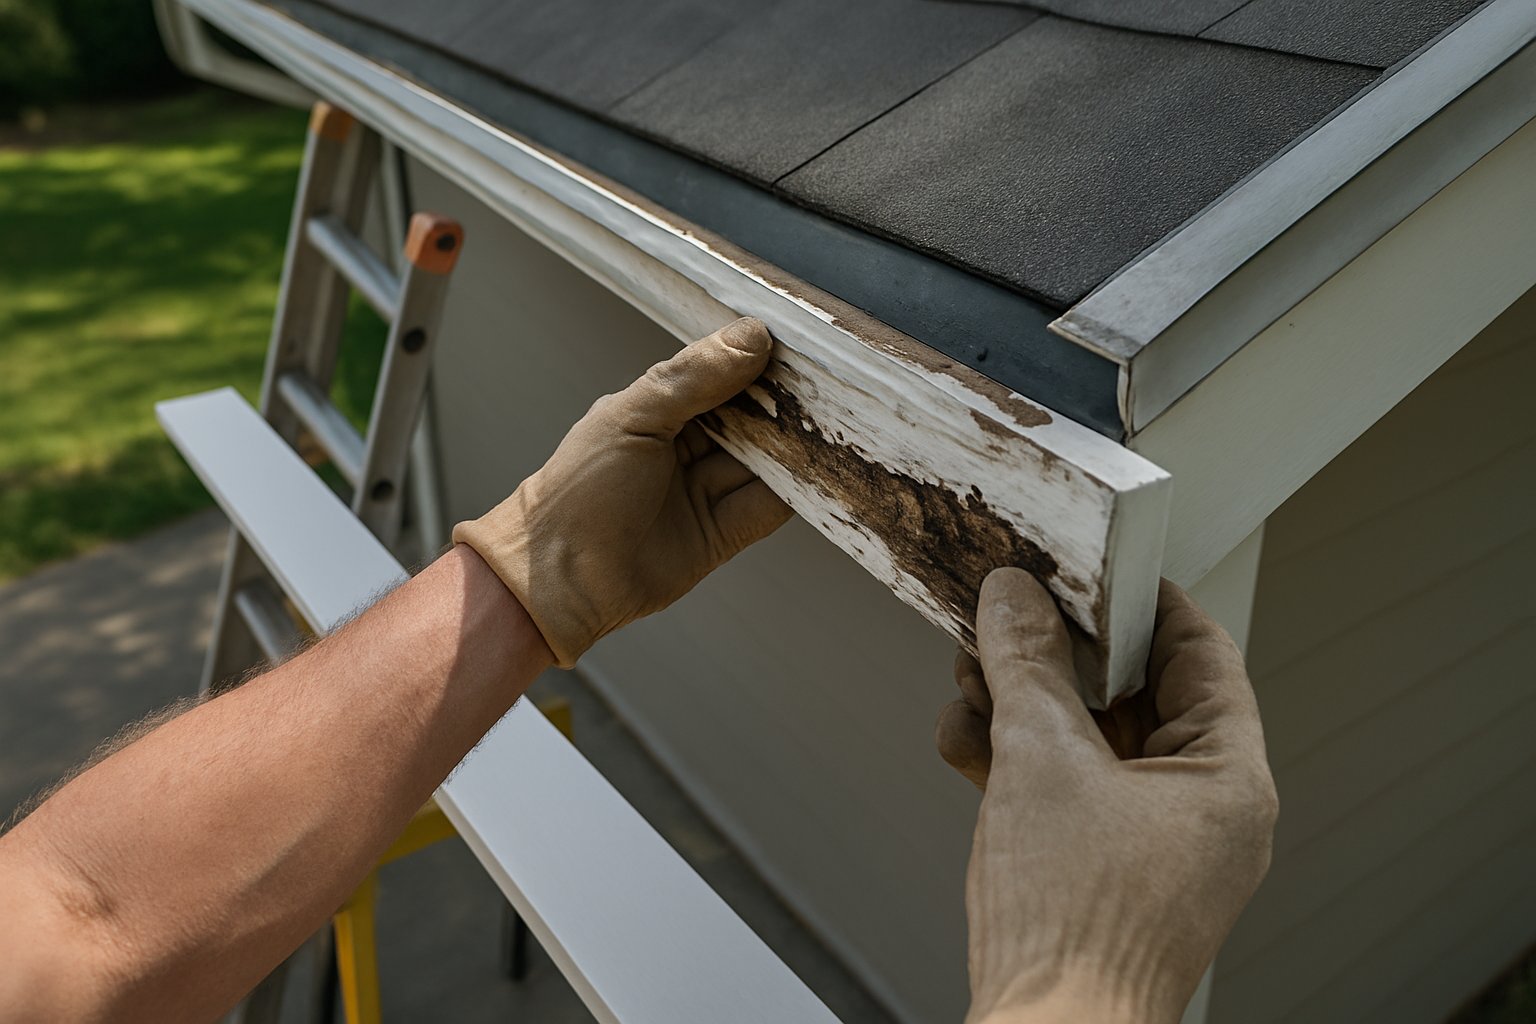
- Bottom of door is rotted (common on exterior doors).
- The door frame itself is so out-of-square that all the hinge fixes have failed.
- You’re remodeling and want a different door style anyway.
A standard interior pre-hung door costs $80–$200 and installs in a couple of hours. Sometimes that’s the actual answer.
Frequently Asked Questions
My door slams shut on its own. What’s that? The door is out of plumb (leaning forward or backward). Check the hinges — same fixes apply. A door that’s perfectly hung will stay where you put it.
The latch doesn’t catch the strike plate. Now what? The door has shifted relative to the strike. Either fix the hinges (preferred) or move the strike plate to match. A small file can enlarge the strike plate hole upward or downward by 1/16 inch to compensate for slight misalignment.
The door swings open or shut by itself depending on which way I leave it. Why? The door frame isn’t plumb. Common in old houses. Tightening hinges may help; if not, add a small “bumper” of self-stick weatherstrip foam to the strike side near the latch — creates enough friction to hold the door wherever you put it.
The Bottom Line
A sticking, dragging, or sagging door is almost always a hinge problem, not a door problem. Tighten screws first. Replace 1-2 per hinge with 3-inch screws second. Repair stripped holes third. Shim the hinge fourth. Plane the door only if everything else fails — and only the high spot, not the whole edge.
For the full sequence — including the trickier exterior door rehangs, threshold adjustment, and the strike-plate alignment fixes — see Rehang a Sagging Interior Door.
For door problems that span multiple openings (whole-house settling) or for new-door installs, send your photos for a $9.99 diagnostic report.