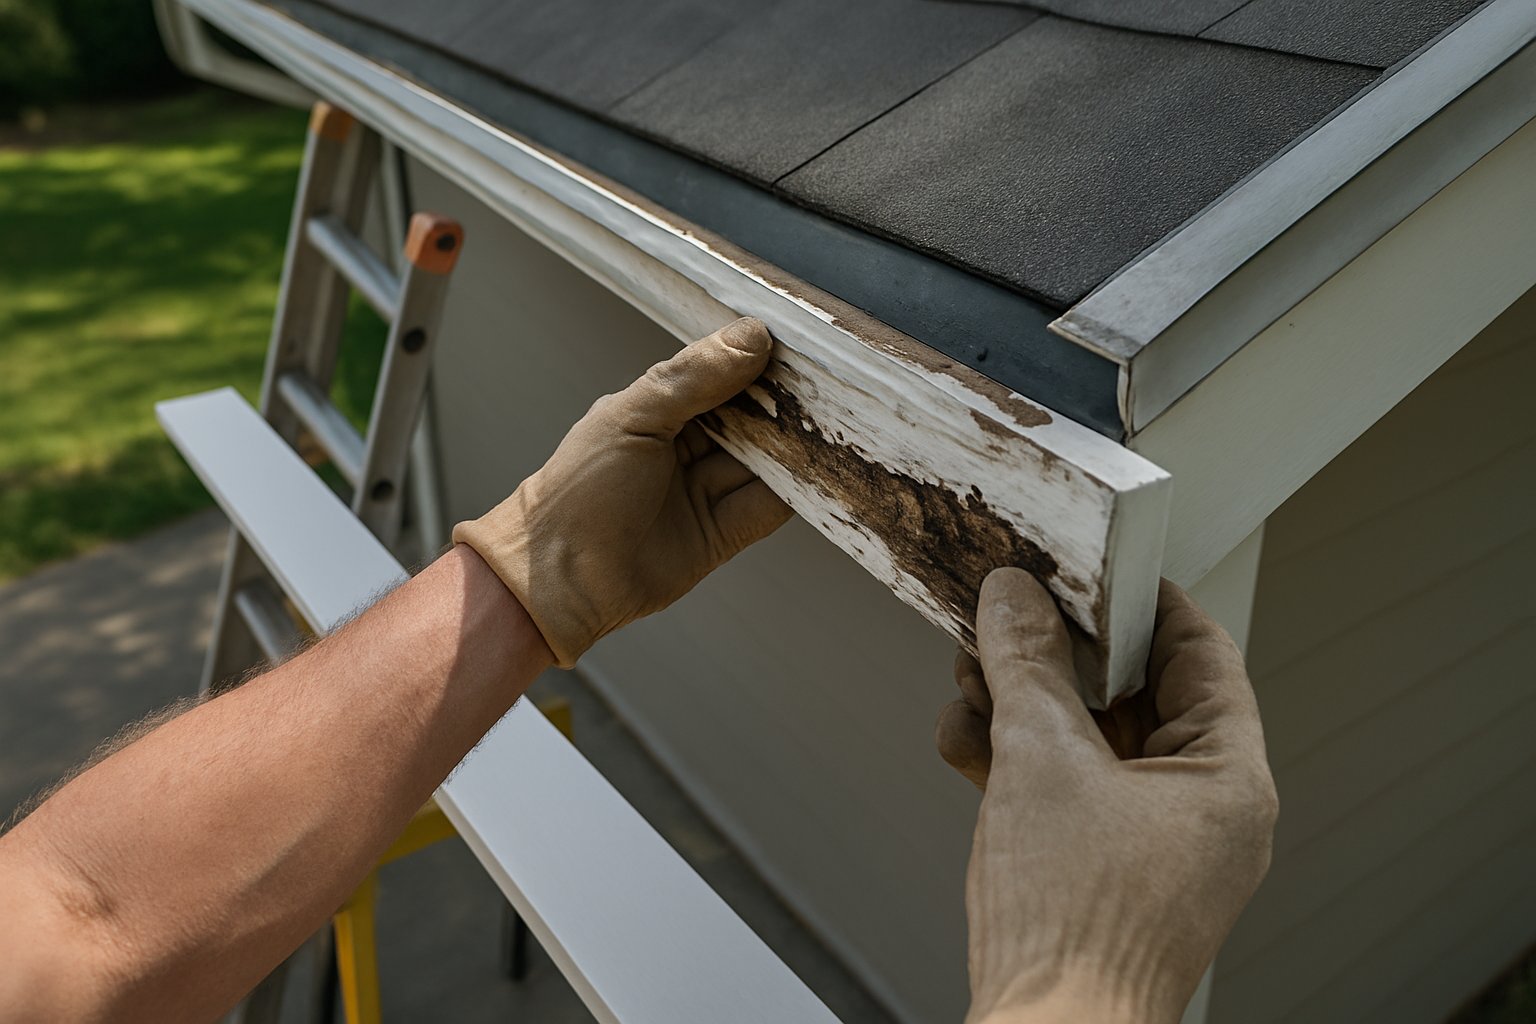
Fascia is the long board that runs along the bottom edge of the roof, behind the gutters. It’s the visible “trim” of the roofline. When it rots — usually from years of water leaks behind clogged gutters — it’s both an eyesore and a sign that water has been getting into the structure for a while.
Replacing rotted fascia is a real DIY job for any homeowner comfortable on a ladder. The trick is the section-replacement technique that doesn’t require taking the whole roof edge apart. Catch it early, and you can swap a bad section without touching anything else.
Here’s the sequence.
Diagnose First
Tap the fascia with a screwdriver handle. Sound fascia rings hollow but firm. Rotted fascia sounds dead — soft thuds, no resonance.
Poke with a screwdriver. A screwdriver should NOT push easily into sound wood. If the screwdriver sinks in, that’s rot.
Inspect for cause:
- Stains running down from the gutter line: gutter is clogged or sagging, water spilling behind it
- Rot at corners: water blowing past the gutter at the end caps
- Rot under a roof valley: water concentration from the valley overshooting the gutter
- Rot in the middle of a long run: usually a specific gutter joint failure above
Don’t replace fascia without finding the cause. Otherwise the new fascia rots in 2-3 years.
Tools and Materials
- New fascia board (1×6 or 1×8 primed pine, or PVC trim board for rot resistance)
- Pry bar
- Hammer
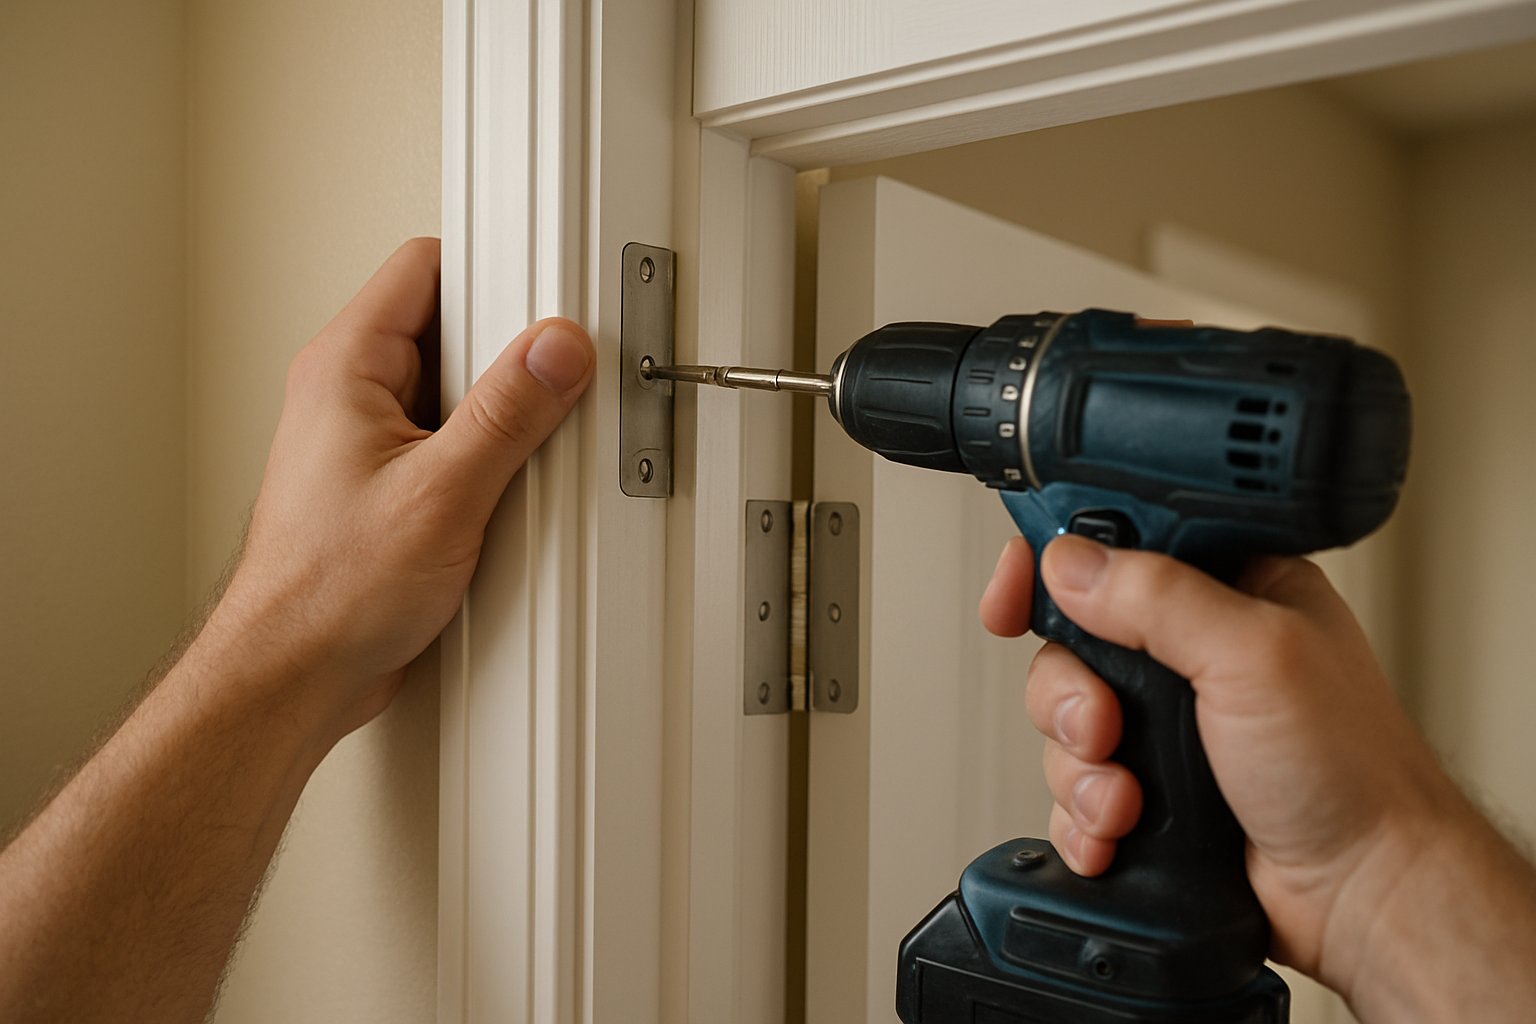
- Drill with bits
- Stainless steel exterior screws (or galvanized)
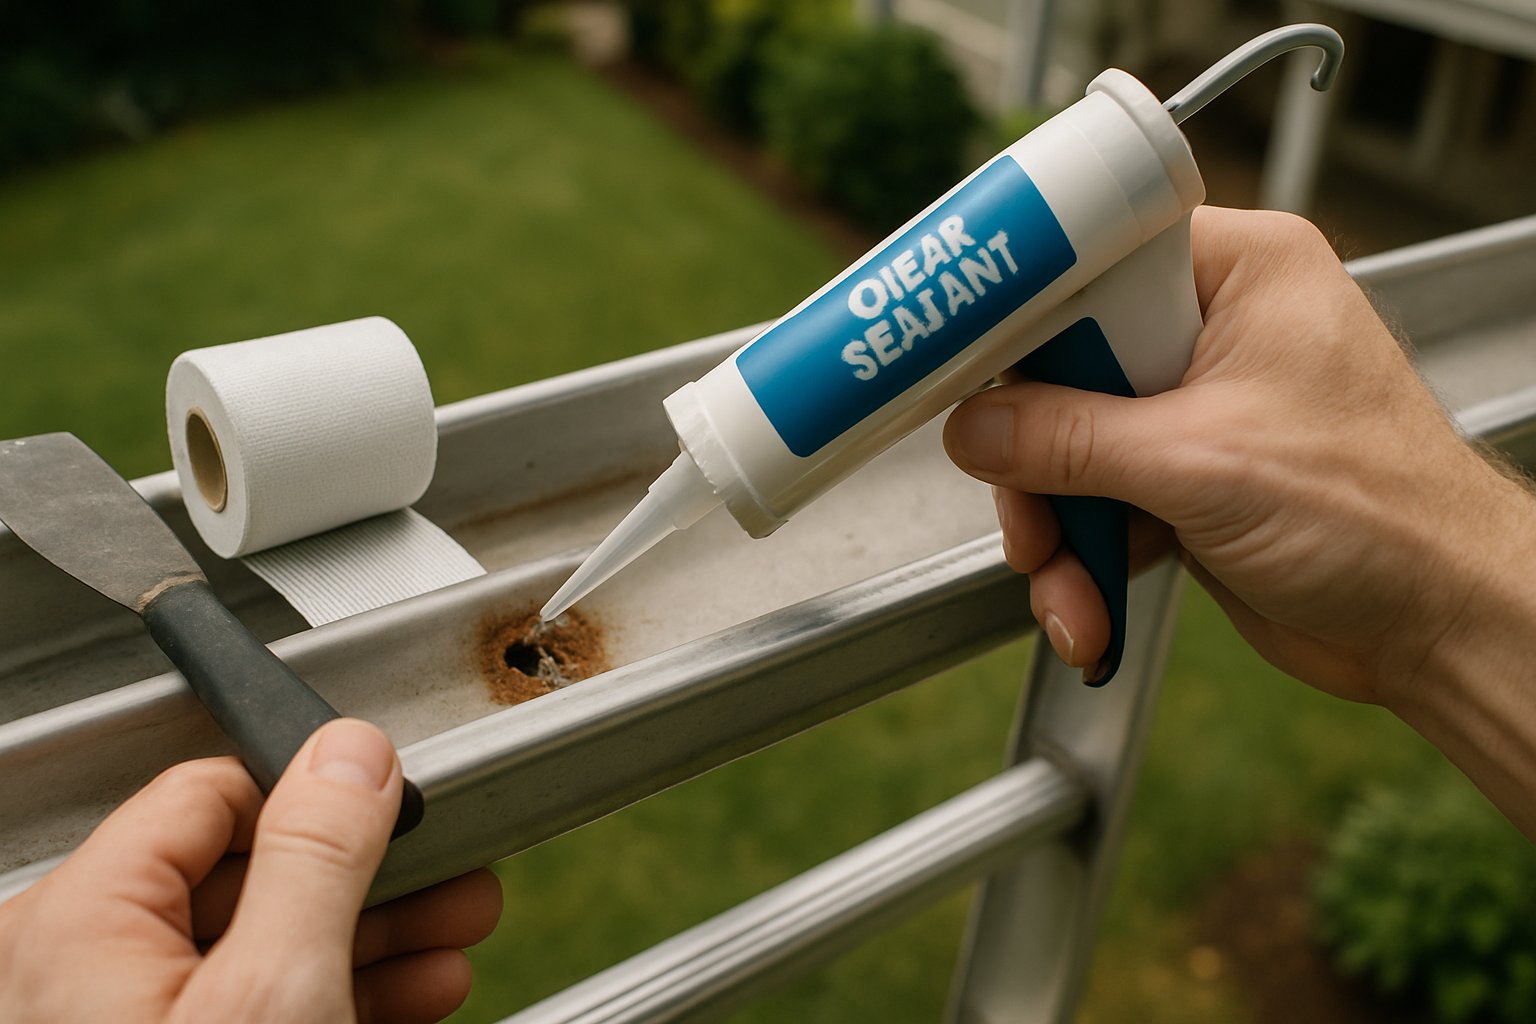
- Caulk gun + paintable exterior caulk
- Exterior primer + paint (matching existing)
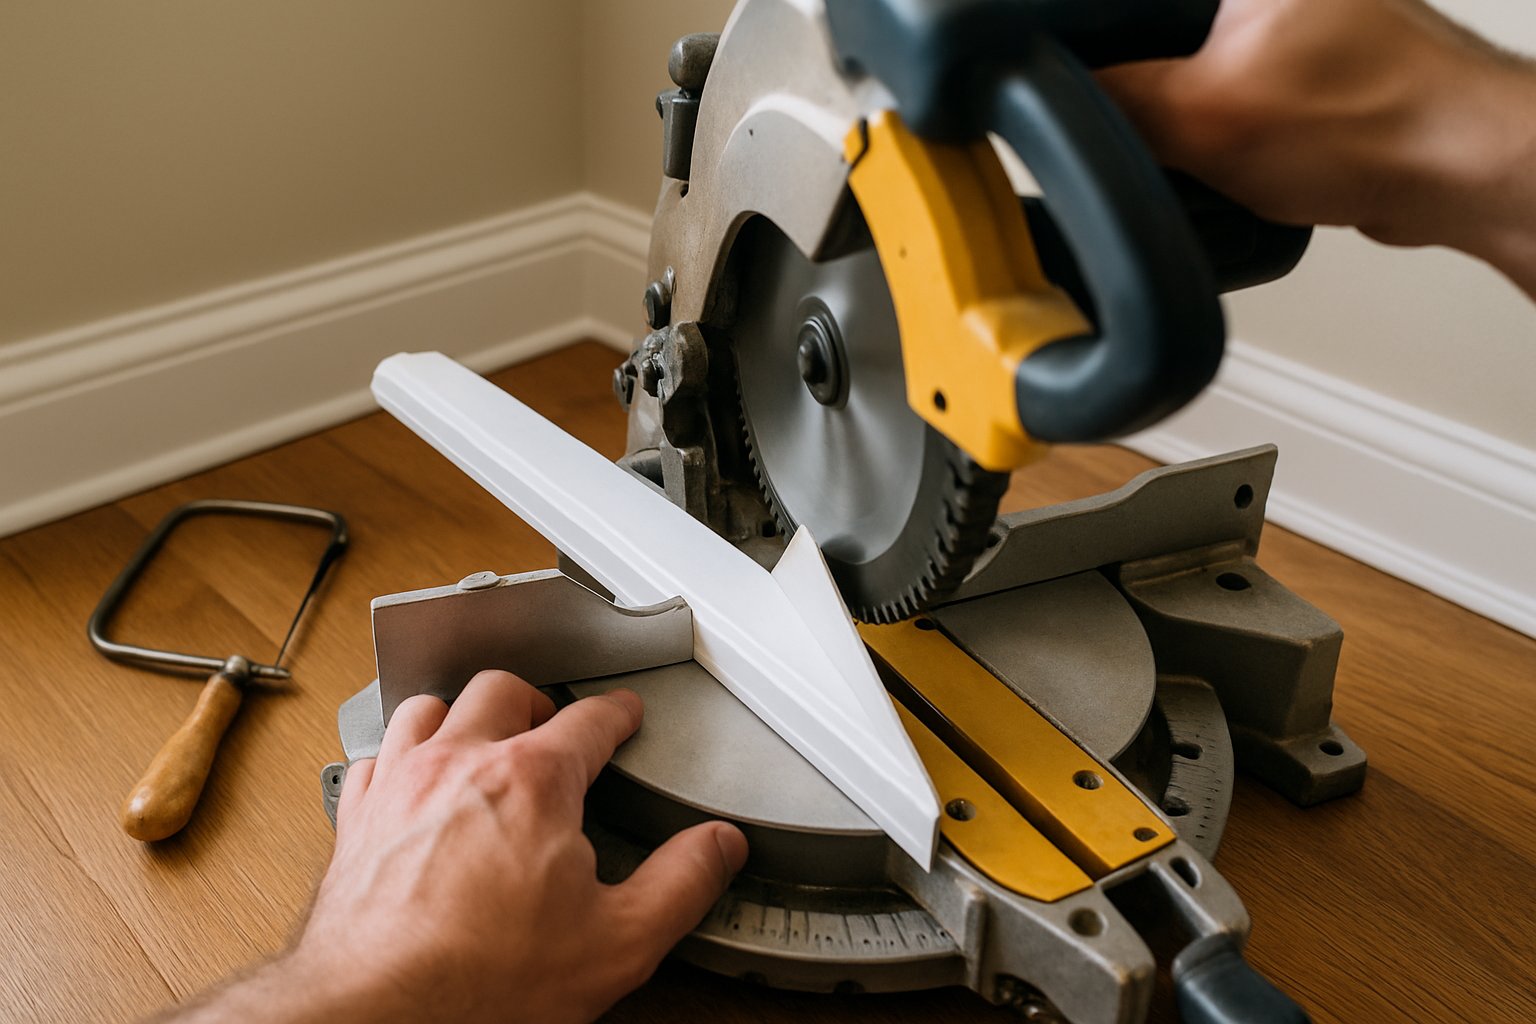
- Circular saw or miter saw
- Tape measure
- A solid extension ladder
- Safety harness (for higher roof lines)
- A friend (mandatory for second-story work)
Step 1: Plan the Replacement
Identify the rotten section’s extent. Plan to cut the rotted board at points where it’s still sound. The cuts will be at the rafter ends — that’s where the fascia is supported and where the new board has solid wood to attach to.
Measure for the new board. Width must match existing exactly. Length spans from the cut point on one side to the cut point on the other.
Buy the right material:
- Pre-primed pine 1×6: standard, paintable, 8-12 year life if maintained
- Pre-primed cedar: rot-resistant, more expensive
- PVC trim board: never rots, more expensive (~2x), looks like wood but doesn’t take stain. Best for areas that get repeated water damage.
- Cellular PVC (Azek, Versatex): premium PVC. Most expensive. Permanent.
For the typical homeowner: pre-primed cedar or PVC. Avoid plain pine — it’ll rot again.
Step 2: Remove the Rotted Section
Critical safety: Heights are the #1 cause of home-DIY hospital visits. If you’re not comfortable on a tall ladder, hire this out. A professional ladder, harness, and second person are not optional for second-story fascia.
Remove the gutter section that runs along the rotted fascia (most gutters are screwed to the fascia at intervals). Lift down carefully.
Cut the rotted board to extract it:
- Use a circular saw or oscillating multi-tool to cut through the board at the rafter ends — the points you identified as still sound.
- Pry off the rotted section with a pry bar.
- As you remove it, check the wood behind it (the rafter ends and roof sheathing). If those are also rotted, the job just got bigger.
Step 3: Inspect Underlying Wood
This is the moment of truth. Pull off the rotted fascia and look at:
- Rafter ends: Should be sound wood. If soft or rotted, you may need a “sister” piece scabbed onto the side of the rafter for solid mounting.
- Roof sheathing: The plywood above the fascia. Check the bottom edge for rot. Often soft from above, especially under valleys or clogged gutters.
- Soffit boards: The horizontal pieces that go between the fascia and the wall. Check for rot from below.
If any underlying wood is rotted: stop and consider whether this is bigger than a fascia replacement. Rotted rafter ends or sheathing means a roofing/structural project is the right call.
If underlying wood is sound: proceed.
Step 4: Install the New Fascia
- Cut the new board to length. Account for any small expansion gap (1/8 inch) at the ends.
- Pre-prime the cut ends of the new board (even if pre-primed). Cut ends are where rot starts.
- Test-fit. The board should slot in with the top edge tight against the underside of the roof sheathing.
- Pre-drill pilot holes through the fascia at each rafter location to prevent splitting.
- Drive stainless or galvanized screws through the pilot holes into the rafter ends. 2 screws per rafter.
- Caulk all joints:
- Where the new fascia meets the existing fascia at the cut point
- Top edge where the fascia meets the roof underside
- Any nail/screw heads
- Fill any small gaps with exterior wood filler before paint.
Step 5: Reinstall the Gutter
- Reattach the gutter section with new gutter hangers if any are damaged.
- Make sure the gutter is properly sloped toward the downspout (1/4 inch per 10 feet).
- Recheck downspout connections.
- Test by running water from a hose into the gutter — confirm it flows to the downspout without overflow.
Step 6: Paint
After caulk is fully cured (24+ hours):
- Sand any rough spots smooth.
- Spot-prime the new wood (already primed if you bought primed lumber).
- Apply 2 coats of exterior paint matching the existing fascia.
Common Mistakes
- Replacing fascia without fixing the cause. New fascia rots in 2-3 years. Always identify and fix the source of water (clogged gutters, bad gutter slope, etc.).
- Using non-stainless or non-galvanized fasteners. Standard screws rust quickly outdoors and stain the new fascia. Always use exterior-grade fasteners.
- Skipping the pre-prime on cut ends. Cut ends are exposed wood that will absorb water and rot first.
- Not inspecting underlying rafters and sheathing. Burying rot under new wood means it spreads internally instead of getting fixed.
- Working without a partner on second-story heights. Falls are catastrophic. Don’t skip the safety equipment.
- Trying to match old paint with new caulk. White paint on white caulk is fine. Tan paint on white caulk shows. Match the caulk color to the paint, or paint over the caulk.
When to Hire It Out
- Second-story or higher fascia work, especially with a steep roof
- When underlying rafters or sheathing are also rotted (this becomes a roofing job)
- When the rotted section is more than half the length of one side of the house
- When the cause is unclear (water source diagnosis matters; pros have moisture meters and infrared cameras)
The Bottom Line
Rotted fascia is a sign of water damage that’s been ongoing — fix it before it spreads. The section-replacement technique handles localized rot in a single afternoon for an able homeowner with the right ladder setup. The critical step most people skip: identifying and fixing the water source.
For the full sequence including the corner-replacement scenarios, the rotted-rafter repair, and the soffit-coordination work, see Replace Rotted Fascia.
For larger exterior repairs, multiple-fascia replacement, or coordinating with gutter and roof work, send your photos for a $9.99 diagnostic report.