A dishwasher install looks intimidating — water lines, drain hoses, electrical, and the appliance has to slide perfectly into a cabinet opening with two-inch tolerances on all sides. But once you understand the three connections (water in, water out, electrical), the actual swap is a 2-3 hour job.
Big stores will install for $150–$200 on top of the appliance cost. If you’ve got the time, doing it yourself is genuinely simple — and gives you a chance to fix anything weird with the original install.
Here’s the full sequence.
Before You Buy: Measure the Opening
Standard dishwashers are 24 inches wide, 24 inches deep, and 35 inches tall. Older houses sometimes have non-standard openings.
Measure:
- Width: opening should be 24 inches exactly. 23.5 inches won’t fit.
- Depth: at least 24 inches from the front of the cabinet face to the back wall.
- Height: floor to underside of countertop, at least 34.5 inches.
If your opening is 18 inches wide (some smaller kitchens), you need an 18-inch dishwasher (more expensive, fewer choices). Don’t buy a 24” if your opening is 18”.
Tools and Materials
- The new dishwasher (with the install kit it ships with)
- Adjustable wrench
- Channel-lock pliers
- Phillips screwdriver
- Voltage tester
- A 6-foot length of new copper or braided stainless supply line (sold in most “dishwasher install kit” combos at hardware stores)
- New dishwasher drain hose (often included with the appliance)
- Plumber’s tape (Teflon tape)
- A flashlight
- Towels (lots of them)
Step 1: Disconnect the Old Dishwasher
Turn off three things:
- Water: Find the dishwasher supply valve, usually under the sink — small angle stop with a hot-side feed. Turn clockwise to close.
- Power: Flip the breaker that feeds the dishwasher. Most dishwashers are on a dedicated 15-amp circuit.
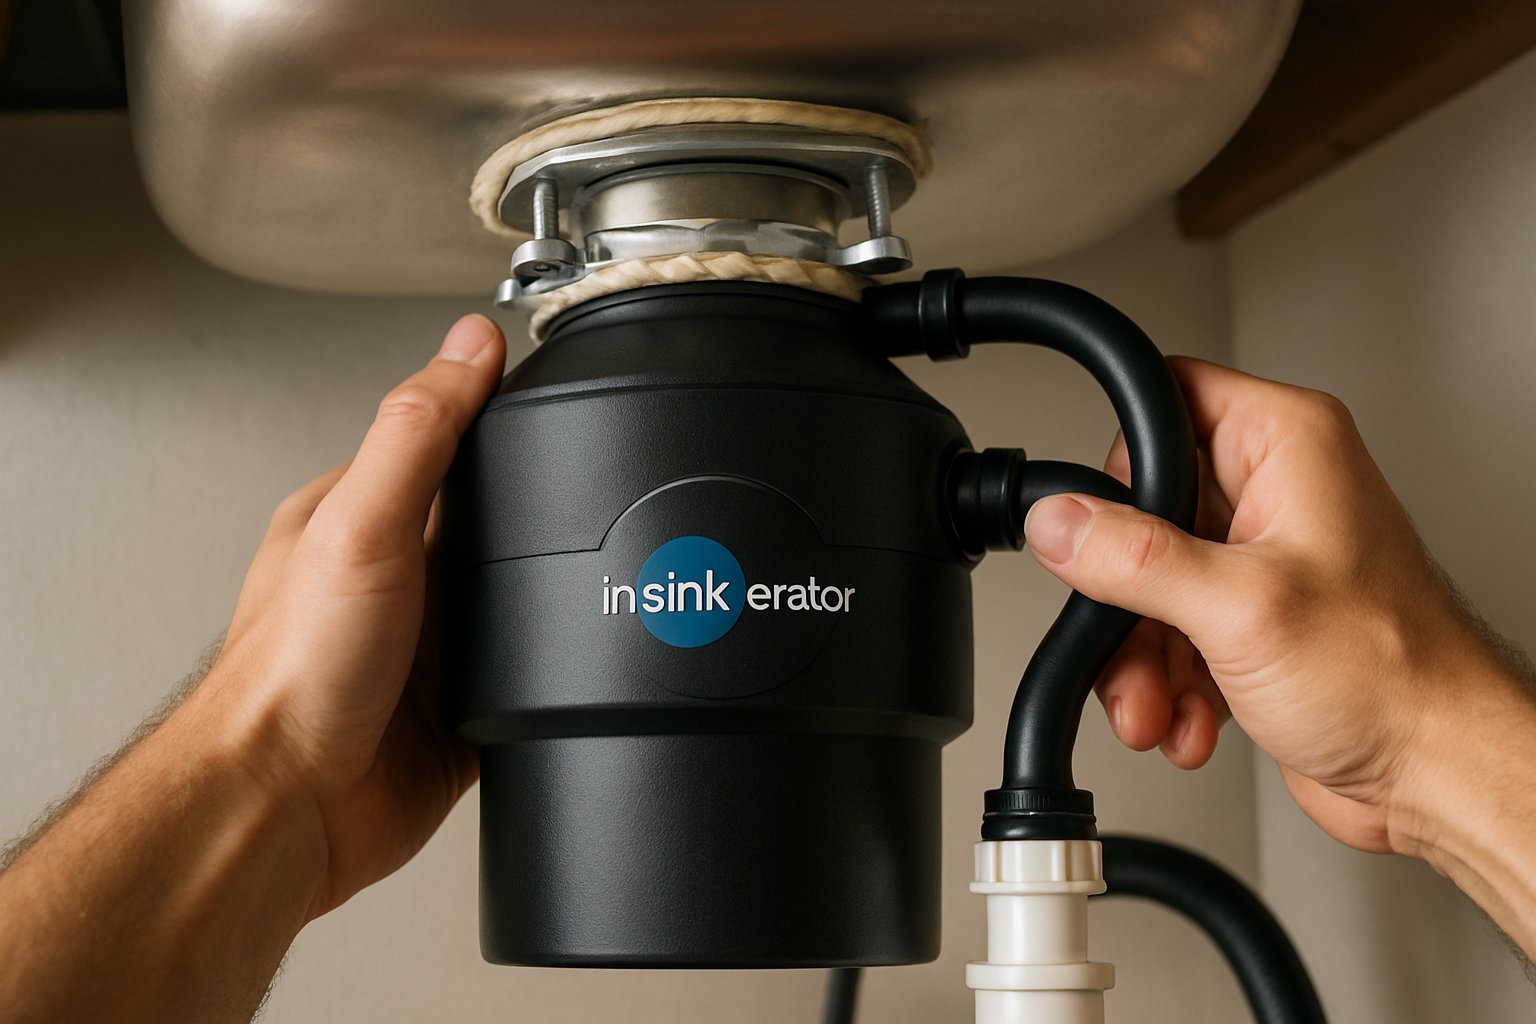
- Disposal trap (the loop): Often the dishwasher drain hose loops up and connects to the disposal’s small inlet port. Note this connection.
Verify dead with a voltage tester at the dishwasher’s electrical junction box (usually at the front bottom of the unit, under a metal cover plate).
Drain the old dishwasher:
- Open the door.
- Sponge or shop-vac any standing water at the bottom.
Disconnect the connections:
- Water supply: Loosen the compression nut where the supply line meets the back of the dishwasher. Have a towel ready — a small amount of water will drip.
- Drain hose: Loosen the clamp where the hose meets the disposal (or air gap if you have one). Pull the hose off.
- Electrical: Open the junction box at the front bottom. Disconnect the wires (black-black, white-white, ground). Unscrew the cable clamp and pull the cable out.
Pull the dishwasher out:
- Remove the two screws holding the dishwasher to the underside of the countertop (sometimes hidden under a small plastic cap).
- Slide the unit forward slowly. Adjust the leveling feet down to lower it if it catches on the cabinet.
- Pull until the dishwasher is fully out.
Step 2: Prep the New Dishwasher
Lay it on its back carefully (some manufacturers say not to — read the manual). This makes the connections accessible.
Install the new water supply elbow:
- Most new dishwashers come with a 90-degree brass elbow that screws into the inlet on the bottom. Wrap the threads with Teflon tape (3-4 turns clockwise).
- Tighten the elbow into the inlet. Snug, but not gorilla-tight — you’ll crack the brass.
Install the new drain hose:
- Slide one end of the drain hose onto the dishwasher’s drain port.
- Tighten the hose clamp.
Run the supply line and drain hose through the cabinet:
- Stand the dishwasher upright in front of the opening.
- Run the new supply line and drain hose through the hole in the side of the cabinet that connects to the under-sink area.
Step 3: Make the Connections Under the Sink
Drain hose to disposal (or air gap):
- Most dishwasher drain hoses connect to a small 5/8-inch inlet on the side of the disposal.
- Critical: knock out the disposal’s inlet plug if it’s a new disposal. Most ship with a plastic plug inside the inlet. If you don’t knock it out, the dishwasher won’t drain. Use a screwdriver to tap the plug into the disposal interior, then fish it out before reconnecting.
- Slide the dishwasher drain hose onto the inlet, tighten the clamp.
- Create a high loop in the drain hose — the hose should rise to within 1 inch of the underside of the countertop, then drop to the disposal connection. This prevents siphoning. Most cabinets have a clip at the top to hold the loop in place.
- If you have an “air gap” (a small chrome cylinder mounted on top of the sink or countertop), connect to it instead of the disposal — same idea, just an extra component.
Water supply line:
- Connect the supply line to the dishwasher angle stop under the sink.
- Use plumber’s tape on the threads.
- Tighten with adjustable wrench.
Step 4: Make the Electrical Connection
- Open the junction box at the front bottom of the new dishwasher.
- Pull the existing dishwasher electrical cable through the cable clamp into the junction box.
- Strip wires if needed (3/8” of bare copper).
- Wire-nut: black-to-black, white-to-white, bare ground to the green grounding screw.
- Tighten the cable clamp.
- Replace the junction box cover.
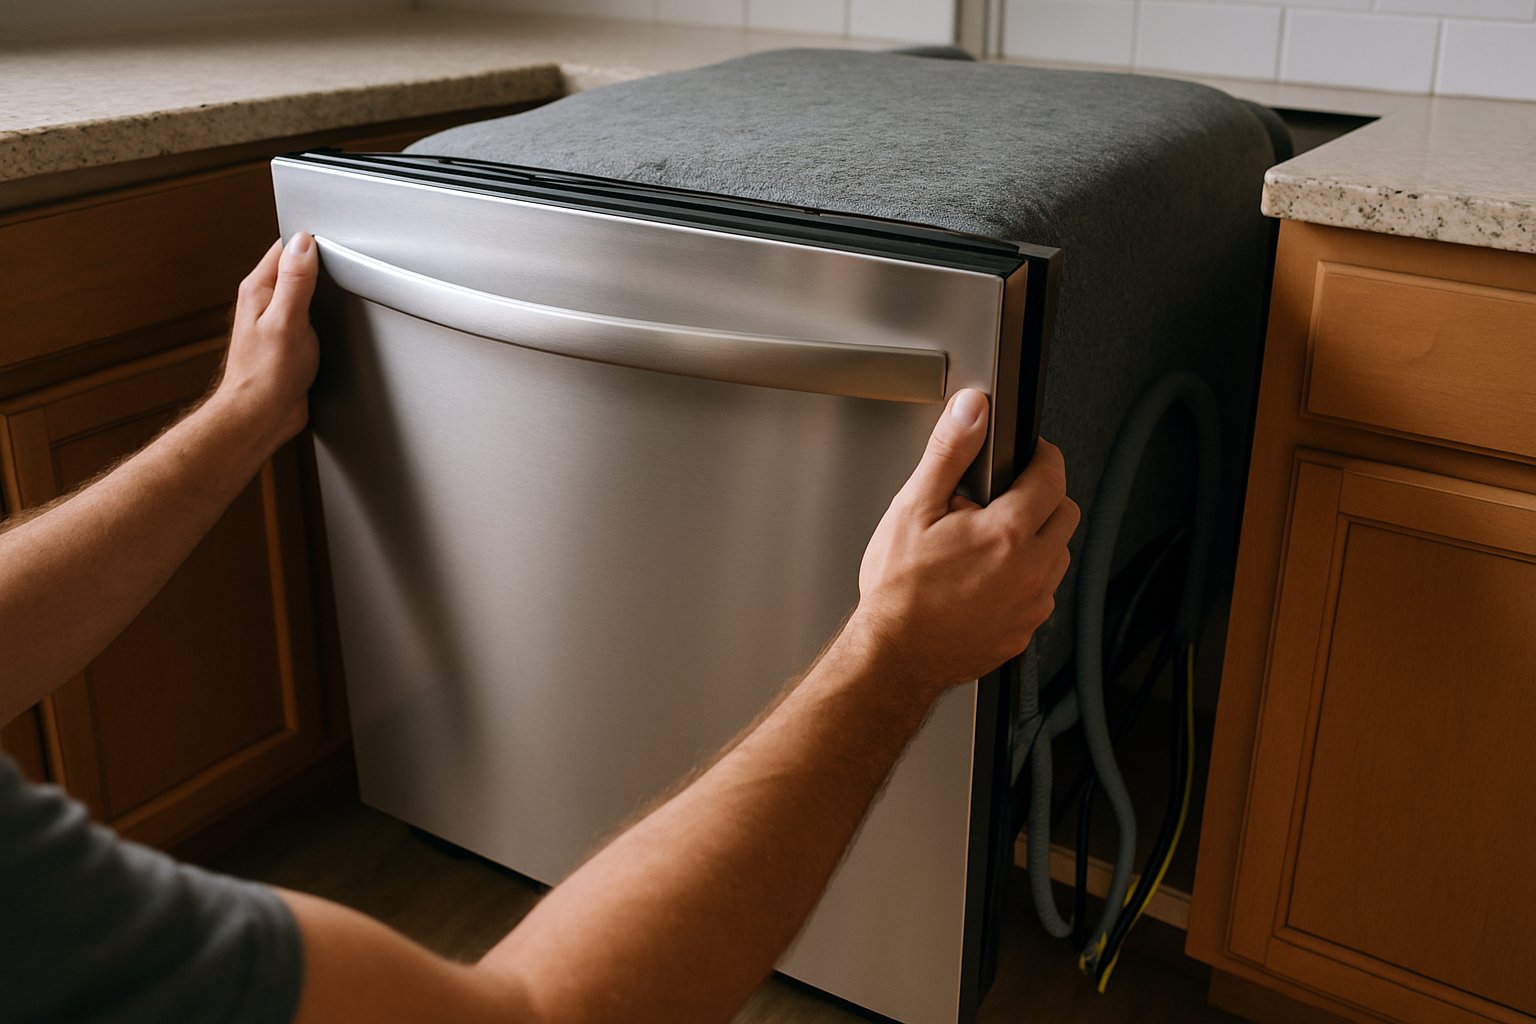
Step 5: Slide Into Position and Level
- Slide the dishwasher into the opening. Take it slow — wires, hoses, and lines need to feed in cleanly behind without kinking.
- Once in position, adjust the leveling feet (front and rear) until the dishwasher sits level. Use a small bubble level on top.
- Front edge of the dishwasher should sit flush with the front face of the cabinets.
- Screw the unit to the underside of the countertop (or to the cabinet sides, depending on the model) using the included brackets.
Step 6: Test
- Turn on the water supply valve.
- Inspect the supply line connection at the back — any drips, retighten.
- Restore power at the breaker.
- Run a short cycle (most have a “rinse” or “test” mode).
- Open the door 5 minutes in — check that water has filled the unit.
- Let the cycle complete.
- Open the cabinet under the sink during the drain cycle — confirm water exits cleanly through the disposal.
- After cycle ends, check for leaks under the dishwasher (use a flashlight) and at the supply line.
Common Mistakes
- Not knocking out the disposal plug. This is the #1 dishwasher install failure. Symptoms: dishwasher seems to wash but never drains; water backs up under the unit. Always knock out the plug if you’ve installed a new disposal at the same time.
- No high loop in the drain hose. Causes back-siphoning of dirty disposal water into the dishwasher. Always create the high loop.
- Crushing or kinking the drain hose when sliding the unit in. Pre-route the hose so it has clear path before pushing the unit back.
- Over-tightening the supply line compression fitting. Cracks the brass and creates a slow leak that takes weeks to notice. Snug + 1/4 turn maximum.
- Skipping the leveling step. A non-level dishwasher washes poorly (water doesn’t drain into the sump correctly) and the door doesn’t seal right. Always level both front-to-back and side-to-side.
- Not testing during the first cycle. A small leak caught during install is 30 seconds to fix; a small leak found a week later may have damaged the cabinet floor.
When to Call a Pro
- The existing supply valve is corroded shut or leaks when you try to operate it.
- There’s no dedicated dishwasher circuit (e.g., the dishwasher is wired to the kitchen counter outlets — code violation).
- You don’t have a disposal AND no air gap — you may need to install an air gap or add a disposal at the same time.
- The dishwasher is being installed in a cabinet that wasn’t pre-cut for one — that’s a cabinet modification job that may also require code review.
Frequently Asked Questions
Do I need a permit to replace a dishwasher? A like-for-like replacement (same location, same connections) does not require a permit in most NJ municipalities. Adding a dishwasher in a kitchen that didn’t previously have one — including running new electrical and plumbing — does require permits.
My dishwasher needs more drain height than the high loop allows. What now? Some kitchens have constraints (low countertop, or disposal mounted unusually low). Use a separate “air gap” device mounted on the countertop next to the faucet — it’s a code-required alternative to the high loop in many jurisdictions.
Can I use my old supply line and drain hose? Drain hose, often yes if it’s not cracked. Supply line, no — replace it. Old supply lines are a leading cause of slow leaks under sinks. New braided stainless supply lines are $10.
How long should a dishwasher last? 8-12 years for most modern units. Premium brands (Bosch, Miele) often go 15+. Cheap units 5-8.
The Bottom Line
A dishwasher swap is genuinely DIY for anyone comfortable with basic plumbing and electrical. The three connections are simple; the disposal-plug knockout is the one mistake to avoid. Total time including cleanup: 2-3 hours.
For the full sequence including air gap installs, disposal-less configurations, and the cabinet modification scenarios, see Replace a Dishwasher.
For a kitchen remodel that involves dishwasher repositioning, panel upgrades, or full cabinet redesign, send your photos for a $9.99 diagnostic report.