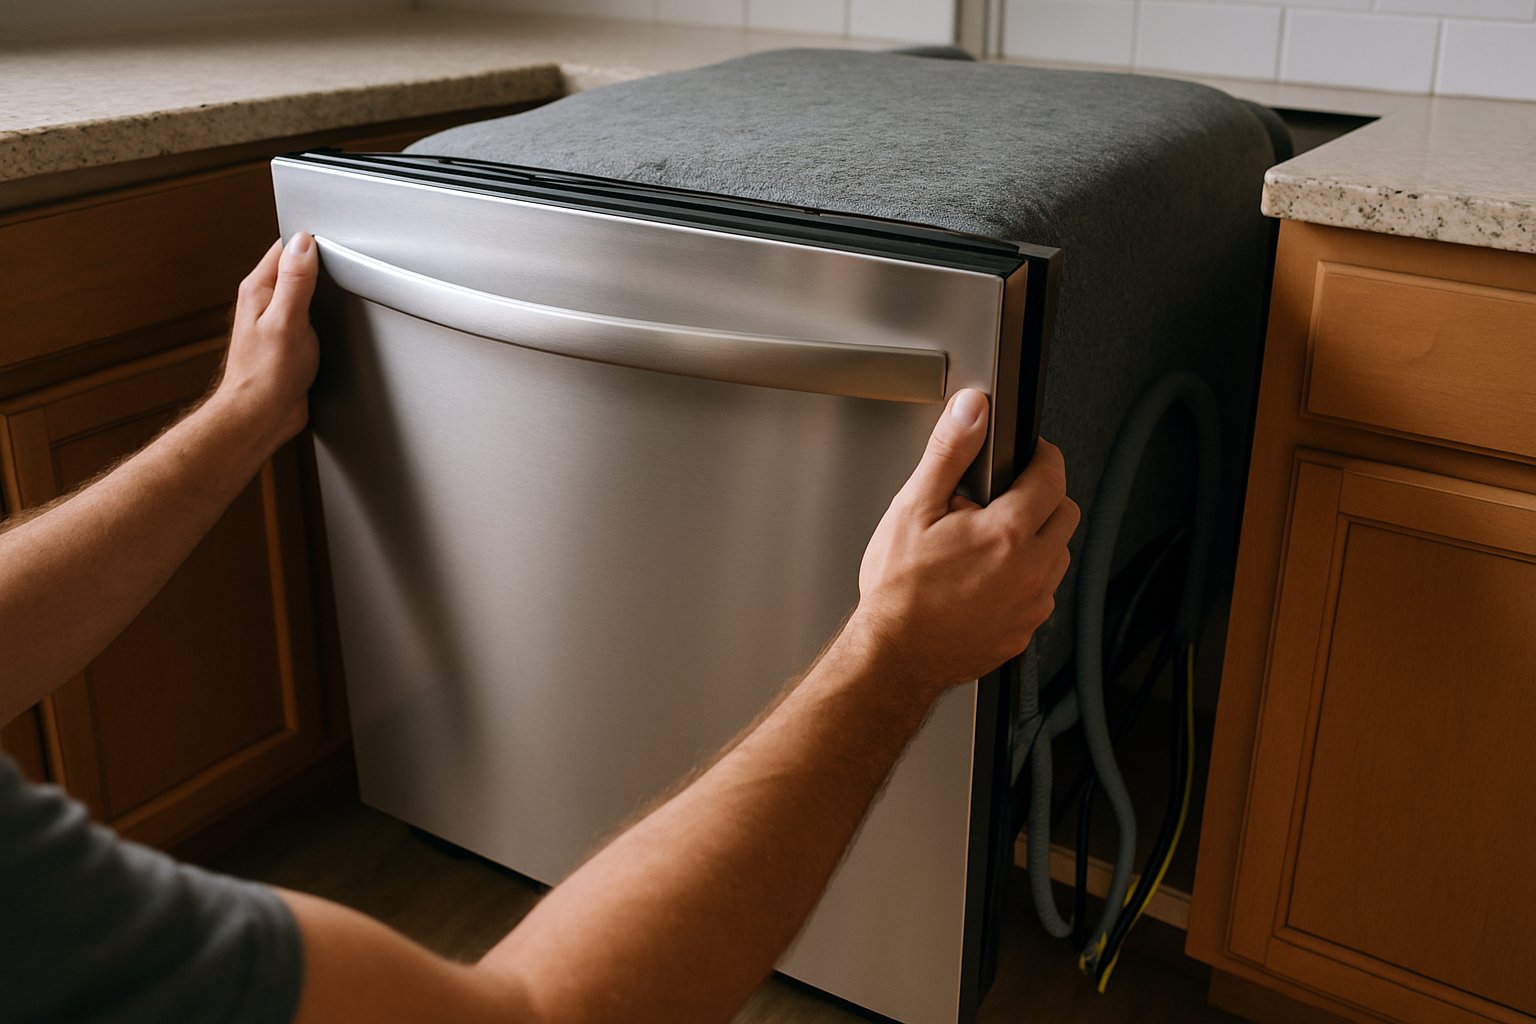
Replacing a garbage disposal takes about 60 minutes, costs $100–$200 for the unit, and is fully DIY if you can turn off a breaker and use a wrench. The one catch: if you’re switching brands (Badger to InSinkErator is fine; Waste King to InSinkErator is not) you’ll need a new mounting assembly, which adds about 20 minutes.
Here’s the full process, including the one step the manuals glaze over — cleaning the old plumber’s putty off the sink flange before installing the new one.
Before You Buy: Match the Mount
Garbage disposals have two mounting systems:
- InSinkErator / Badger: 3-bolt mount. Industry standard, used by most new construction.
- Waste King / Moen: EZ-Mount (3-bolt variant, not fully interchangeable).
- GE / Frigidaire: Some models use a twist-lock mount that’s proprietary.
If your new unit uses the same mount as the old: you can reuse the existing mounting assembly under the sink. Big time saver.
If you’re switching systems: you’ll replace the mount too — adds plumber’s putty, more wrench work, and another 20 minutes. Not hard, just more steps.
When in doubt, buy the same brand as your old unit. I’ve always had good results with InSinkErator — the Badger 5XP at $130 handles most households; the Evolution Compact at $250 is quieter and handles bones.
Horsepower: Does It Matter?
- 1/3 HP — cheap, noisy, jams easily. Skip.
- 1/2 HP — budget choice. Fine for couples/small households.
- 3/4 HP — best value. Handles most debris.
- 1 HP — premium. Quieter, grinds bones. Worth it if you cook a lot.
Tools & Materials
- New disposal (matched mount, ideally same brand)
- Plumber’s putty (if replacing the mount assembly)
- Adjustable wrench and channel-lock pliers
- Phillips and flat-head screwdrivers
- Hammer
- Voltage tester
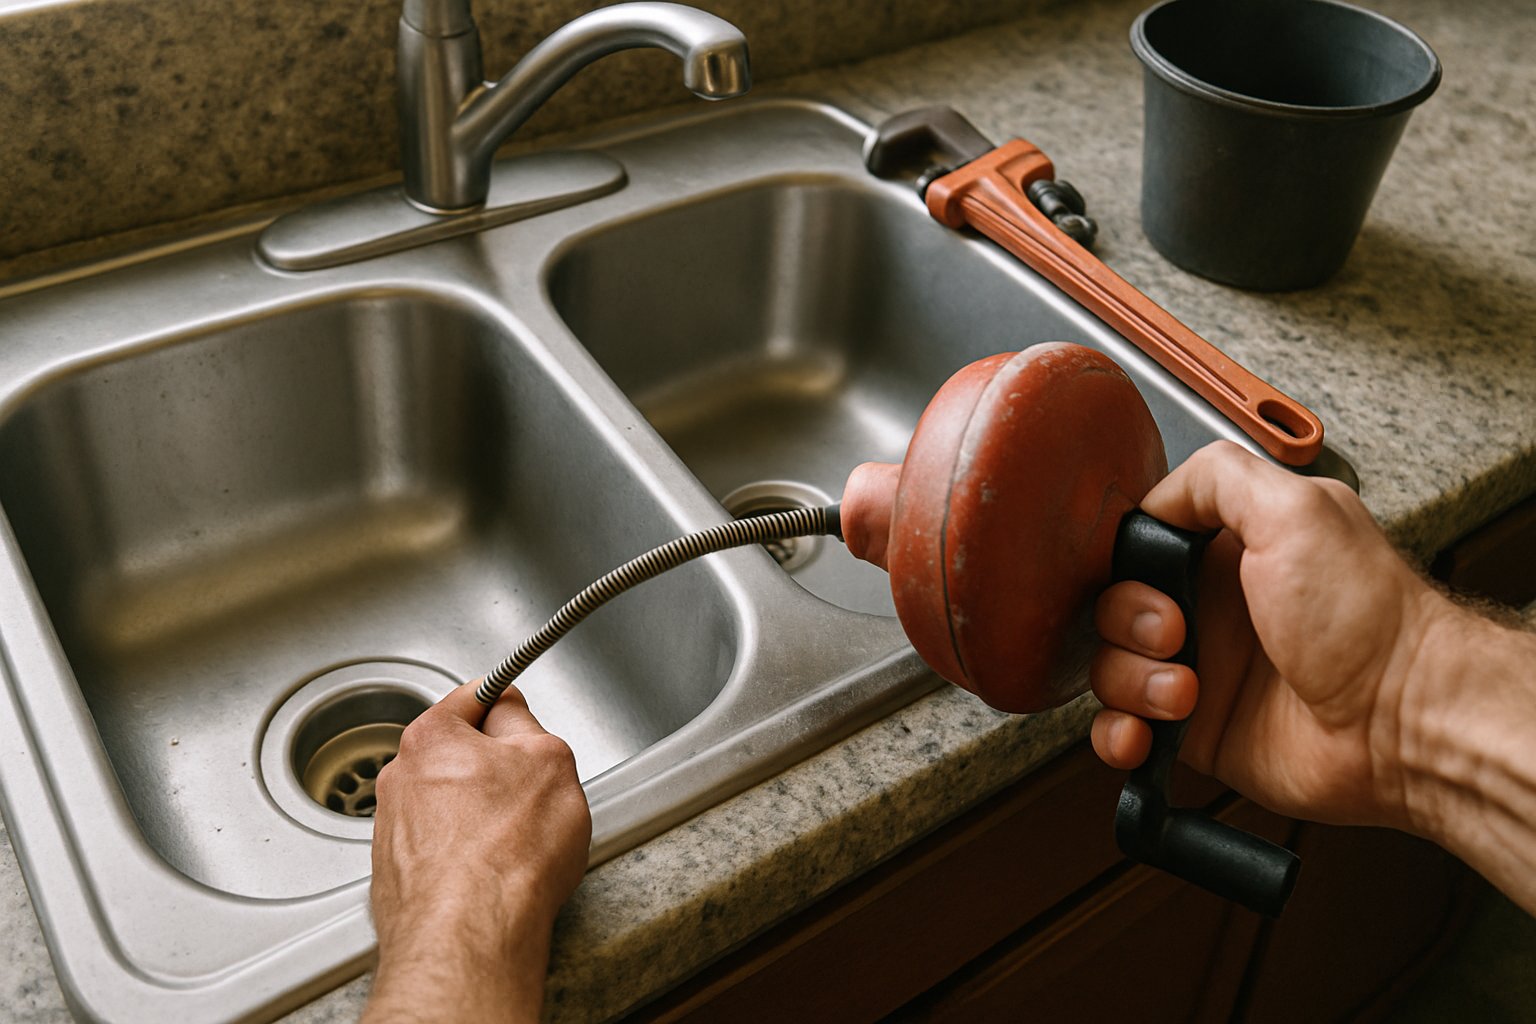
- Drain auger or bucket for sink drain water
- Rag, rubber gloves
- Optional: dishwasher hose clamp kit (if connecting a dishwasher drain)
Step-by-Step: Replace the Garbage Disposal
1. Cut the Power
At the breaker panel, turn off the breaker feeding the disposal. It’s usually labeled “disposal” or “kitchen.” Flip the wall switch that runs the disposal — if the unit still hums, you have the wrong breaker. Find the right one. Use a voltage tester to confirm the power is off at the disposal.
2. Clear the Cabinet
Remove everything from under the sink. You’ll need room to work on your back.
3. Disconnect the Drain and Dishwasher Lines
Place a bucket under the drain. Loosen the slip nut where the discharge tube exits the side of the disposal — it connects to the P-trap. Slide it off.
If a dishwasher drain hose is connected to the disposal’s inlet (small barbed fitting near the top), loosen the hose clamp and pull it off.
4. Disconnect Power at the Disposal
Most disposals have a small cover plate on the bottom rear. Remove the two screws. Inside you’ll find black, white, and ground wires connected to the disposal’s internal wires.
- Loosen the cable clamp screw.
- Unscrew the wire nuts connecting black-black and white-white.
- Remove the ground screw and ground wire.
- Pull the cable out of the disposal.
If the disposal was hardwired, pigtail splices are inside. If plugged in, there will be a cord — just unplug it at the outlet.
5. Dismount the Old Disposal
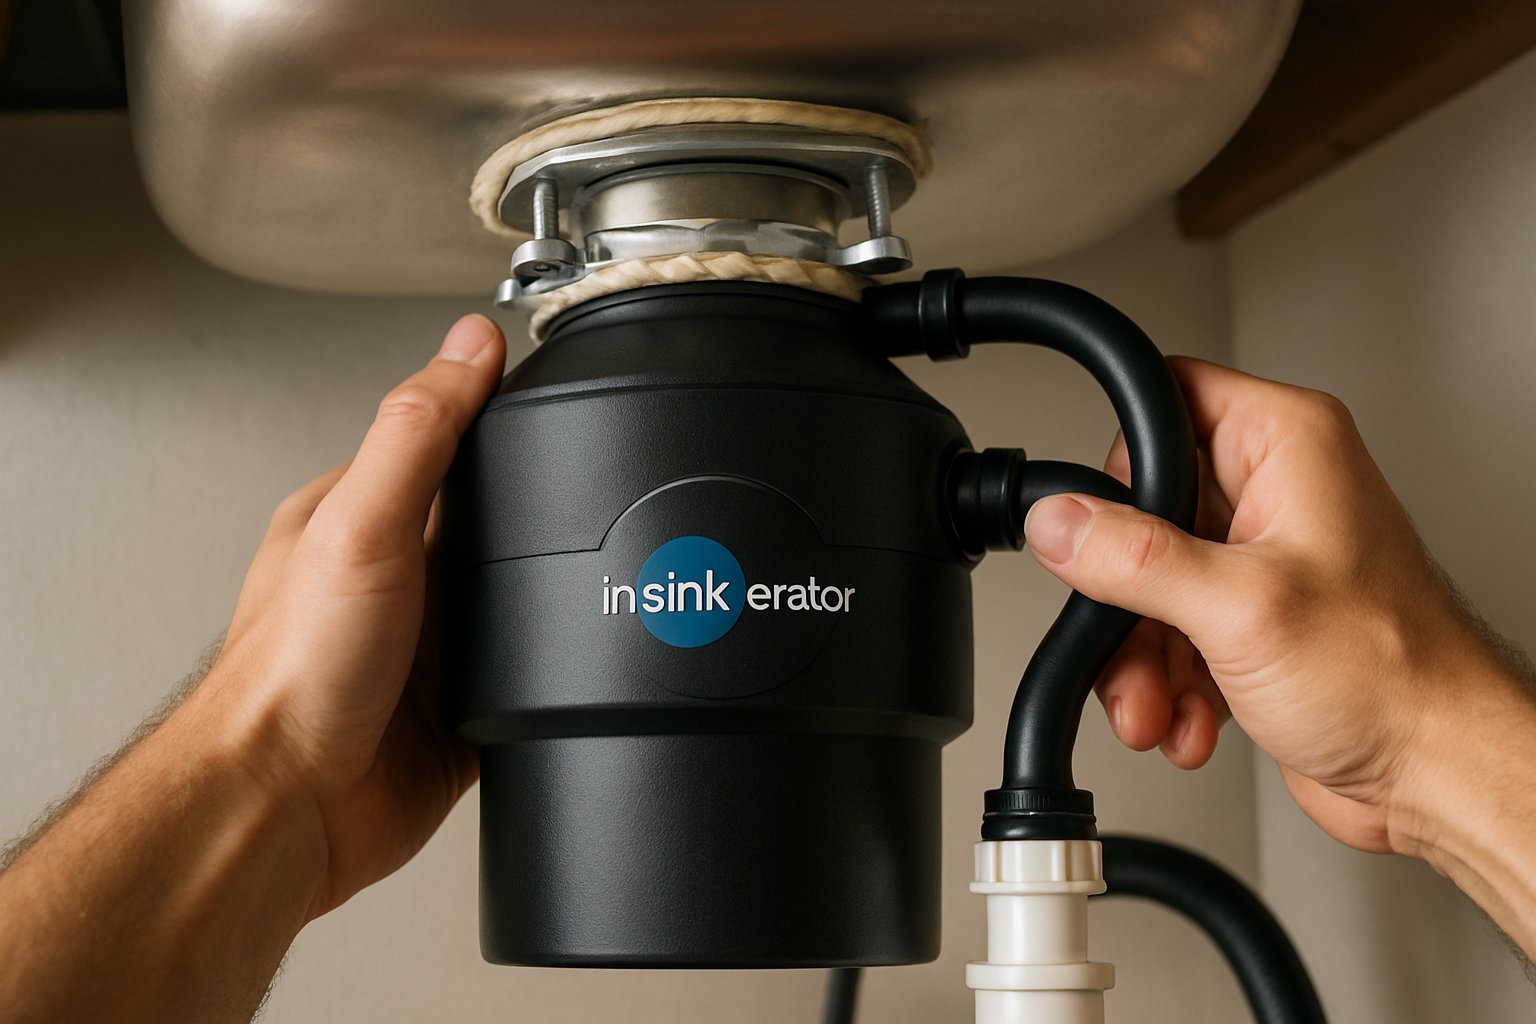
InSinkErator-style: Support the disposal with one hand (they’re heavy — 10–15 lbs). With the other hand, turn the lower mounting ring counterclockwise — use a screwdriver or the wrench that came with the unit to leverage it. The disposal drops free.
Twist-lock variants: Rotate the unit itself counterclockwise.
Set the old disposal aside.
6. If Reusing the Mount — Skip to Step 9
7. Remove the Old Mounting Assembly
If you need to replace the mount:
- From above the sink, hold the sink flange in place.
- From below, unscrew the snap ring, backup flange, and mounting ring. They come apart as you work down.
- Push the sink flange up and out from above.
- Clean all plumber’s putty off the sink hole — scrape with a putty knife, wipe clean. The new putty will not seal over old putty residue.
8. Install the New Mounting Assembly
Follow the manufacturer’s instructions — the order varies by brand. Typically:
- Roll plumber’s putty into a 1/2” rope.
- Press it under the lip of the sink flange.
- Drop the flange into the sink hole.
- From below, slide on the fiber gasket, backup flange, mounting ring, and snap ring.
- Tighten the three bolts in the mounting ring evenly until the flange compresses the putty.
- Wipe off the putty that squeezes out above the sink.
9. Wire the New Disposal
Remove the new unit’s electrical cover plate. Feed the cable into the disposal through the cable clamp. Wire nut black-black, white-white. Attach ground to the ground screw. Tighten the cable clamp. Replace the cover plate.
If using a plug cord, attach the cord kit first, then plug it into the outlet under the sink.
10. Mount the New Disposal
Lift the new unit up to the mounting ring. Align the three mounting tabs. Rotate the unit (or the ring) until it locks. You should feel three distinct clicks as the tabs engage.
11. Reattach Drain and Dishwasher
Rotate the disposal so the discharge outlet points toward the P-trap. Attach the discharge tube with the slip nut — hand-tight plus a quarter turn.
If connecting a dishwasher, remove the knockout plug inside the dishwasher inlet — insert a screwdriver, tap with a hammer to punch it out. Fish the plug out with needle-nose pliers — if you don’t, it falls into the disposal and the first time you run it, it destroys the unit. Then clamp the dishwasher hose to the inlet.
12. Restore Power and Test
Turn the breaker back on. Run cold water. Flip the disposal switch — it should spin smoothly with no grinding. Test for 10 seconds.
Turn water off and check every joint under the sink for leaks. Run water again and watch for drips.
13. Clean Up and Grind
Run the disposal with cold water and ice cubes for 10 seconds to clean the grinding chamber. Done.
Common Mistakes
- Forgetting the dishwasher knockout plug. Destroys the disposal on first run. Always check.
- Old plumber’s putty left in the flange. New putty won’t seal over old residue. Scrape it clean.
- Overtightening the discharge slip nut. Cracks the plastic. Hand-tight plus a quarter turn.
- Not testing before closing up the cabinet. Test once with water running, once with power on before putting anything back.
- Not using a voltage tester. Breakers get mislabeled. Always verify.
NJ Permit Note
For a like-for-like disposal replacement, no permit is typically required in NJ. If you’re adding a disposal where none existed (running a new circuit, adding a switch), you need an electrical permit. Check with your local building department before running new wire.
Frequently Asked Questions
Can I install a disposal where there isn’t one? Yes, but you need a dedicated 20-amp circuit, a wall switch, and a new outlet under the sink. That’s electrical work requiring a permit in NJ.
How long does a garbage disposal last? 8–15 years, depending on use. Cheaper units fail sooner. Running hot water, grinding hard objects, and using bleach all shorten life.
Is it OK to switch brands? Yes, but you’ll typically replace the mounting assembly. Staying within the same brand saves time.
Why does my new disposal leak at the top flange? Old plumber’s putty wasn’t fully removed, or the mounting ring isn’t tightened evenly. Disassemble, clean, re-putty, remount.
Do I need an electrician? Not in NJ for a like-for-like swap — the wiring is the same. If you’re adding a new circuit or switch, you need a permit and an electrician (unless you’re pulling the homeowner permit yourself).
The Bottom Line
60–90 minutes, $150 average, and significantly quieter dishes for the next decade. The two things that catch DIYers: the dishwasher knockout plug (don’t skip it) and old plumber’s putty (scrape it clean).
If you’re planning a kitchen remodel and want an appliance plan, fixture spec, and permit checklist tailored to your project, send your photos for a $9.99 diagnostic report.