A range hood or over-the-range microwave (OTR) lives over the cooktop and pulls cooking smoke, grease, and steam out of the kitchen. The difference between a hood that works and one that doesn’t comes down to one decision: whether it’s actually vented to the outside, or just recirculating the air through a charcoal filter back into the kitchen.
The install itself is mostly straightforward. The decision and the ductwork is what determines the result.
Here’s the full sequence.
Vented vs. Recirculating
Vented (ducted): The hood pulls air through a duct that exits to the outside. Genuinely removes smoke, grease, and odors. Required for serious cooking. Standard for new construction.
Recirculating (ductless): The hood pulls air through a charcoal filter and dumps it back into the kitchen. Trap odors marginally; do nothing for steam and grease. Common in older homes that lack ducting.
The honest truth: if your hood is recirculating, it’s mostly decorative. The fan creates noise but does little. If you cook regularly (especially with high heat or grease), vented is the difference between effective and useless.
If you have an existing vented hood, the duct is already there — keep it. If you have a recirculating hood and want vented, you’ll need to add ductwork (often through a wall or ceiling). That’s a bigger project.
Tools and Materials
- The new hood / OTR microwave
- Phillips and flathead screwdrivers
- Voltage tester
- Drill with bits
- 4-inch or 6-inch flexible duct (if running new ductwork — match existing or unit specs)
- Foil tape (NOT regular duct tape, which fails)
- Drywall anchors or stud-finder for mounting
- A friend (mandatory — these units are heavy)
Step 1: Disconnect the Old Unit
Kill power at the breaker. Verify with voltage tester at the unit’s wiring.
Remove the old unit:
- Unplug from the outlet behind it OR open the wiring junction box and disconnect the wires (if hardwired).
- If existing duct connection: disconnect the duct collar from the unit’s exhaust port.
- Have your friend support the unit while you remove the mounting screws.
- Lift the unit down. Most weigh 30-80 pounds.
- Set aside.
Step 2: Inspect and Prep the Mounting Area
- Look at the back wall behind where the unit hangs. Most range hoods mount to studs OR to the back wall and a top cabinet.
- Identify the studs with a stud finder.
- Inspect the existing duct connection (if vented). It should be 6-inch round metal duct in modern installations; older homes may have 4-inch (less effective).
- Check the electrical: is there an outlet or a hardwired junction box? Most range hoods plug into an outlet at the back; OTR microwaves may be hardwired.
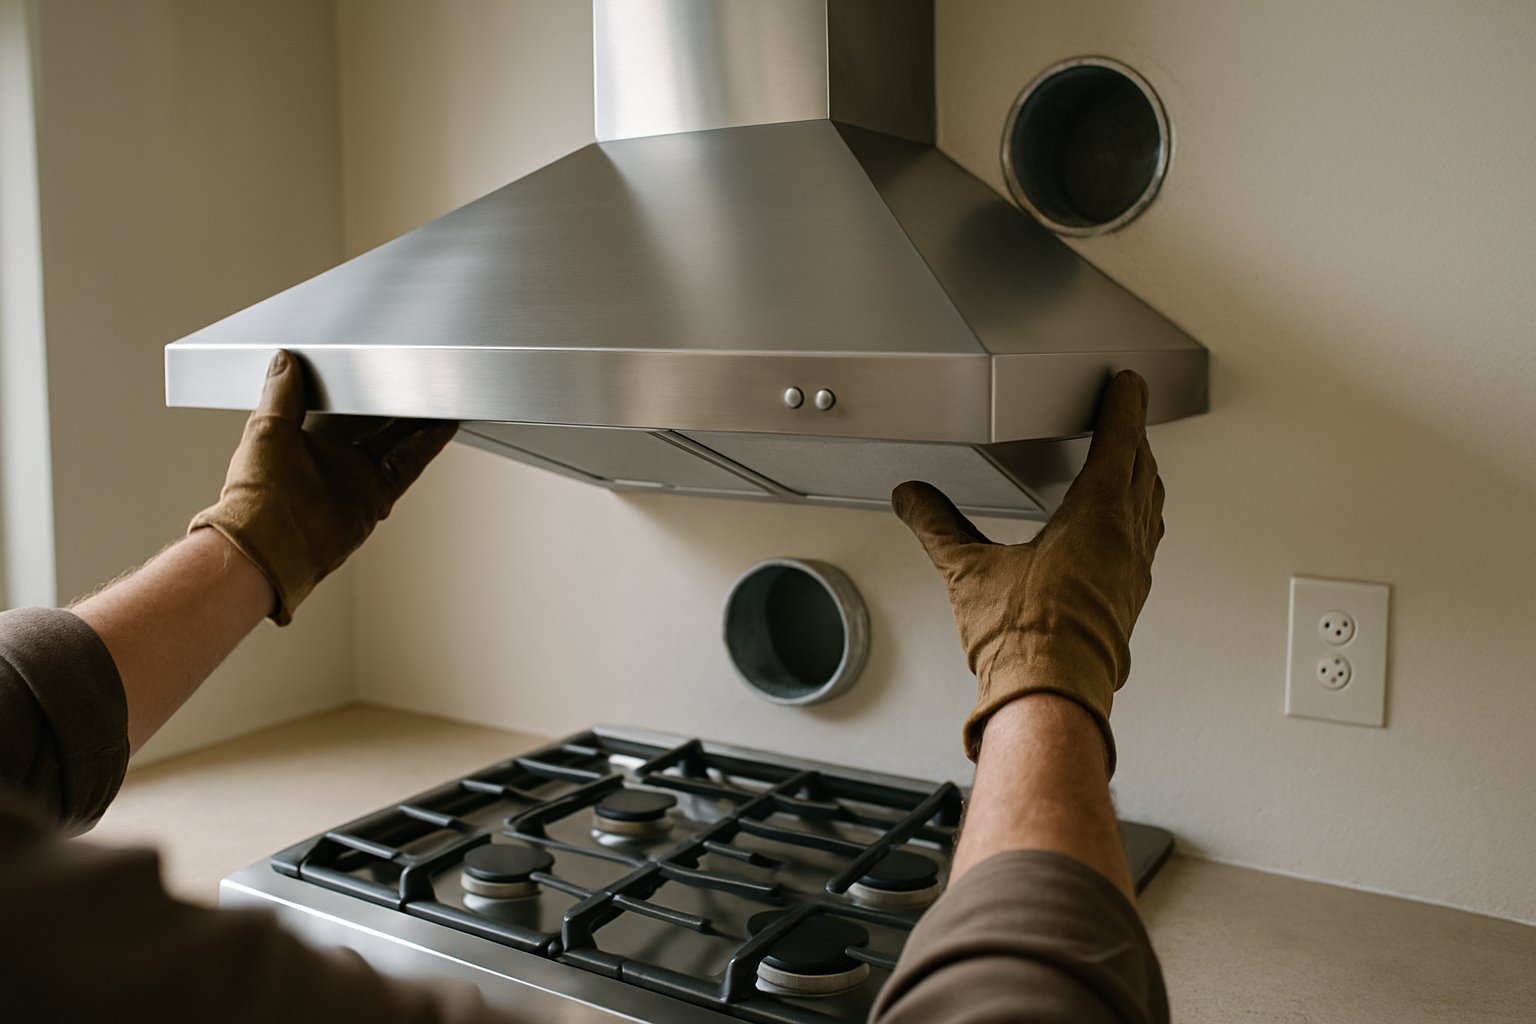
Step 3: Mount the New Unit
Most modern range hoods use a wall-mount template (cardboard sheet) included with the unit.
- Hold the template against the wall, aligned correctly above the cooktop. Standard mounting height: 24-30 inches above the cooktop for gas, 30-36 inches for electric.
- Mark mounting hole locations with a pencil.
- Drill pilot holes — into studs where possible, drywall anchors otherwise.
- Install the mounting bracket included with the unit.
- With your friend, lift the new hood into position, hooking onto the bracket.
- Drive the final mounting screws into the unit’s mounting holes.
Step 4: Connect the Ductwork (Vented Configuration)
If your existing ductwork is in place:
- Position the unit’s exhaust port to align with the existing duct.
- Slip a 6-inch duct collar onto the unit’s exhaust port.
- Connect the collar to the existing duct using foil tape (3-4 wraps around the joint).
- Foil tape, NOT cloth duct tape — duct tape’s adhesive fails over time on hot ducts.
- Test: hold a tissue near the connection while the fan runs. Tissue should be pulled to the duct opening — confirms airflow.
If installing as recirculating:
- Verify the unit comes with charcoal filters (most do).
- Install the charcoal filters per the unit’s instructions.
- The unit’s exhaust port may need to be capped or redirected per the manual.
Step 5: Connect the Electrical
For plug-in units:
- Plug into the outlet at the back of the unit.
For hardwired units (most OTR microwaves):
- Pull the existing house electrical cable through the cable clamp on the unit’s junction box.
- Wire-nut: black-to-black, white-to-white, ground-to-ground.
- Tighten cable clamp. Replace junction box cover.
Step 6: Install Filters and Test
- Install the metal grease filter (slides into a slot on the underside of the hood).
- If recirculating, install the charcoal filters.
- Restore power at the breaker.
- Test: turn the fan on at low, medium, high. All should work and sound appropriate.
- Test the light. All lighting should work.
Common Mistakes
- Mounting too low. Code typically requires 24-30 inches above gas cooktops, 30-36 inches above electric. Lower causes excess heat exposure and fire risk.
- Using cloth duct tape on the duct connection. Adhesive fails. Always use foil tape (HVAC tape).
- Connecting to undersized ductwork. A 4-inch duct doesn’t move enough air for a modern hood (most are 600+ CFM, requiring 6-inch). Reduces effectiveness dramatically.
- Recirculating without charcoal filters. Unit becomes purely decorative — no odor reduction at all.
- Ignoring the OTR microwave height. OTR microwaves have specific clearance requirements (manufacturer spec) that may differ from range hood mounting heights. Read the manual.
- Skipping the duct cleaning when replacing a unit. Old grease in the duct can ignite. Clean before connecting the new hood.
When to Hire It Out
- Adding new ductwork through walls or ceilings (carpentry + roofing if penetrating roof)
- Converting from over-cabinet to under-cabinet style (different mounting)
- Installation in homes with non-standard cabinet height or configuration
- Range hood replacement during a kitchen remodel where cabinets are also being changed
The Bottom Line
Range hood replacement is doable in 1-2 hours with a friend. The key decision is vented vs. recirculating — if you cook regularly, the vented version is dramatically more effective. Existing ductwork makes the install straightforward; needing new ductwork is a different scope.
For the full sequence including OTR microwave specifics, ductless conversions, and the new-ductwork scenarios, see Replace a Range Hood or OTR Microwave.
For a kitchen remodel that involves repositioning the cooktop or adding new exhaust ductwork, send your photos for a $9.99 diagnostic report.