Most homeowners pay an electrician $150–$250 to replace a single ceiling light. The job itself is a 30-minute DIY task that requires a screwdriver, a voltage tester, and the ability to twist wire nuts. The reason people hire it out is fear of electrical work — and that fear is reasonable, because doing it wrong matters. But the actual procedure is genuinely simple if you follow the safety steps.
I’ve swapped probably forty light fixtures in my own houses. Here’s the entire job.
When You Can DIY This
Any standard ceiling fixture replacement — flush mount, semi-flush, pendant, or chandelier under 50 pounds — going into an existing ceiling box that already has a fixture. That covers the vast majority of “I just want to update this room” situations.
You should NOT DIY this if:
- You’re moving the location of the fixture (running new wire = electrician + permit)
- The new fixture weighs over 50 pounds (different mounting setup, sometimes different box requirements)
- The wiring in the box is the cloth-jacketed stuff from before the 1960s — handle with extreme care or call a pro
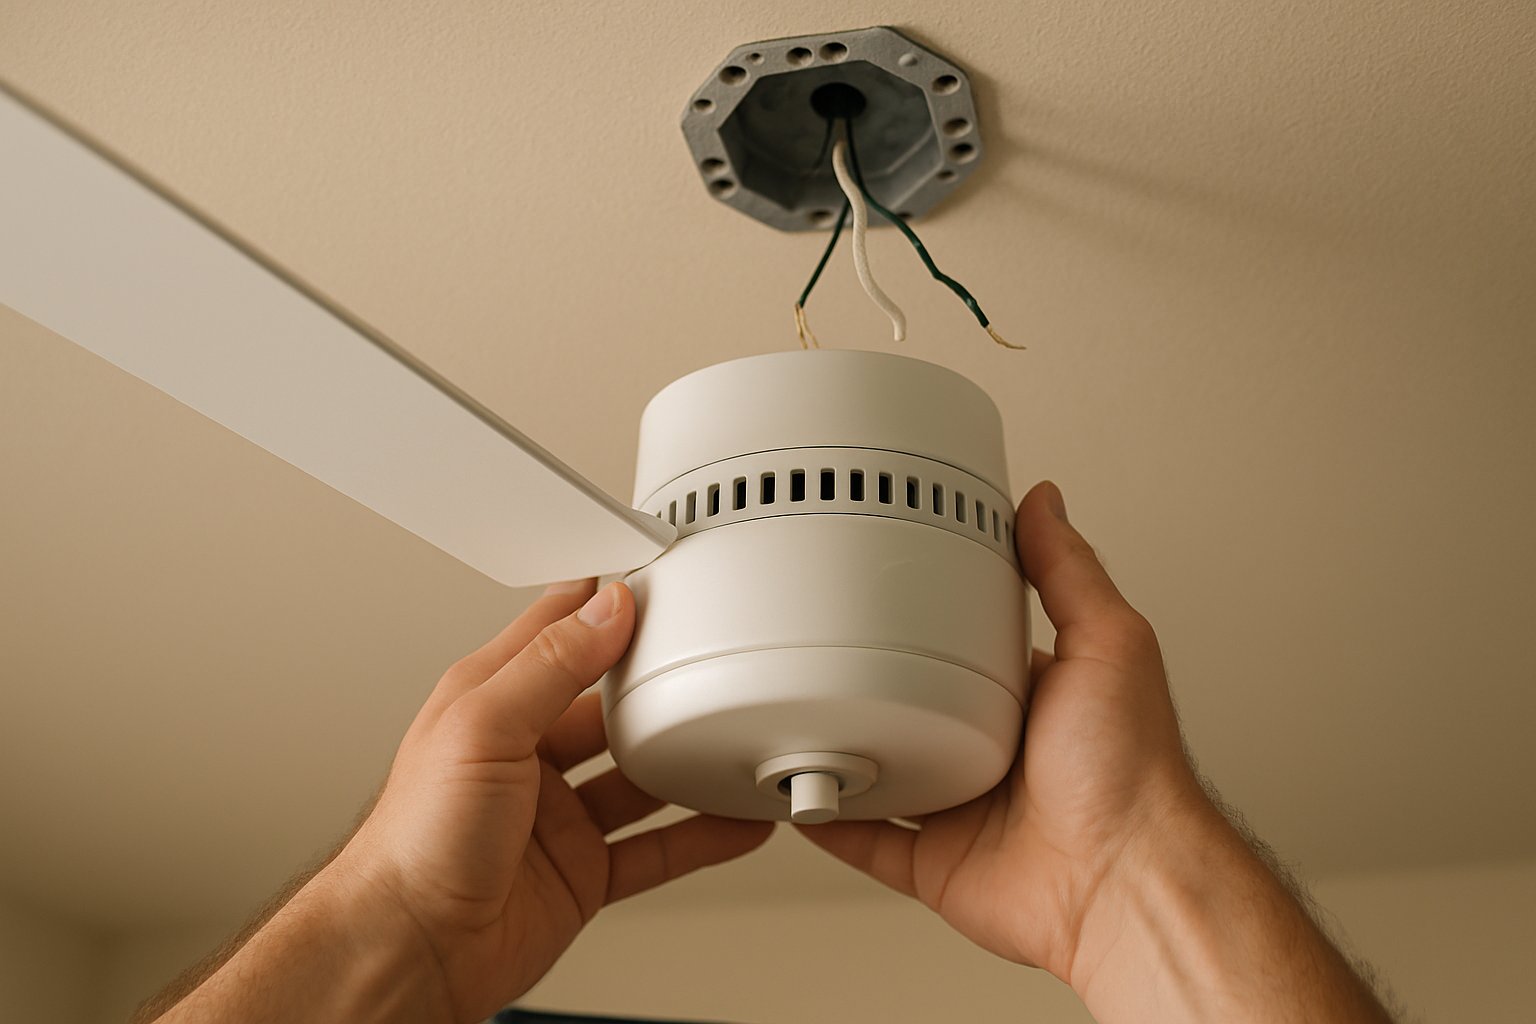
- The new fixture is a ceiling fan (different rules — see the ceiling fan post)
Tools and Materials
- The new fixture (with the included mounting bracket and instructions)
- A non-contact voltage tester ($10–$15)
- Phillips and flathead screwdrivers
- Wire strippers
- A few extra wire nuts (orange or yellow size for typical fixture wires)
- A step ladder
- A friend (helpful for holding heavy fixtures while you wire)
The Safe Sequence
Step 1: Turn off the breaker that feeds the room. Don’t just turn off the wall switch — the wires in the box are still hot if you only kill the switch.
Step 2: Verify the wires are dead. Remove the existing fixture’s globe or shade so you can see the wires. With the breaker still off, hold a voltage tester near the wires. The tester should stay silent. If it beeps or lights up, you flipped the wrong breaker — go back and find the right one.
Step 3: Note how the existing fixture is wired. Take a phone photo before you disconnect anything. Look for:
- Black wire (hot) from the house going to one fixture wire
- White wire (neutral) from the house going to another fixture wire
- Bare or green wire (ground) going to the box or to a green screw
This is the same pattern your new fixture will use.
Step 4: Disconnect. Unscrew the wire nuts. Untwist the wires. Lower the old fixture to the floor.
Step 5: Inspect the box. Look at the box itself, mounting bracket, and the wires. Wires should have intact insulation — no scorching, no cracks. The box should be securely attached to a joist or strap (not floating or wobbly).
Install the New Fixture
- Mount the new bracket. Most modern fixtures come with their own mounting bracket that screws to the box. Attach it.
- Pre-install bulbs if there’s space. Sometimes easier to do this on the ground than overhead.
- Connect the wires. Strip the new fixture’s wire ends about 3/4 inch back if not already done.
- Black to black: Twist the new fixture’s black wire together with the house black, clockwise, then cap with a wire nut. Tug to confirm secure.
- White to white: Same process.
- Ground to ground: New fixture’s bare or green wire to the house bare ground wire (or to the green screw on the bracket).
- Tuck wires up into the box. Don’t pinch them against the bracket — they should fold accordion-style.
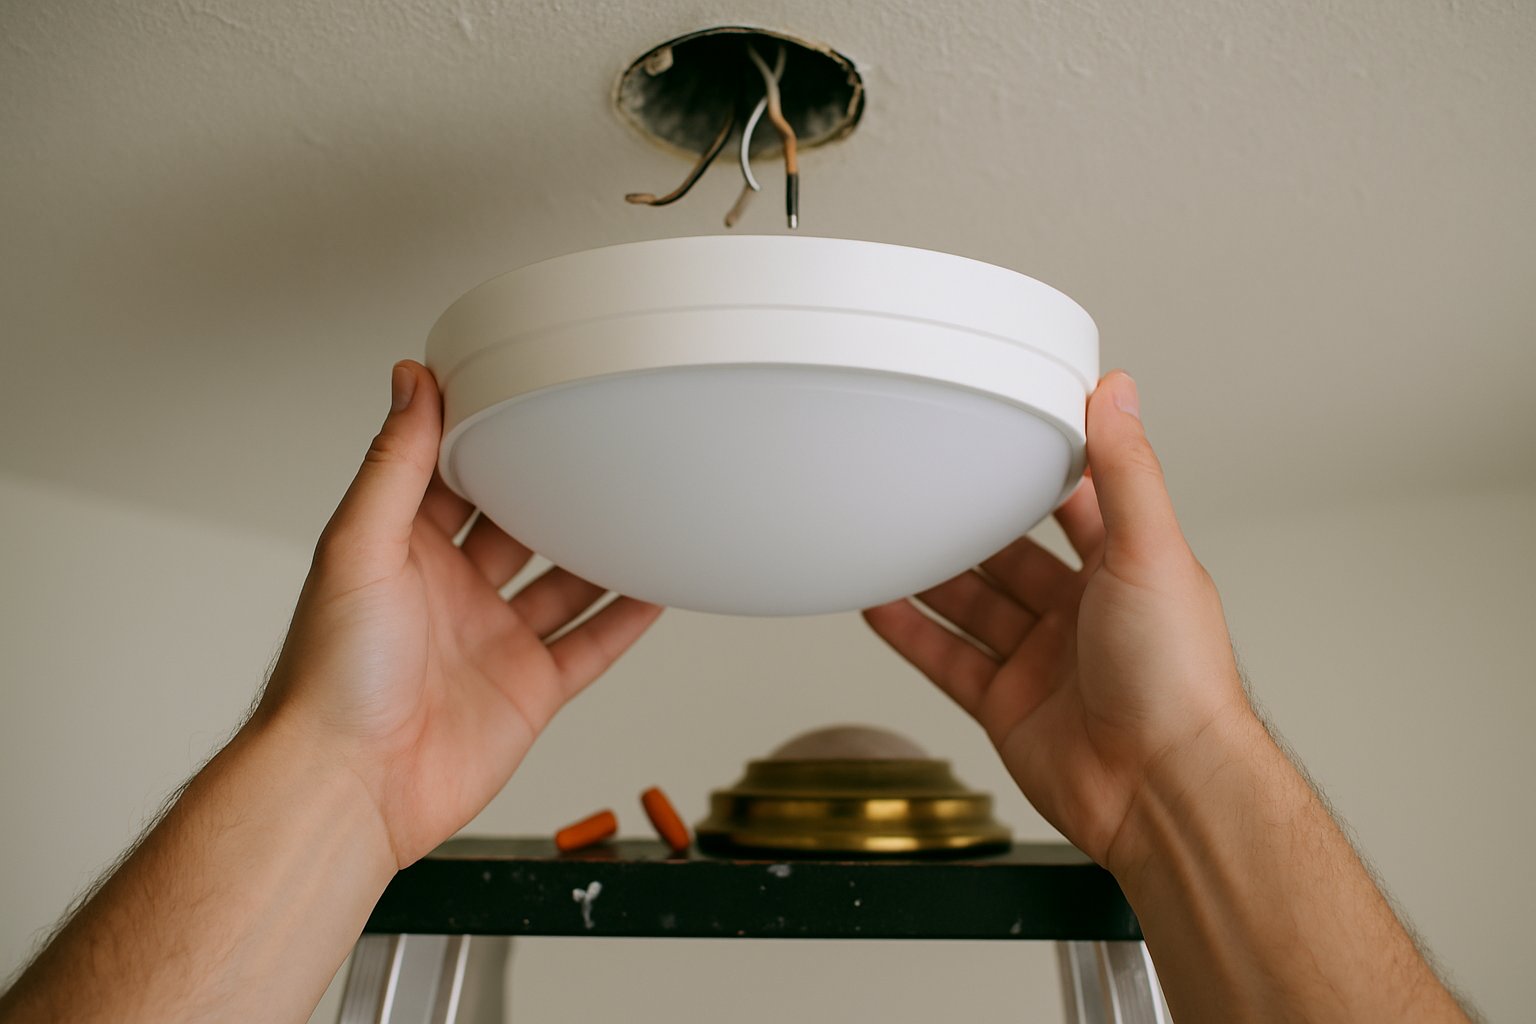
- Lift the fixture canopy and align with the bracket holes. Most use 2 mounting screws or a single center nut.
- Screw the canopy in place. Tight enough to be flush against the ceiling without cracking the canopy.
- Install the globe, shade, or diffuser.
Restore power at the breaker. Flip the wall switch. Light comes on.
Common Mistakes
- Trusting the wall switch. Always kill power at the breaker, not just the switch.
- Skipping the voltage tester verification. Even after you flip the breaker. Always confirm.
- Wrapping wires the wrong direction in the wire nut. Twist clockwise so the cap tightens the connection. Counterclockwise loosens.
- Forgetting the ground. Some old houses don’t have a ground wire in the box. If that’s true for yours, you have to either leave the new fixture’s ground unconnected (acceptable for a simple fixture) or upgrade the wiring.
- Hanging a heavy fixture from a flimsy plastic box. Standard plastic boxes hold ~10 pounds. Heavy chandeliers need a metal box rated for the weight, often with a brace bracket.
- Mounting before the wiring is fully connected. Get all three wire connections done first, then lift the fixture into position. Trying to do both at once with one hand is how things get dropped.
Frequently Asked Questions
Do I need a permit to replace a light fixture? A like-for-like swap doesn’t require a permit in most NJ municipalities. Adding a new fixture in a location that didn’t have one before requires a permit (running new wire is electrician territory).
The new fixture has more wires than the old one. What now? Some fixtures have separate wires for night-light or accent functions. Read the instructions. Often you have to cap unused wires individually with a wire nut and tuck them into the box.
The wires in my ceiling box are aluminum, not copper. What now? Stop. Aluminum wiring requires special connectors (CO/ALR rated) and often special expertise. This is not a DIY job. Hire a licensed electrician.
My new fixture has a metal pull chain. How do I wire that? Pull-chain fixtures are usually self-contained — the chain operates a switch built into the fixture, and the wires from the house just provide constant power. Wire it as normal; the chain becomes the on/off control.
The Bottom Line
A standard light fixture swap is one of the most accessible DIY electrical projects there is — 30 minutes, basic tools, and one critical safety habit (always test with the voltage tester after flipping the breaker). The savings vs. hiring an electrician add up quickly across a house refresh.
For the full sequence including chandelier installs, fan-light combos, and the box-upgrade scenarios, see Replace a Light Fixture.
If you’ve got a bigger project — multiple fixtures, smart-home integration, or a panel upgrade — book a free 20-minute consultation.