Replacing a toilet fill valve takes 30 minutes, costs about $12 for a Fluidmaster 400A (the industry standard), and fixes the problems a new flapper can’t — phantom flushing, continuous hissing, slow tank refill, and a water level that can’t be controlled.
Here’s how to swap it out correctly, plus the three setup details people miss that cause a new valve to leak or fill wrong.
When to Replace the Fill Valve (vs. Just the Flapper)
Replace the flapper if:
- The dye test shows color leaking into the bowl
- The toilet runs periodically (“phantom flush”) every 10–20 minutes
- The flapper is visibly warped, crusted, or soft
Replace the fill valve if:
- You hear continuous hissing or trickling even when the tank is full
- The tank won’t fill to the correct level (too high or too low)
- The valve takes over 3 minutes to fill the tank
- You’ve replaced the flapper and the problem continues
- The float is stuck or the adjustment doesn’t work
You can also do both at the same time — the Fluidmaster 400CR kit ($15) includes a flapper, saving a trip to the store.
Tools & Materials
- New fill valve — Fluidmaster 400A ($12) fits virtually every US toilet
- Adjustable wrench or channel-lock pliers
- Sponge and bucket
- Rag
- Rubber gloves (optional)
- New supply line (recommended — $5, braided stainless replaces any old plastic or worn hose)
Step-by-Step: Replace the Fill Valve
1. Shut Off Water
Turn the shutoff valve on the wall behind the toilet clockwise until it stops. If the valve is stuck or leaks when turned, stop — you’ll need to replace that separately (shut off water to the whole house first).
2. Drain the Tank
Flush the toilet to empty the tank. Hold the handle down to get more water out. Sponge the remaining water out of the tank — a dry tank makes the rest of the job easier and keeps your floor clean.
3. Disconnect the Supply Line
At the bottom of the tank, unscrew the supply line nut from the shank of the old fill valve. Use a wrench — it’s usually just hand-tight plus a quarter turn. A small amount of water will come out into the bucket.
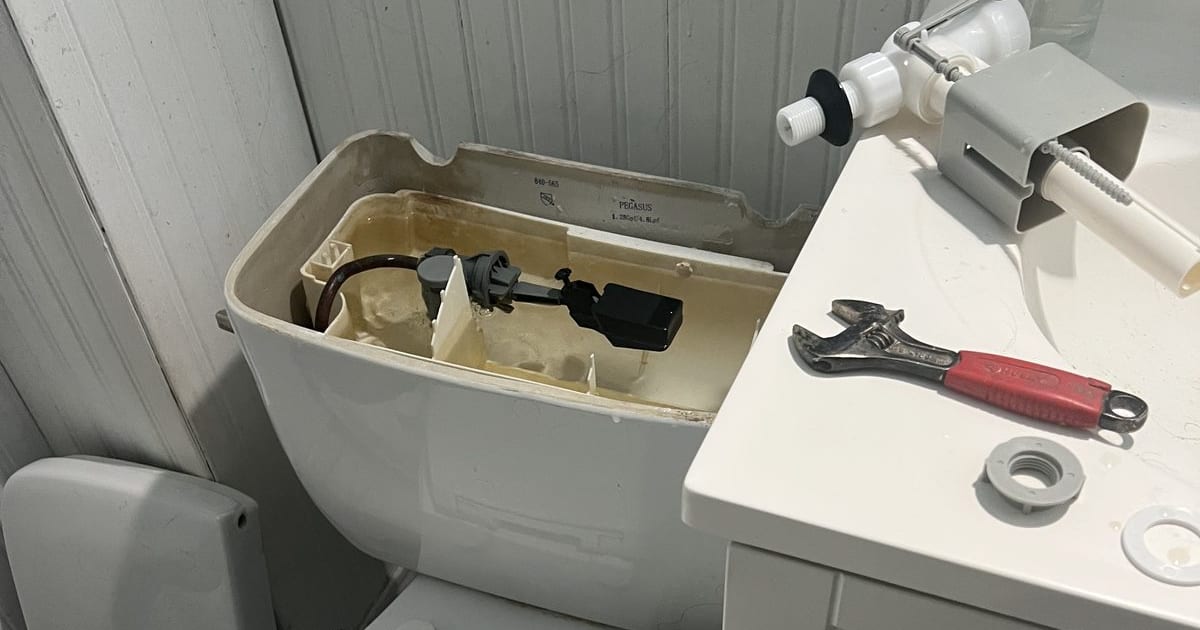
4. Remove the Old Fill Valve
Under the tank, find the locknut holding the fill valve shank to the bottom of the tank. Unscrew it — counterclockwise from below. If it’s corroded and stuck, apply penetrating oil and wait 10 minutes.
Lift the old fill valve straight up and out of the tank.
5. Measure and Set the Height of the New Valve
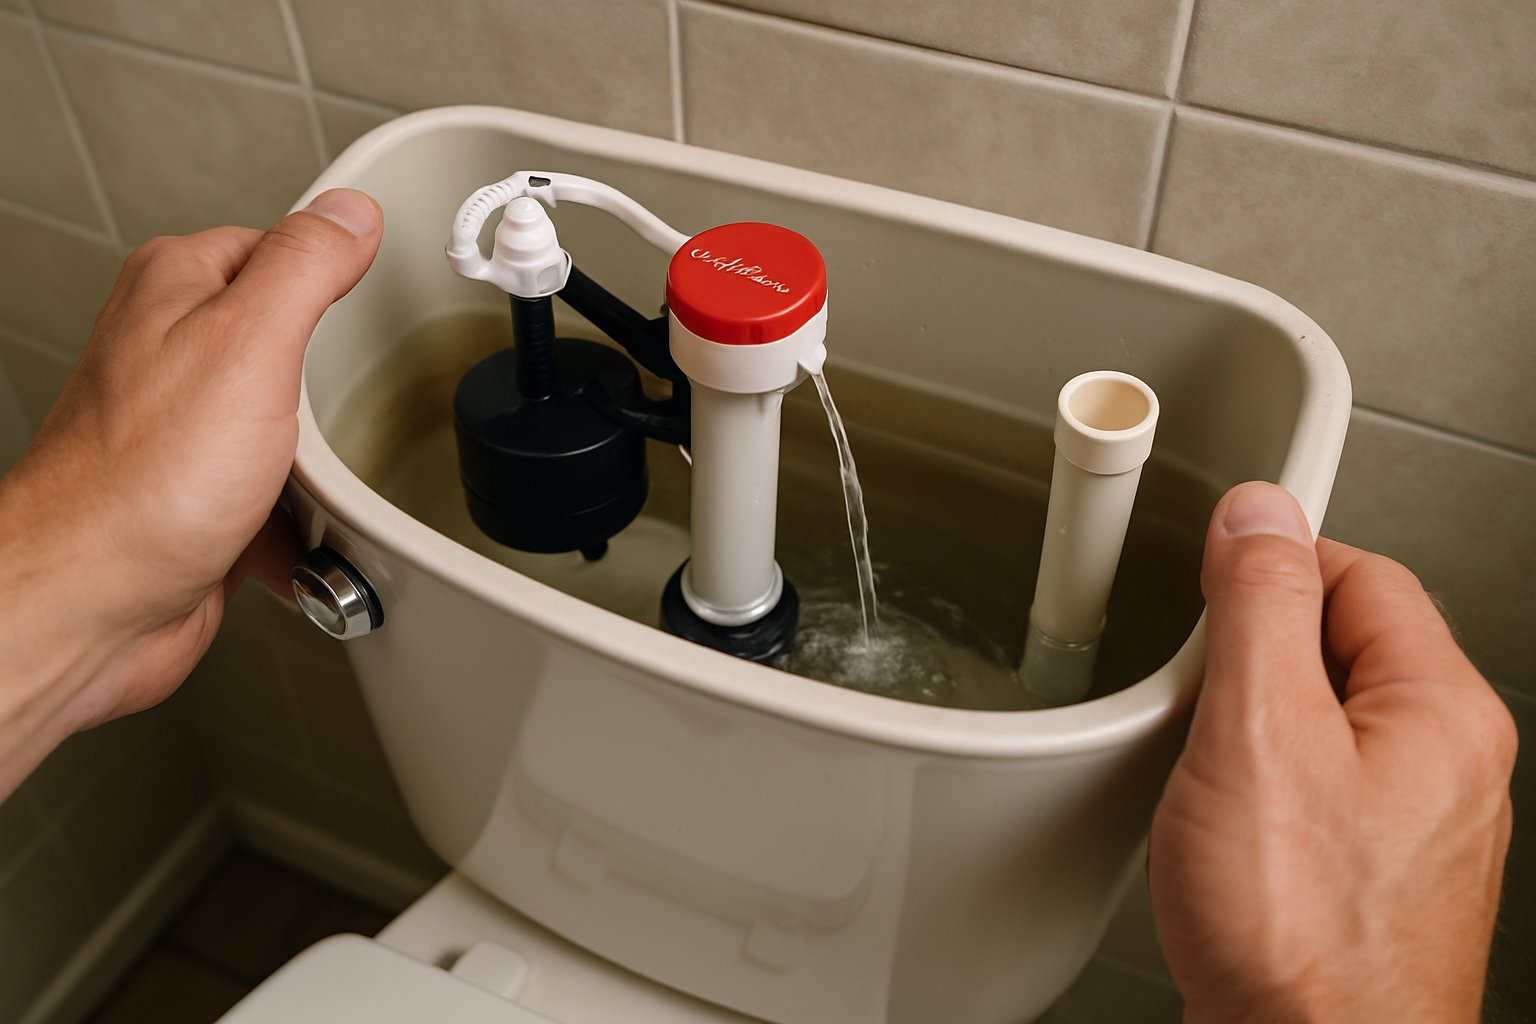
The new valve has a threaded shaft that adjusts the total height. The top of the valve (the “critical level” line marked CL on the valve) must be at least 1 inch above the top of the overflow tube — the tall tube in the center of the tank.
To adjust:
- Hold the new valve next to the overflow tube in the tank.
- Twist the upper half of the valve (clockwise lengthens, counterclockwise shortens) until the CL mark is 1+ inches above the overflow tube.
Getting this wrong is the #1 mistake with fill valve swaps. Set it before you install.
6. Drop the Valve In
Put the new valve into the hole where the old one came out. The valve shank drops through the hole in the bottom of the tank.
7. Tighten the Locknut
From below the tank, hand-tighten the new locknut onto the shank. Only hand-tight, plus a quarter turn with a wrench — no more. The porcelain will crack if you reef on it. The rubber washer between the valve and the tank is what creates the seal, not the tightening force.
8. Attach the Refill Tube
The new valve comes with a small plastic tube — this is the bowl refill tube. One end clips onto the valve body; the other end clips over the overflow tube.
Critical: The free end of the refill tube must clip over the edge of the overflow tube, not drop down inside it. If it hangs inside the overflow, it creates a siphon — the tank will drain continuously. Use the provided plastic clip/angle adapter so the tube rests above the overflow lip.
9. Reconnect Supply Line
Consider replacing the supply line at the same time — $5 for a braided stainless line, which is much less prone to failure than old plastic.
Thread the supply line nut onto the valve shank. Hand-tight plus a quarter turn with a wrench.
10. Turn Water On and Adjust Water Level
Open the shutoff slowly. Watch the tank fill. Listen — the valve should shut off cleanly with no hissing when the tank reaches its preset level.
Adjust the water level so it sits about 1 inch below the top of the overflow tube:
- Fluidmaster 400A: Pinch the clip on the float cup and slide it up or down the shaft. Down = lower water level.
- Older ball-style valves: Bend the metal arm or turn the plastic adjustment screw.
11. Test
Flush 3–4 times. The tank should fill smoothly and shut off cleanly each time. No hissing, no trickling, no overflow. The bowl should refill to its normal level (about 1/2 way up the bowl).
Common Mistakes
- Refill tube dropped inside the overflow. Causes a continuous siphon. The tube must clip over the overflow edge, not hang inside.
- CL line below the overflow level. If the valve’s critical level is below the overflow tube, a cross-connection risk exists — this is a code violation. Always measure and set before installing.
- Overtightening the locknut. Cracked tank. Hand-tight plus a quarter turn.
- Reusing the old supply line. $5 for a new braided line saves a future flood. Plastic supply lines and old chrome ones fail catastrophically — replace them.
- Not adjusting the water level. Default height from the factory is rarely right for your tank. Adjust after installing.
Troubleshooting After Install
Hissing sound continues. Refill tube is probably dropped into the overflow — pull it up and clip it over the edge.
Tank fills too high/overflows. Float is set too high. Adjust down until water sits 1” below overflow top.
Tank fills too slowly. Shutoff valve not fully open, or debris in the new valve. Close shutoff, disconnect supply, hold a cup under it, briefly open shutoff to blow out debris.
Leak under the tank. Locknut isn’t seated evenly or washer is pinched. Drain tank, loosen, reseat, hand-tight plus quarter turn.
Frequently Asked Questions
What’s the difference between a fill valve and a flapper? The flapper is the rubber disc at the bottom of the tank (controls water going from tank to bowl during a flush). The fill valve is the tall assembly on the left side (controls water coming into the tank from the supply line).
Can I use any fill valve in any toilet? Fluidmaster 400A is truly universal and fits almost any toilet. Korky 528 is the other common universal. For quieter operation and faster fill, consider the Fluidmaster 400H PerforMAX (a few dollars more).
How long do fill valves last? 8–12 years for a quality valve in normal water. Shorter in hard water.
Do I need to shut off water to the whole house? No. Use the local shutoff behind the toilet. If that shutoff is frozen or leaking, then yes — shut off at the main.
Why is my new fill valve loud? Some models (older Fluidmaster designs) are inherently louder. If it’s much louder than expected, the water pressure in your house may be too high — 80+ psi makes any fill valve whistle. A plumber can adjust your pressure-reducing valve.
The Bottom Line
Fill valve replacement is a true beginner DIY — no soldering, no complicated connections, just hand tightening and careful height setup. The three things that matter: CL line above the overflow, refill tube clipped over (not in) the overflow, and locknut only hand-tight plus a quarter turn.
If you’re planning a bathroom remodel and want a fixture plan and permit checklist tailored to your project, send your photos for a $9.99 diagnostic report.