Replacing a toilet flapper takes about 10 minutes and costs $6 to $15 for the part. It’s the single most common fix for a running toilet, and it’s beginner-friendly — no wrenches, no shutoff to the whole house, no risk of flooding.
The only way to get this wrong is to buy the wrong flapper. Here’s how to pick the right one and install it the first time.
What a Flapper Does
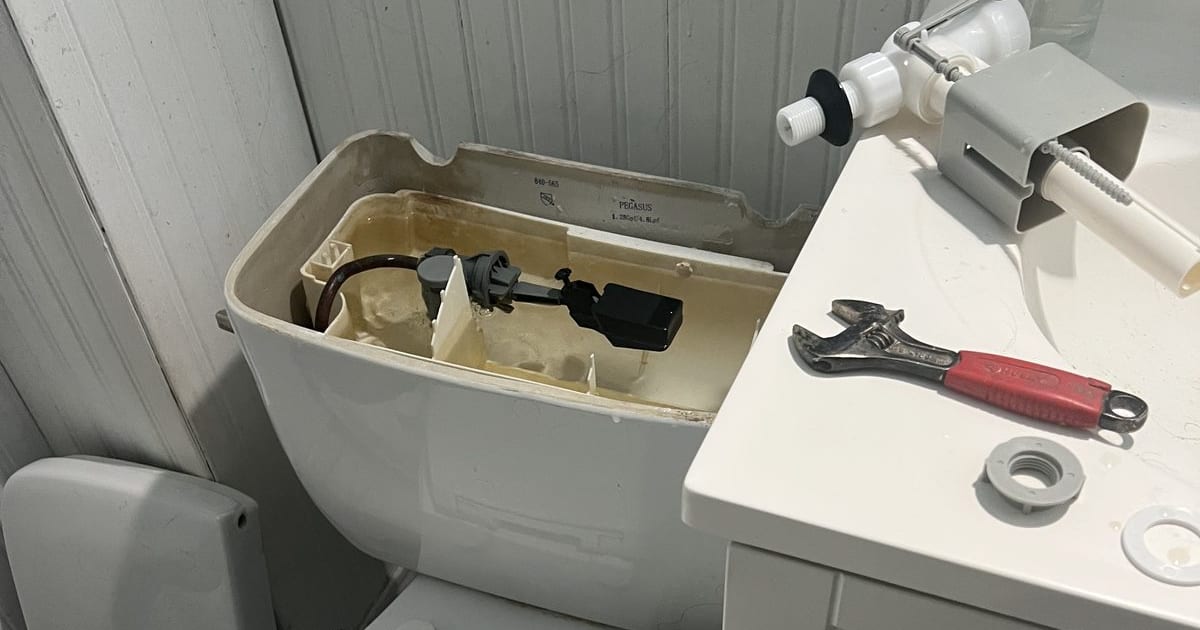
The flapper is the rubber or silicone disc at the bottom of your toilet tank. When you press the flush lever, a chain lifts the flapper, water dumps into the bowl, and the flapper falls back down to seal the tank so it can refill. When the flapper warps, cracks, or gets a mineral crust, it stops sealing — water leaks past it into the bowl, and the fill valve runs continuously to top off the tank. That’s a running toilet.
How to Know If Your Flapper Is Bad
Run the dye test:
- Put 4–5 drops of food coloring in the tank.
- Don’t flush. Leave it for 15 minutes.
- If color appears in the bowl, the flapper is leaking.
If the dye test is clean but the toilet still runs, the problem is the fill valve or the float — not the flapper.
Choose the Right Flapper
This is the step most DIYers skip and then end up at the hardware store twice.
Measure the flush valve opening (the hole at the bottom of the tank where the flapper sits):
- 2 inches — the standard for 90% of toilets made before 2005 and many since.
- 3 inches — common on newer high-efficiency toilets (1.28 GPF and 1.0 GPF). Fits TOTO, Kohler Cimarron, American Standard Champion, and many 2010+ models.
- 4 inches — rare, found on some commercial and very-high-efficiency models.
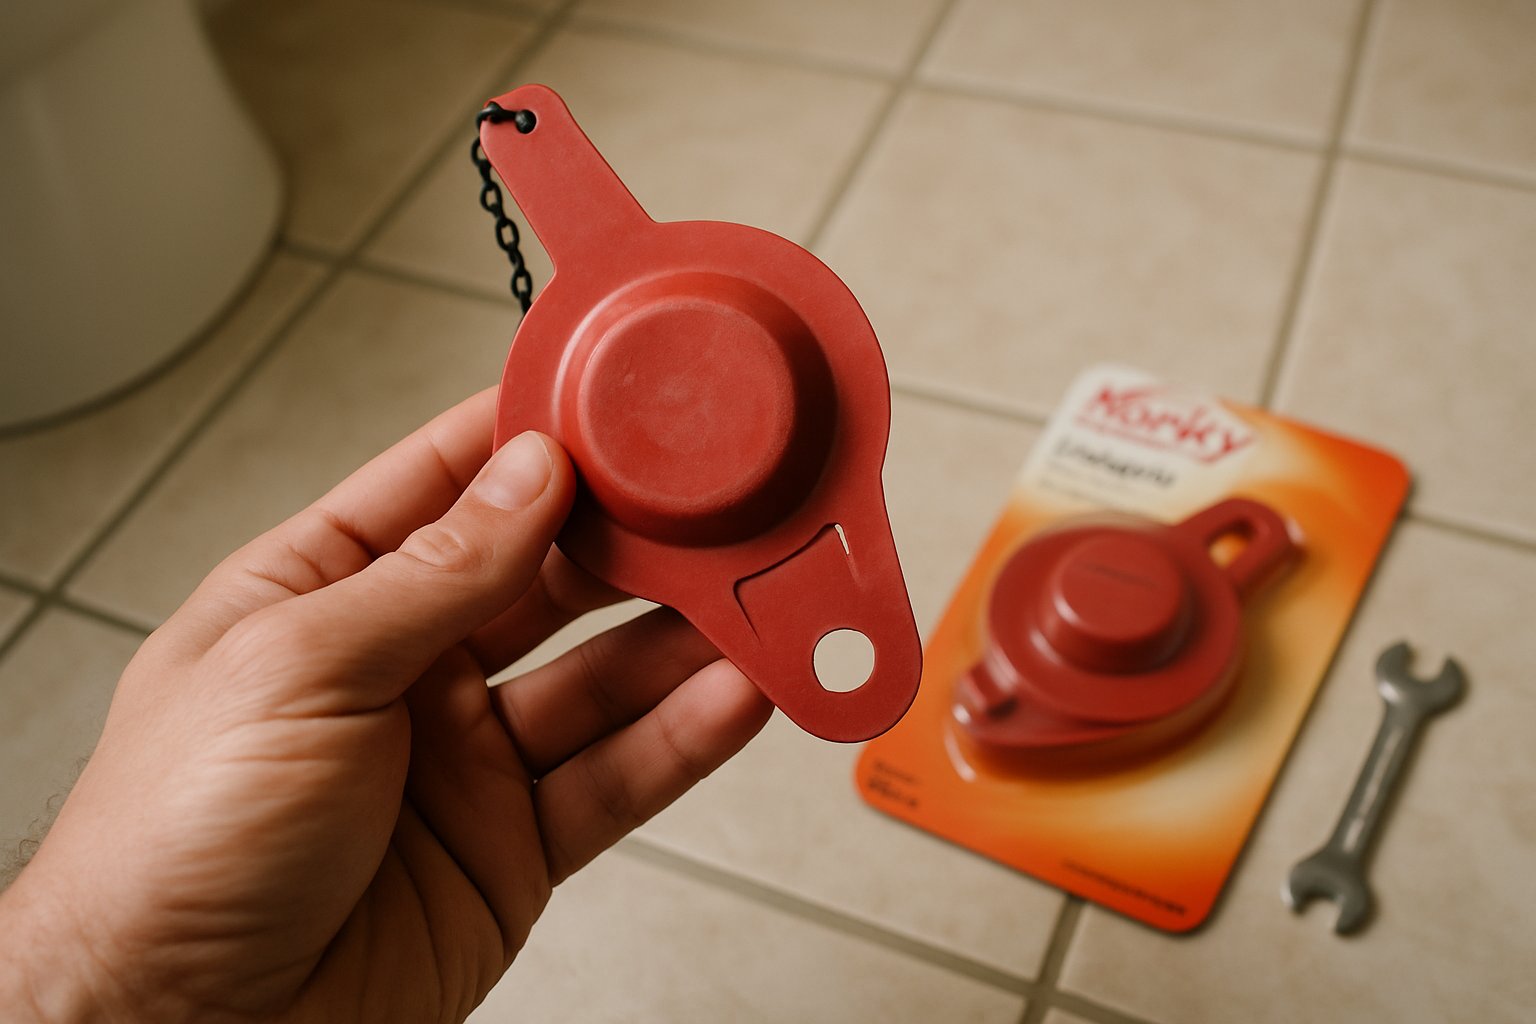
Check your toilet brand and model. Look inside the tank — the brand is usually stamped on the back wall near the top, and the model number is often on the underside of the tank lid. Korky and Fluidmaster both publish flapper compatibility charts by brand. Match yours before buying.
Avoid “universal” adjustable flappers if you can. They work but they’re finicky. A flapper made specifically for your toilet brand will seal better and last longer.
Tools & Materials
- New flapper (matched to your toilet)
- A rag
- A bucket (optional, for sponging residual tank water)
- Rubber gloves (tank water is clean but not bath-clean)
That’s it. No wrenches. No plumber’s putty. No caulk.
Step-by-Step: Replace the Flapper
1. Shut Off the Water
Find the shutoff valve on the wall behind the toilet. Turn it clockwise until it stops.
2. Drain the Tank
Flush the toilet. The tank will empty and not refill (because the water is off). If a little water remains, sponge it out with a rag.
3. Unclip the Chain
The chain runs from the flush lever arm down to a tab on top of the old flapper. Unhook the clip — it slides off the arm.
4. Remove the Old Flapper
The flapper has two rubber “ears” that hook onto pegs on the sides of the overflow tube (the tall center tube). Unhook the ears and lift the flapper out.
5. Clean the Flush Valve Seat
The seat is the ring of plastic at the bottom of the tank where the flapper sits. Wipe it with a rag. If you see mineral buildup (chalky white crust), scrub it gently with a green scrub pad. Do not use anything abrasive — a scratched seat won’t seal even with a brand-new flapper.
6. Install the New Flapper
Hook the two ears onto the pegs on the overflow tube. The flapper should sit flat over the flush valve opening.
7. Attach the Chain
Clip the chain onto the flush lever arm so there’s about one link of slack when the flapper is closed. Too tight means the flapper lifts slightly all the time (continuous leak). Too loose means incomplete flushes.
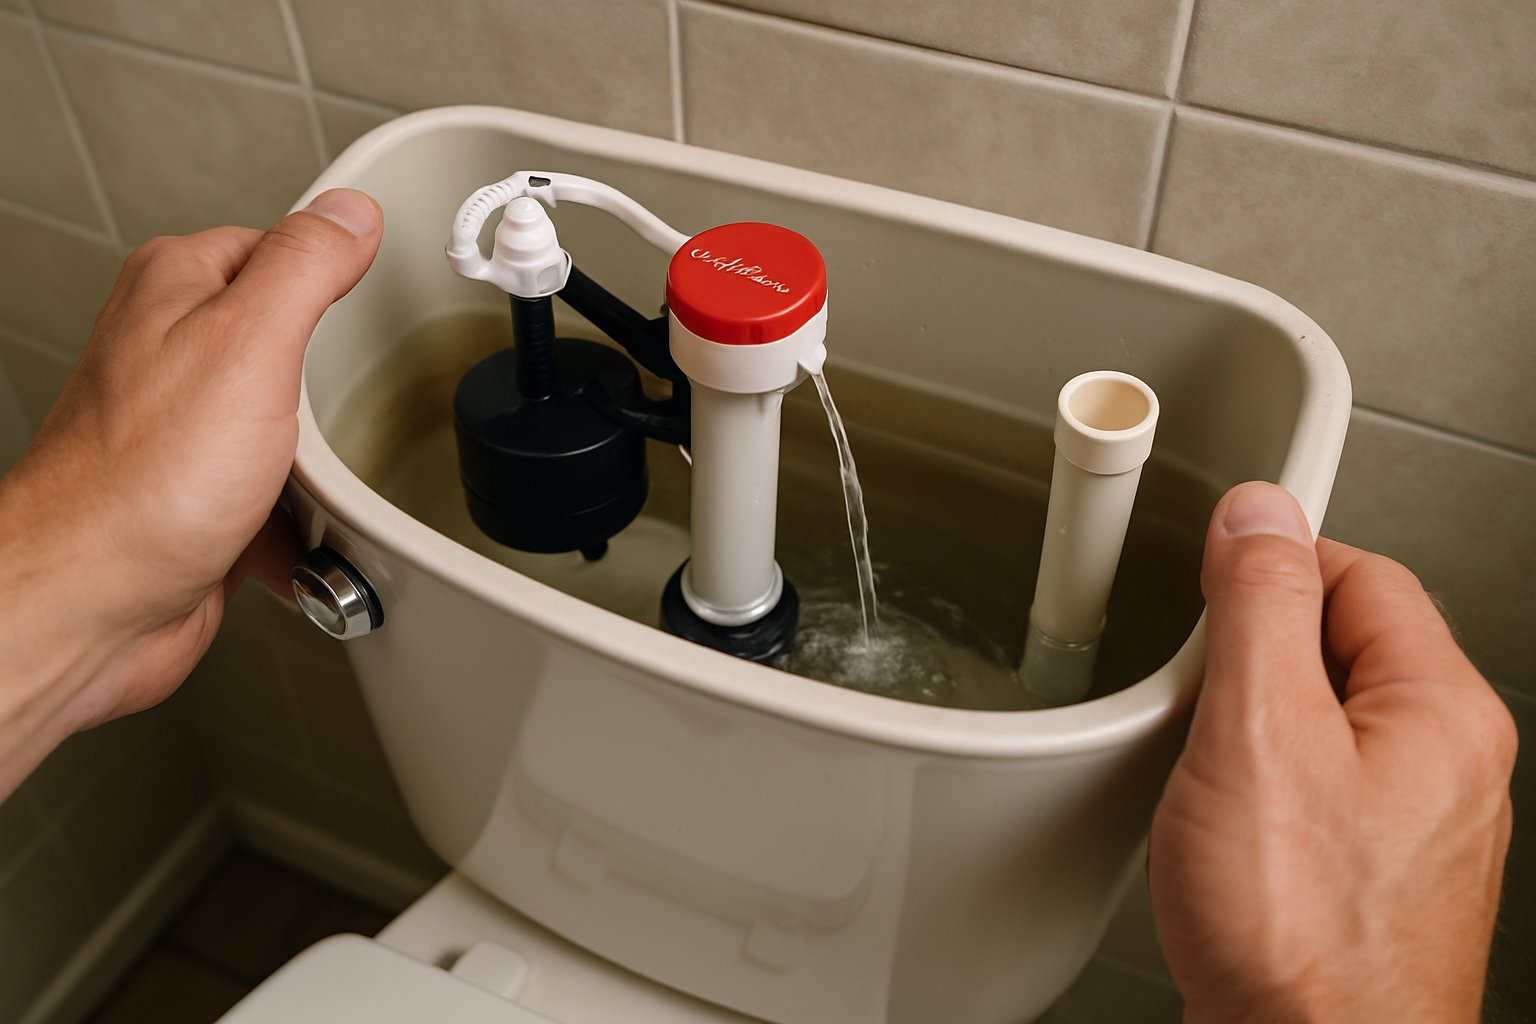
8. Turn Water Back On
Open the shutoff valve. The tank will refill. Listen — when the water level reaches the fill line, the valve should shut off completely. No hissing, no trickling.
9. Test It
Flush 3–4 times. Watch the flapper seat after each flush. It should drop fully and cleanly. Do the dye test again after an hour to confirm zero leak.
Common Mistakes
- Buying the wrong size. 2” flapper on a 3” valve = instant leak. Measure or match brand.
- Chain too tight. One link of slack. Period.
- Forgetting to clean the seat. Mineral crust on the seat = new flapper still leaks. Always wipe and scrub before installing.
- Using tank cleaning tablets after replacing. Blue drop-in cleaner tablets chemically destroy flapper rubber. If you’ve used them, expect to replace the flapper every 6 months. Stop using them.
- Overtightening chain to the lever arm. No tool needed — it’s a clip. Finger-tight.
How Long Should a New Flapper Last?
A standard rubber flapper in a hard-water area lasts 3–5 years. In soft water with no tank cleaner tablets, 7–10 years is normal. Silicone flappers (Korky Plus, Fluidmaster PerforMAX) last longer than rubber and resist chlorine and mineral buildup better — worth the extra $3.
When to Replace More Than Just the Flapper
If you’ve replaced the flapper twice in a year or the seat is visibly pitted/scored, the entire flush valve (the plastic assembly the flapper sits on) needs replacing. That requires removing the tank from the bowl — still DIY, but a bigger job. Kits like the Fluidmaster 540A replace the whole assembly for about $20.
Frequently Asked Questions
How do I know if I have a 2-inch or 3-inch flapper? Remove the old flapper and measure the opening at the bottom of the tank. Or look at the flapper itself — the size is often printed on the rubber.
Can I use a universal flapper? Yes, but fit and longevity are better with a brand-matched flapper. For most Fluidmaster and Korky universals, a matched flapper costs the same and lasts longer.
Why does my new flapper still leak? Two likely causes: (1) wrong size, or (2) mineral deposits on the flush valve seat. Pull the flapper and scrub the seat with a green pad.
Do I need to turn off water to the whole house? No. Use the local shutoff valve on the wall behind the toilet.
How much does a plumber charge to replace a flapper? $75–$150 in NJ, including the service call. The part is $6 at Home Depot. This is the highest-ROI DIY fix in the house.
The Bottom Line
Buy the right flapper, clean the seat, leave one link of chain slack. That’s the entire job. If you’ve never done a plumbing repair before, this is the one to start with — low risk, no tools, and you’ll save $100+ every time you do it.
If you’re planning a full bathroom remodel and want a fixture spec, materials list, and permit checklist tailored to your project, send your photos for a $9.99 diagnostic report.