Water pooling around the base of your toilet after a flush almost always means the wax ring has failed. Replacement takes 60–90 minutes, costs $5 for the ring, and requires pulling the toilet off the floor — doable solo but much easier with a helper.
Do this as soon as you notice the leak. Every flush that leaks under the toilet is rotting the subfloor.
What a Wax Ring Does
The wax ring sits between the bottom of the toilet and the closet flange (the round fitting screwed to the floor that connects to the drain pipe below). Its only job is to create a watertight, gas-tight seal so flush water goes down the drain — not onto your subfloor, and sewer gas doesn’t come up into the bathroom.
Wax rings fail for three reasons:
- Age. They last 20–30 years typically. Older homes are often overdue.
- Toilet wobble. A rocking toilet breaks the wax seal. If you can rock your toilet side to side, the ring is either already failing or will fail soon.
- Poor prior install. If the previous ring wasn’t fully compressed, or was the wrong thickness for the flange height, it never sealed properly.
Signs the Wax Ring Has Failed
- Water on the floor around the base of the toilet after flushing
- Sewer gas smell near the toilet
- Ceiling stain on the floor below (if the toilet is on a second floor)
- Soft, spongy floor when you stand near the toilet
- Toilet rocks slightly when you sit down
Don’t confuse a wax ring leak with condensation on the tank (different fix — see our sweating tank article) or a leak from the supply line (visible, from above the floor).
Tools & Materials
- New wax ring (standard $4 — OR better, a rubber/foam reinforced ring like Fluidmaster 7530 for $8, which is more forgiving if the flange is slightly off)
- Two new closet bolts with washers and nuts ($3)
- Adjustable wrench
- Putty knife / scraper
- Rags and a garbage bag
- Rubber gloves
- Sponge and bucket
- A helper (toilets are heavy — 60–100 lbs)
- Replacement flange or flange extender (only if yours is damaged — see below)
Step-by-Step: Replace the Wax Ring
1. Shut Off and Drain
Turn the shutoff valve behind the toilet clockwise until it stops. Flush the toilet — the tank empties into the bowl. Hold the flush lever down while water drains to maximize bowl draining. Sponge out the remaining water from both the tank and bowl. A bone-dry toilet is much easier to move and doesn’t slosh.
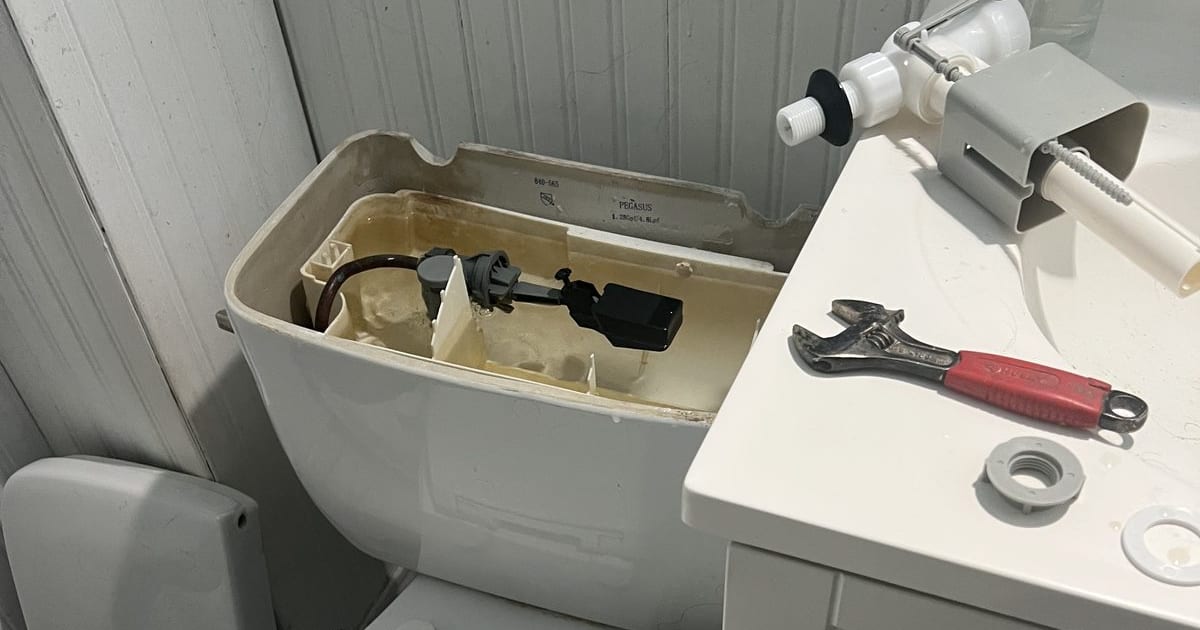
2. Disconnect the Supply Line
Unscrew the supply line from the bottom of the tank. Have the bucket ready — a small amount of water remains in the line.
3. Remove the Bolt Caps and Nuts
At the base of the toilet on each side, pop off the decorative plastic caps. Underneath are nuts on closet bolts. Unscrew both nuts with the wrench. If the bolts spin rather than the nuts, grip the bolt with pliers and unscrew the nut.
If the nuts are corroded and won’t budge, cut the bolts with a hacksaw or mini cutoff tool.
4. Rock and Lift
Break the seal by rocking the toilet gently side to side. Then lift it straight up and off the bolts. With a helper is much easier. Set the toilet on an old towel or cardboard on its side — do not set it flat, as the remaining water in the trap will spill.
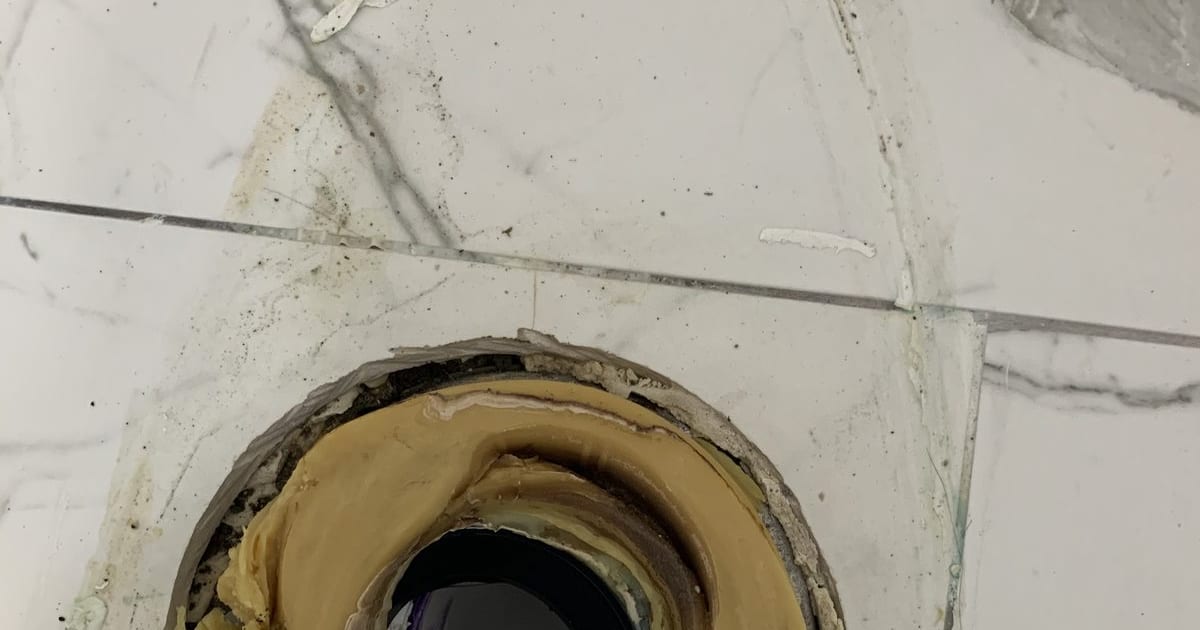
5. Clean the Flange
You’ll see the old wax ring on the flange. Scrape it off with a putty knife — every bit of it. The flange needs to be bare metal/plastic for the new ring to seal. Plug the drain opening with a rag to block sewer gas.
6. Inspect the Flange
This is the step most DIYers skip — and the source of most repeat failures.
- Flange should sit on top of the finished floor, not recessed. If the flange is lower than the floor (common with new flooring installed over old), you need a flange extender ($6–$12) or a thicker wax ring.
- Flange should be intact. If the metal ring is cracked or a bolt slot is broken, replace the flange or install a flange repair ring.
- Bolt slots should be at 3 and 9 o’clock (left/right). Ensures the toilet sits parallel to the wall.
7. Install New Closet Bolts
Slide new bolts into the flange slots. The heads go in the slots; the threads point up. Slide a plastic retainer washer onto each bolt to keep them vertical.
8. Install the New Wax Ring
Two options:
- Press the wax ring onto the bottom of the toilet (around the horn — the protruding drain opening on the toilet’s underside). Warm the wax with your hands first so it adheres.
- Or press it onto the flange itself. Either works — I prefer the toilet-bottom method because you can see it seat as you set the toilet.
If using a foam/rubber reinforced ring (Fluidmaster 7530), follow the arrow/orientation printed on the ring.
9. Set the Toilet
Remove the rag from the drain. Lift the toilet over the bolts and lower it straight down — do not tilt. Align the two bolt holes in the toilet base with the bolts sticking up from the flange.
Once the base is resting on the wax ring, press down firmly and evenly with your body weight. You’ll feel the wax compress. Don’t rock — that breaks the seal immediately.
10. Tighten the Nuts
Thread the washers and nuts onto the bolts. Alternate tightening each side, a half-turn at a time, to compress the wax evenly. Hand-tight plus a quarter turn with a wrench.
Do not overtighten. Porcelain cracks. If you feel real resistance, stop — the ring is compressed.
11. Snap on the Caps and Trim the Bolts
Saw off excess bolt length so the decorative caps fit flush. Snap the caps on.
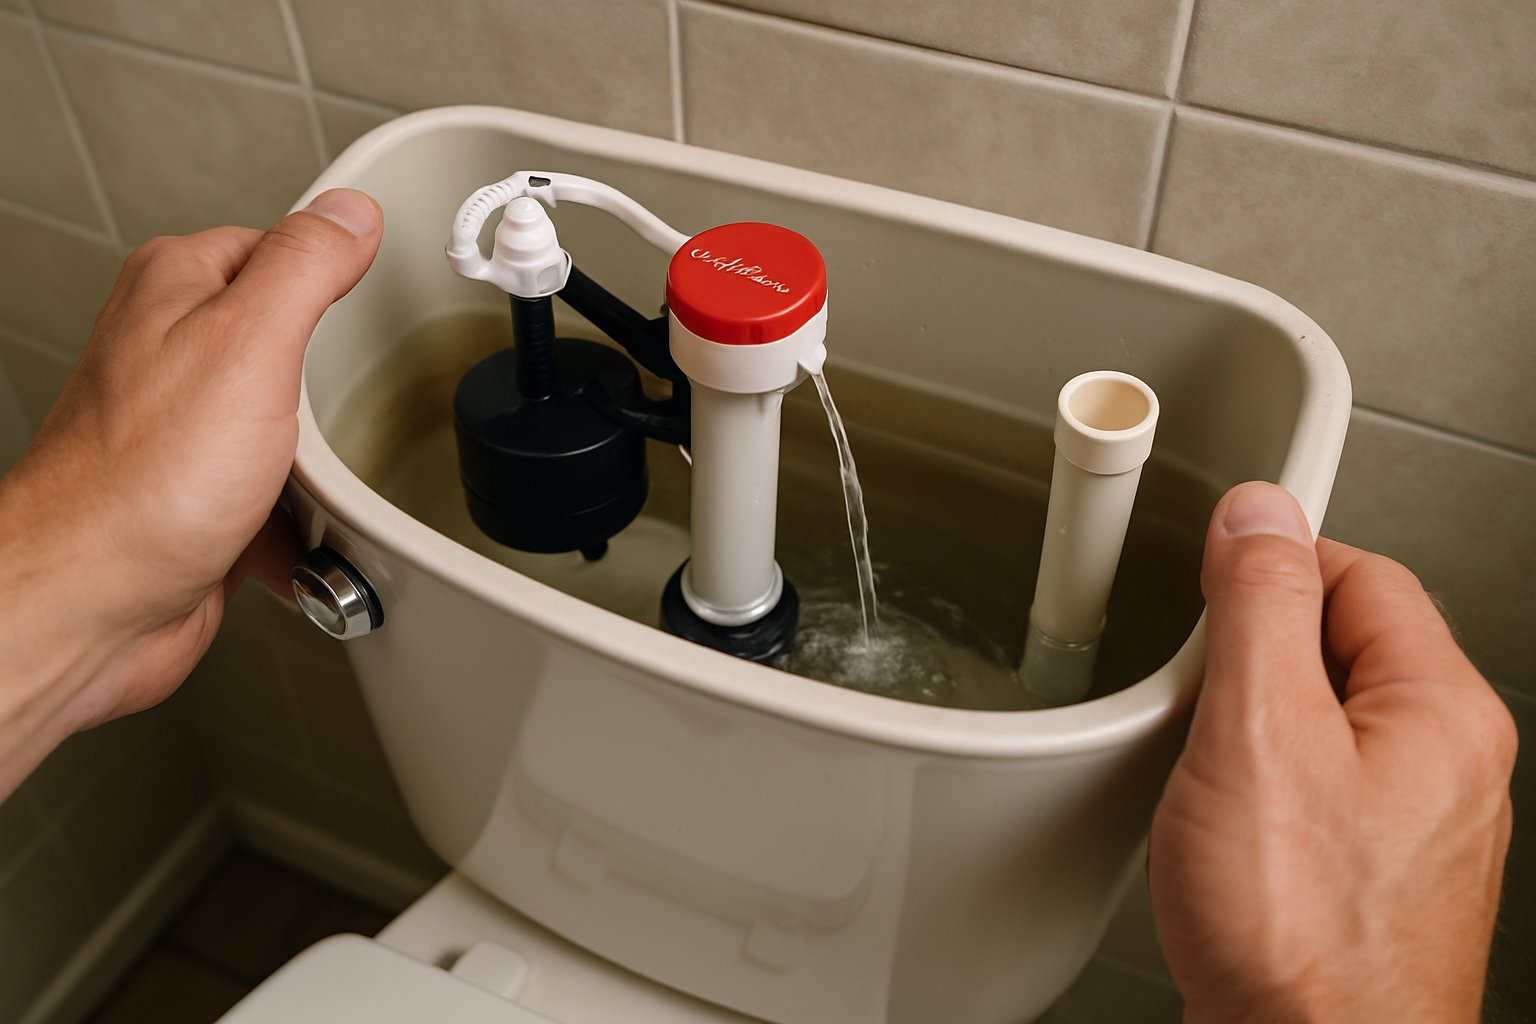
12. Reconnect Supply and Test
Reconnect the supply line. Turn water on slowly. Let the tank fill. Flush 3–4 times. Watch the base for any water — none means you’ve sealed it correctly.
13. Caulk the Base (Optional but Recommended by Code in NJ)
Most NJ plumbing inspectors require a bead of silicone caulk around the base of the toilet, leaving a 1-inch gap at the back so a future leak becomes visible rather than hidden. Use kitchen/bath silicone — not latex.
Common Mistakes
- Rocking the toilet after setting it. Breaks the wax seal instantly. Set once, straight down.
- Overtightening the nuts. Cracks the porcelain base — an expensive lesson. Snug, not stomp.
- Skipping the flange inspection. A broken or recessed flange is the #1 reason for repeat leaks. Fix the flange, not just the ring.
- Reusing the old wax ring. Once compressed, it will never seal again.
- Leaving the drain uncovered while working. Sewer gas and small parts falling in.
When to Call a Plumber
- Subfloor is rotten under the toilet (you’ll feel it flex when you step). That’s a carpentry/joist repair, not a wax ring job.
- Flange is welded to cast-iron pipe and damaged. Replacing a cast-iron flange is a specialty job.
- You’ve replaced the ring twice and it still leaks — there may be a pipe-joint issue below the flange.
Frequently Asked Questions
How often do wax rings need to be replaced? Only when they fail. A properly installed wax ring on a stable, non-rocking toilet lasts 20–30 years.
Do I need to buy an “extra thick” wax ring? Only if your flange is below the finished floor level. For a flange at floor level (correct install), a standard ring is right.
Can I use a waxless rubber/foam ring instead? Yes — brands like Fluidmaster Better Than Wax, Sani Seal, and the Korky 6000 work well, especially if you may need to remove the toilet again in the future. They’re more forgiving on uneven flanges but cost 2–3× the price of wax.
Why is my toilet rocking? Usually the flange is recessed below floor level, or the floor itself isn’t flat. Shim the toilet base with plastic shims after setting it, trim the shims flush, and caulk the base.
How do I know if the subfloor is damaged? Press down on the floor around the base of the toilet. If it feels soft, sponges, or you see staining on the ceiling below — the subfloor needs to be opened up and repaired before resetting.
The Bottom Line
Wax ring replacement is a 90-minute job and costs under $15 in parts. The hardest part is lifting the toilet — get a helper. The part that matters most is inspecting the flange; if you skip that, you’ll do the job twice.
If you’re planning a bathroom remodel and want a layout, plumbing plan, and permit checklist tailored to your project, send your photos for a $9.99 diagnostic report.