The Department of Energy estimates that air leaks around doors and windows account for 10 to 20 percent of the average home’s heating and cooling load. A drafty exterior door — one where you can see daylight along the edges or feel cold air on your hand — is wasting roughly the same heat as leaving a small window cracked open all winter.
The fix is weatherstripping: foam, rubber, or metal seals that close the gap between the door and the frame. A complete weatherstrip kit for one door costs about $25. Installation is one hour with hand tools. The energy savings pay it back inside two months in any cold climate.
Here’s how to do it, and how to know which type of weatherstripping is right for your door.
Step 1: Find the Leaks
Before buying anything, figure out where the door is leaking. Three methods, increasingly effective:
Method 1 — visible gaps. Close the door and look at the perimeter from the inside in daylight. Anywhere you can see daylight, that’s a leak.
Method 2 — hand test. On a cold or windy day, run your hand slowly around the perimeter of the closed door, about an inch from the door. Cold spots are leaks.
Method 3 — incense or candle test. Light a stick of incense or a candle. Hold it about 6 inches from the door perimeter, moving slowly around. Smoke that gets pulled toward the door = air leaking out. Smoke that gets pushed away = air coming in. Either way, that’s a leak.
Most exterior doors leak in three places: the bottom (gap between door and threshold), the latch side (vertical gap on the strike-plate side), and the top corners.
Step 2: Pick the Right Weatherstripping
Different gaps need different products. The aisle at the home center looks overwhelming; here’s what each is for.
Adhesive foam tape ($5–$10): Soft foam strip with peel-and-stick backing. Compresses when the door closes. Cheapest option, easiest install. Best for: irregular gaps where the door doesn’t close consistently. Lasts 1–3 years before the foam compresses permanently.
V-strip / spring strip ($10–$15): Metal or plastic strip folded into a V-shape that flexes to seal as the door closes. Stronger and longer-lasting than foam. Best for: the vertical sides and top of the door jamb. Lasts 5–10 years.
Rubber bulb / vinyl tube ($10–$15): A tubular rubber gasket on a metal or plastic carrier strip. Seals very effectively against pressure. Best for: doors that don’t close perfectly flush — the rubber compresses to fill irregular gaps. Lasts 5+ years.
Door sweep ($10–$25): A strip of nylon brush, rubber, or vinyl that mounts to the bottom edge of the door, sealing the gap between the door bottom and the threshold. Best for: bottom of the door specifically. Different from a threshold replacement (which is a more involved job).
Threshold gasket / door sweep combo: A complete bottom solution that includes a new threshold with a flexible gasket. Better than a sweep alone if your existing threshold is damaged or worn down.
For a typical exterior door, the kit you want includes V-strip or rubber-bulb for the sides and top, plus a door sweep for the bottom. Frost King and M-D Building Products both sell complete door weatherstrip kits in the $20–$30 range.
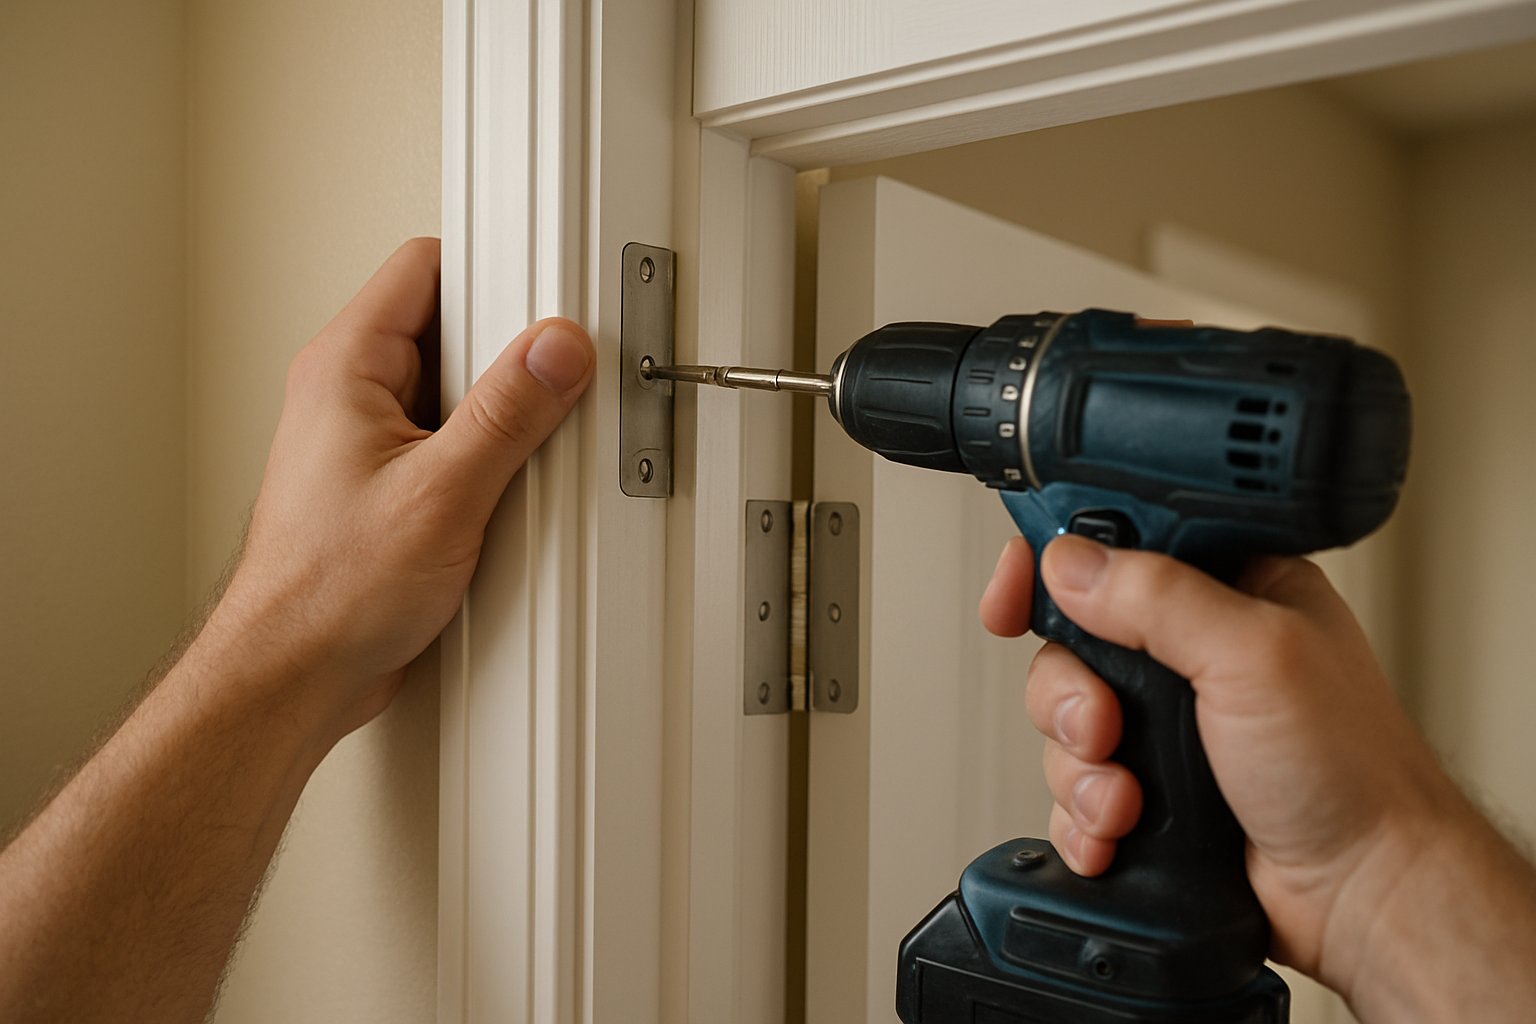
Step 3: Install the Top and Side Strips
Working from the door jamb (the wood frame the door swings into), not the door itself:
- Open the door fully.
- Clean the surface where you’ll install the strip. Wipe with rubbing alcohol or a damp cloth. Adhesives don’t bond to dust or paint chips.
- Measure the length needed for each side. Cut the strip with scissors or a utility knife.
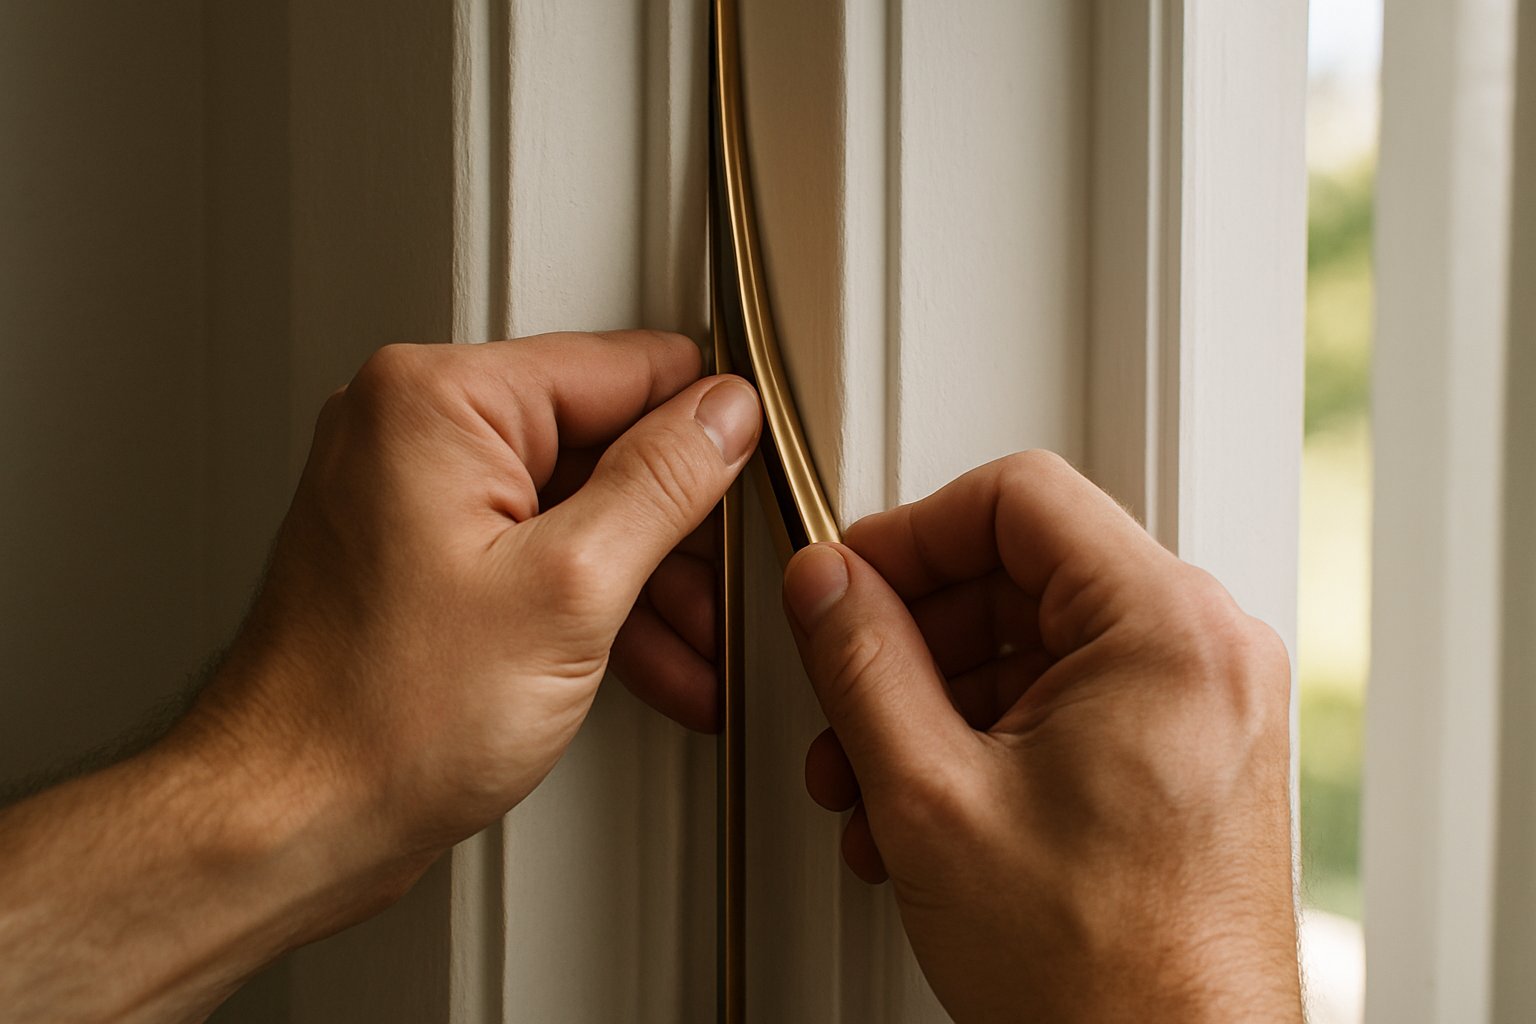
For V-strip:
- Position the V-strip so the V opens toward the room (the closed side of the V faces outside).
- Peel the adhesive backing if it’s self-adhesive, or use the small nails included if it’s a nailed type.
- Press firmly along the length.
- Close the door slowly. The V should compress slightly as the door touches it. Strong resistance = the V is positioned too close to the door’s path; loosen and reposition.
- Repeat for both sides and the top.
For rubber bulb / vinyl tube:
- Position the strip so the rubber bulb sits where the door’s edge meets the jamb when closed.
- Most have screw holes through the carrier strip — predrill small pilot holes and screw the strip to the jamb.
- Adjust positioning by loosening the screws, sliding the strip, and re-tightening. The bulb should compress about 1/4 inch when the door closes — enough to seal but not so much that the door is hard to close.
Step 4: Install the Door Sweep
The bottom is usually the worst leak. The fix is a door sweep mounted to the bottom edge of the door (not the threshold).
- Close the door. Measure the width of the door from inside edge to inside edge.
- Cut the door sweep to that width with a hacksaw (for the metal carrier) and scissors (for the brush or rubber).
- Open the door.
- Position the sweep on the bottom of the door so the brush or rubber touches the threshold lightly when the door is closed. The sweep mounts on the inside face of the door — not the outside, where weather would beat it down.
- Most sweeps have slotted screw holes that let you adjust height. Start with the sweep mounted high (just barely touching the threshold) and lower it gradually until the door no longer drags but the gap is sealed.
- Predrill pilot holes in the door (a 1/16 inch bit prevents splitting) and screw the sweep in place.
- Test by closing the door — should close with light resistance, no daylight visible at the bottom.
Step 5: Verify Your Work
Repeat the candle/incense test from Step 1. Smoke should not be drawn toward the door anywhere along the perimeter. If you still find a leak, that area needs a different weatherstrip type or repositioning.
Common follow-up issues:
- Door is now hard to latch. The V-strip or bulb is too thick. Move it slightly outward (away from the door’s closed position) or switch to a thinner profile.
- Door rubs at the bottom and won’t close cleanly. The sweep is mounted too low. Loosen the screws and slide it up.
- Daylight visible at the top corners. The strip wasn’t continuous around the corner. Add a small piece of foam tape to fill the corner gaps.
Common Mistakes
- Installing weatherstripping on the door instead of the jamb (for V-strip and bulb types). The strips go on the stationary frame so the door can compress them. Sticking them to the door means they snag the jamb every time you open it.
- Using foam tape outside, where weather will degrade it in a season. Foam is for mild interior conditions only. Use V-strip or rubber for exterior doors.
- Cleaning with WD-40 or oily cleaners. Adhesives don’t stick to anything oily. Use rubbing alcohol or plain soap and water, then dry completely.
- Skipping the bottom because “it doesn’t seem to leak.” The bottom is the largest gap on most doors. Even when you don’t feel a draft, you’re losing heat there.
- Installing the door sweep on the outside face of the door. Weather destroys it within a season. Always mount sweeps inside.
- Buying a “universal” $5 stick-on door sweep that just adheres to the bottom of the door. Those work for a month, then peel off. Use a screw-mounted sweep.
When to Replace the Door Itself
Weatherstripping is a great fix for a door that’s basically sound. If you have any of these, the door itself is the problem:
- Door is visibly warped — straight edge along the door reveals a curve.
- Door has rotted bottom corners (common on older wood doors that sat in moisture).
- Door is hollow-core being used as an exterior door (some old houses have this; it’s a code violation now and a serious heat loss).
- The frame itself is rotted or out of square — weatherstripping needs a flat, true frame to seal against.
In any of those cases, an entry door replacement is the right call. New fiberglass exterior doors with built-in weatherstripping run $300–$800 plus install, and the heat savings are substantial.
Frequently Asked Questions
Should I weatherstrip interior doors too? Usually not — interior doors are mostly for noise and privacy, not air sealing. Exception: a door between a heated and unheated space (door to a garage, door to an unheated basement, door to a sunroom). Those should be weatherstripped like exterior doors.
Does weatherstripping really pay for itself? For a typical drafty exterior door in NJ, you’ll save around $30–$60 per winter in heating cost. A $25 kit pays back in two to four months. Then it keeps paying back every year for the life of the strips.
What about garage doors? Garage doors have their own weatherstripping — a long rubber strip along the bottom and rubber strips along the sides and top of the garage door opening. Same logic, different product. Standard garage door bottom seal is $15–$25 and replaces in 30 minutes.
My door has a storm door — do I still need to weatherstrip the main door? Yes. Storm doors help with the bottom, but they don’t seal the perimeter of the main door. Weatherstrip the main door regardless.
The Bottom Line
A drafty door is one of the easiest and highest-leverage fixes in any house. One hour, $25, and you’ve cut a measurable chunk off your annual heating and cooling bill. Test for leaks first, pick the right product for each gap, and install on the jamb (not the door) for everything except the bottom sweep.
For the full sequence — including weatherstripping windows, sealing the joint between the door and the floor, and the more involved threshold replacement — see Weatherstrip Doors and Windows.
For a whole-house energy audit and air-sealing plan, send your photos for a $9.99 diagnostic report.