Deck collapses injure hundreds of people every year and they almost never happen without warning. The warning signs are structural, and most homeowners have never checked for them. Five checks take twenty minutes and will tell you whether your deck is solid or one overcrowded party away from a problem.
I’ve built decks and I’ve inspected decks other people built. The failures I’ve seen are almost always in the same five places. Here they are.
Check 1: The ledger board connection
The ledger board is the horizontal board that attaches the deck directly to the house. It carries roughly half the deck’s total load — everything and everyone on the deck transfers partially through this board to the structure of the house.
Get underneath the deck and look at how it’s fastened to the house. It should be bolted through the house rim joist with actual lag bolts or carriage bolts — large-diameter fasteners on a regular pattern, typically every 16 inches. What you should not see: nails, standard deck screws, or a ledger that’s just face-nailed to siding.
Also check that the ledger is attached to the structure, not to the siding. The ledger has to bear against the rim joist or band board of the house framing. If it’s just screwed to vinyl or fiber cement siding with nothing behind it, that is a serious failure waiting to happen.
Ledger failures are the single most common cause of deck collapse. This is the one to look at first.
Check 2: The posts
Look at the base of each post. There are two correct configurations: the post sits on a metal post base that is anchored to a concrete footing, with the post bottom raised above the concrete surface; or the post sits directly on a concrete pier, attached with hardware.
What you should not see: a wood post buried in the ground or embedded in concrete below grade. This was common construction practice through the 1980s and early 1990s, and it is a rot problem waiting to fail. Buried post bases rot from the inside out where you cannot see it until the post has already lost most of its load capacity.
Take a screwdriver and press the tip firmly into the base of each post, as close to grade as you can get. If the screwdriver sinks into the wood with moderate pressure, the post is compromised. It needs to come out before the deck is loaded again.
Check 3: The joist hangers
Joist hangers are the galvanized metal brackets that hold the ends of the deck joists at the ledger board and at the main beam. Pull back any debris at the ledger connection and look at each hanger.
Every hole in a joist hanger is supposed to have a hanger nail — a short, thick structural fastener made for joist hangers. It should not have drywall screws. It should not have standard 16-penny nails. Joist hanger manufacturers specify exactly what fastener goes in each hole, and the load ratings assume the right fastener.
If you see empty holes, drywall screws, or common nails in joist hangers, the hangers are underperforming their rating. Also look for hangers that are pulling away from the face of the ledger, or that show significant rust through the galvanizing — either one needs attention.
Check 4: Decking board rot
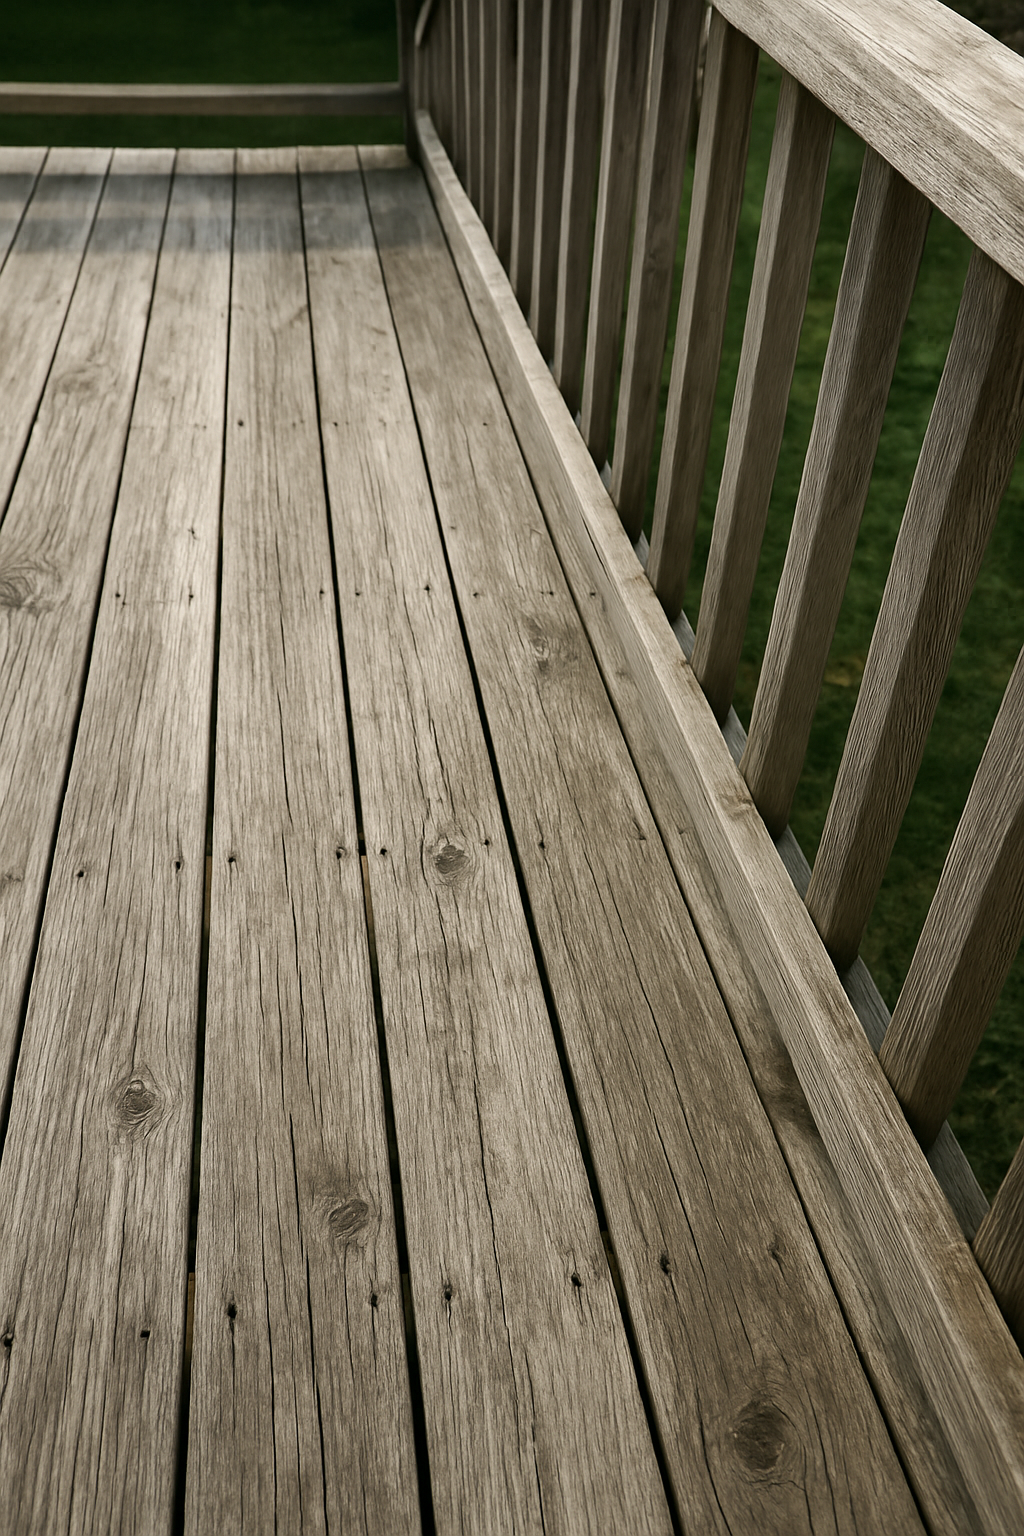
Walk the deck slowly and pay attention to anything that feels soft or springy underfoot — that usually means a soft spot in a board or a joist beneath it. Then do a more systematic check: press a sharp screwdriver into the end grain of every decking board where it crosses a joist, especially at the outer ends of the boards.
End grain is where boards rot first. The screwdriver shouldn’t go in easily with moderate hand pressure. If it does, that board is rotted past the surface and should be replaced. When you pull a rotted board, check the joist beneath it — if the decking was holding water against the joist, the joist may be rotted too.
Pay extra attention to any areas near planters, downspouts, or places where water ponds. These are the places that rot first.
Check 5: Railing stability and height
Grab the top rail and push firmly side to side — put your full weight into it. Code requires deck railings to resist 200 pounds of lateral force applied at the top rail. If the rail moves more than about an inch under your push, the posts are undersized, poorly attached, or rotted at the base.
Also measure the height. Any deck surface more than 30 inches above the ground requires a guardrail. The minimum height is 36 inches in most jurisdictions; 42 inches in others, including most commercial and newer residential codes. Run a tape measure from the deck surface to the top of the rail. If you’re under 36 inches on a deck that’s clearly above grade, it doesn’t meet current code.
Balusters also matter: the openings between balusters should not allow a 4-inch sphere to pass through. The standard is that a 4-inch ball won’t fit. Anything larger than that is a child safety hazard.
What to do if you find problems
The ledger and the posts are the ones that drive structural collapses. If either of those has a problem, stop loading the deck until you fix it. A deck with a failing ledger or a rotted post is not a deck you have a party on — it’s a deck you take people off of and repair.
Joist hangers, decking boards, and railings are serious issues but more incremental — they can fail individual members rather than causing a wholesale collapse.
Most of what I’ve described here is repair work, not rebuild work. A bad ledger connection can be re-bolted. Rotted posts can be replaced one at a time. Joist hangers can be re-fastened. The goal of this inspection is to catch it at that stage, not after a collapse.
If you find something you’re not sure how to interpret, send me the photos. hammondreengineered.com/report — $19.99 and I’ll tell you exactly what I’d do.