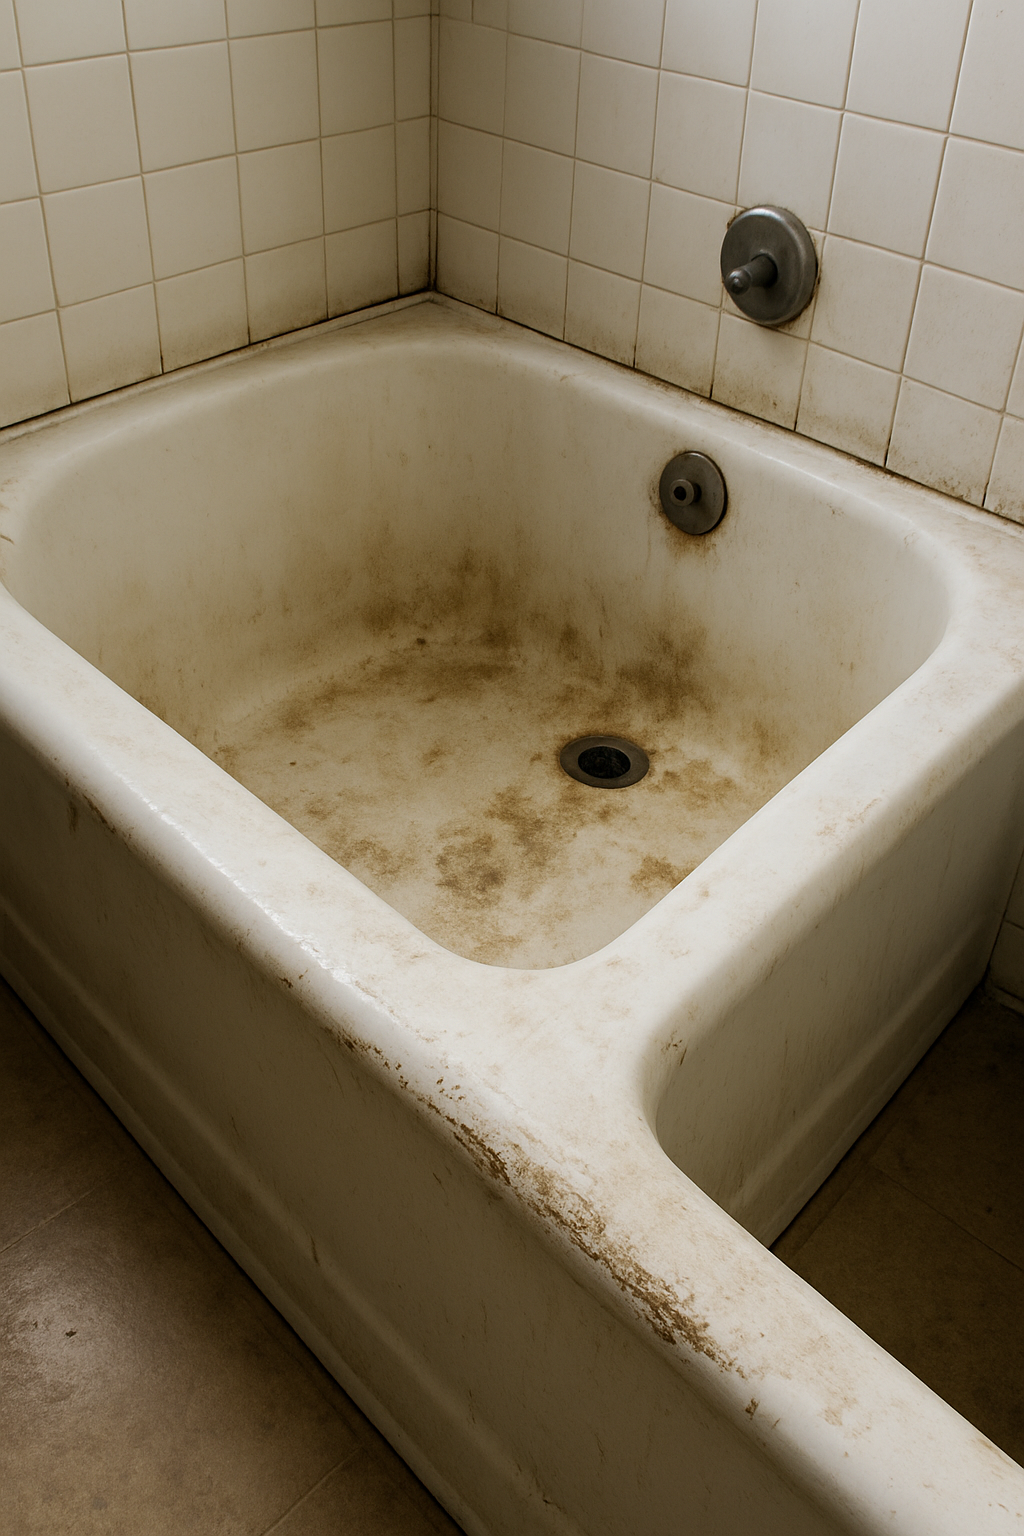
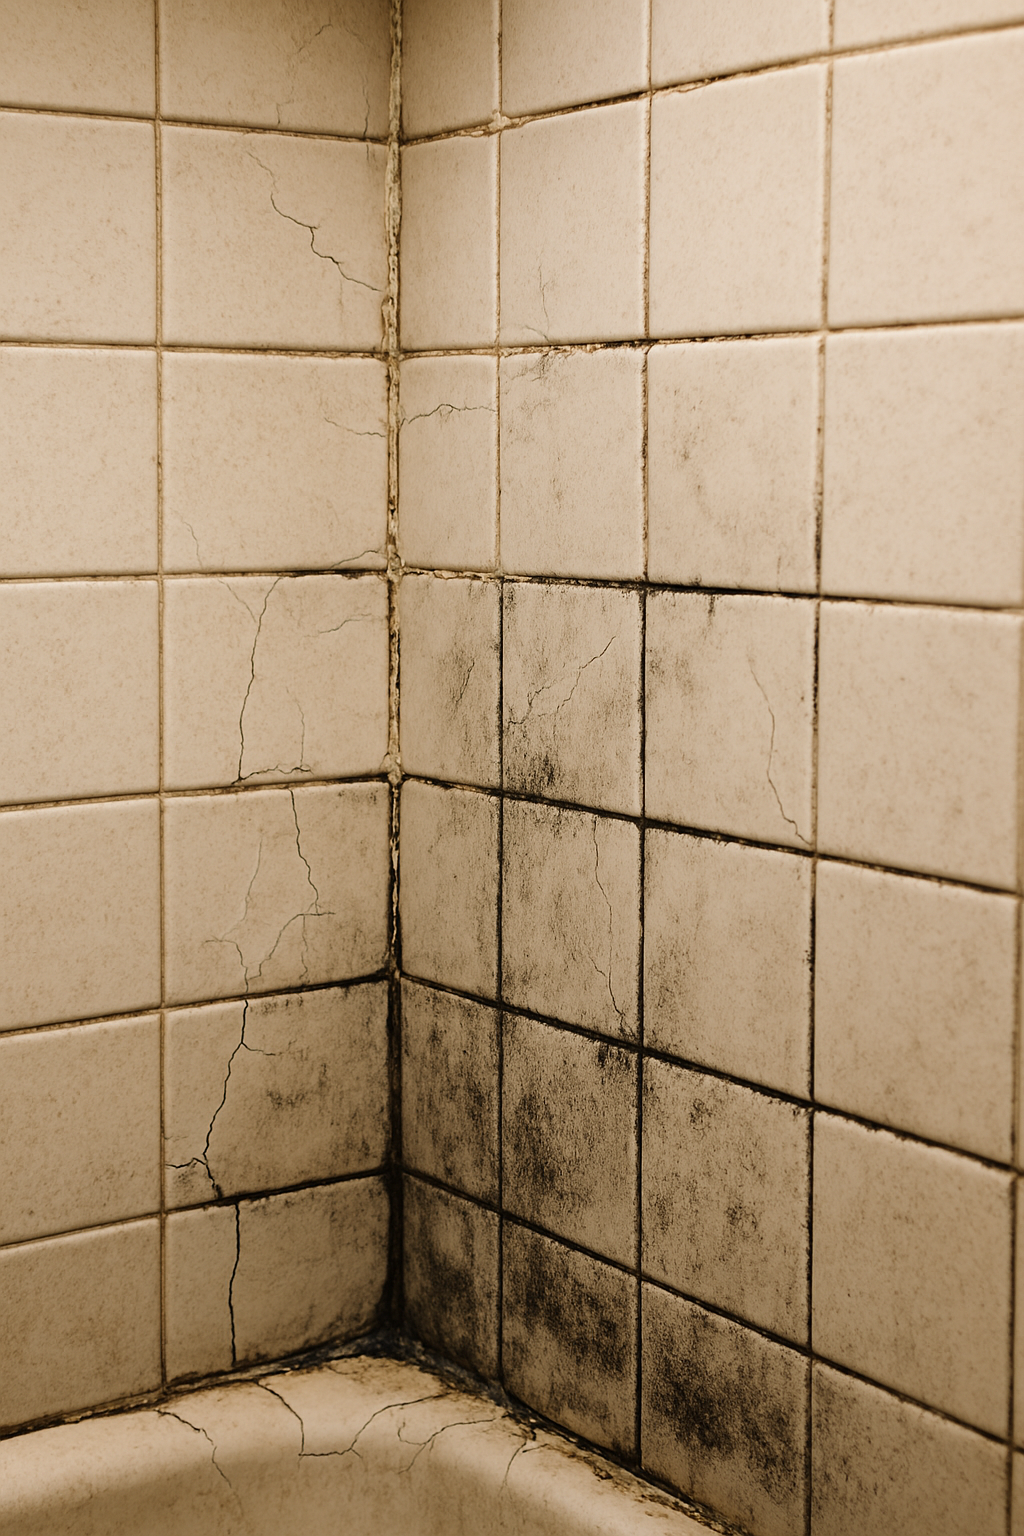
The grout in your shower is cracked, stained, and growing something in the corners, so a remodeler takes a look and quotes you to tear the whole thing out. Sometimes that’s the right call — but often it’s a surface problem with a surface fix. Cracked and moldy grout, and failed corner caulk, are usually a re-grout and re-caulk job you can do in a weekend. The question that actually matters is whether water has already made it behind the tile, because once it’s back there, no amount of new grout on the front will save you.
Here’s how to tell surface grout problems from a wall that’s rotting behind the tile.
Most of it is a surface fix
Two of the most common shower complaints are cosmetic and fixable from the front:
- Mildew in the grout lines. Grout is porous and holds moisture, so it grows mold. Cleaning, and then sealing the grout, handles most of it.
- Cracked or missing grout, especially in the corners and along the floor-to-wall joint. Here’s the thing most people don’t know: the corners and changes of plane should be flexible caulk (silicone), not grout. Grout is rigid; the walls move a hair with temperature and settling, and rigid grout in a corner cracks every time. Rake out the cracked grout in the corners and re-caulk with silicone, re-grout the flat field where needed, and you’ve fixed the vast majority of shower grout problems.
If your grout is cracking only in the corners and the tiles are all solid, you almost certainly have a re-grout-and-recaulk job, not a demolition.
Sign 1: loose or hollow-sounding tiles
Tap across the tile with a knuckle or the handle of a screwdriver. A well-bonded tile sounds solid; a hollow, drummy sound means the tile has lost its bond to the wall behind it — and on a shower wall, that’s usually because water got back there and broke down the adhesive or the backer. A tile that actually moves or shifts is the same story, further along. Loose and hollow tiles are the wall telling you the problem is behind the surface, not on it.
Sign 2: soft walls, stains, and a musty smell
Press on the wall around the tile and along the base. If it feels soft, spongy, or bulging, the backer board or drywall behind it has gotten wet and is failing. Other tells: rusty or brown stains bleeding through the grout, a persistent musty smell, or — the big one — mold or a stain showing up on the other side of that wall, or on the ceiling of the room below. When water is showing up somewhere it shouldn’t, it’s already inside the assembly.
Sign 3: it’s actually leaking
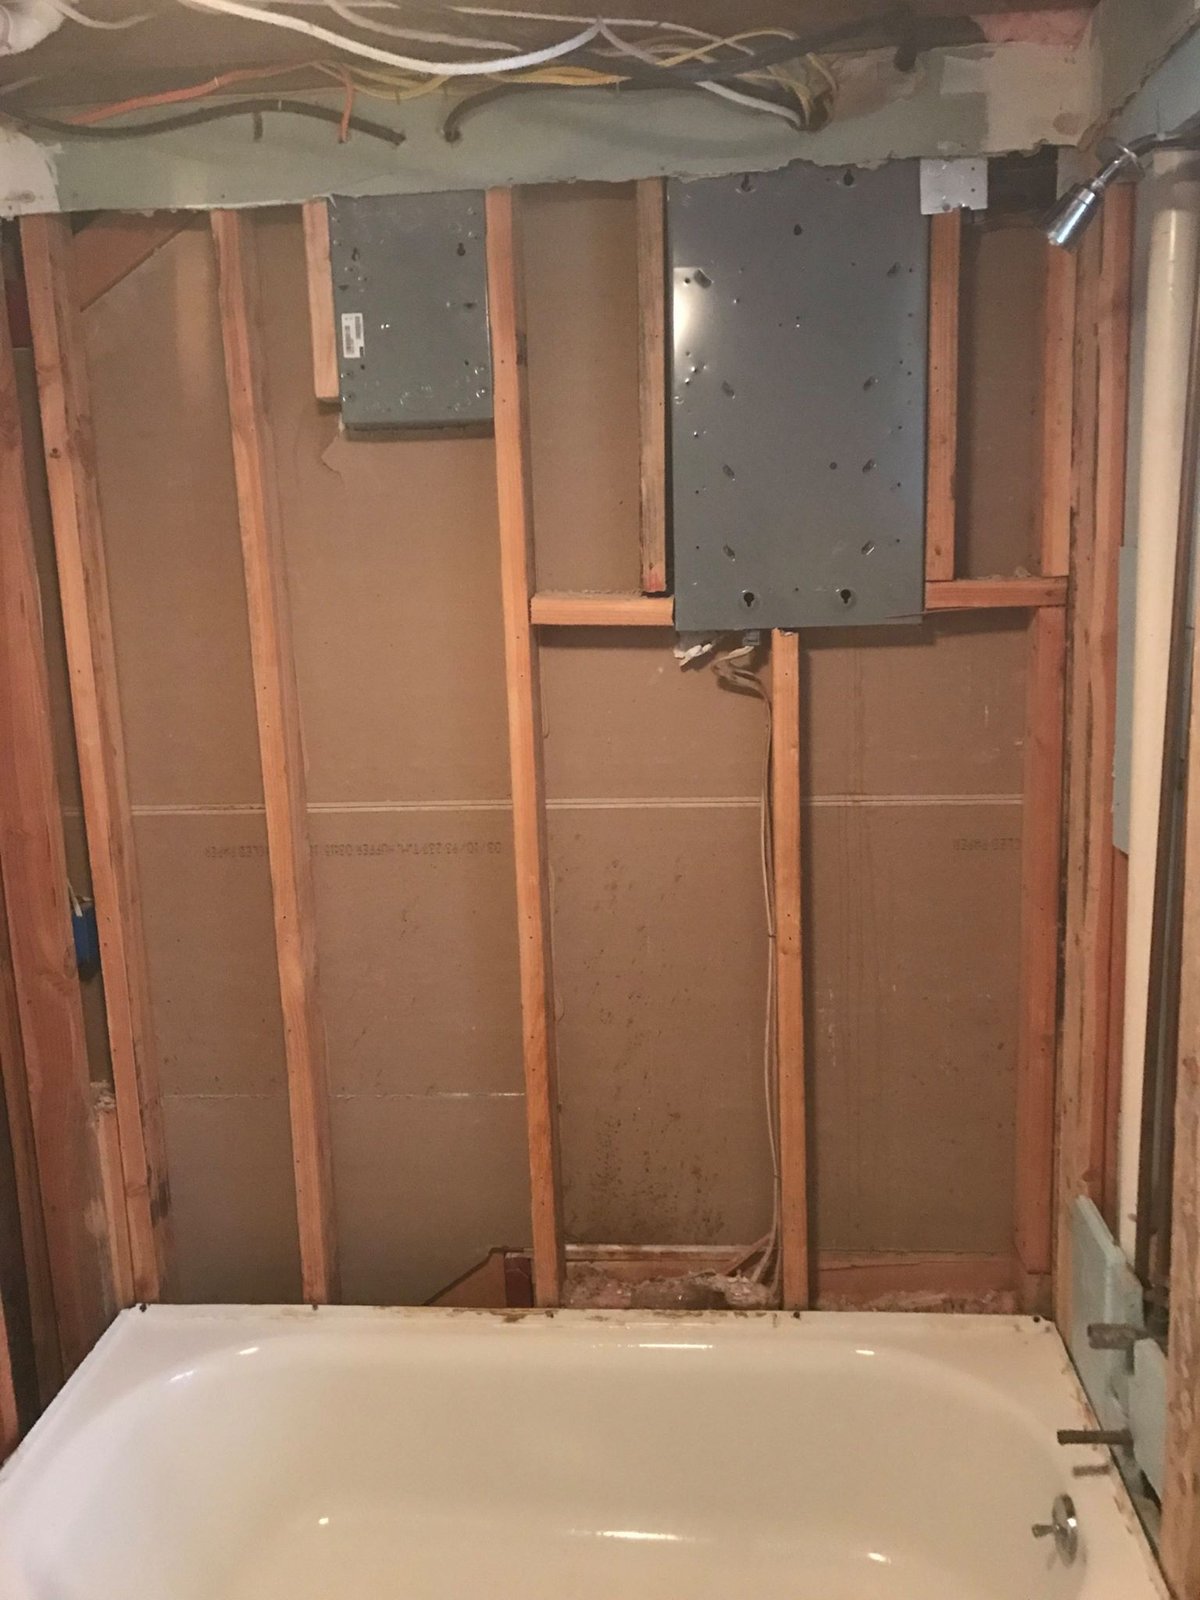
Water pooling on the floor outside the shower, a damaged ceiling in the room underneath, or a floor that’s soft at the shower threshold means the shower’s waterproofing has failed. A lot of older showers were built on regular drywall or “greenboard” with no waterproof membrane behind the tile — fine until water gets past the grout, and then the wall just quietly rots. You cannot re-grout your way out of a failed waterproofing layer; the water’s already behind it.
The decision, simply
Re-grout and re-caulk when the tiles are all solid, the walls are firm, and your only problems are surface mildew and cracked grout — especially cracked grout in the corners that should have been caulk. Cheap, and it’s most showers.
Replace (tear out to the studs) when tiles are loose or hollow, the wall is soft or stained, there’s mold coming through to the other side, or it’s leaking below. At that point the fix is to open it up, dry it out, and rebuild with proper waterproofing, backer board, and new tile — because the damage is structural and hidden, not cosmetic.
DIY or not
Re-grouting and re-caulking are legitimately DIY — a grout saw or oscillating tool to rake out the old grout, new grout for the flat areas, and quality silicone for the corners and joints. It’s satisfying, cheap work. A full tear-out and rebuild is a different animal: the whole point is getting the waterproofing right (a proper membrane or waterproof backer, correct slope, sealed penetrations), and that’s exactly where a DIY shower leaks a year later. If the wall’s rotting, this is the job to do right — which for most people means hiring someone who waterproofs showers for a living.
Not sure how deep it goes?
Send me photos — the grout and corners, a close-up of any loose tile, and anything showing up on the other side of the wall or the ceiling below — and tell me if it tap-sounds hollow. I’ll tell you whether you’re looking at a weekend re-grout or a tear-out, and whether water’s already behind the tile: a written diagnostic with the specific plan and honest cost, $19.99, back to you in minutes.