A finished basement is the cheapest square footage you’ll ever add to a house — when it works.
When it doesn’t, it’s the most expensive renovation you’ll ever do twice. I’ve seen homeowners spend $40,000 finishing a basement, watch mold creep up behind the drywall over the next two years, and then tear the whole thing out and start over. The total spend on a basement that didn’t last: $70,000 minimum.
The difference between those two outcomes comes down to five questions most homeowners — and most contractors — never ask. They aren’t hard questions. But they have to be answered honestly before any framing happens, because every one of them is easier and cheaper to address in an open basement than in a finished one.
I’ve finished basements in three of my own houses and walked away from finishing one. Here’s the framework.
Question 1: Is the basement actually dry?
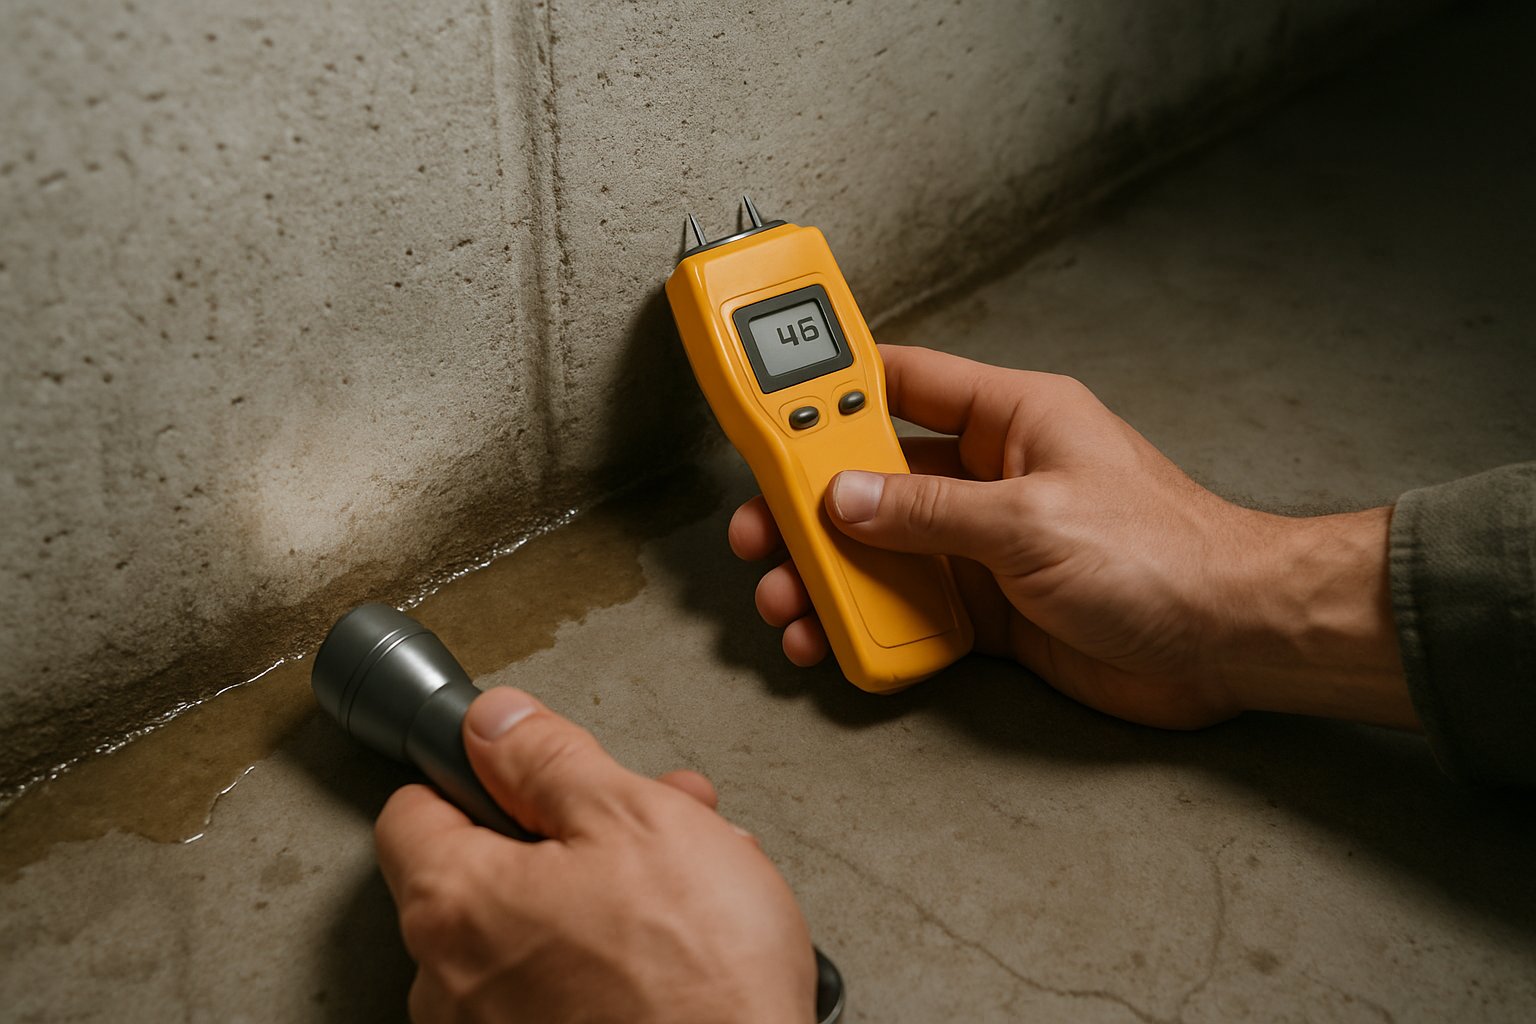
Not “mostly dry.” Not “only during heavy rain.” Bone dry, year-round, no exceptions.
The test takes 24 hours. Tape a 2-foot square of clear plastic to the foundation wall at floor level, sealing all four edges with duct tape. Wait a day. Check it:
- Condensation on the inside of the plastic (touching the foundation): water is migrating through the wall. You have a water problem.
- Condensation on the outside of the plastic (the room side): the air in the basement is too humid. Different problem, fixable with a dehumidifier.
- No condensation either side: clear to proceed.
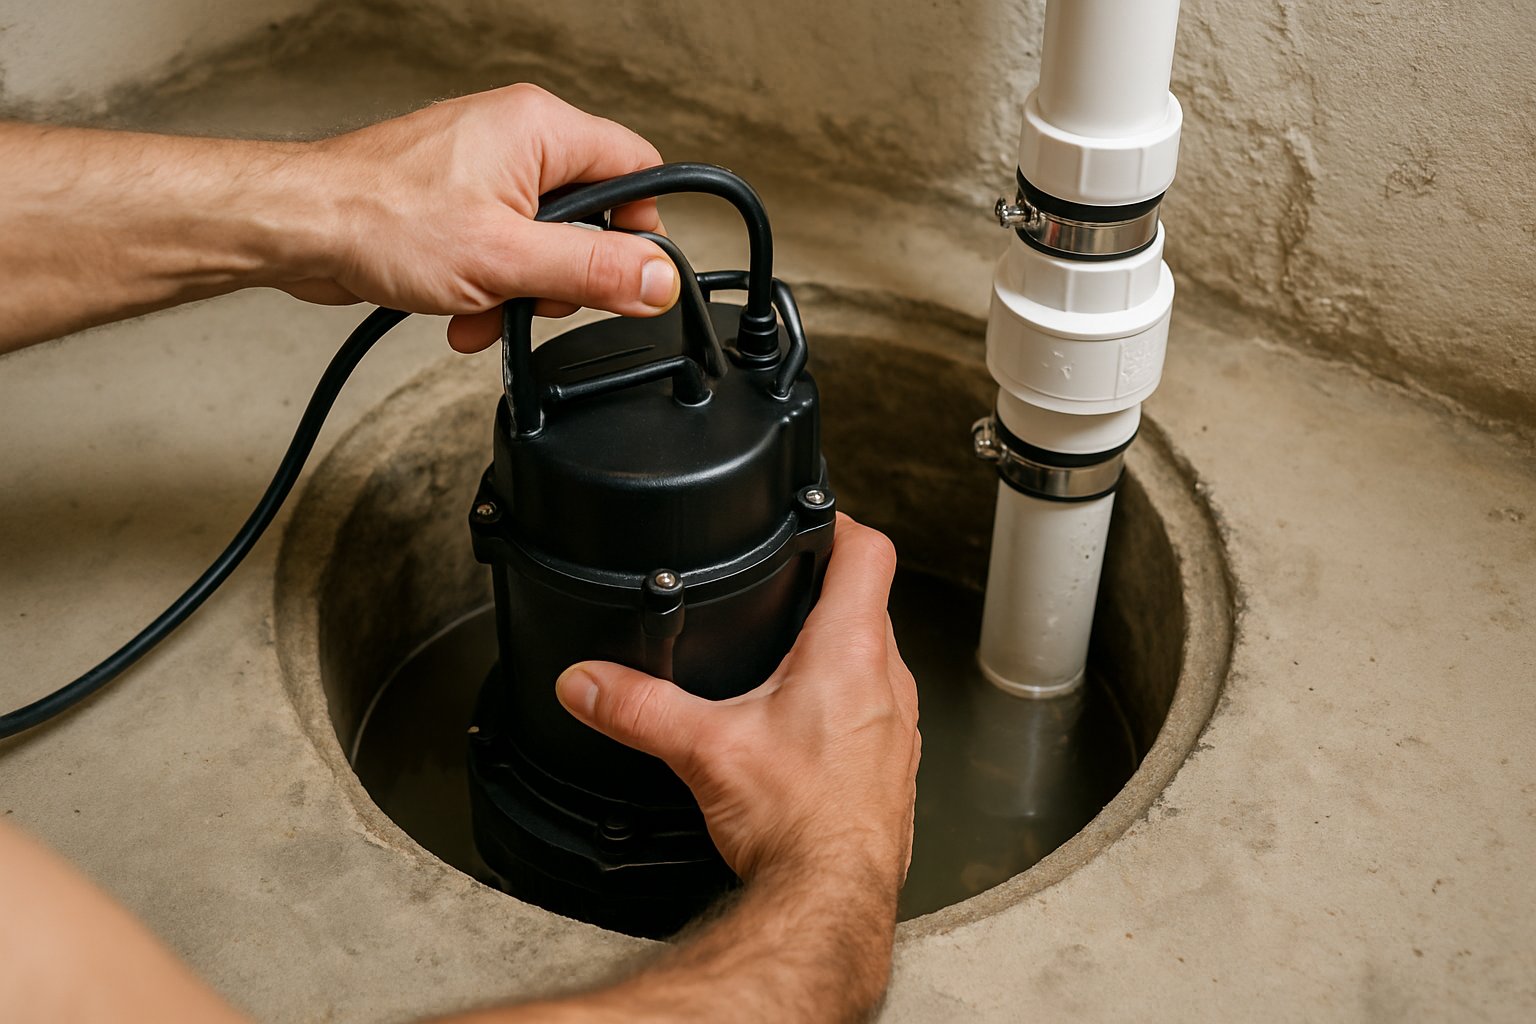
If you find water migration, the fix isn’t “use moisture-resistant drywall and hope.” The fix is exterior — regrading the soil so water runs away from the foundation, fixing the gutters and downspout extensions, sealing exterior foundation cracks, or in serious cases adding interior drain tile and a sump pump.
Skip this step and you’re not building a finished basement. You’re building a mold farm with a finish coat. Drywall over a wet wall traps moisture against the framing, the framing rots, the drywall paper feeds mold, and you’ve got a problem that doesn’t reveal itself until it’s already inside the walls.
Cost reality: Fixing exterior drainage — $500-$3,000. Interior drain tile + sump system — $5,000-$15,000. Mold remediation after you finished too soon — $8,000-$25,000 plus the cost of the original finish work, demolished and redone.
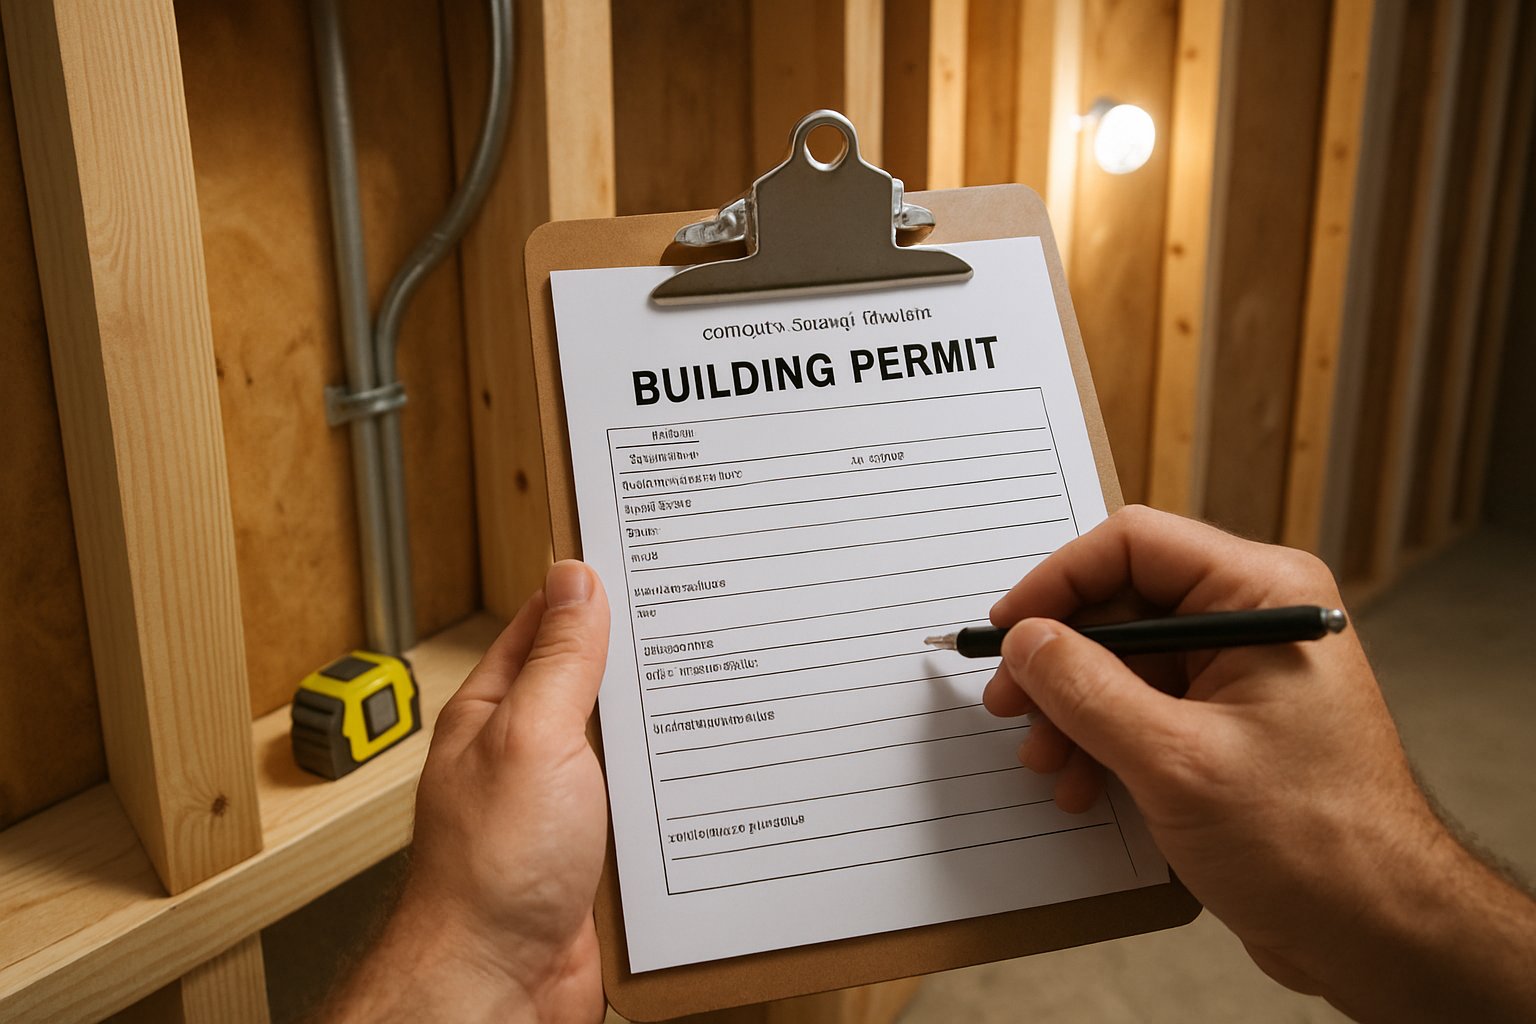
Question 2: What’s your headroom — and is it code-legal?
Most building codes require 7 feet of clear headroom in a finished basement to count as habitable space. Some jurisdictions allow obstructions (beams, ducts) below that height as long as they don’t take up more than a certain percentage of the ceiling area, but the clear ceiling has to hit 7 feet.
Go down to the basement with a tape measure right now. Measure floor-to-joists at the lowest point, floor-to-duct at every drop, and floor-to-beam wherever there’s a structural beam.
If anything is under 7 feet, you’ve got three options:
- Reroute the obstruction. Move ducts above the joists or to a different run. Possible, but expensive if it means relocating major HVAC trunks.
- Soffit it cleverly. Build a soffit (a boxed-in section of ceiling) around the duct that flows visually with the room. Done right, this looks like a tray ceiling and you forget it was a duct.
- Accept that the room won’t count as habitable square footage. Finished basement, great for use — but doesn’t add appraised value because it didn’t meet code.
I’ve seen great-looking basements that didn’t add a dollar to the appraisal because the homeowner skipped this question. The basement was finished — but it wasn’t habitable in the code sense, so the appraiser couldn’t count it.
Question 3: Where’s the heat (and the cooling) coming from?
Basement HVAC is harder than people think. In most houses, the existing furnace has a return air duct down in the basement but no supply. That means cold basement air gets sucked into the furnace and warm air comes out somewhere else in the house. The basement stays cold, and worse, the air stagnates and gets musty.
To finish a basement properly, you need balanced air movement — supply and return both serving the new space. Three common approaches:
- Extend the existing system. Run new supply ducts off the furnace plenum into the basement, with returns sized for the new square footage. Cheapest if there’s room in the duct system; expensive if your furnace is already at capacity.
- Dedicated mini-split heat pump. One wall-mounted unit for heat + AC, sized for the basement. Quiet, efficient, doesn’t fight with the rest of the house. My preferred answer for a finished basement.
- Hydronic baseboard. If you’ve got a boiler, you can run baseboard from the same loop. Heat only — you’ll still need a separate cooling/dehumidification plan in summer.
Whatever you pick, plan it before you frame. Every duct run is dramatically easier with the ceiling open than after drywall is up.
Cost reality: Extending forced-air ductwork into a basement — $2,500-$5,500. Single-zone mini-split installed — $4,500-$7,500. Baseboard extension from existing boiler — $1,800-$4,000.
Question 4: Are you using the right insulation?
This is the one most contractors get wrong, and it’s the question that produces the most mold-in-the-walls horror stories.
Below grade — meaning any part of the wall that’s against soil, not air — fiberglass batt insulation is a guaranteed problem in 5-10 years. Even if your basement passes the dryness test today, basement walls cycle through humidity changes year-round. Fiberglass batts catch and hold moisture against the framing, and the back side of the drywall paper feeds mold.
The right answer below grade is rigid foam insulation — extruded polystyrene (XPS) or polyisocyanurate (polyiso) — installed continuously against the foundation wall. The foam acts as a thermal break AND a vapor retarder, so moisture doesn’t get to the framing in the first place. You frame in front of the foam, and any cavity insulation in the studs (if you even need it) is now well above any moisture risk.
The sequence:
- Clean foundation wall, seal any cracks.
- Glue or mechanically fasten rigid foam board (1.5” - 2” thick) to the foundation, full coverage, taped seams.
- Frame walls in front of the foam, with a small air gap.
- Optional: cavity insulation (mineral wool or unfaced fiberglass) in the studs for sound dampening — but the thermal job is already done by the foam.
I used Dow Tuff-R rigid foam in the Leonia basement and Super TUFF-R panels against the foundation walls. Both work. Anything XPS or polyiso rated for below-grade use is fine.
If a contractor proposes fiberglass batts against your foundation, get a different contractor.
Question 5: What’s the real budget — and does it actually add appraised value?
A code-legal finished basement runs $40-$70 per square foot done correctly — meaning insulation done right, HVAC planned in, moisture-resistant materials below grade, real finished flooring, and electrical and lighting that match the rest of the house.
A 600-square-foot basement comes out to $25,000-$45,000. That’s the honest number, and it’s the number to plan to.
But here’s the catch most homeowners don’t know: appraisers value below-grade finished space at roughly 50 cents on the dollar compared to above-grade space. A first-floor addition adds dollar-for-dollar (or close to it) on the appraisal. A finished basement adds about half that.
So a $30,000 basement finish typically adds $12,000-$18,000 to your home’s appraised value. That’s still a positive ratio for use value — you get a real room you can live in, plus the increased value — but it’s not the same math as adding above-grade square footage.
The implication: finish a basement when you want to use the space. Don’t finish a basement primarily as a resale investment, because the math doesn’t favor you the way an addition would.
The decision framework
Here’s how I think about it after going through this exercise four times:
- Answer Question 1 first. Do the plastic moisture test. If you fail it, fix the moisture before anything else, even if it pushes the timeline back six months. This is non-negotiable.
- Then Question 2. Get out the tape measure. If headroom forces major HVAC rerouting, factor that into the budget before falling in love with the project.
- Then Questions 3 and 4 together. These are the hidden quality factors that separate a basement that lasts from one that fails. Don’t compromise here.
- Question 5 is the math check. Add everything up — and decide based on use value, not resale.
If after all of that the basement still pencils out for you, finish it. A dry, code-legal, properly-insulated basement is some of the most valuable square footage you can add to a house for the dollar. But it has to be done right, in the right order.
Want me to look at your basement?
The fastest way to find out which questions are easy yeses and which are likely to flip the math on you: send me three photos for a $9.99 diagnostic report — a wide shot of the whole basement, a close-up of any wall corner or floor seam, and one of the ceiling joists looking up.
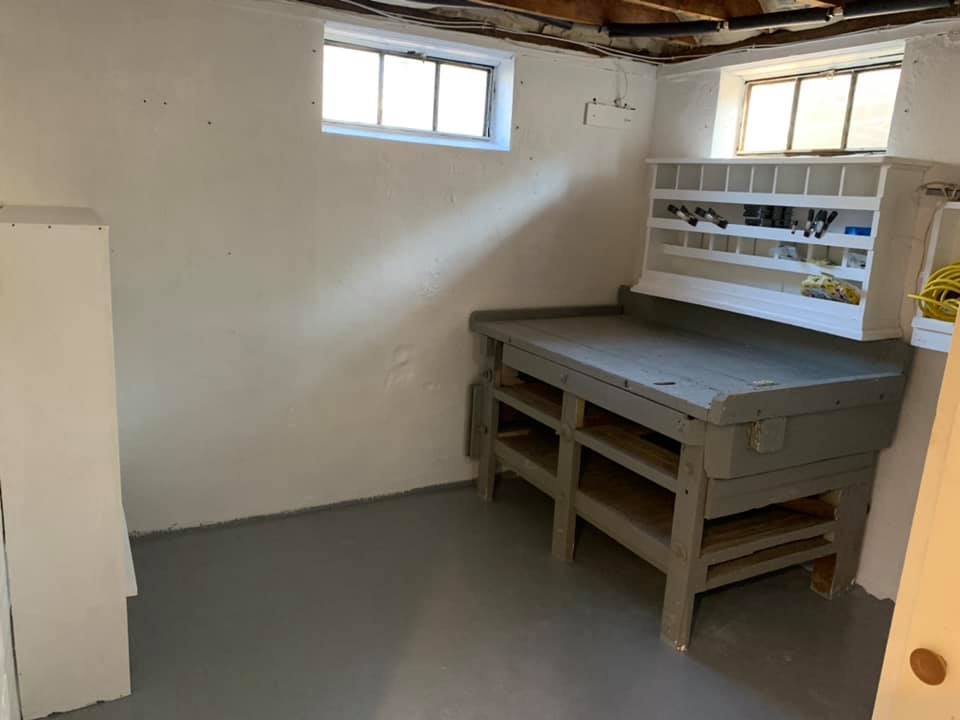
You can also see basement projects I’ve worked on — from gut-and-cleanout through framing, insulation, and finished living space — for a sense of what the work looks like at each stage.
And one more reminder: the price you hear first is rarely the real price. Ask the five questions before you put a single stud against the wall.