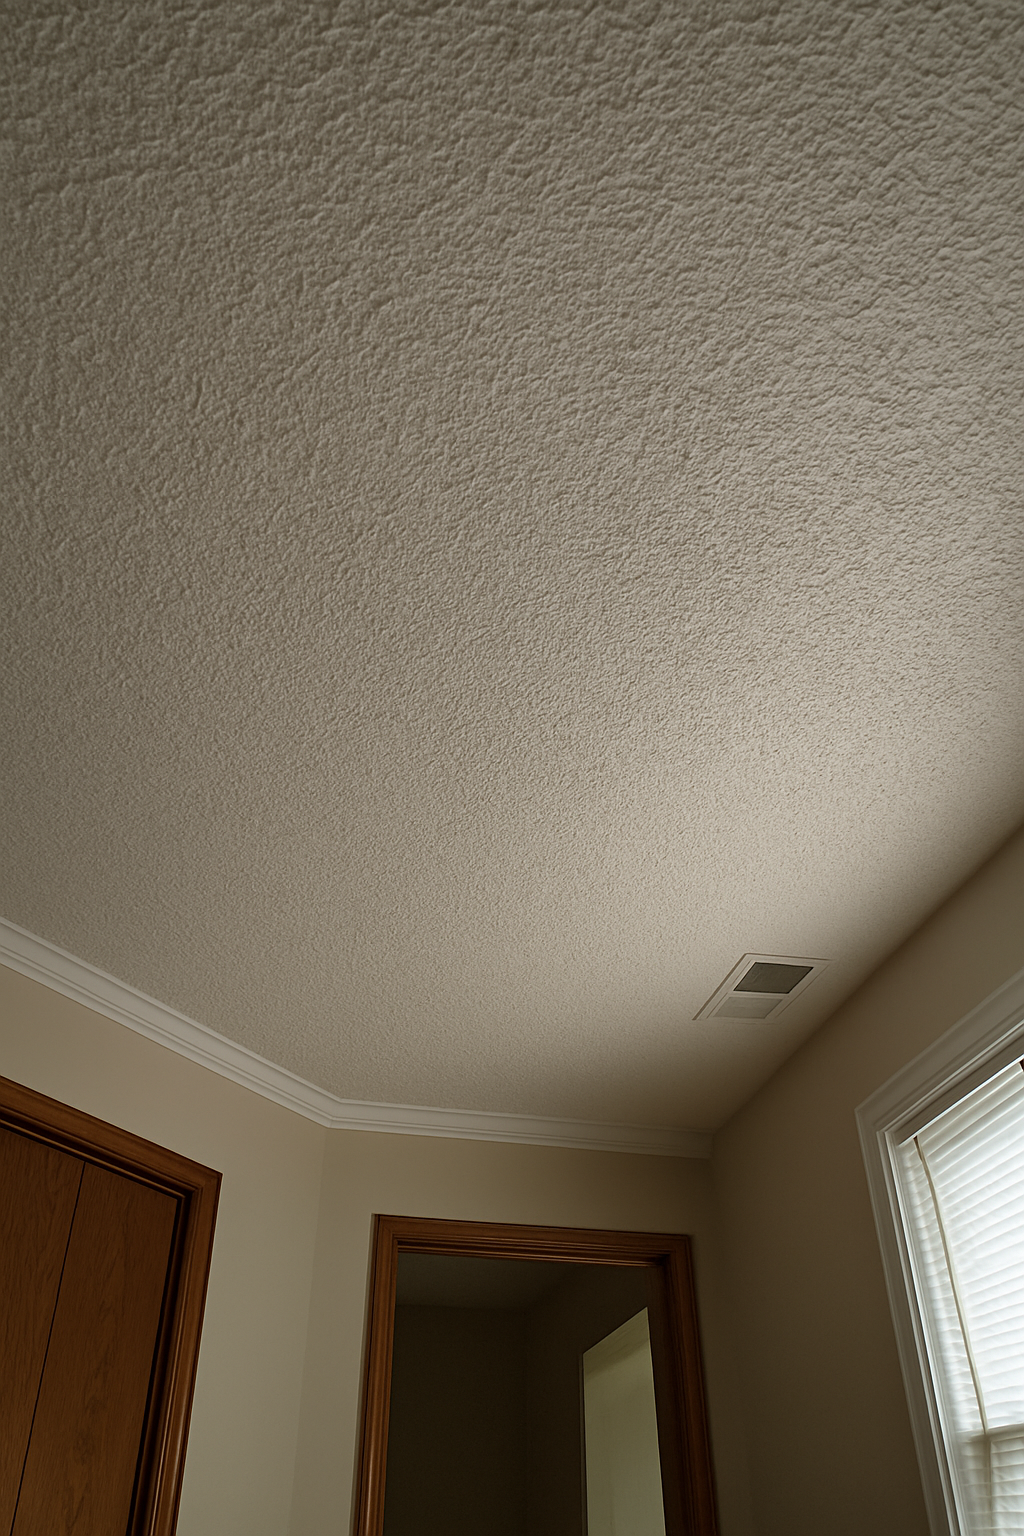
Almost nobody likes a popcorn ceiling, and the internet makes removing it look like a cheap weekend win: spray it with water, scrape it off, done. Sometimes it really is that simple. But three things decide whether this is a satisfying Saturday or a mistake — and the first one isn’t about difficulty at all. It’s about safety, because popcorn texture sprayed before roughly 1980 can contain asbestos, and you do not want to sand or scrape that into the air you’re breathing.
I’ve scraped ceilings that came off in wet sheets and skim-coated others that fought me the whole way. Here’s how to know which one you’ve got before you climb the ladder.
Deciding factor 1: how old is it? (the asbestos question)
This is the one to settle first, before you disturb anything. Decorative “acoustic” ceiling texture made through the 1970s often contained asbestos, and it was phased out of these products around the end of that decade — but existing stock got sprayed into the early 1980s. So the rule is simple: if your house (or the texture) predates the early ’80s, assume it might contain asbestos until a test says otherwise.
Testing is cheap and easy: mist a small patch, scrape a little sample into a bag, and send it to a lab — usually somewhere around $30–$50. If it comes back negative, great, you’re clear to proceed. If it comes back positive, do not dry-scrape or sand it yourself. Your safe options are to leave it alone, encapsulate it (paint or cover it so nothing sheds), or hire licensed abatement. Intact asbestos texture that’s painted and undisturbed is generally not an active hazard — it’s the disturbing it that creates the risk.
Deciding factor 2: is it painted?
This one decides whether the job is pleasant or miserable. Unpainted popcorn soaks up water, softens, and scrapes off in satisfying sheets down to the drywall. Painted popcorn is another animal — the paint seals the texture so water can’t penetrate, and it clings. You end up gouging the drywall, working dry (which makes dust), and often deciding halfway through that you should have just skim-coated over the top instead. If your texture is painted, test a small area with a spray bottle first. If the water beads and the texture won’t release, plan on skim-coating or covering, not scraping.
Deciding factor 3: what’s the ceiling doing otherwise?
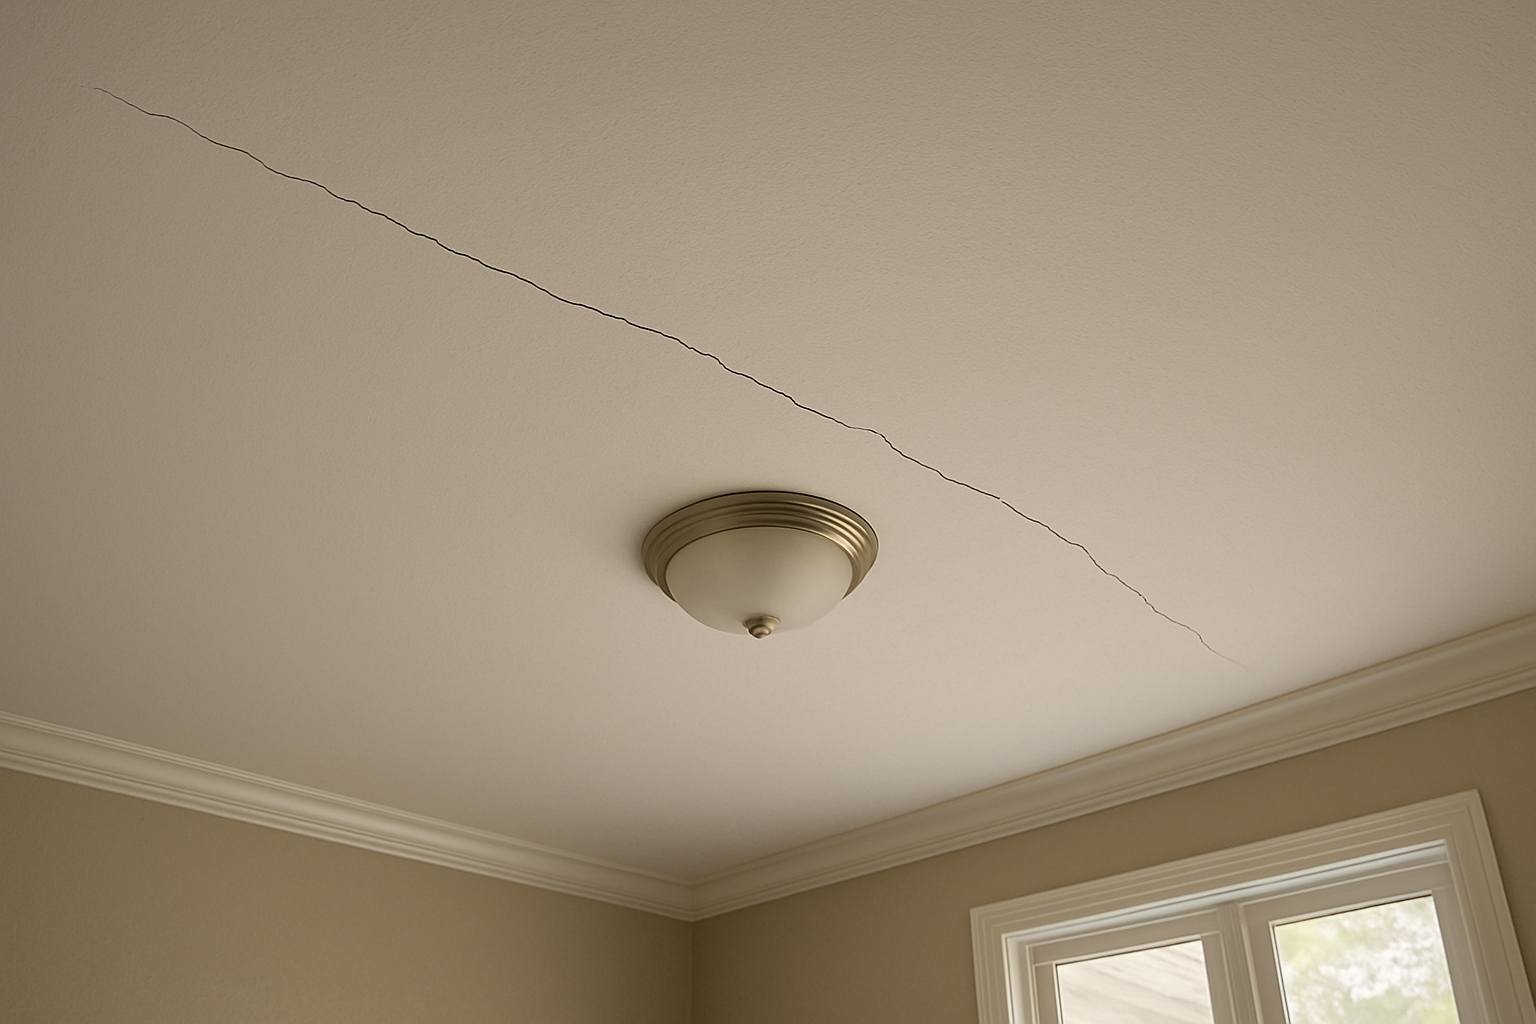
Look up before you commit. Water stains mean there’s a leak somewhere above — a roof or a plumbing line — and that gets found and fixed first; there’s no point smoothing a ceiling that’s about to get wet again. It’s also worth knowing whether you’re dealing with drywall or plaster underneath, because old plaster is more fragile and less forgiving of aggressive scraping. And be honest about scope: scraping one bedroom is a reasonable weekend. Scraping a whole house, then skim-coating, sanding, priming, and painting every ceiling, is a long, dusty project — not the quick job it looks like in a sped-up video.
The part the videos skip
Even when everything goes right, scraping is step one, not the finish. Wet-scraping controls the dust, but underneath you’ll usually find gouges, exposed drywall seams, and old texture shadows. Getting to a genuinely smooth, paint-ready ceiling almost always means a skim coat of joint compound, sanding, priming, and painting. Budget for that, and mask everything — wet popcorn goo gets on all of it.
Your real options
Scrape when it’s confirmed asbestos-free, unpainted, and you’re doing a room or two and don’t mind the mess.
Encapsulate — prime and paint it, or texture over it — when it’s fine structurally and you just want it sealed and refreshed, or when it tested positive and you’re leaving it undisturbed.
Cover it with new quarter-inch drywall or ceiling panels when it’s painted, or asbestos-positive, or you want a clean smooth result without the scrape-and-skim marathon. This is often the underrated winner: it never disturbs the old texture and gives you a brand-new ceiling plane.
DIY or not
A single asbestos-negative, unpainted room is legitimate DIY for a patient person with a spray bottle, a wide knife, and a lot of plastic sheeting. Painted texture, plaster ceilings, or a whole-house job tips toward hiring it out — and anything that tests positive for asbestos is a hard stop on DIY scraping. When in doubt, test first; it’s the cheapest fifty dollars in this whole decision.
Not sure what you’ve got up there?
Send me a photo of the ceiling, the year the house was built, and whether the texture’s been painted. I’ll tell you whether to test for asbestos first, whether yours will scrape or fight you, and which route — scrape, encapsulate, or cover — I’d take if it were my own ceiling: a written diagnostic with the specific plan and honest cost, $19.99, back to you in minutes.