A bad drywall patch is visible from across the room for the rest of the wall’s life. A good one is invisible after paint. The technique is the same regardless of hole size — feather the compound out further than feels right, sand between coats, and prime before paint. The materials change with the hole, but the technique doesn’t.
Here’s how to handle the four sizes you’ll see in a normal house.
Size 1: Nail Holes and Pinholes (Under 1/4 Inch)
The fastest patch in the house. Three minutes per hole.
Materials: Lightweight spackle (DAP DryDex is the brand most pros use because it goes on pink and dries white — you can see when it’s ready to sand).
Technique:
- Press a small dab of spackle into the hole with a finger or a flexible 1-inch putty knife.
- Wipe the surface flat — leave no excess sitting on the wall.
- Wait 30 minutes for it to turn white.
- A single light pass with 220-grit sandpaper.
- Touch up paint.
That’s it. Don’t overthink nail holes.
Size 2: Fist-Sized Holes (1 to 4 Inches)
This is the size that gets botched most often, because it’s too big for spackle and too small to need a real drywall patch — but most people use either the wrong material or the wrong technique.
Materials:
- 4-inch by 4-inch self-adhesive mesh patch (sold in any hardware store, $3 a pack of 5)
- 1-quart tub of all-purpose joint compound (the green-lid bucket, NOT the lightweight blue-lid for this size)
- 6-inch and 10-inch drywall knives
- 220-grit sanding sponge
Technique:
- Push the loose drywall paper edges of the hole inward with your fingers — don’t try to pull them flat. Tear off any obviously dangling chunks.
- Stick the mesh patch over the hole. Center it so it overlaps onto the wall by at least an inch on every side.
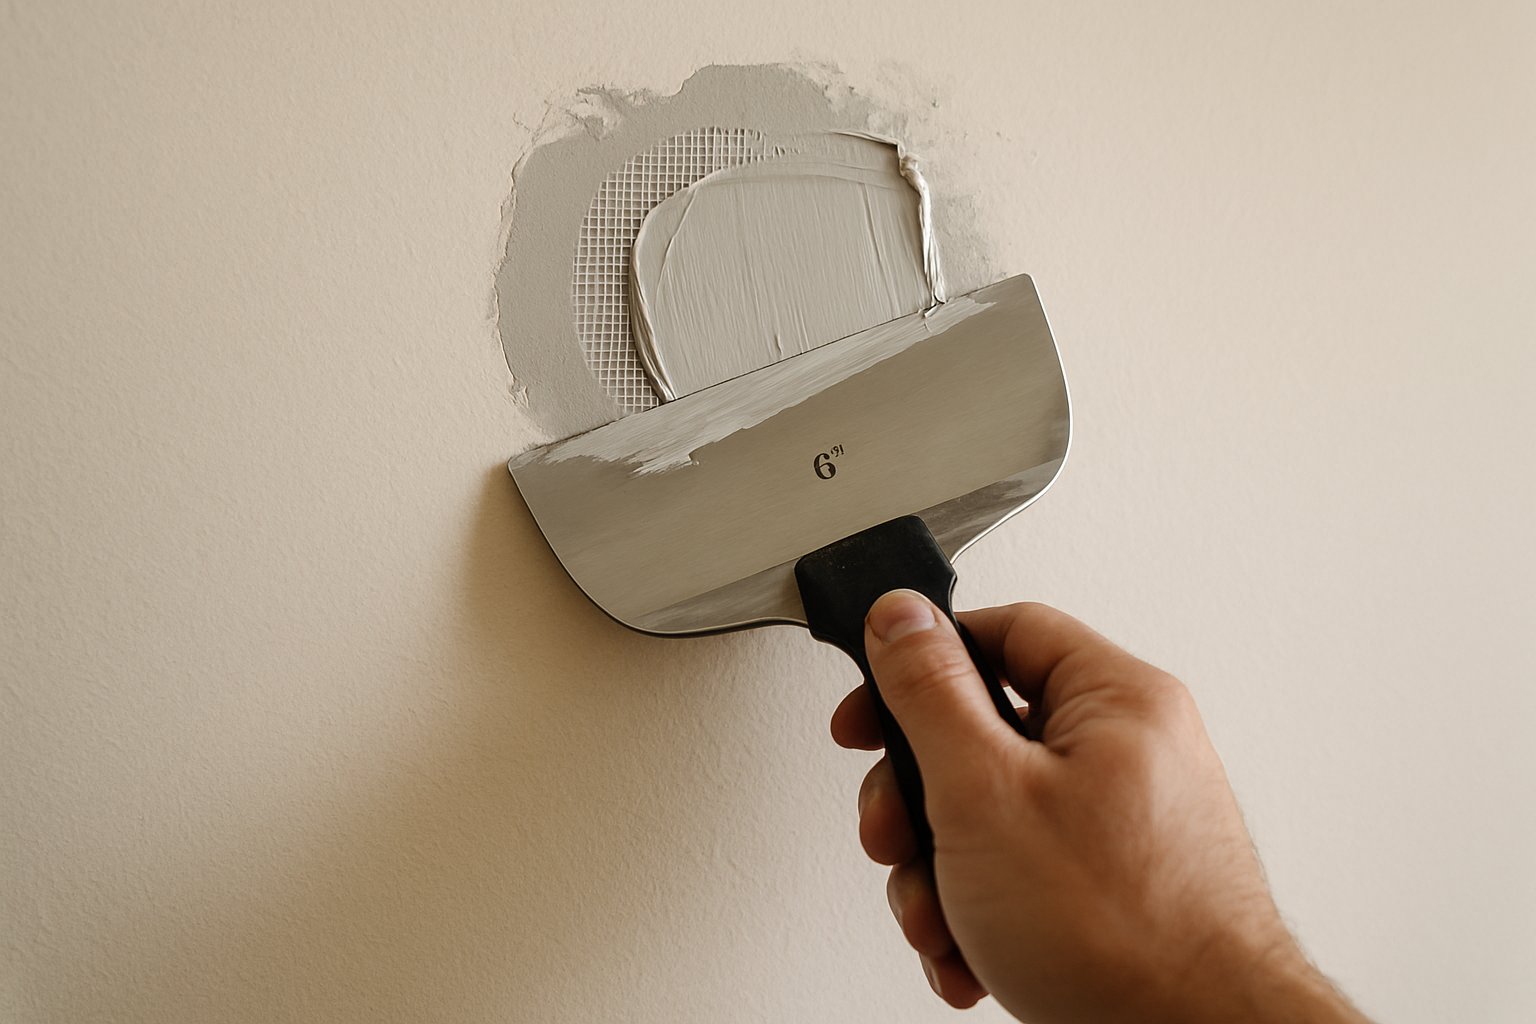
- With the 6-inch knife, apply joint compound over the mesh. The first coat is just to fill the holes in the mesh — it’s NOT the final surface. Press the knife flat against the wall and pull diagonally across the patch in two strokes, removing all excess.
- Wait at least 4 hours for the first coat to dry (compound goes from gray to white when dry).
- Second coat — use the 10-inch knife. Apply compound in a wider area than the first coat, feathering the edges. The patch in the middle should be barely covered, but the edges should extend 6 inches past the mesh in every direction. The goal is a smooth ramp from wall surface up to the slight bulge of the mesh, so the eye doesn’t see a step.
- Wait another 4 hours.
- Light sand with the sponge, just to smooth ridges. Do not sand all the way down — you’ll expose the mesh.
- Third coat (often optional, but worth it for a wall in a high-light area). Wider still — feather to about 12 inches from the original hole.
- Final sand. Run your hand across the wall with eyes closed; you should not feel a transition where the patch meets the wall.
Size 3: Doorknob Blowouts (3 to 6 Inches, Often Round)
Same problem as a fist hole, but with a clean-edged round shape. Use a “California patch” (also called a butterfly patch) — it’s stronger than a mesh patch for impact-prone areas.
Technique:
- Cut a square piece of new drywall slightly larger than the hole. Make sure the new piece is the same thickness as the wall (1/2 inch is standard for interior walls).
- With a utility knife, score the back side of the new drywall about 1 inch in from each edge. Snap and peel away the gypsum, leaving the front paper intact as a flap.
- The result: a small drywall plug with a 1-inch paper flap all around it.
- Test-fit in the hole — the plug should drop into the wall cavity and the paper flap should sit flat on the wall surface.
- Apply joint compound to the back side of the paper flap.
- Press the patch into the hole. The flap glues itself down to the wall surface, creating a flush, paper-reinforced patch with no metal mesh.
- Skim two more coats of compound over the flap to hide the edge, feathering each coat wider. Sand between coats.
This patch is stronger than the mesh method and disappears better under paint. Pros use it for doorknob holes specifically.
Size 4: Large Holes (Over 6 Inches)
Now you’re cutting and replacing actual drywall.
Materials:
- A patch piece of 1/2-inch drywall larger than the hole
- 1×3 furring strip or a 1×4 cut to length
- 1-1/4 inch drywall screws
- Mesh tape (the long roll, not the patch)
- Joint compound
Technique:
- Square up the hole. Use a level and a pencil to draw a clean square that encloses the hole, then cut along the lines with a drywall keyhole saw.
- Cut the furring strip to a length 4 inches longer than the height of the squared hole.
- Slide the furring strip up inside the wall cavity behind the hole, hold it flush against the back of the wall, and screw it through the wall on both sides of the hole — driving screws into the strip from the front. The strip is now a backer for the patch piece.
- Cut a piece of 1/2-inch drywall to fit the squared hole exactly. It should drop in flush.
- Screw the drywall patch through to the furring strip. Two screws per side.
- Apply mesh tape over each of the four seams between the patch and the original wall.
- Skim coats: first coat just to bury the tape, second coat wider, third coat wider still. Each coat dries 4–6 hours, then a light sand.
- Final sand, then prime, then paint.
Common Mistakes
- Sanding the second coat too aggressively — you cut through to the mesh and have to start over. The second coat is meant to be lightly sanded, not sanded down to nothing.
- Painting before priming the patch — joint compound absorbs paint differently than the surrounding wall. Without primer, the patched area will be visibly duller (called “flashing”) in any side light.
- Using lightweight spackle on holes bigger than a nail — spackle shrinks more than joint compound. On anything over 1/4 inch, the patch will pull back and reveal a depression after a week.
- Trying to fill a fist-sized hole in one thick coat — joint compound shrinks as it dries. A thick coat develops a center crack and a depression. Always at least two thinner coats.
- Sanding without a sanding sponge — paper sandpaper digs into the soft compound and leaves swirl marks. A sanding sponge (or a screen sander) keeps the surface flat.
When to Hire It Out
- The hole has water damage. Wet drywall is mush — you have to find and fix the leak, then cut out the affected area until you reach dry, sound material. The patch itself is straightforward but the diagnosis isn’t.
- The hole exposes wiring, plumbing, or HVAC ducts behind the wall. Patch the hole, but get an electrician or plumber to look at whatever’s exposed first if it doesn’t look right.
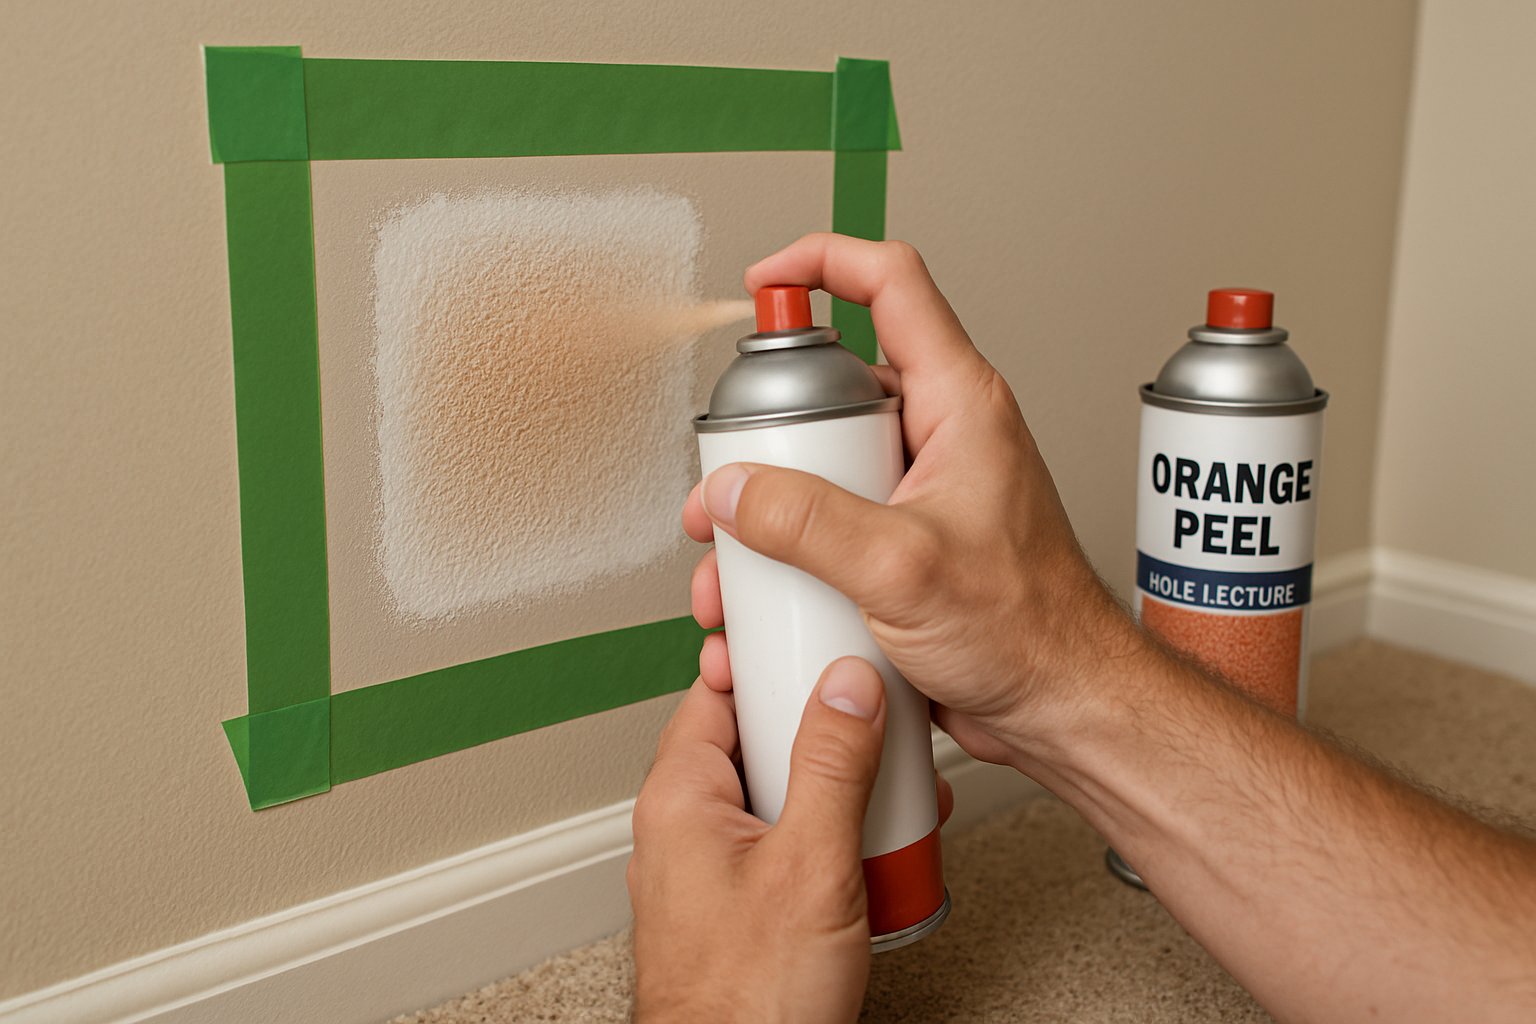
- The wall has a textured finish (orange peel, knockdown, popcorn, splatter). The patch is the easy part — matching texture is a separate skill, and it’s easy to make worse.
Frequently Asked Questions
Spackle vs. joint compound — what’s the difference? Spackle is for small holes — it dries fast and shrinks more. Joint compound is for taping seams and patching anything bigger — it shrinks less, sands smoother, and takes paint better. For anything over 1/4 inch, use joint compound.
How long until I can paint over the patch? After the final coat is fully dry (overnight is safest) AND after priming. Paint over fresh joint compound without primer and you’ll see the patch through the paint forever.
Can I use the same approach for ceiling holes? Yes, technique is identical. The only difference is gravity working against you — the joint compound wants to droop while it dries. Use the all-purpose (green-lid) compound, not lightweight, and keep coats thinner.
What primer should I use over a patch? A latex drywall primer like Zinsser Bulls Eye 1-2-3 or Kilz 2 Latex. Cover only the patched area plus 6 inches in every direction. Then paint the whole wall (touch-up paint on a wall over a year old usually doesn’t blend; expect to paint corner-to-corner).
The Bottom Line
The technique that makes a patch invisible is feathering the joint compound out way wider than feels right — at least three times the diameter of the hole. The single biggest reason a patch is visible is the edge, not the middle. Get the edges to a smooth ramp and the rest is forgiving.
For the full sequence including texture matching, repairing water-damaged drywall, and the corner-bead repairs that come up in remodels, see Patch Drywall and Texture-Match a Drywall Repair.
Got a bigger drywall job — a whole wall, a finished basement, or post-flood repairs? Send your photos for a $9.99 diagnostic report.