Finishing a garage sounds like a weekend project. Throw up some insulation, add drywall, hang a heater. And it can be that simple — but three decisions made wrong at the start will turn that weekend project into a code problem or a cold room you never use. Here’s what actually matters, in the order that matters.
I’ve finished garages and I’ve seen the mistakes that happen when people skip the planning. The planning is mostly about four things: fire separation, heat source, insulation sequence, and whether you need a permit. Get those four right and the rest is just drywall.
Decision 1: Fire separation — this is non-negotiable
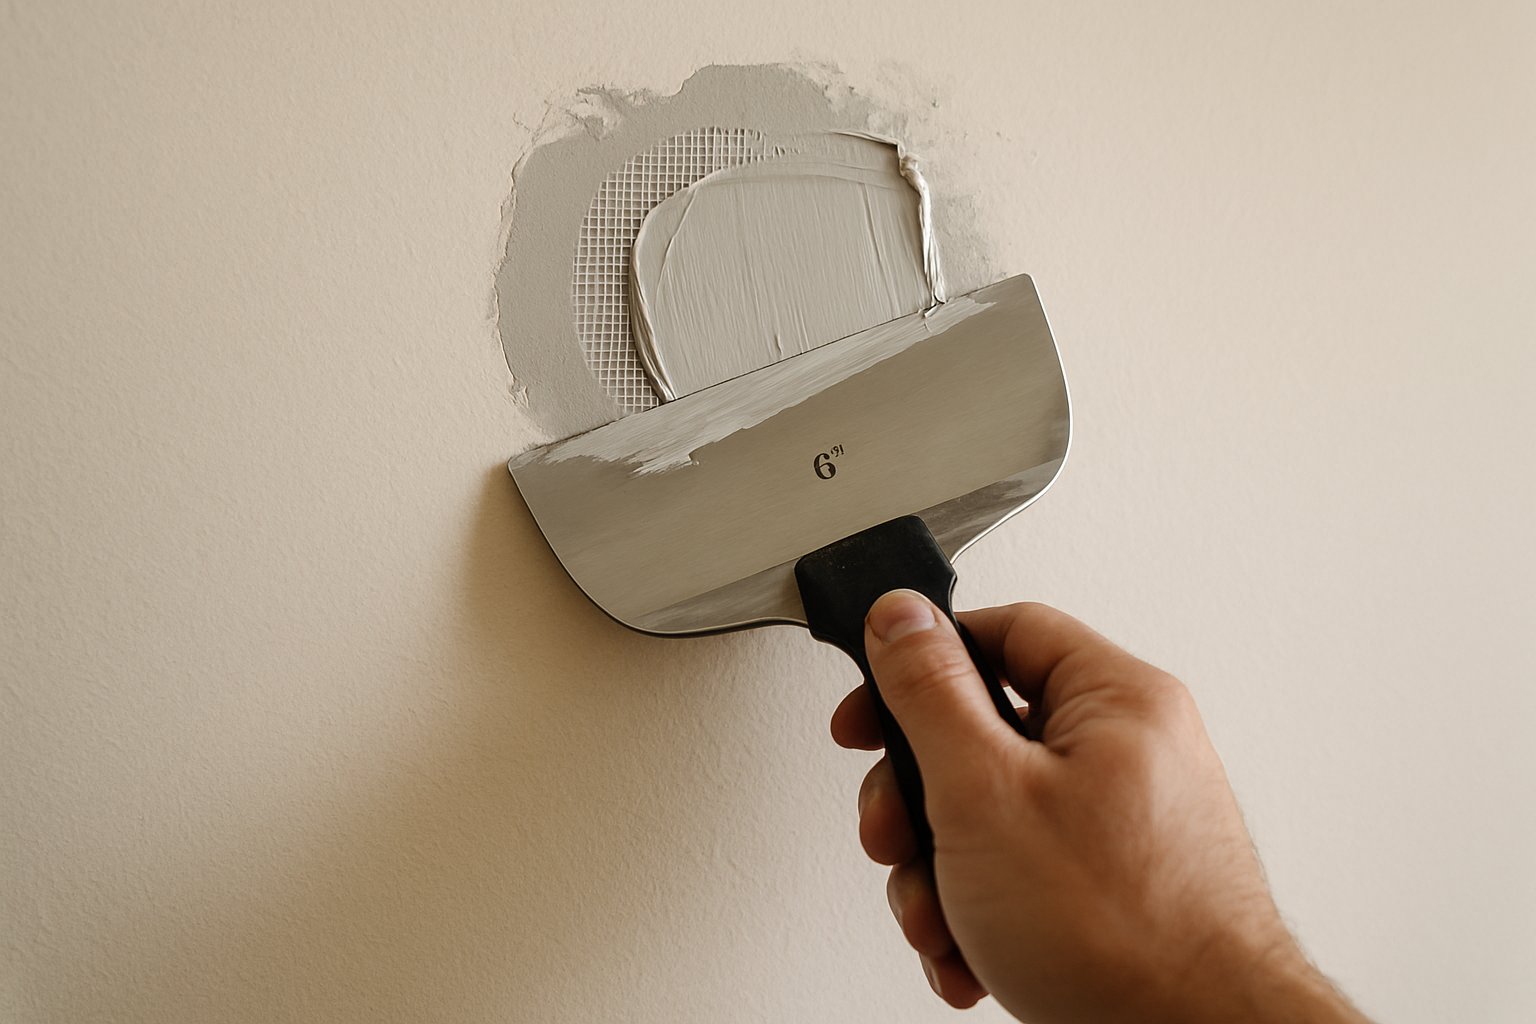
If your garage shares a wall or ceiling with living space — a bedroom above it, a family room beside it, a mudroom or hallway that connects directly — that shared assembly has to be fire-rated. In most jurisdictions this means 5/8-inch Type X drywall on the garage side of the shared wall or ceiling, taped and mudded, with no unprotected penetrations through it.
The purpose is to slow a garage fire from reaching the living space. Type X drywall buys roughly 45 minutes versus standard drywall’s 20. That time is the difference between a fire that’s contained to the garage and a fire that’s in the bedrooms. This isn’t a technicality — it’s the reason the code exists.
If you’re converting the garage into actual living space — removing the garage door, conditioning the space, adding an egress window — that’s a full conversion and you need a permit. The inspector will verify the fire-rated assembly along with egress, insulation, and HVAC.
If you’re just finishing the garage as a workshop, gym, or utility space while keeping the garage door, you still need the fire-rated assembly on shared walls and ceilings. Some jurisdictions require a permit for this scope; many don’t. Check before you drywall.
Decision 2: Heat source — decide this before you insulate
A standalone garage needs its own heat source. It can’t run off the house HVAC system — the thermal load, the air handling, and in many cases the code all make that impractical.
Three realistic options:
Gas or propane unit heater hung from the ceiling or mounted high on the wall. This is the most common choice for a garage workshop. They heat fast, the fuel cost is low, and they work well in cold climates. Downsides: you need a gas line or a propane tank, you need a flue, and you need to think about combustion air — the heater needs fresh air to burn safely. If you’re sealing the garage tightly with insulation, plan for a combustion air inlet.
Mini-split (heat pump) — an outdoor compressor with an indoor head unit. This is the most efficient option, handles cooling as well as heating, and has no combustion or flue requirements. Upfront cost is higher ($2,000–$5,000 installed). Works well down to about 5°F with a modern cold-climate unit; below that, it loses efficiency. If the garage is adjacent to the house and you already have a multi-zone mini-split system, adding a zone is often cost-effective.
Electric baseboard or overhead heater — easiest to install if you have a 240V circuit available. The operating cost is the problem: electric resistance heat is three to four times more expensive to run than gas or a heat pump in most climates. Fine for a space you heat occasionally; expensive for a space you’re in daily during a cold winter.
Decide the heat source before you insulate, because the combustion air requirements for a gas heater affect where you seal the garage and how you think about fresh air exchange.
Decision 3: Insulation and vapor control
Garage wall insulation follows the same logic as house wall insulation: batts in the stud bays, vapor retarder toward the warm side, drywall over. For a heated garage in a cold climate, the vapor retarder goes on the interior side of the insulation — between the insulation and the drywall, facing inward. Use faced batts or add a polyethylene vapor barrier before drywalling.
The slab is the hardest part. Cold comes up through an uninsulated concrete slab all winter, and you can’t insulate under an existing slab without tearing it up. Your options are limited: rigid foam over the slab and floating a new floor surface over it (which raises the floor height), or accepting that the floor will be cold and focusing heating on the air temperature. Most people live with a cold floor in a workshop garage.
Don’t over-think vapor control in a garage that’s staying a garage. You’re not conditioning the space to the same standard as living space. Do the wall insulation correctly, get the fire-rated assembly right where required, and the rest is details.
Decision 4: Do you need a permit?
This varies by jurisdiction, but a general guide:
- Structural changes (removing the garage door, adding an egress window, converting to habitable space): always a permit
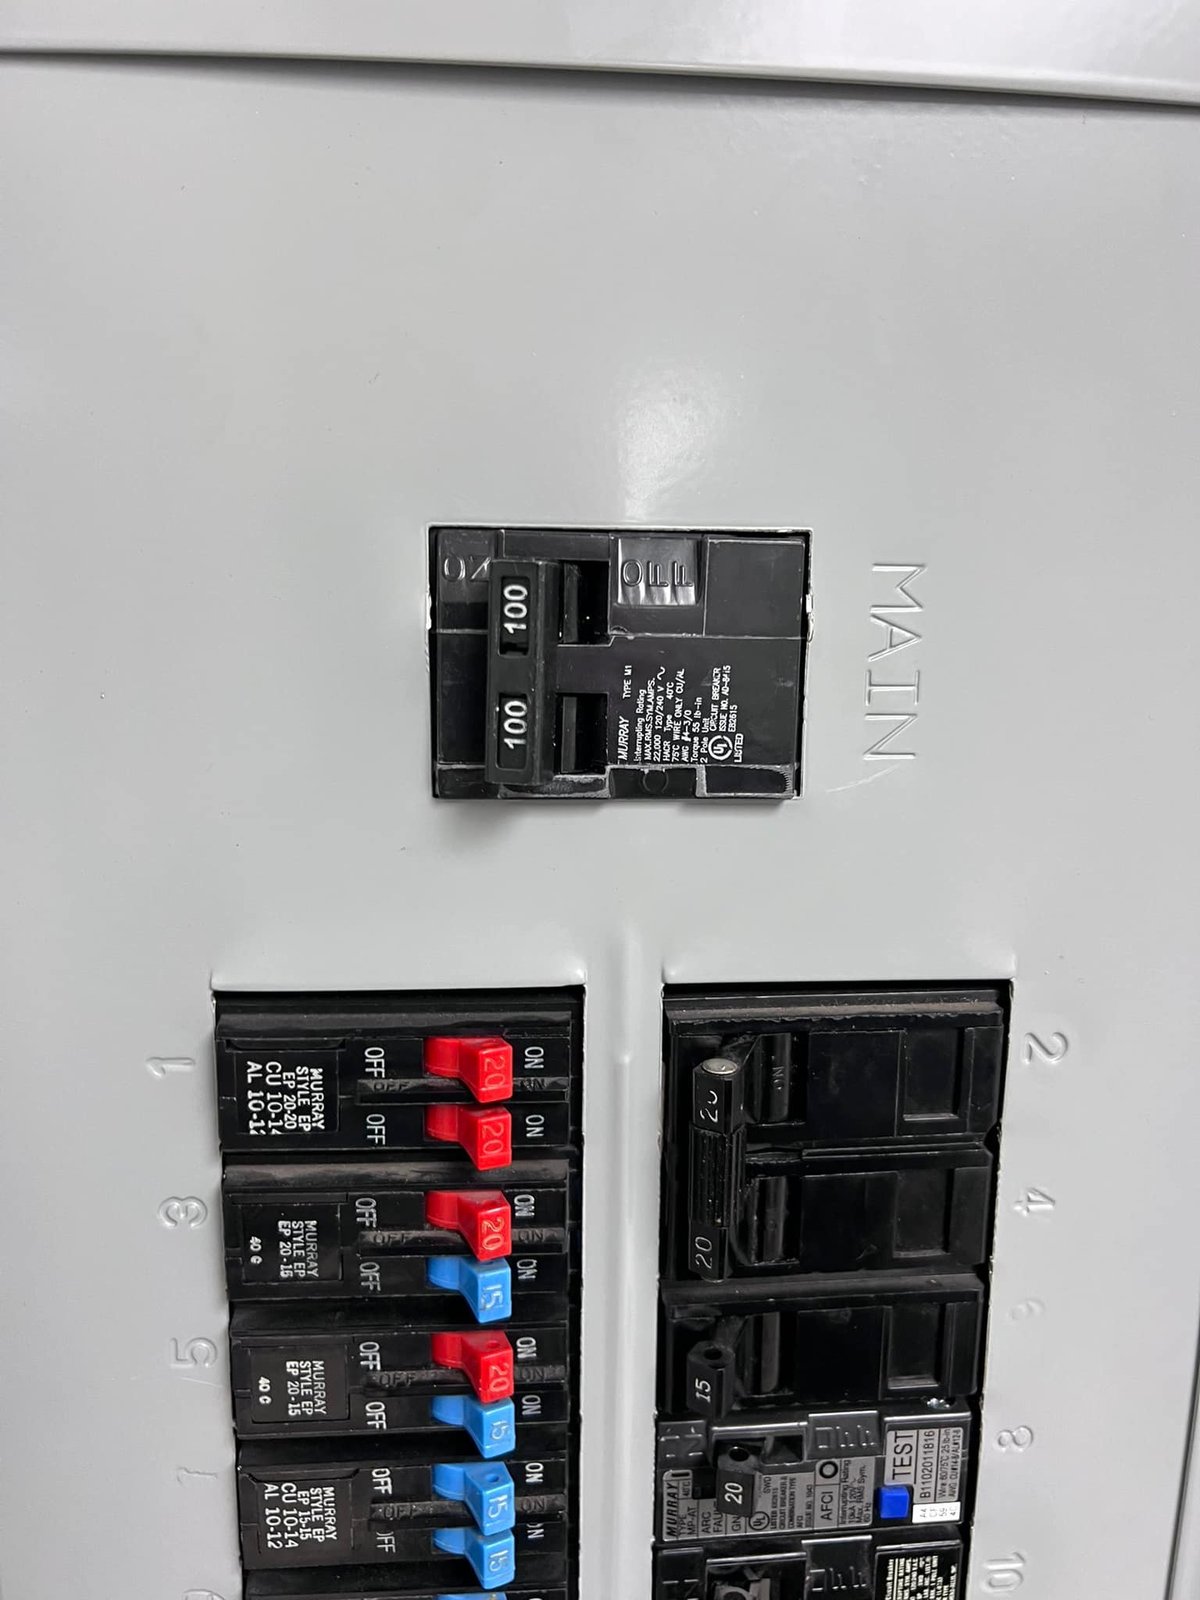
- Adding heat (new gas line, new 240V circuit, new HVAC): usually a permit for the electrical and gas work, sometimes for the overall project
- Insulation and drywall only, no use change: often no permit, but check locally — some jurisdictions require a permit for any interior finish work
The risk of skipping a permit where one is required: the work shows up as unpermitted at resale inspection. The buyer either asks you to get it permitted retroactively (which may involve opening walls for inspection), you reduce the price to account for it, or you disclose it as-is. For projects that change the use of the space, the liability is larger.
For a simple workshop finish with insulation and drywall — no use change, no new gas line, no service upgrade — check with your local building department. Many smaller municipalities don’t require a permit for this scope.
The floor: last, not first
If you’re finishing the garage as a workshop or gym and keeping the function as a garage, do the floor last. The garage floor gets wet, dirty, and worked on. Epoxy is the right finish for a garage floor — it seals the concrete, cleans easily, and holds up to vehicle traffic and dropped tools.
The key to a good epoxy floor: preparation. The concrete has to be dry (no active moisture vapor transmission through the slab), clean, and etched or shot-blasted to open the surface for adhesion. Most DIY epoxy failures are prep failures — people clean the floor but don’t etch it, and the epoxy peels within a year.
If there’s any sign of moisture coming up through the slab (white efflorescence, damp spots after rain, plastic sheeting test: tape a square of plastic to the floor and check for condensation beneath it after 24 hours), fix the moisture source before you apply any coating.
A good epoxy job — proper prep, quality product — lasts 10 to 15 years in a residential garage.
Summary
In order of importance:
- Fire-rated assembly on shared walls and ceilings — 5/8” Type X drywall, always, no exceptions where the garage touches living space
- Heat source decision before you insulate — gas unit heater, mini-split, or electric; each has different rough-in requirements
- Insulation and vapor barrier — batts with vapor retarder toward the warm side; accept the cold floor
- Permit check — especially if you’re adding gas, electrical, or changing the use of the space
- Floor last — epoxy over properly prepared and dry concrete
If you’ve got a garage you’re planning to finish and you want a read on the sequence for your specific situation, send me photos of the current state of the space — the walls, the ceiling, the shared wall with the house. hammondreengineered.com/report — $19.99.