Once the attic was stripped, I built it back up as a real living space. Pink rigid foam on the roof deck with baffles for soffit-to-ridge airflow, kraft-faced batts in the rafters and knee walls, new collar ties where they were needed, and a ductless mini-split for heat and AC. I framed knee walls with built-in storage doors, hung drywall on the gables, ran a tongue-and-groove pine ceiling, and built custom pine doors with wrought-iron hardware. Finished as a bunkroom for my sons and visiting family.
-
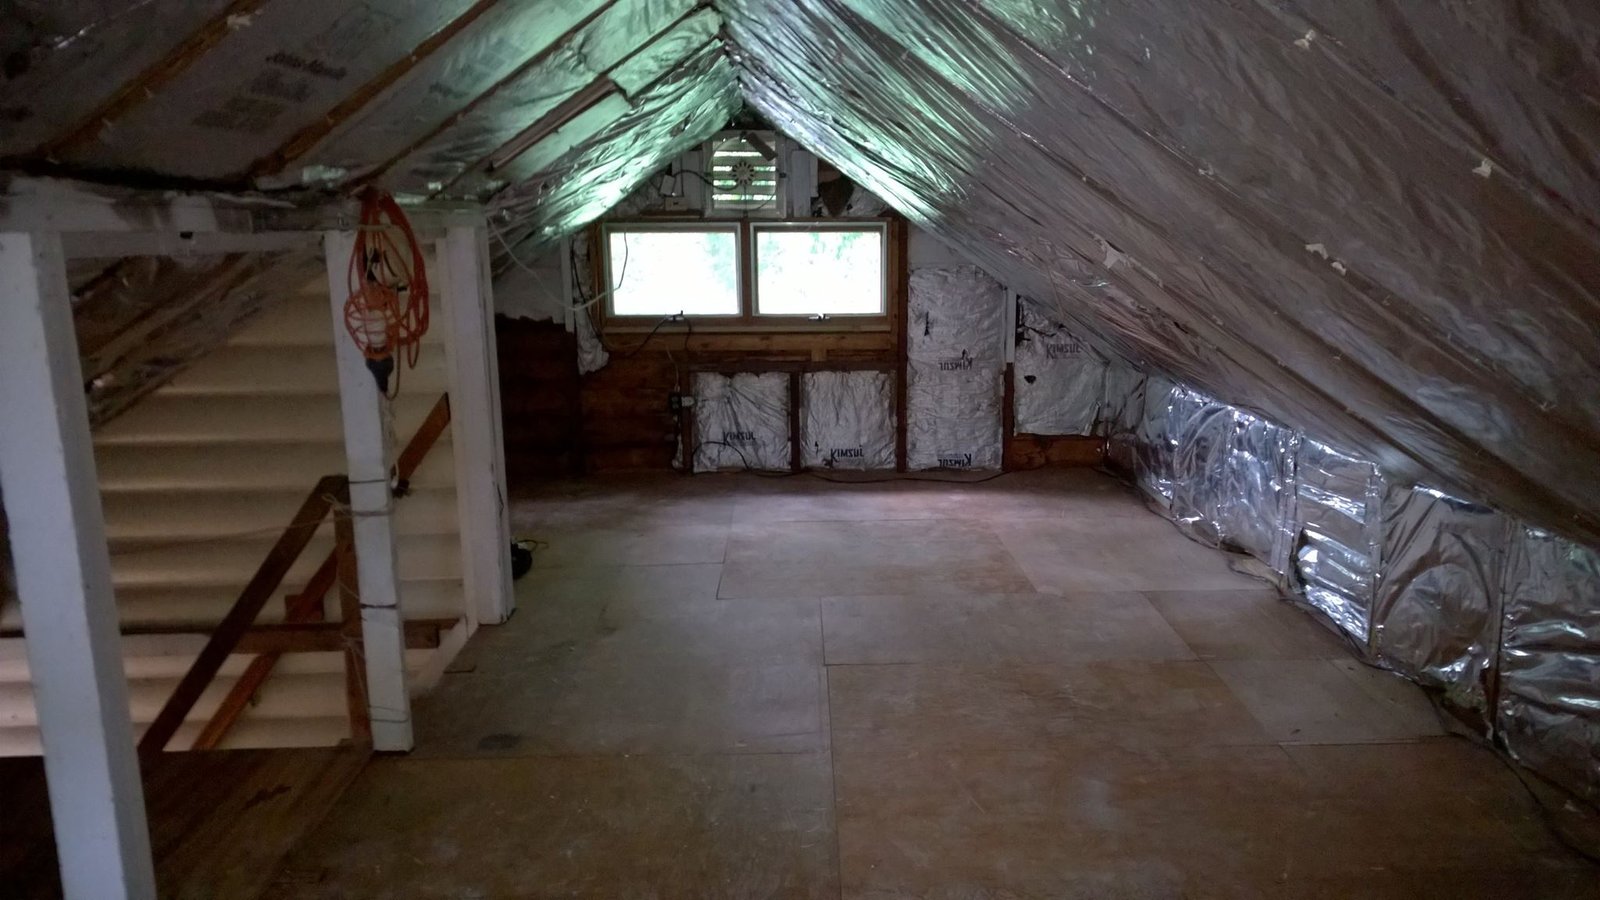
 During
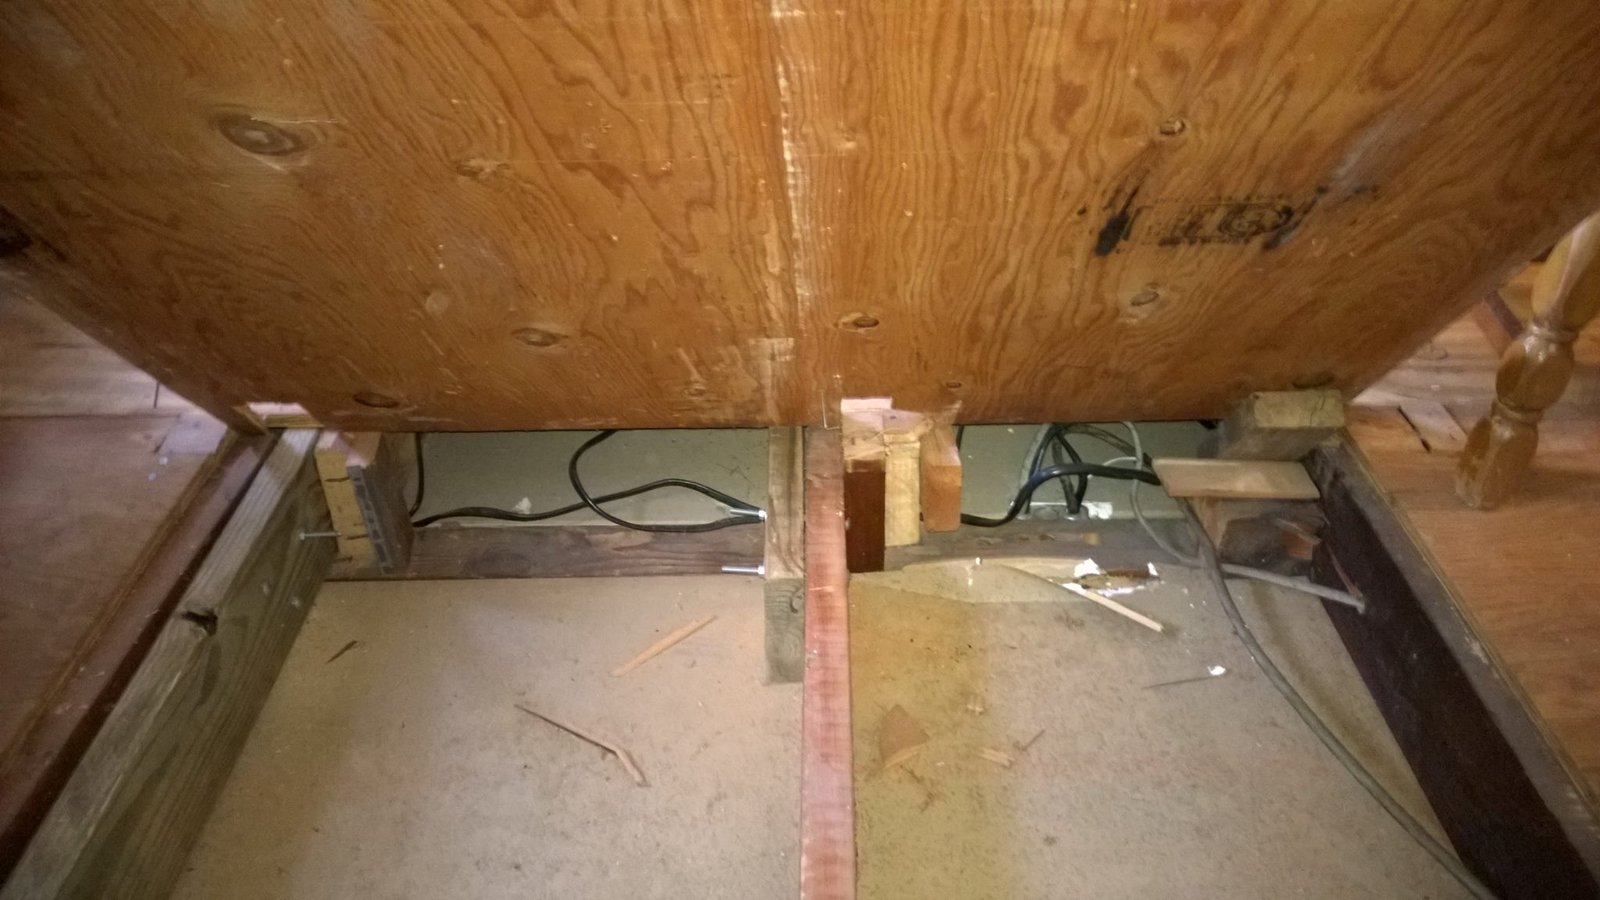
 Raised the plywood subfloor on shims to level it and run new wiring underneath before locking it down.
-
 During
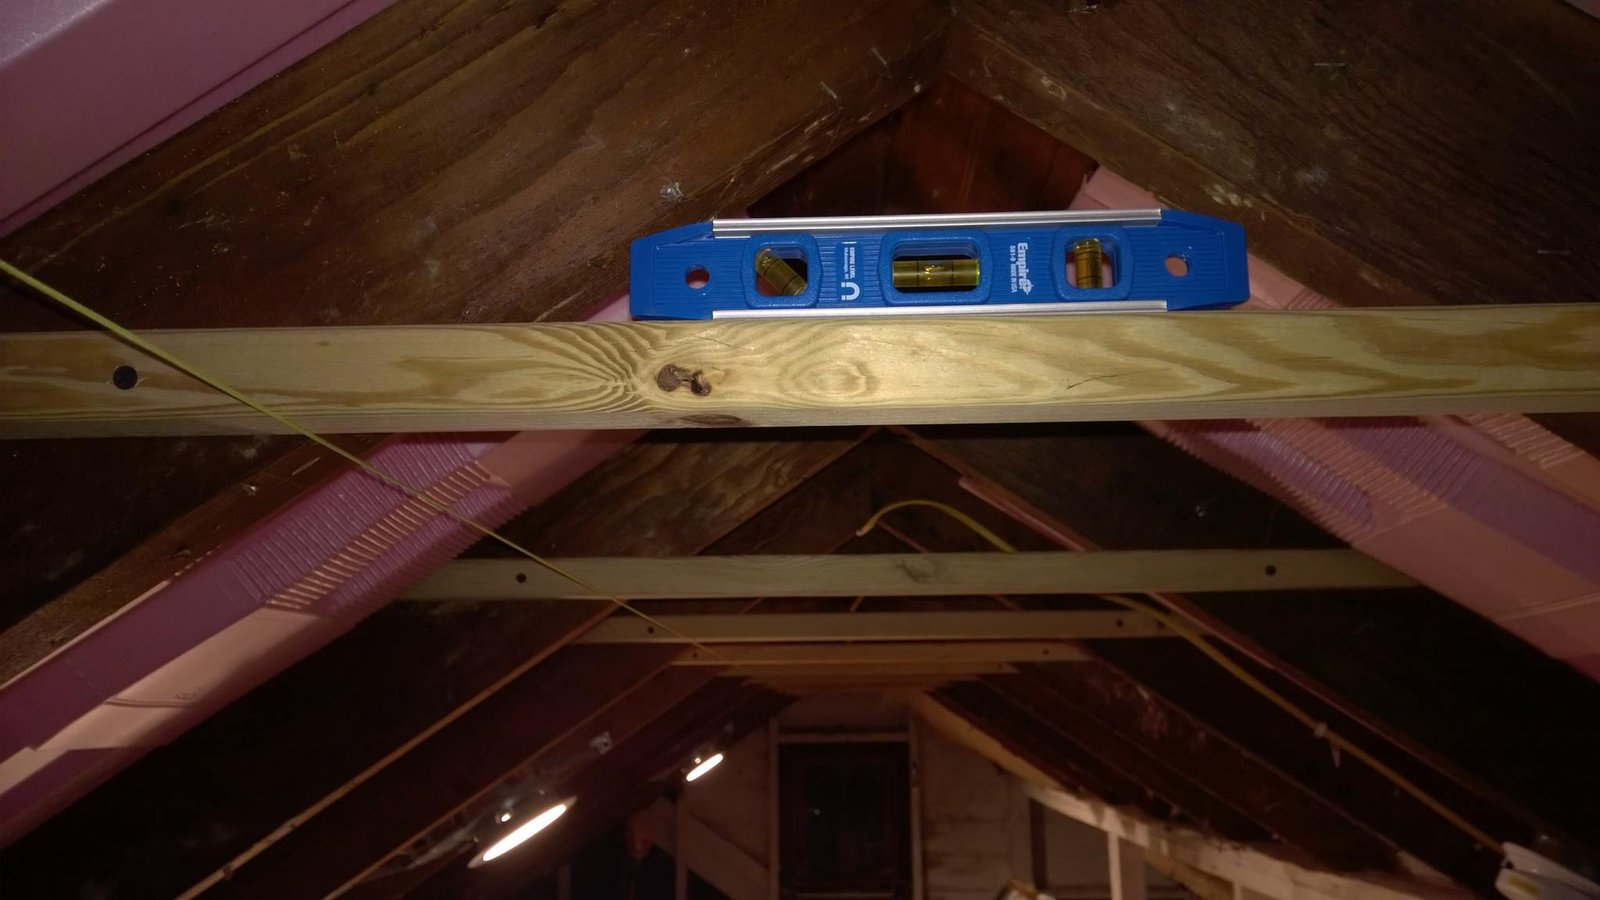
 Checking a new collar tie with a torpedo level. Added these where the rafters needed the lateral support.
-
 During
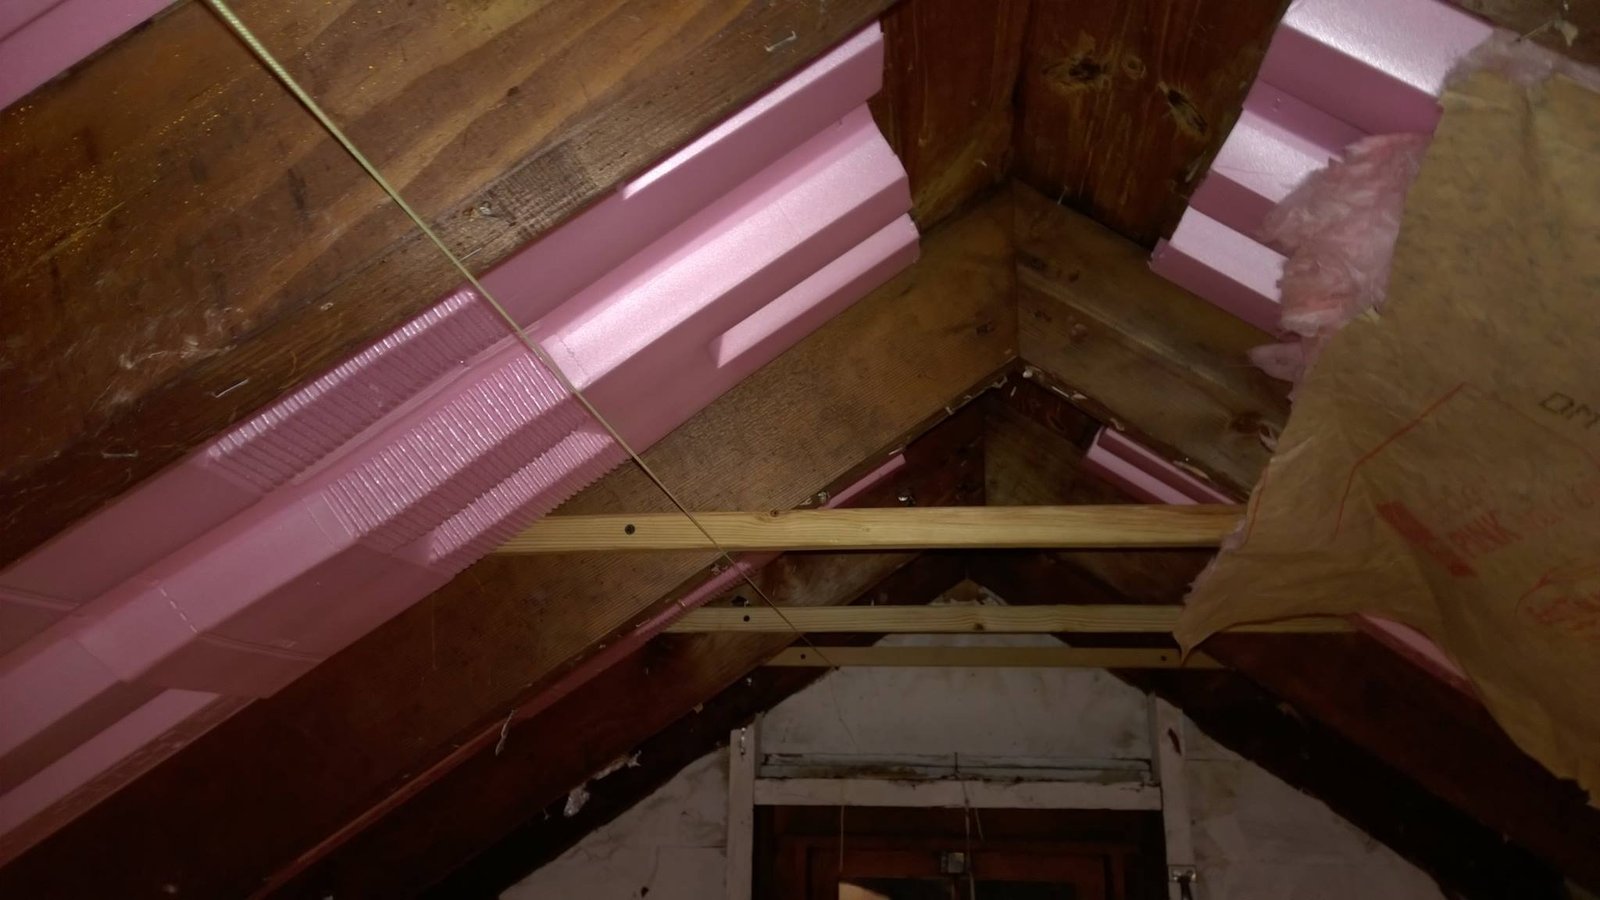
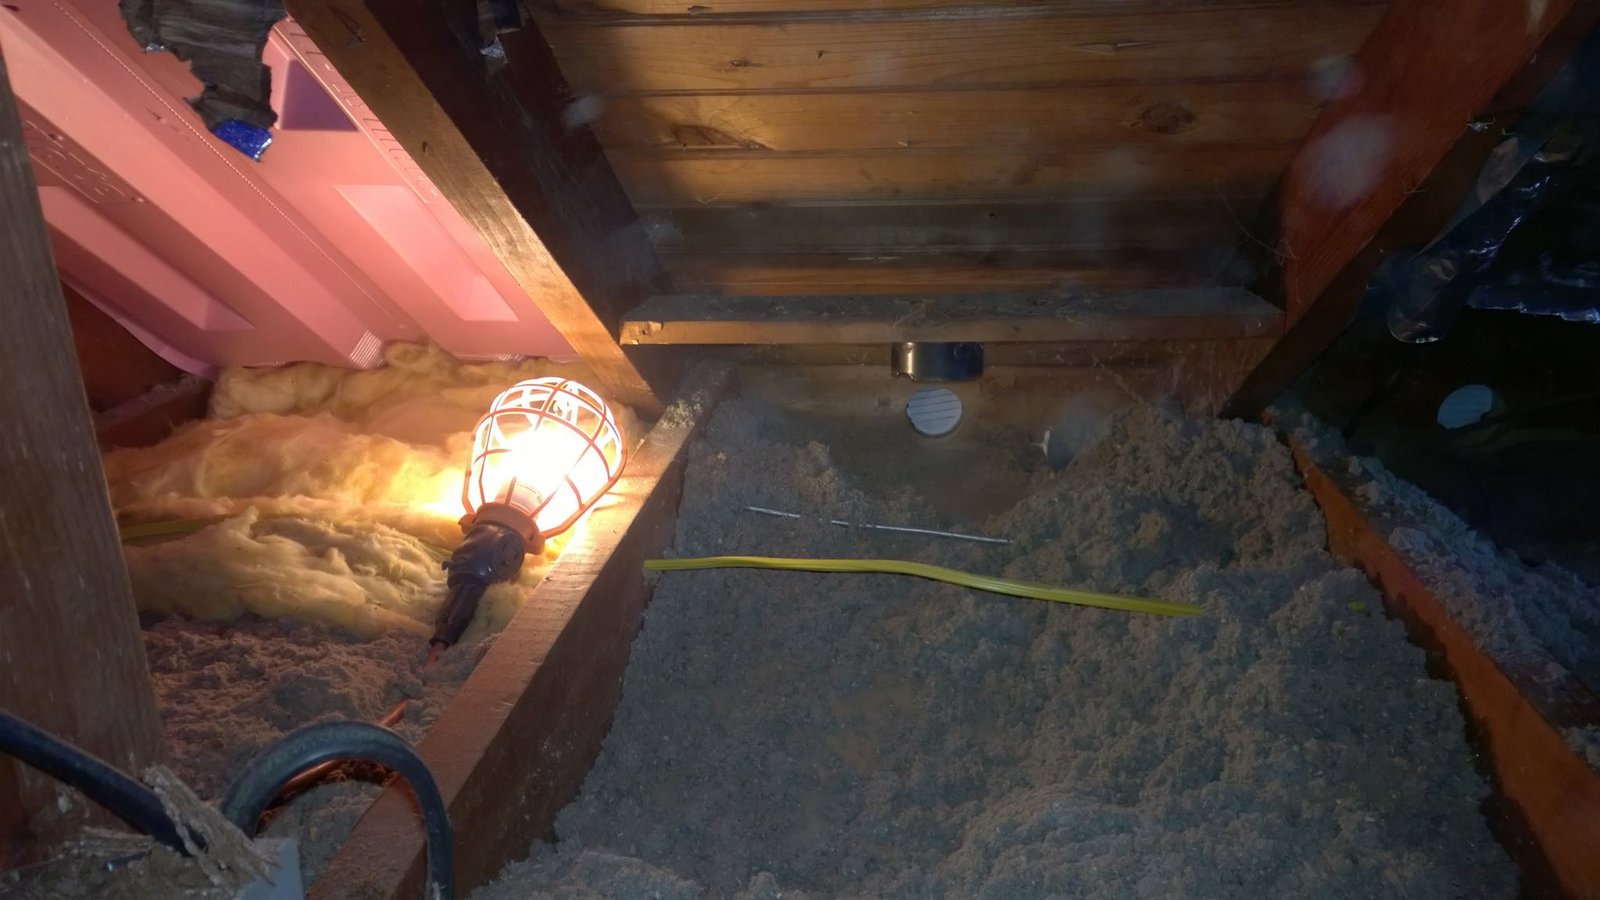
 Pink foam baffles between every rafter bay so the soffit-to-ridge airflow stays clear behind the insulation.
-
 During
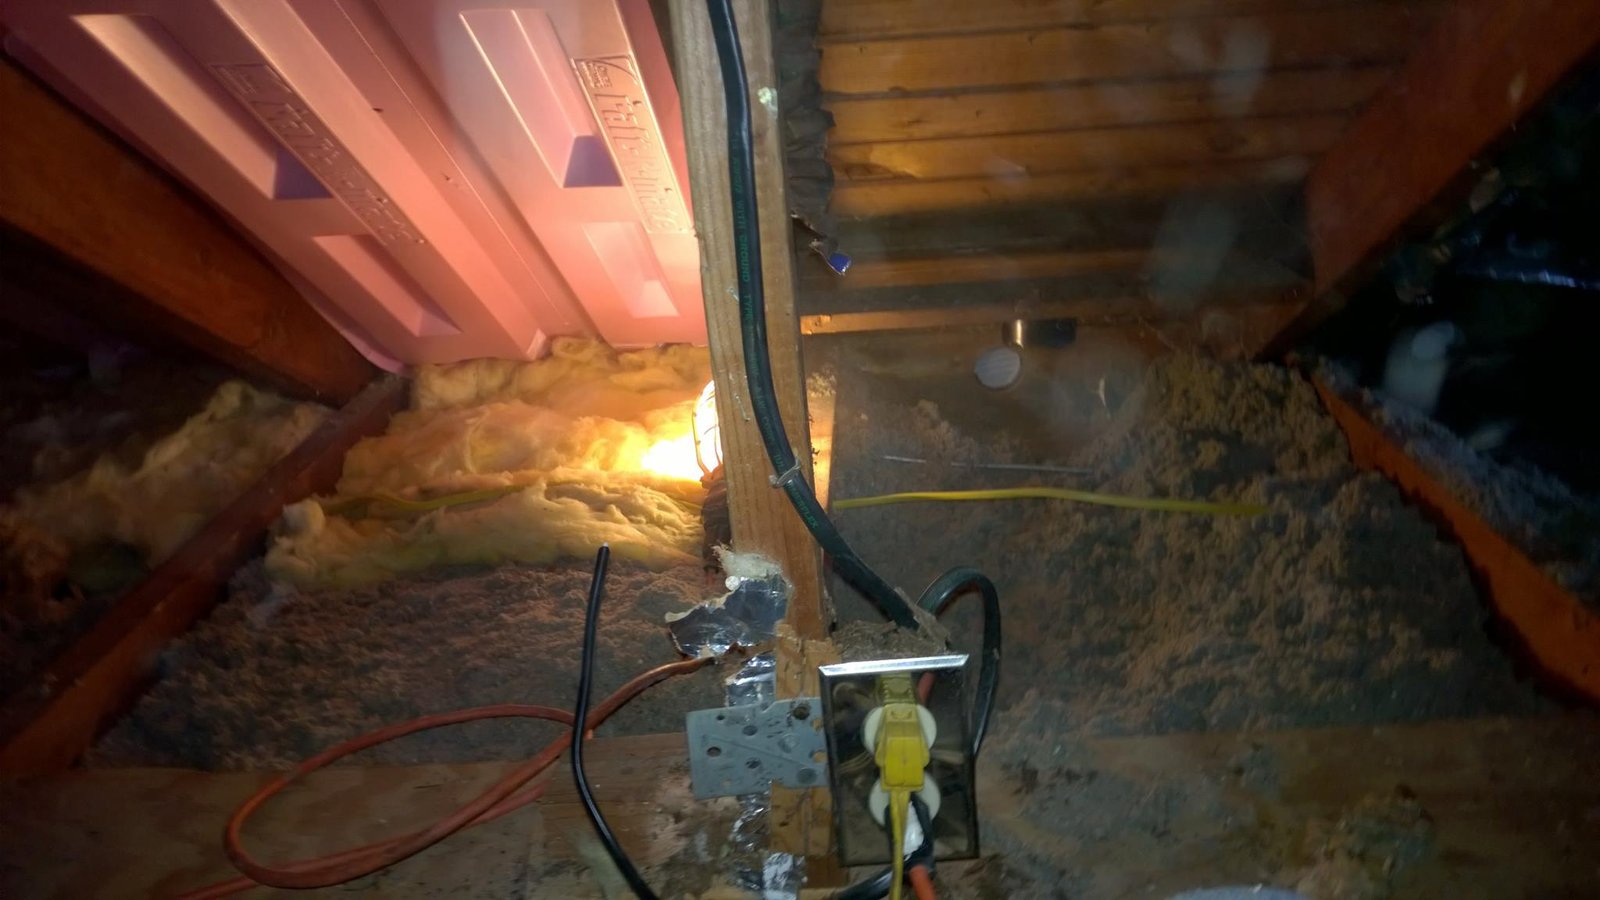
 Rigid foam board going in between the rafters. Work lights strung up because the only power was an extension cord.
-
 During
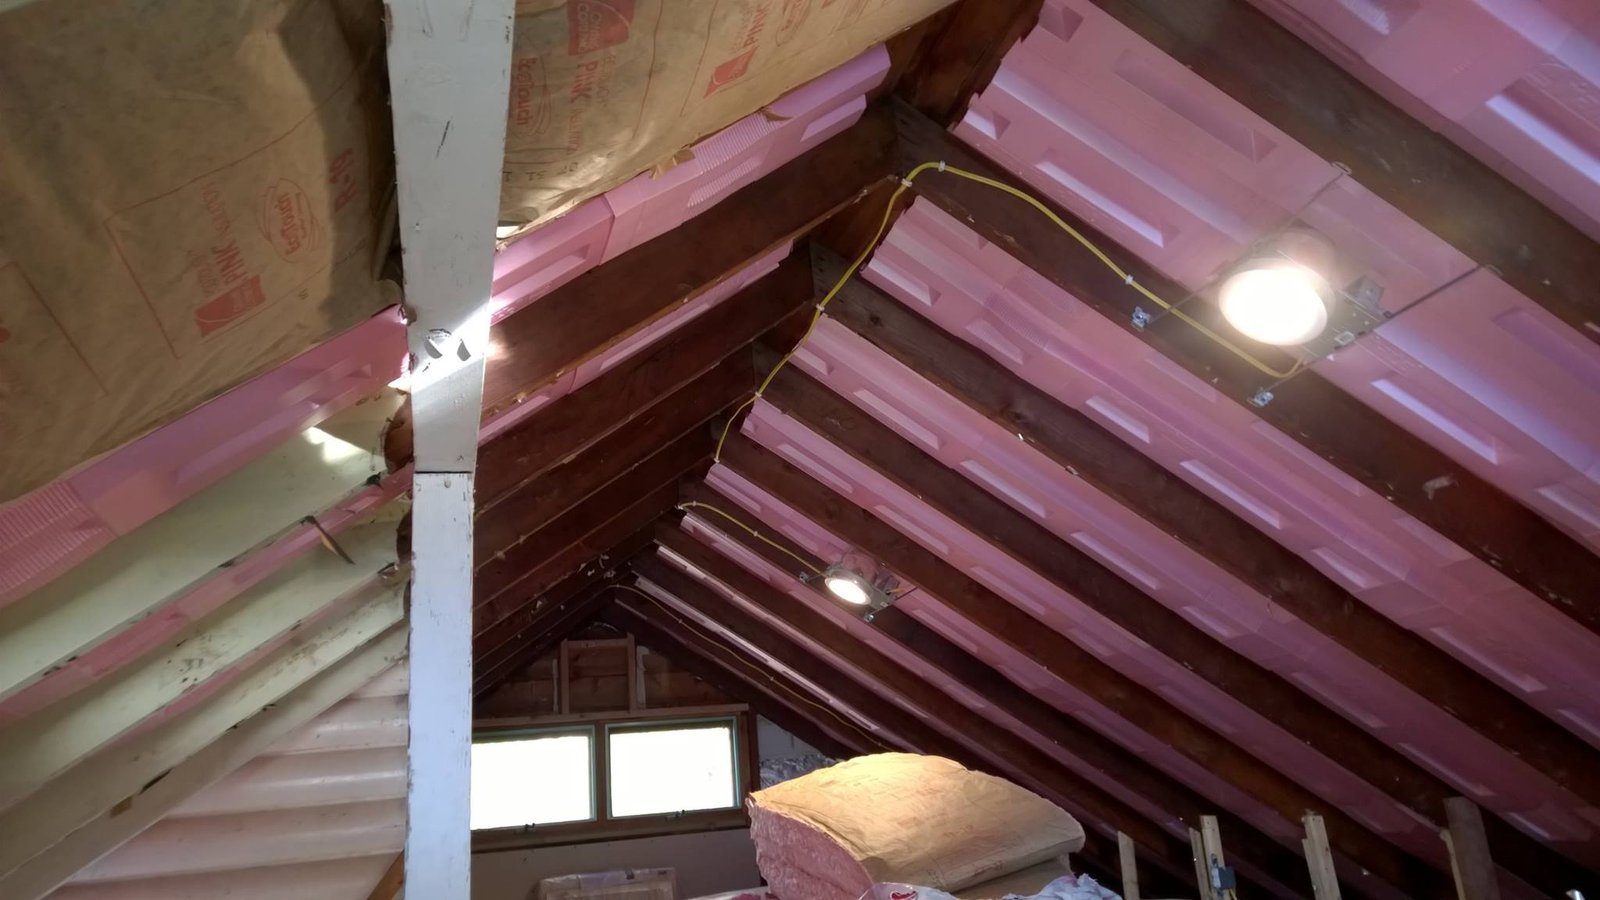
 Layered rigid foam on the roof deck with fiberglass batts in front of it for the R-value the cold months need.
-
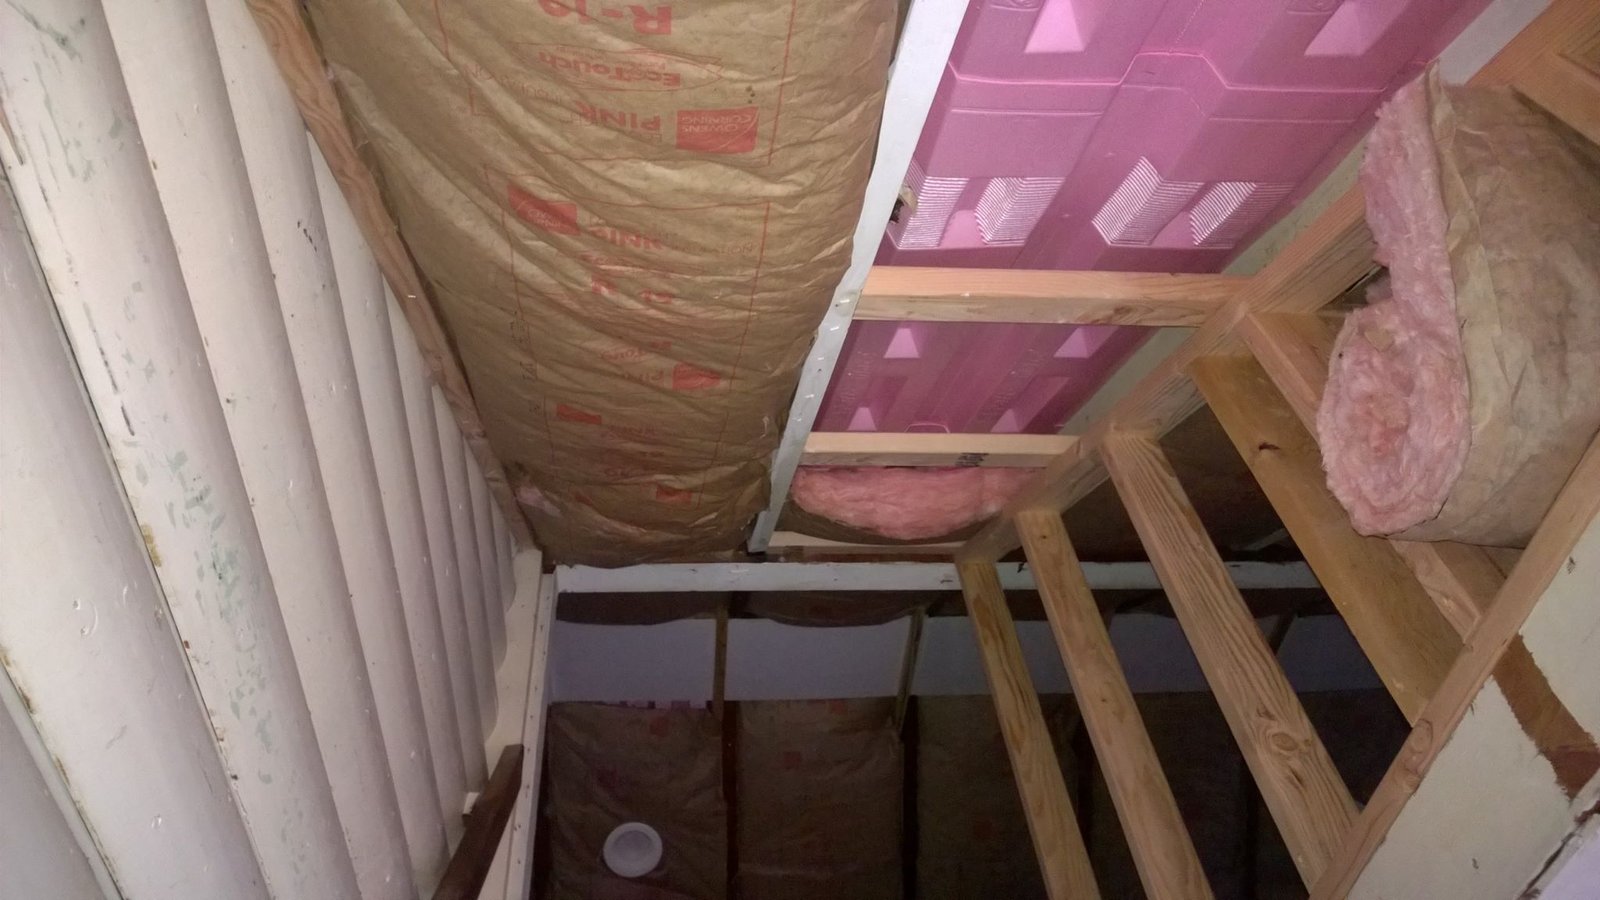
 During
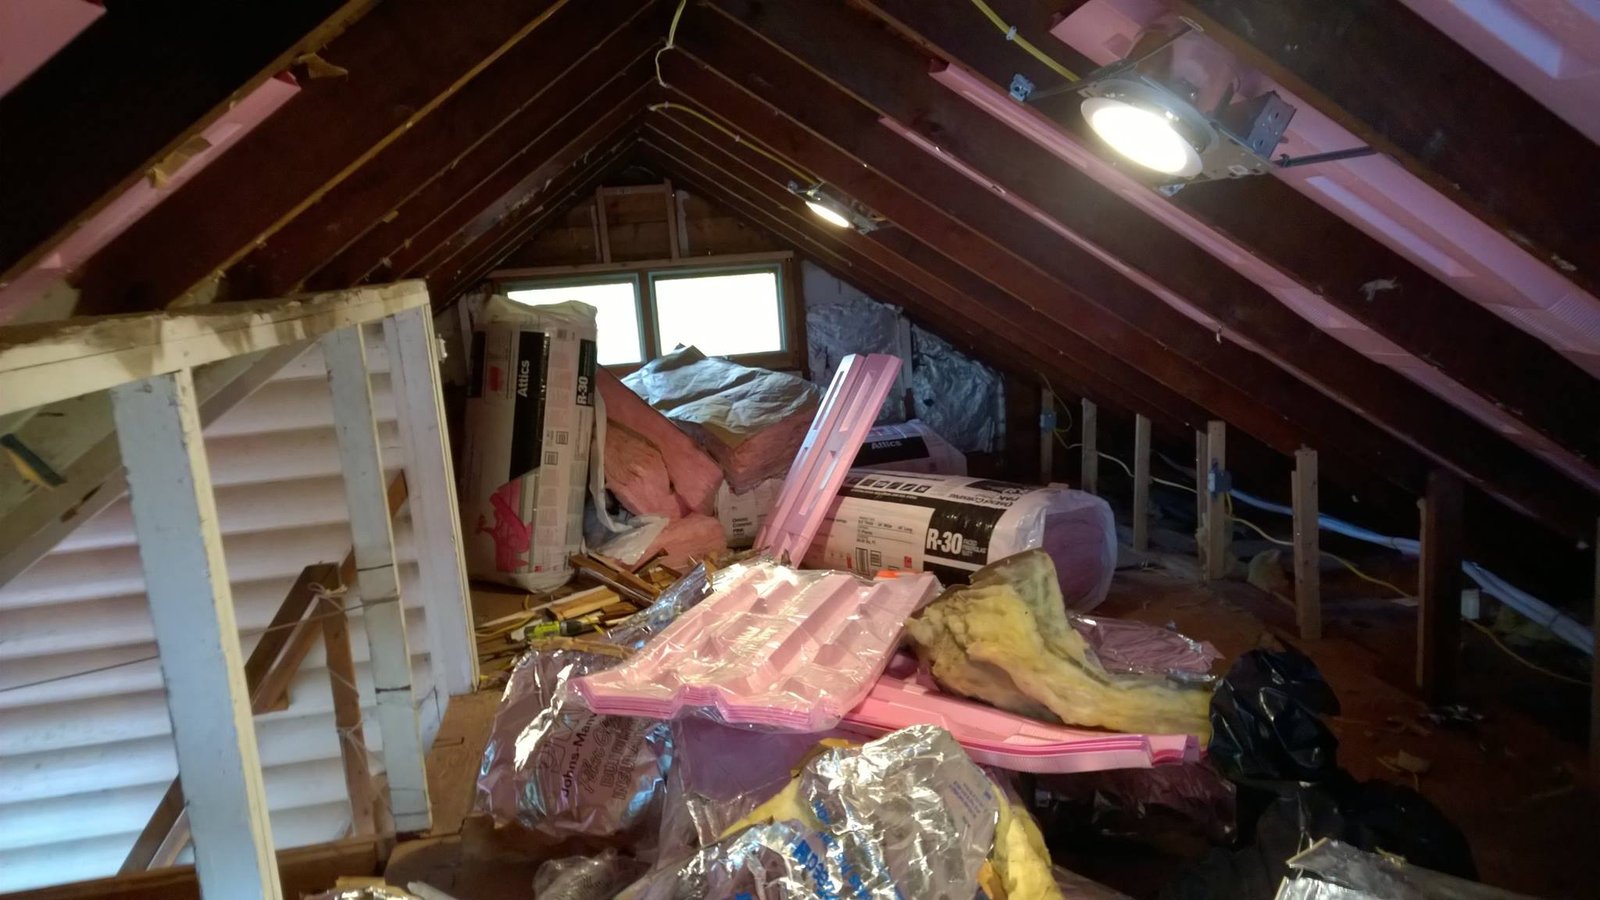
 R-30 batts and rigid foam staged on the floor, ready to install in the rafter bays.
-
 During
 Cellulose, fiberglass, and rigid foam layered between the joists to seal the floor to the conditioned space below.
-
 During
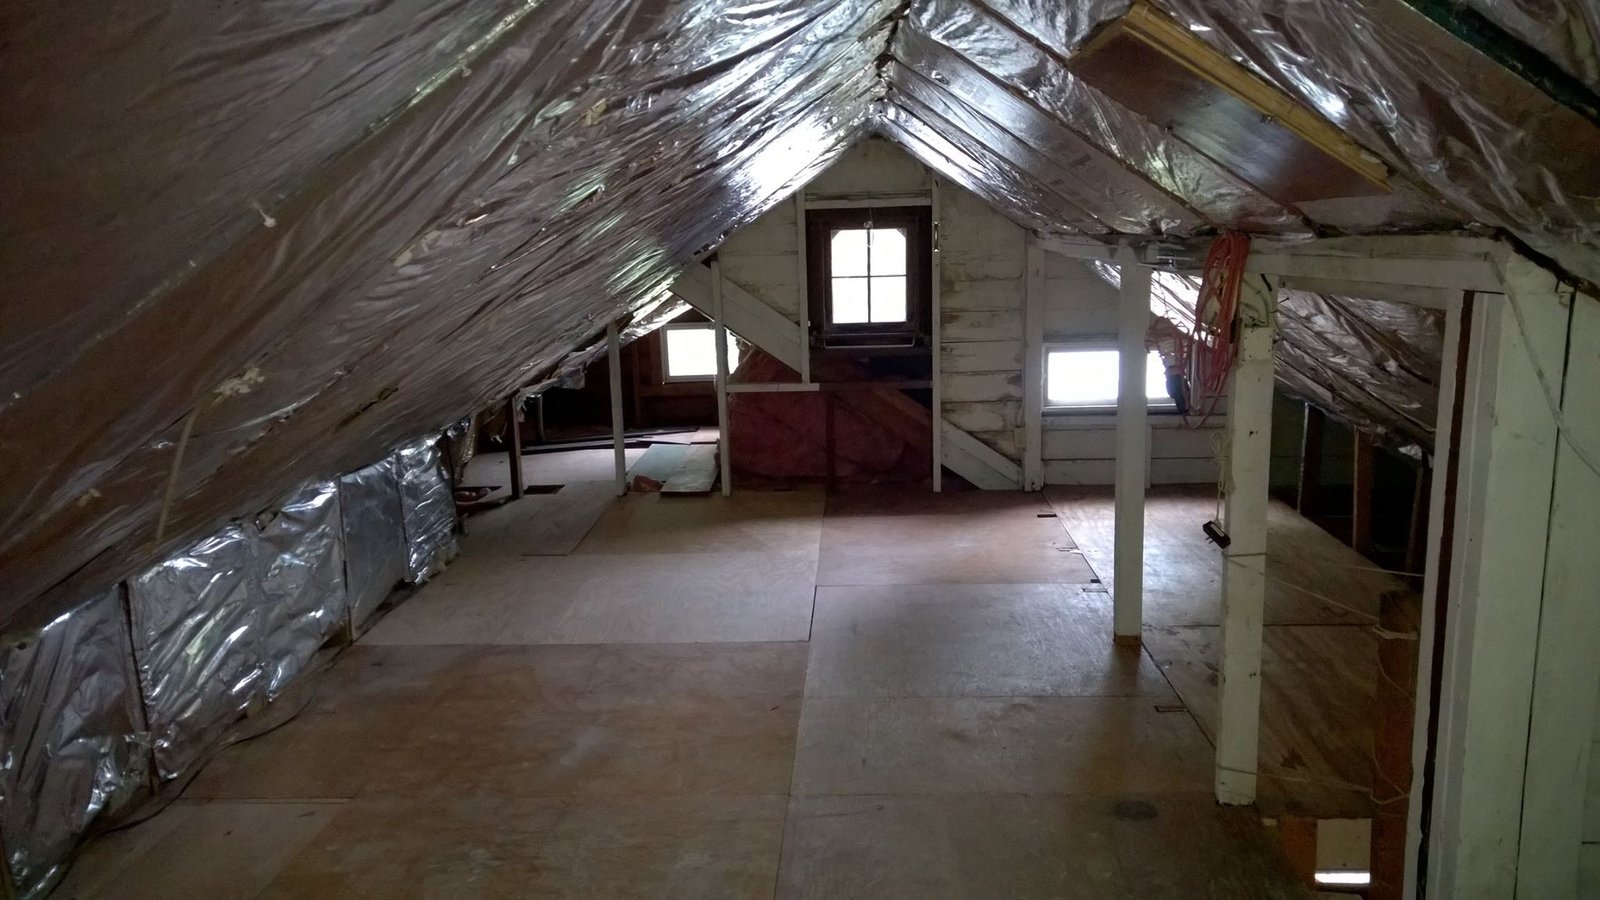
 Radiant barrier up on the rafters and the plywood subfloor down. Starting to look like a room.
-
 During
 Radiant barrier on the rafters, Kimsul batts in the knee walls. Belt-and-suspenders on the thermal envelope.
-
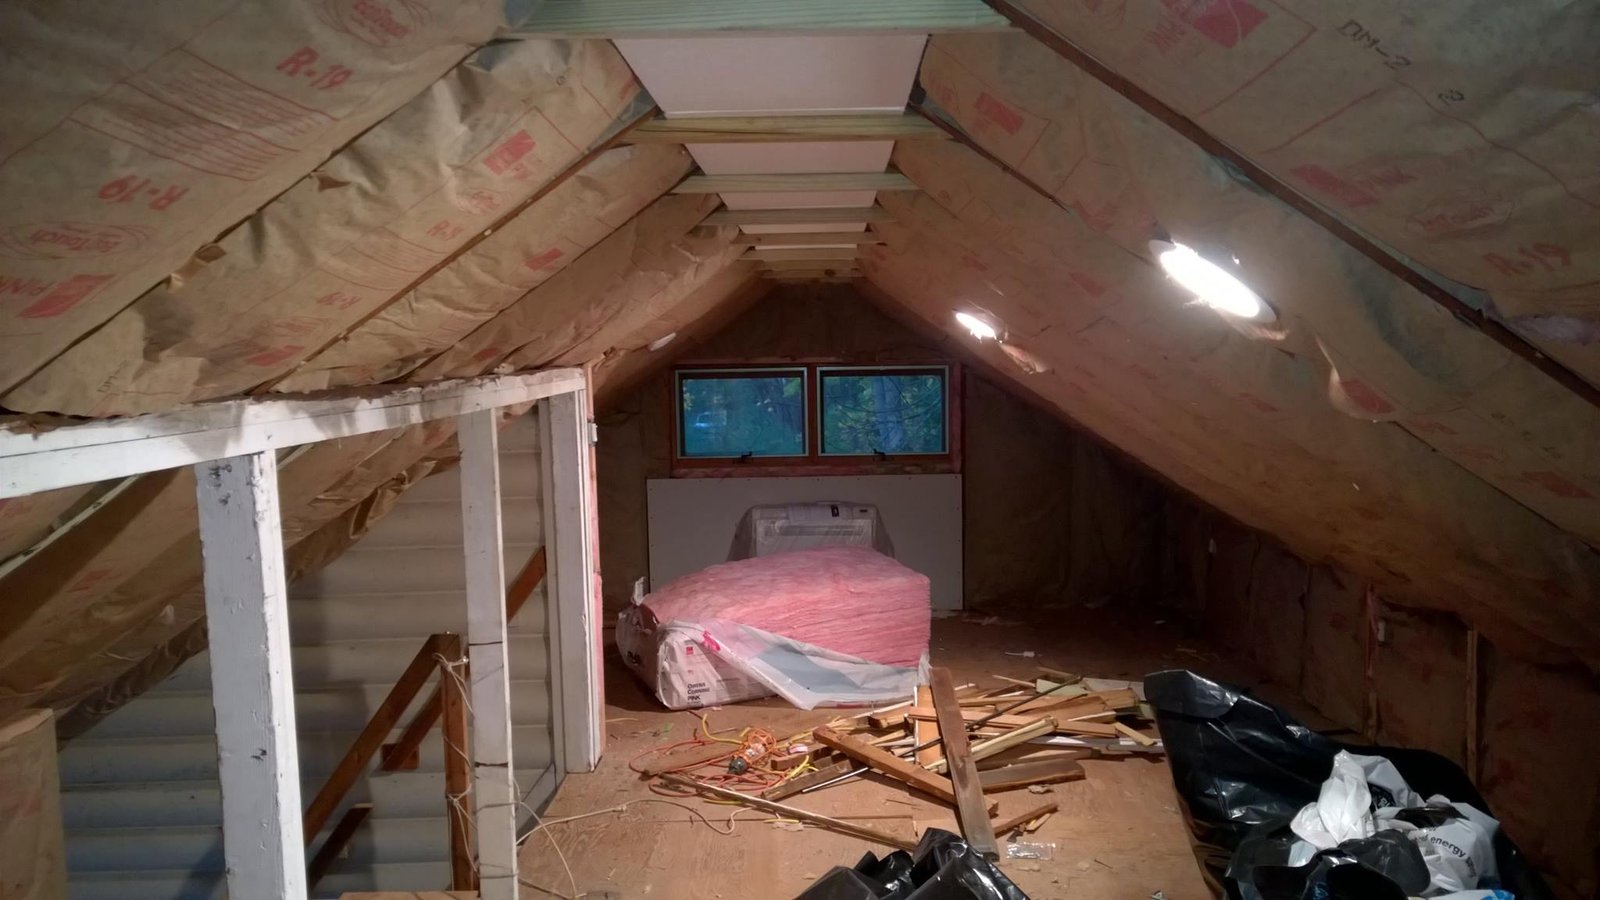 During
 R-19 in and the last of the demo bagged up. The space finally started feeling like a real room.
-
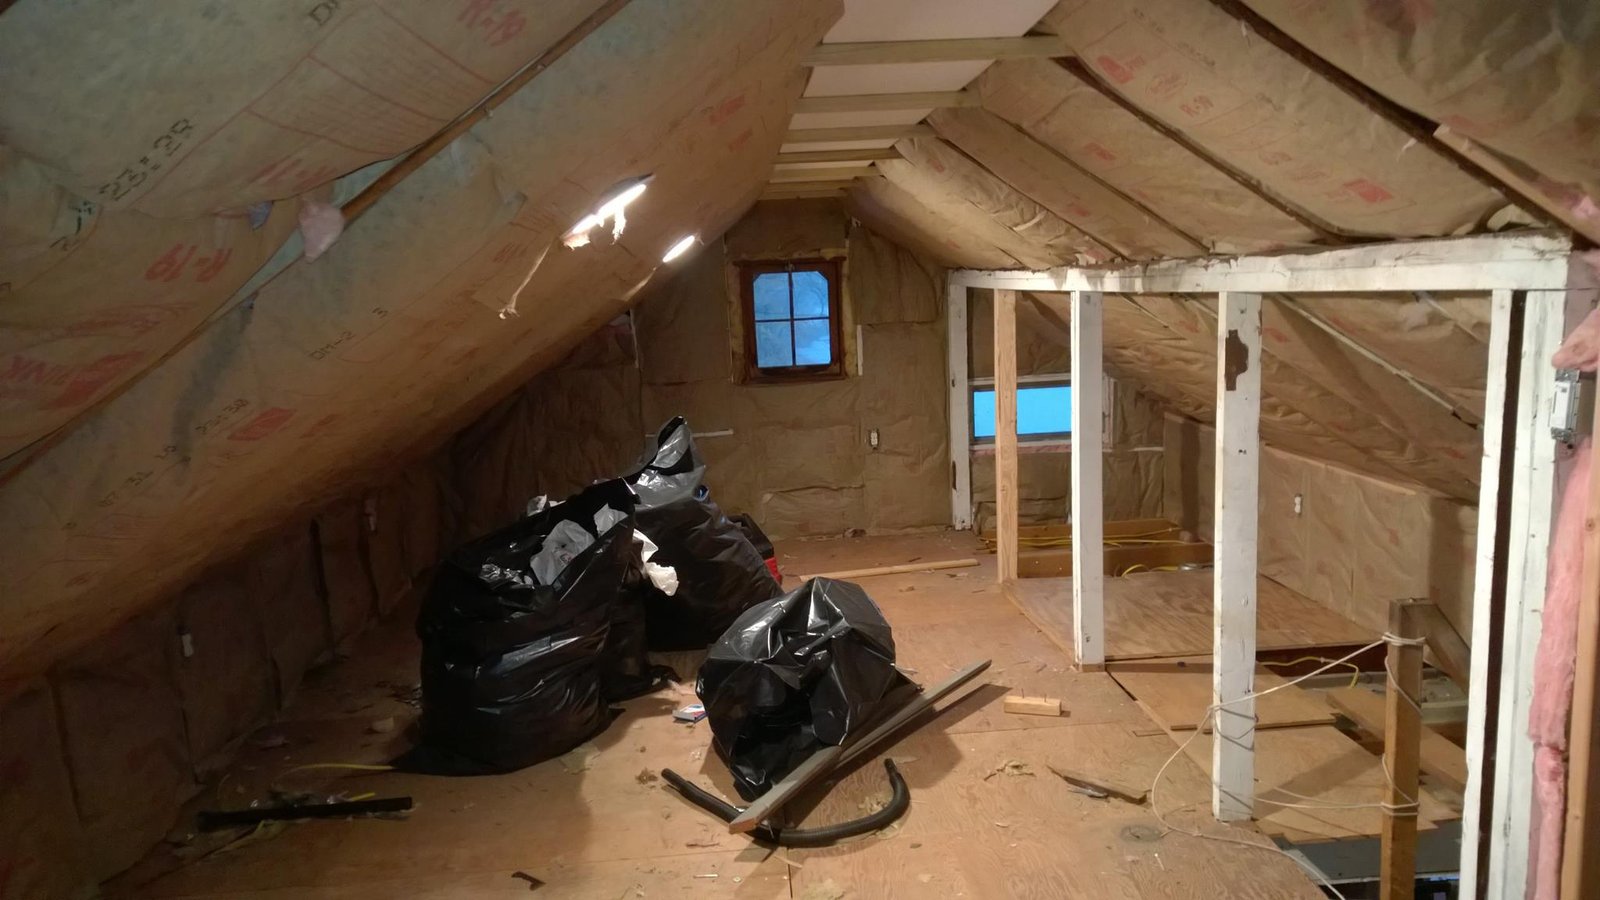 During
 Insulation done, debris bagged, ready to start framing knee walls and running rough electrical.
-
 During
 Knee-wall area with kraft-faced R-19 in the rafters and rigid foam on the roof deck behind it.
-
 During
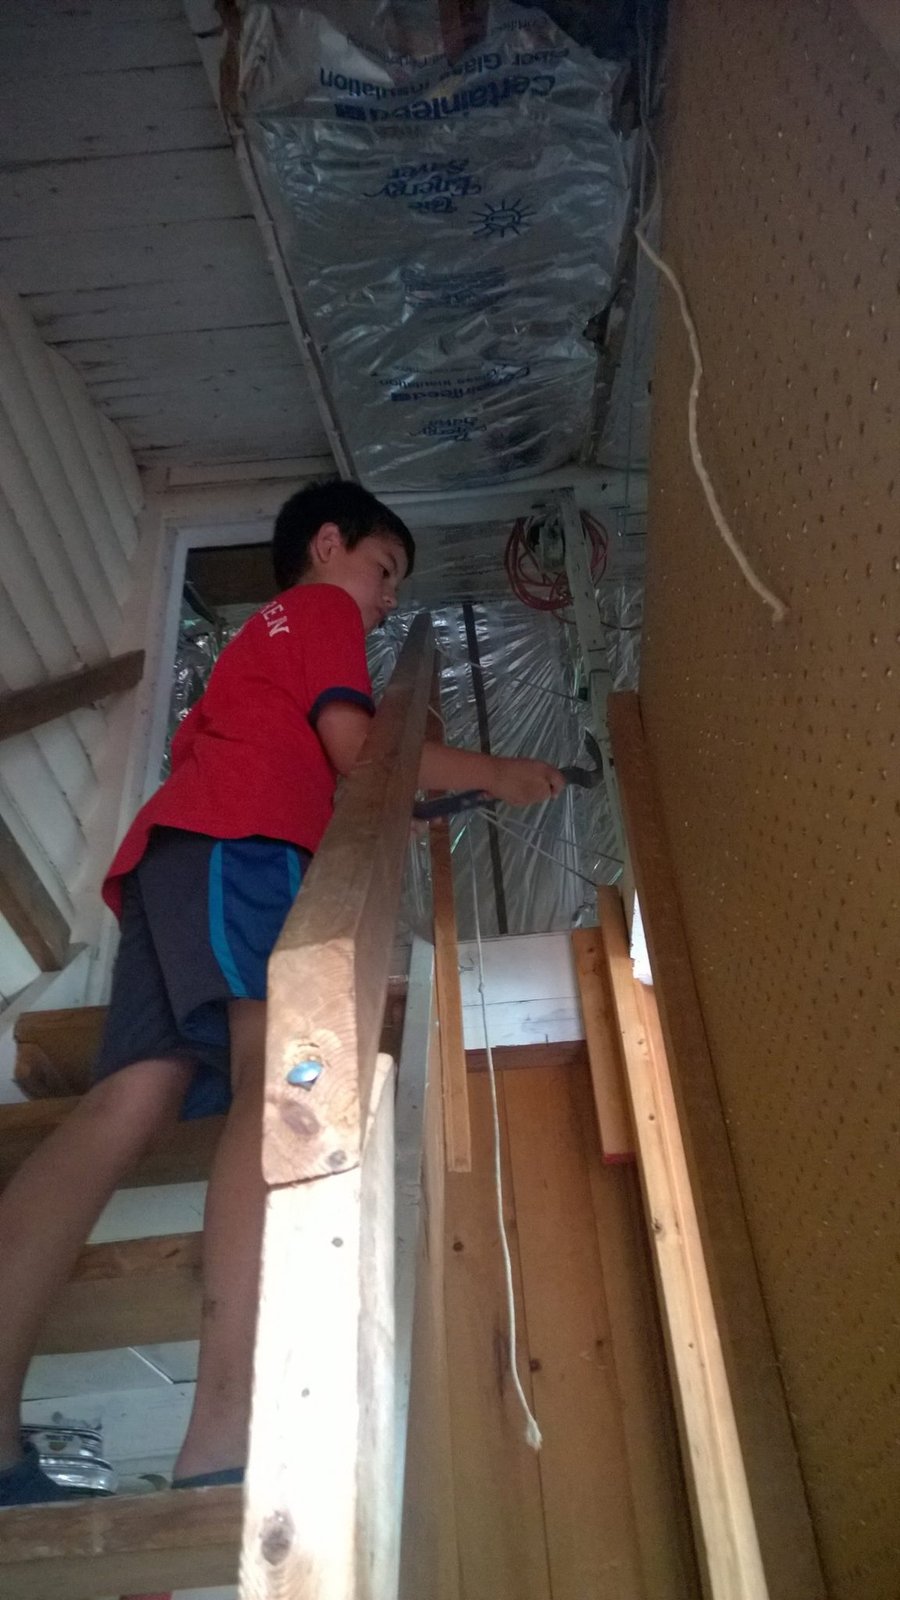
 My son holding framing lumber while I cut. Free labor, and a good way to teach him how a wall goes together.
-
 During
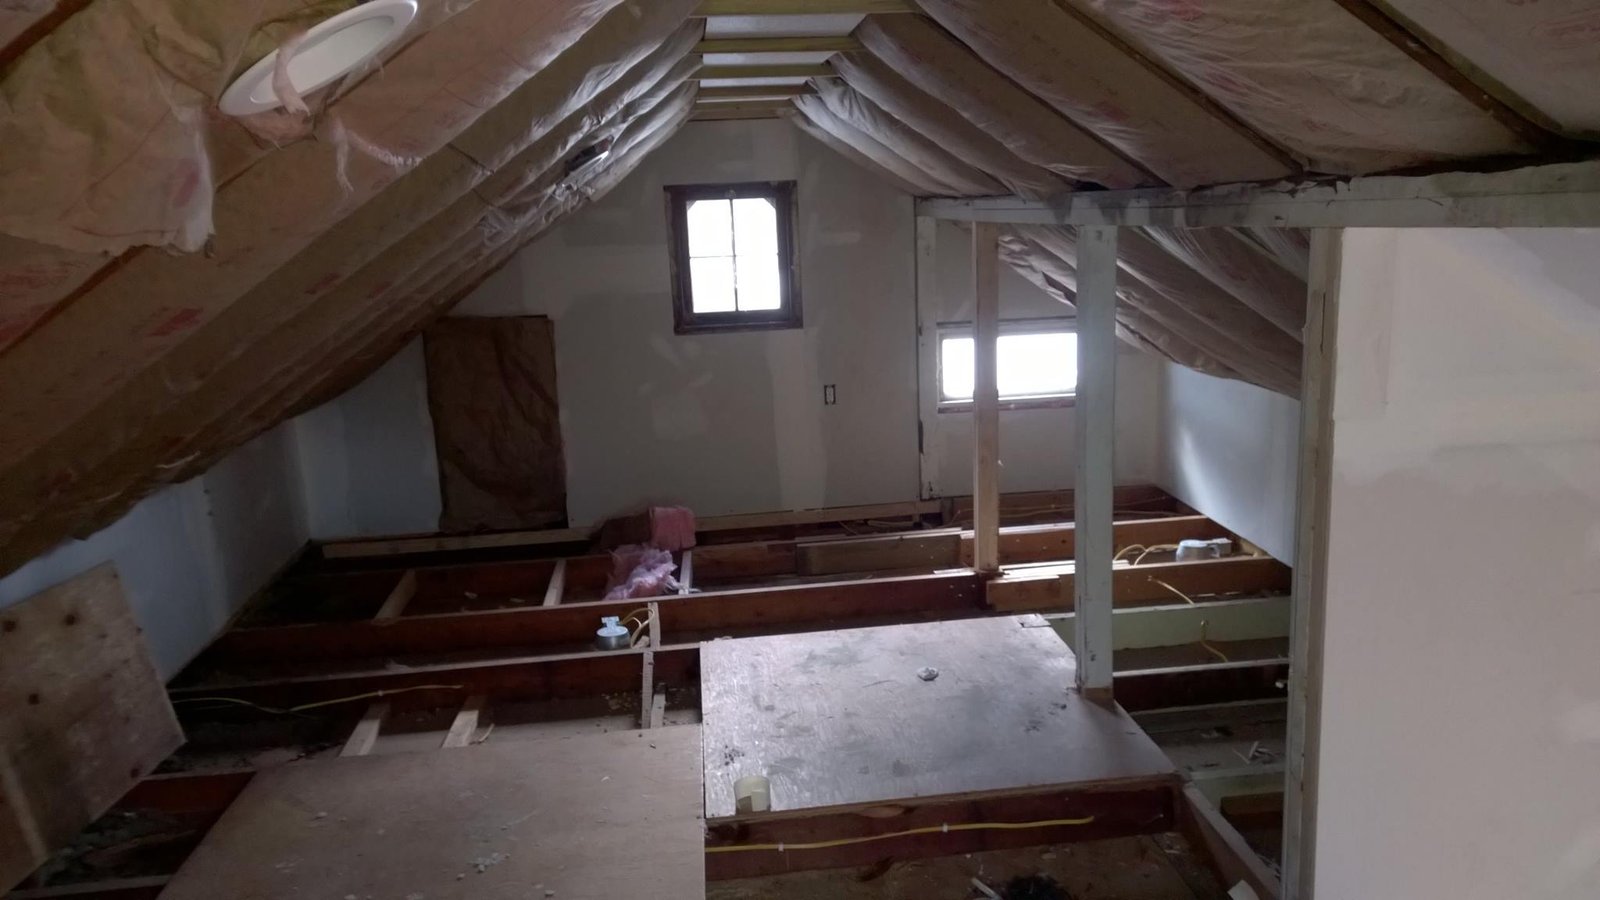
 Floor joists exposed, rafters insulated, electrical roughed in. The bones were finally all set.
-
 During
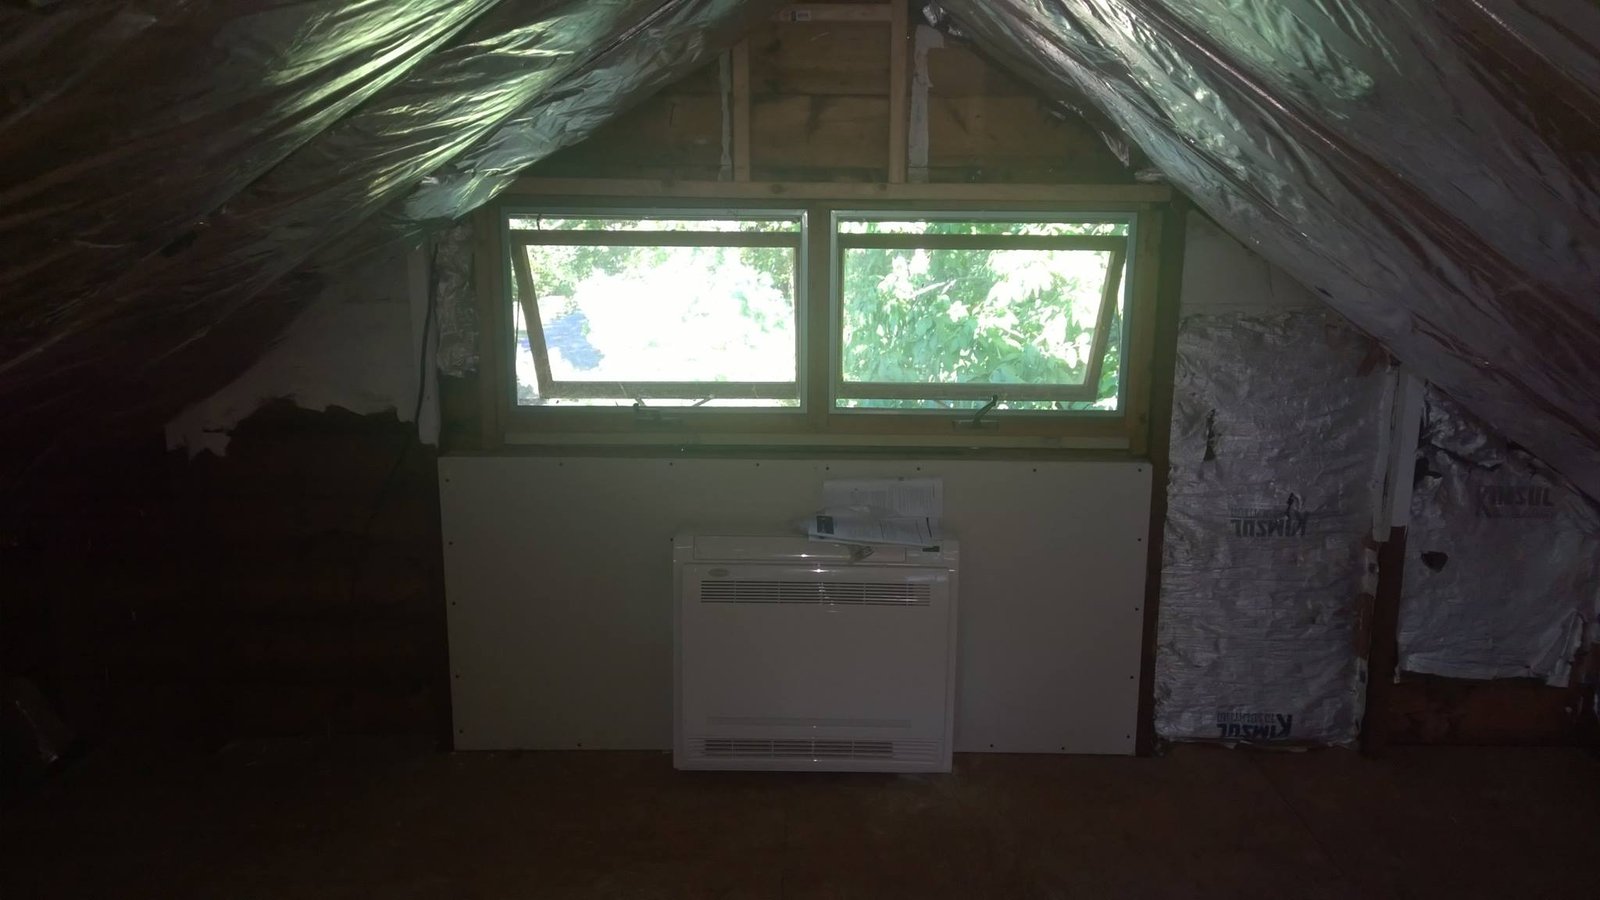
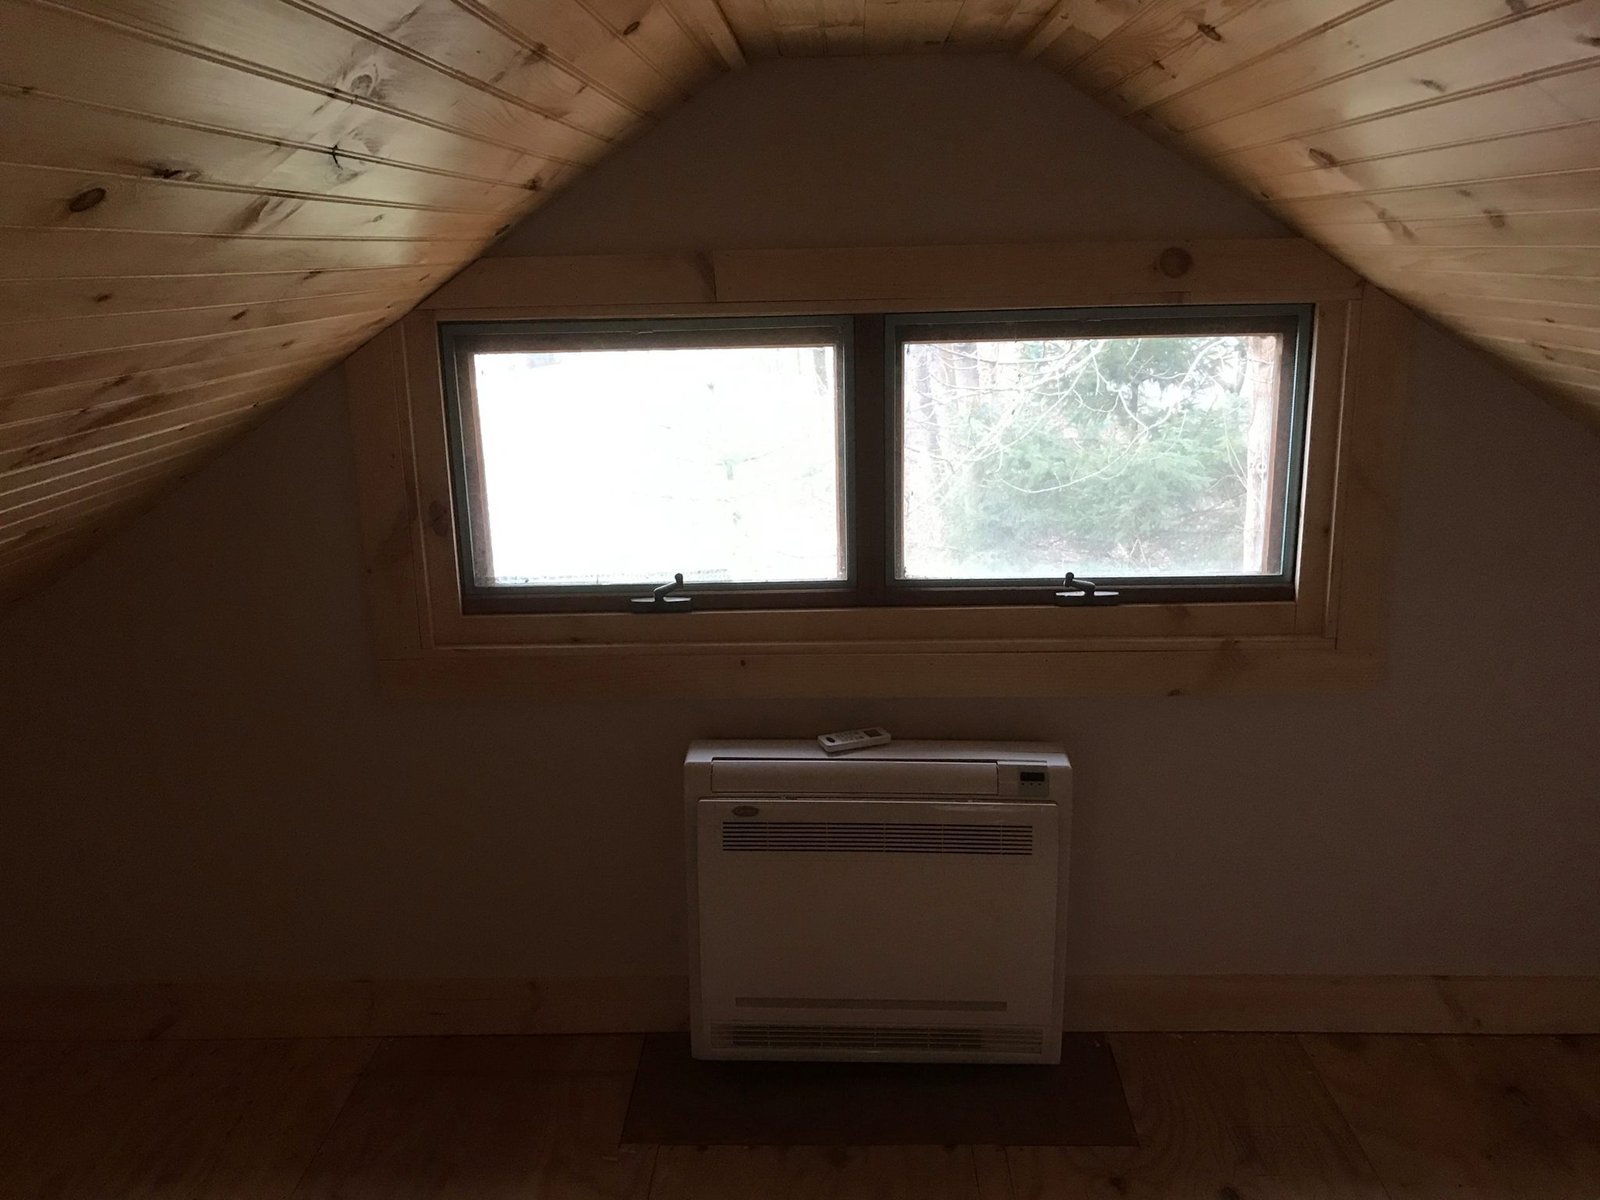
 Mounted the ductless mini-split between the gable windows. One unit handles heat and AC for the whole attic.
-
 During
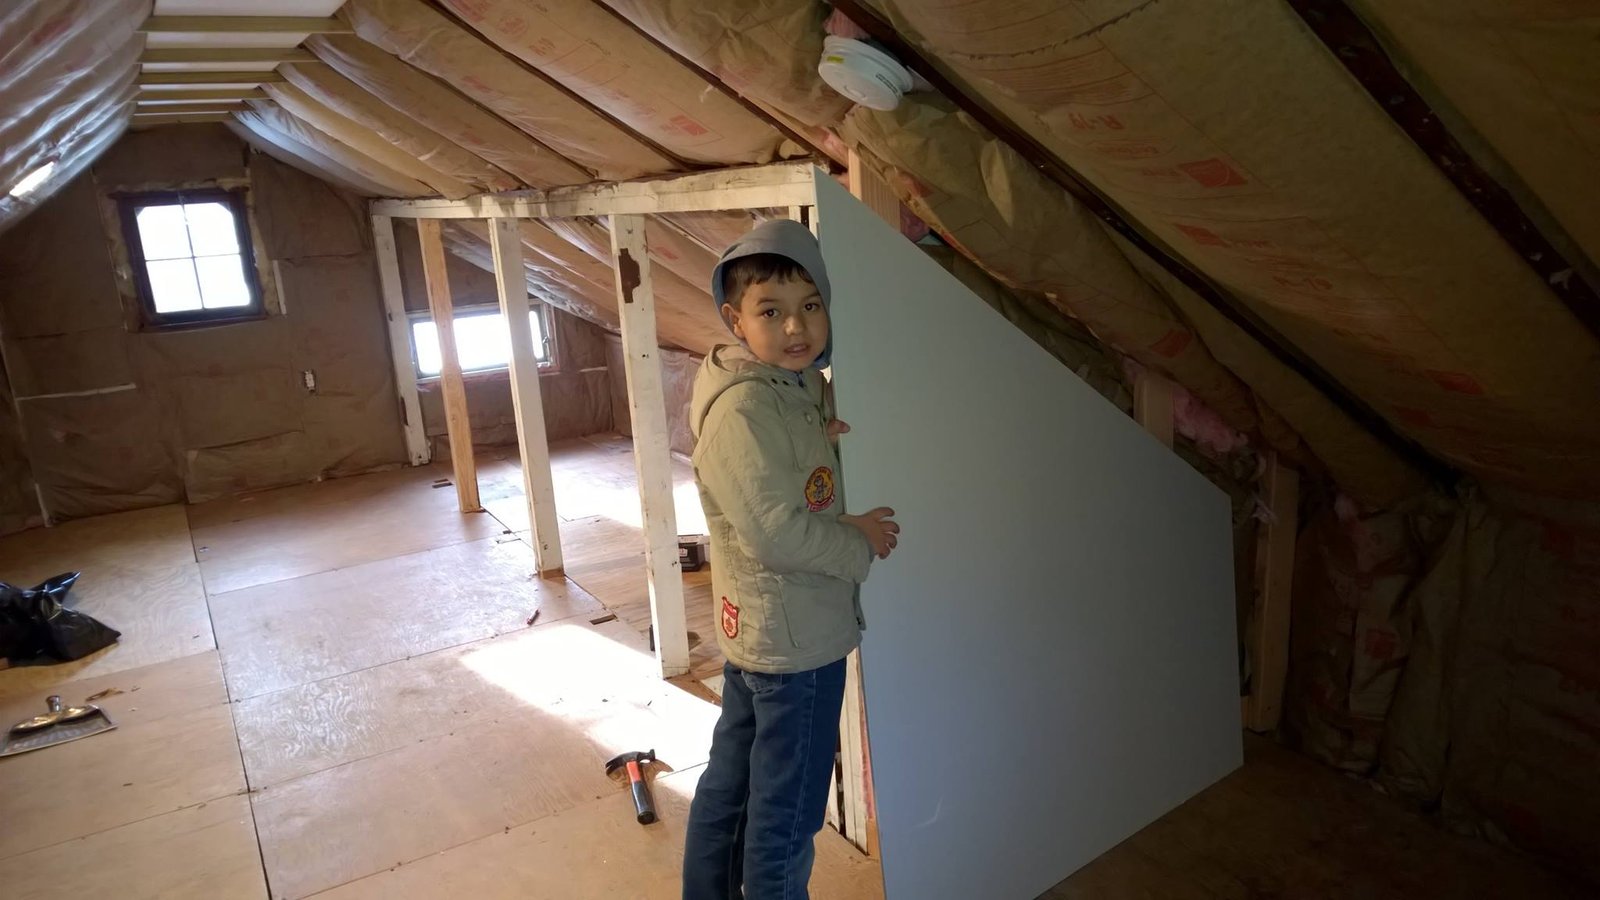
 My son holding up a sheet of drywall while I screwed it off. Sheets are awkward up here on the slope.
-
 During
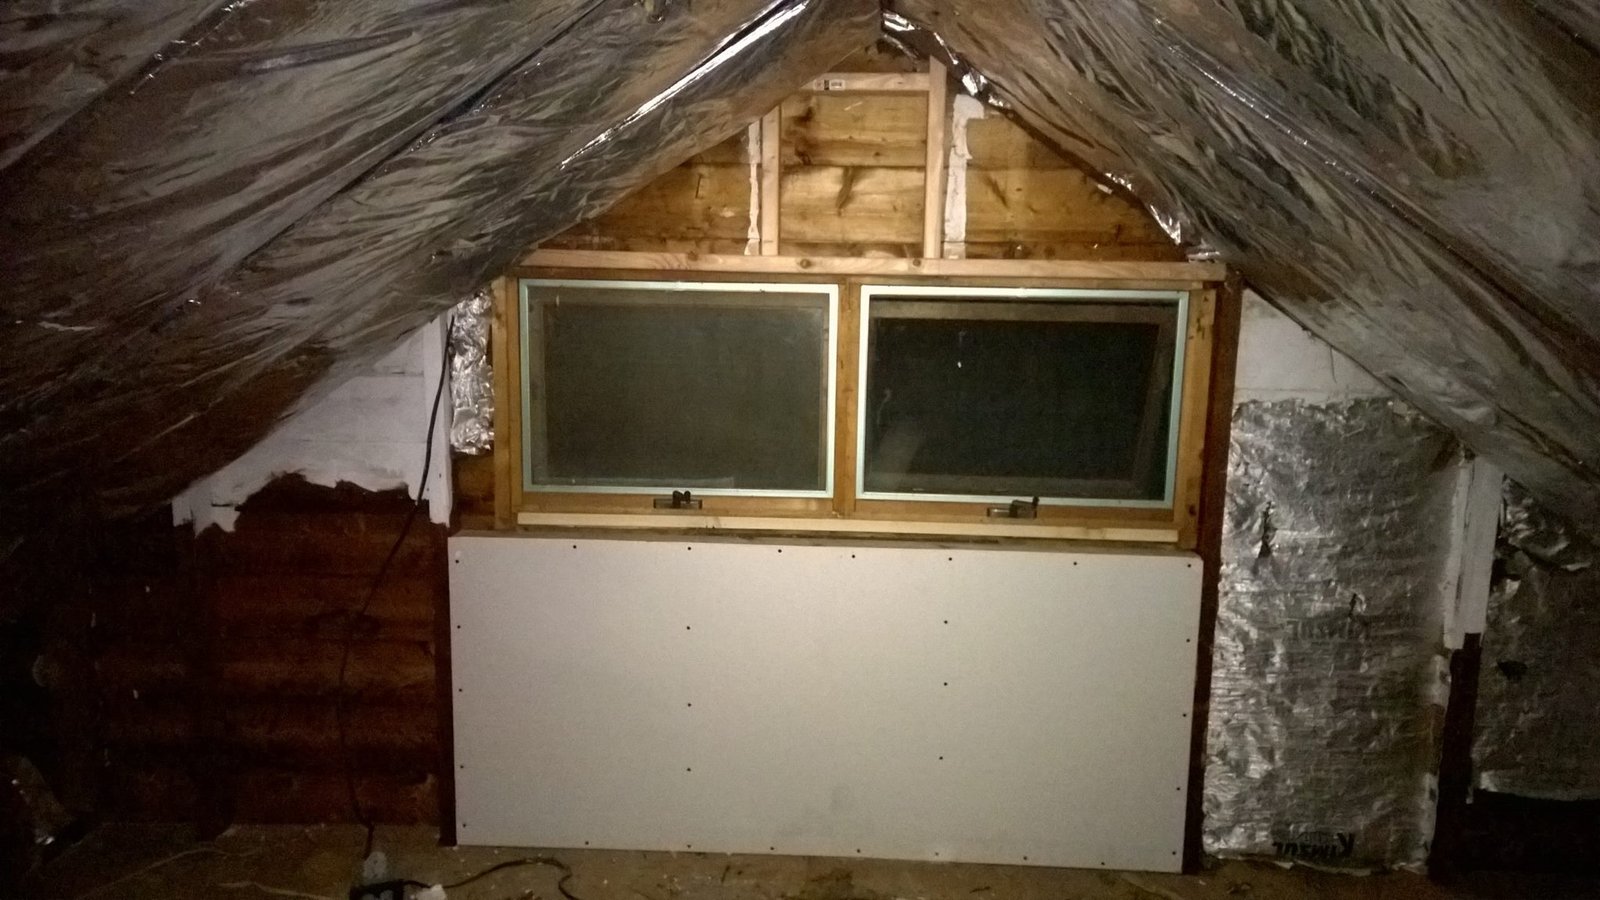
 New gable window in, vapor barrier wrapping the rafters, drywall starting to go up on that end.
-
 During
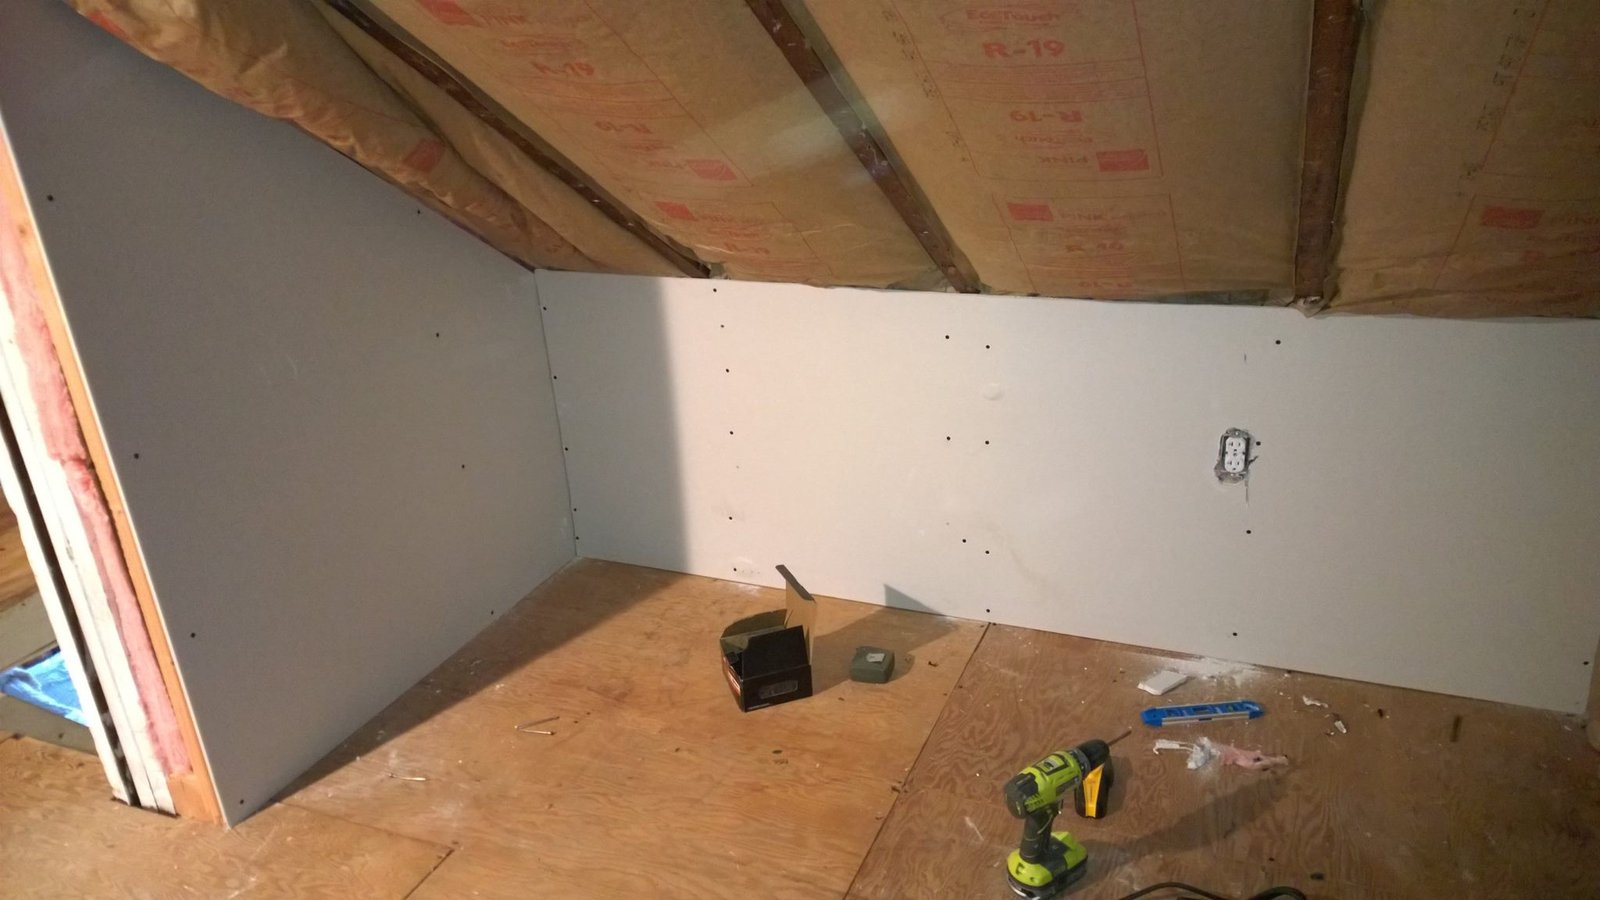
 Drywall going up on the knee walls. Outlet boxes already roughed in so I wasn't cutting holes blind later.
-
 During
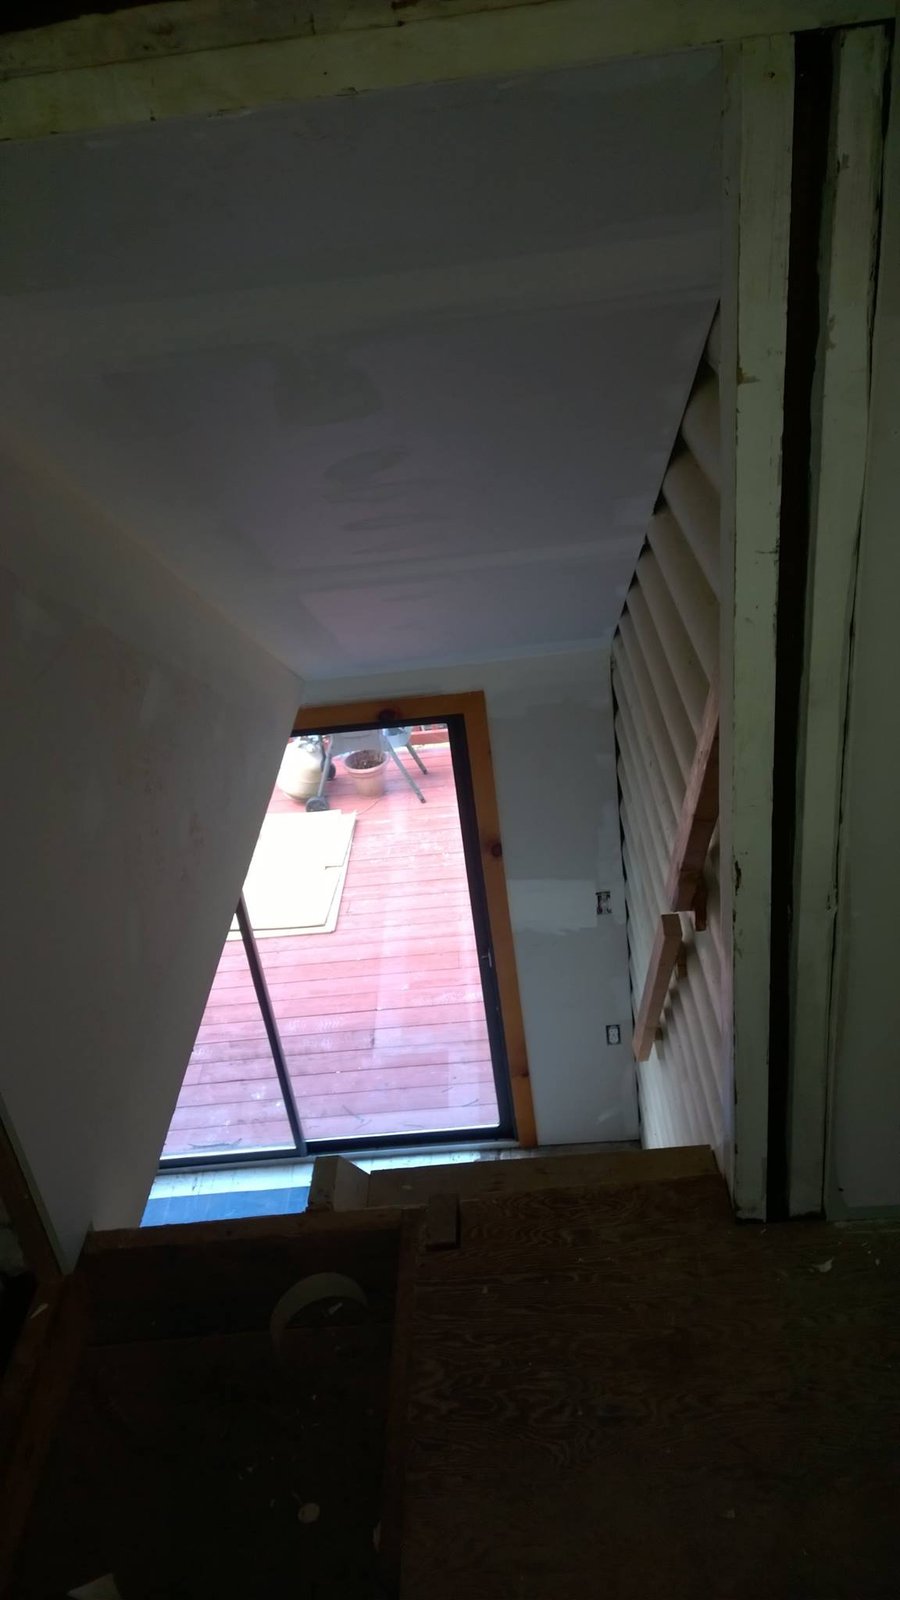
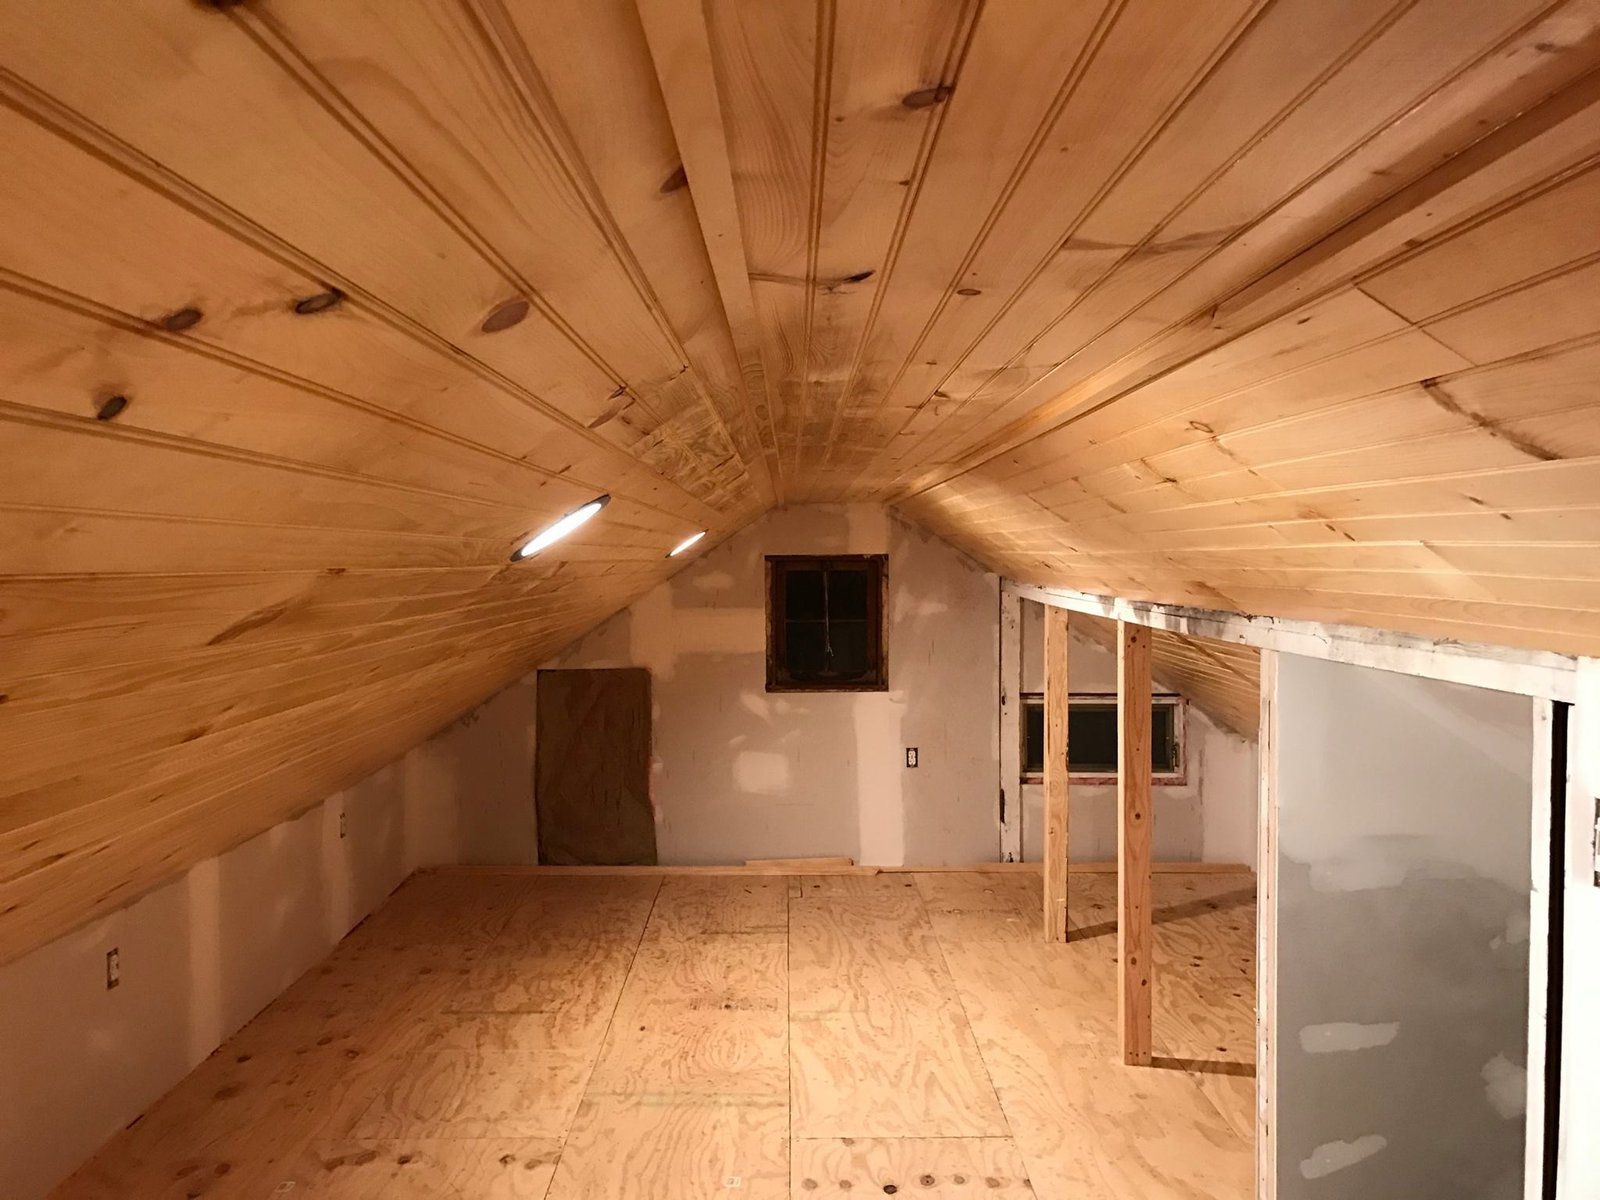
 View from the stairwell up into the conversion. Drywall going on, framing still showing where the next walls go.
-
 During
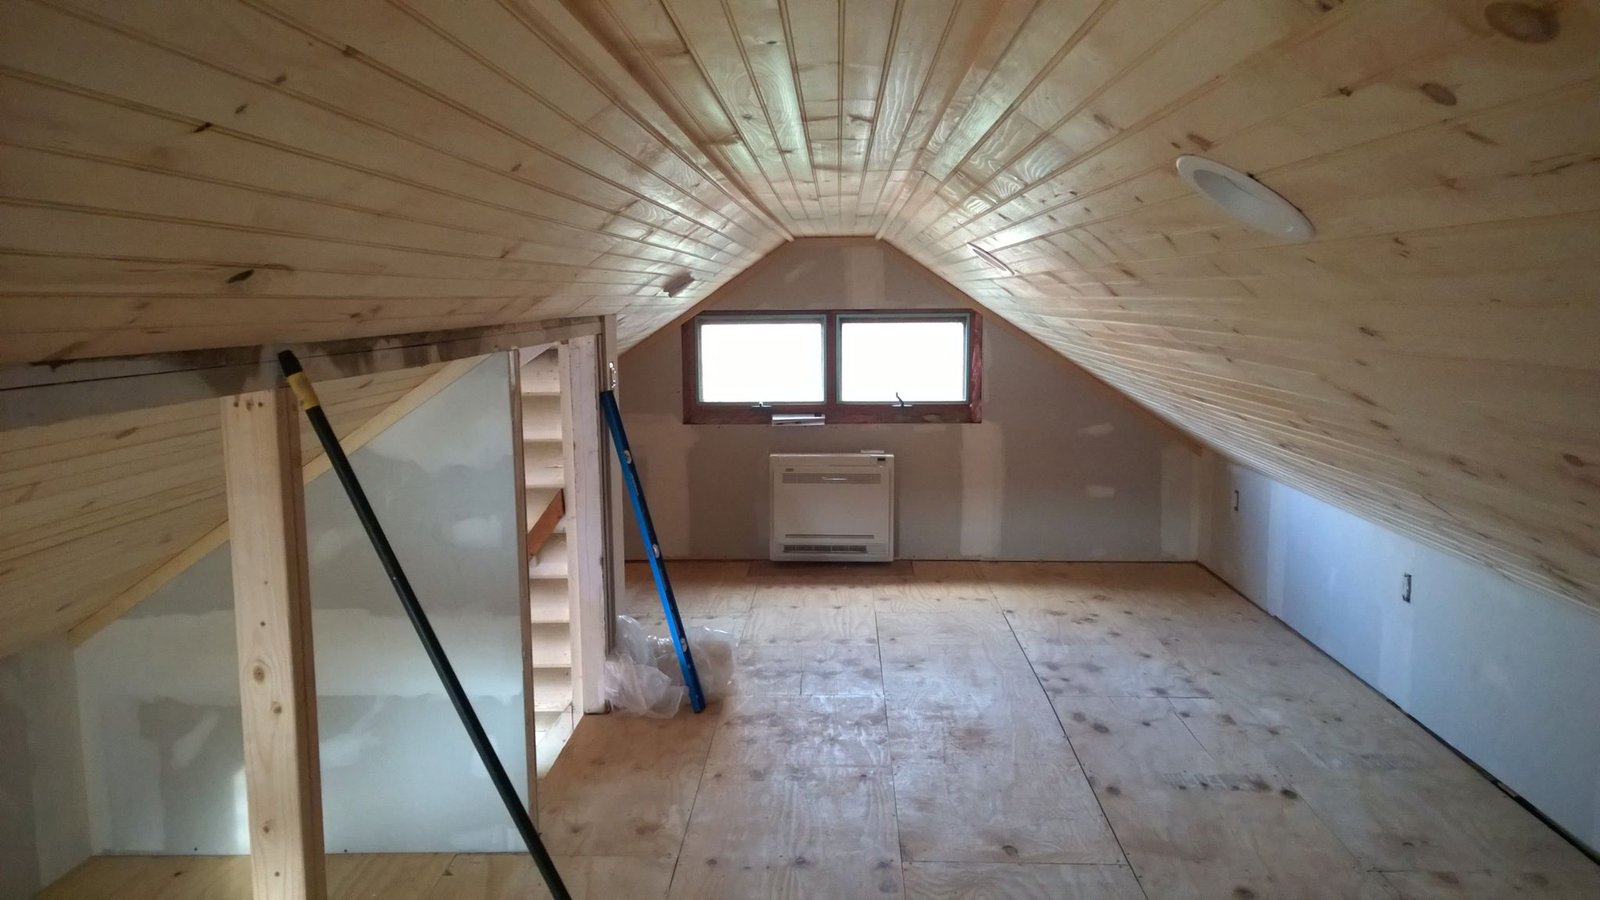
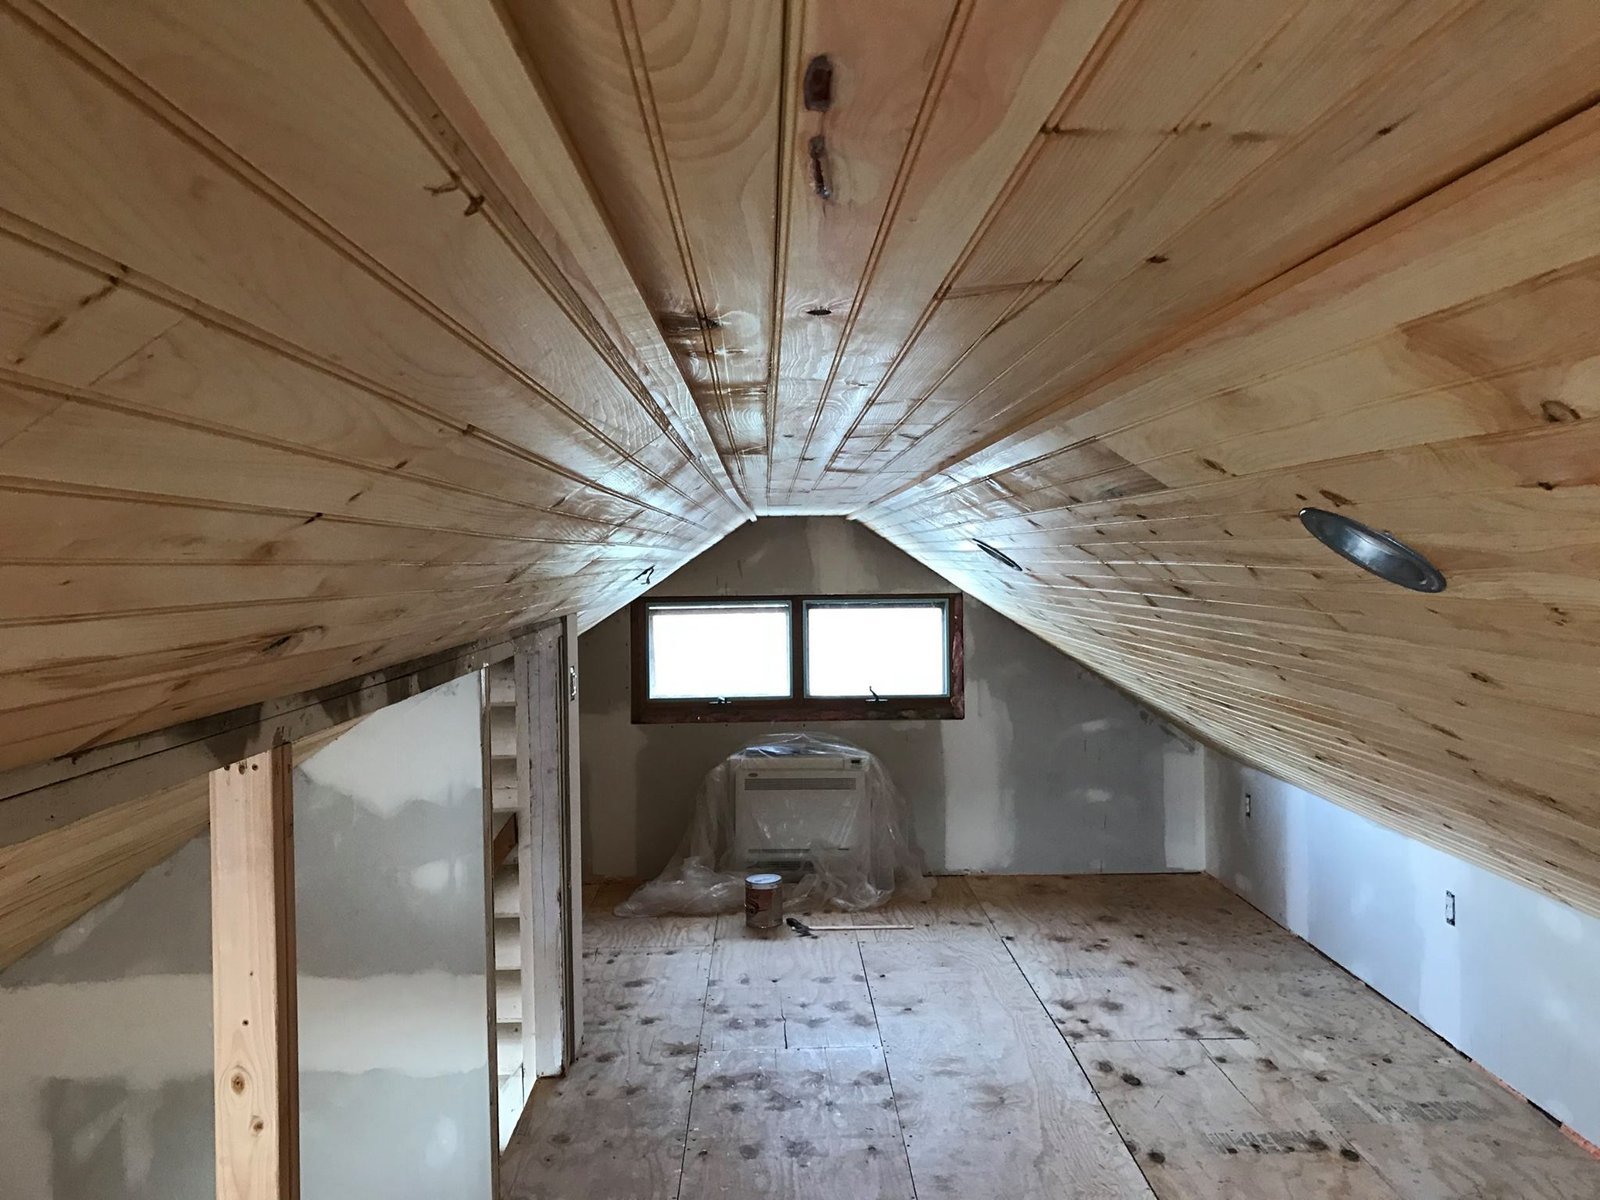
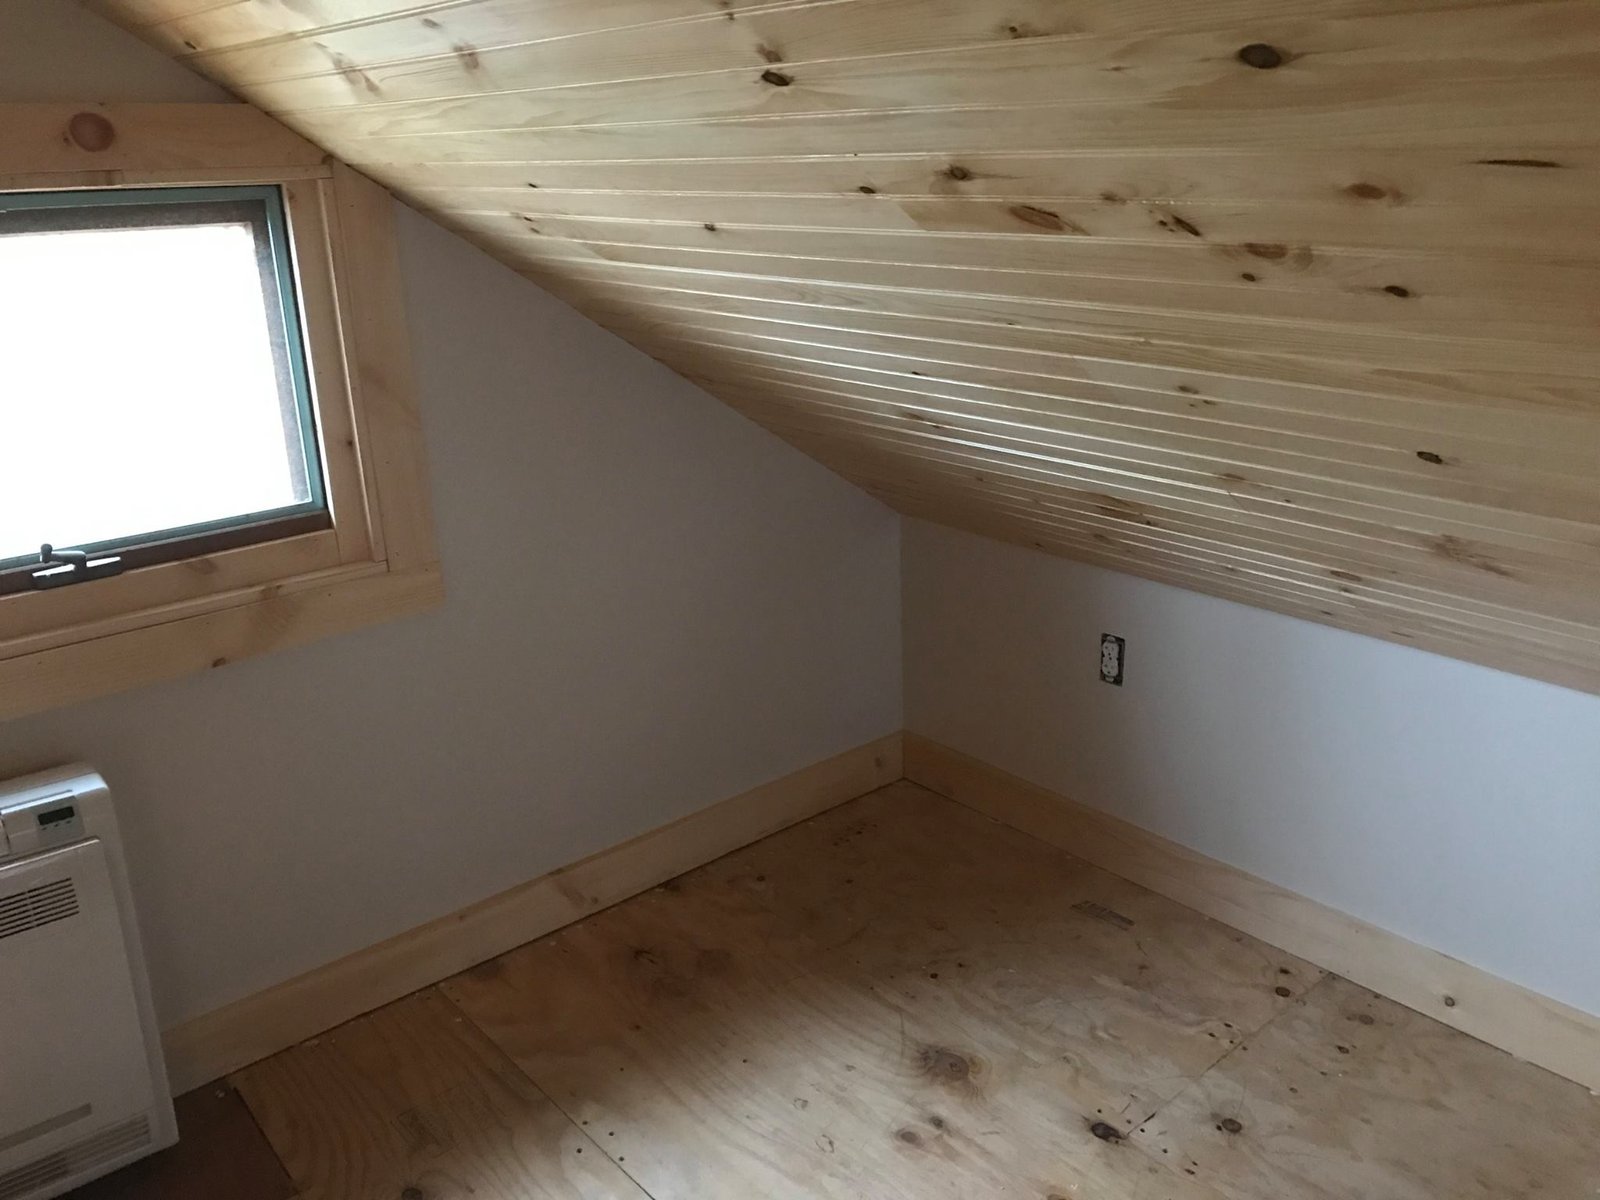
 Tongue-and-groove pine ceiling done and the subfloor ready for finish flooring. Big visual turning point.
-
 During
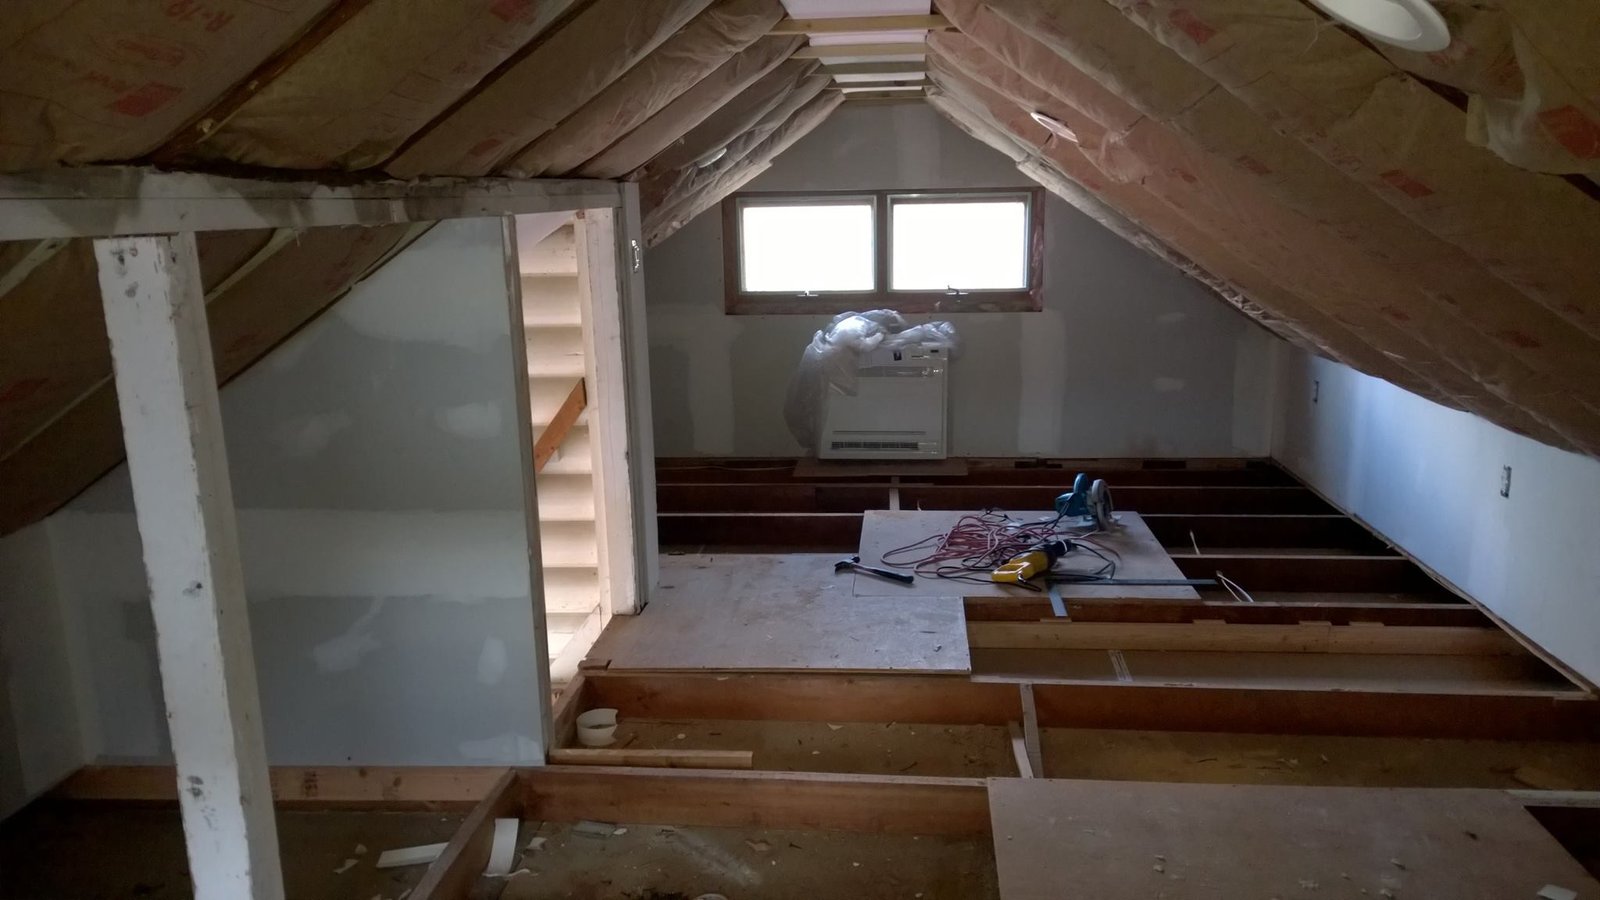
 Drywall up on the gables, mini-split installed, just floor finish and trim left.
-
 During
 Pine ceiling, drywall gables, plywood floor. Standing in here for the first time it actually felt like a room.
-
 During
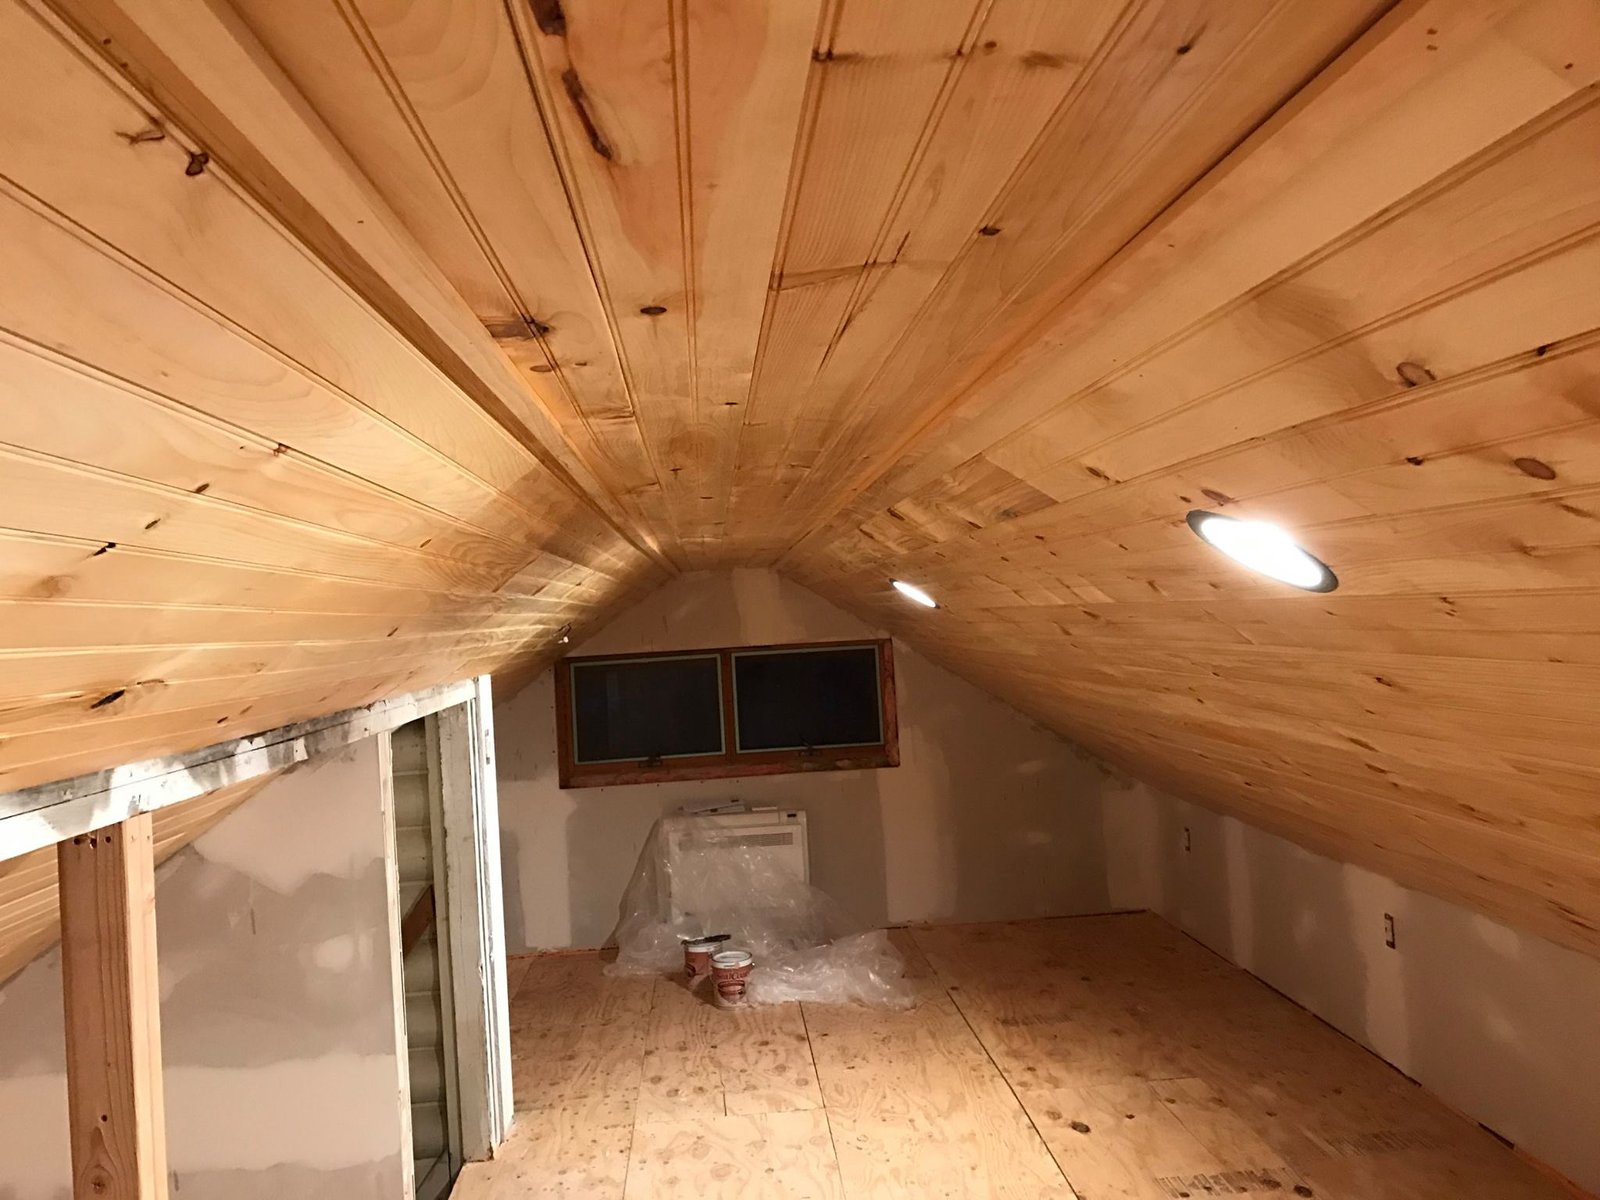
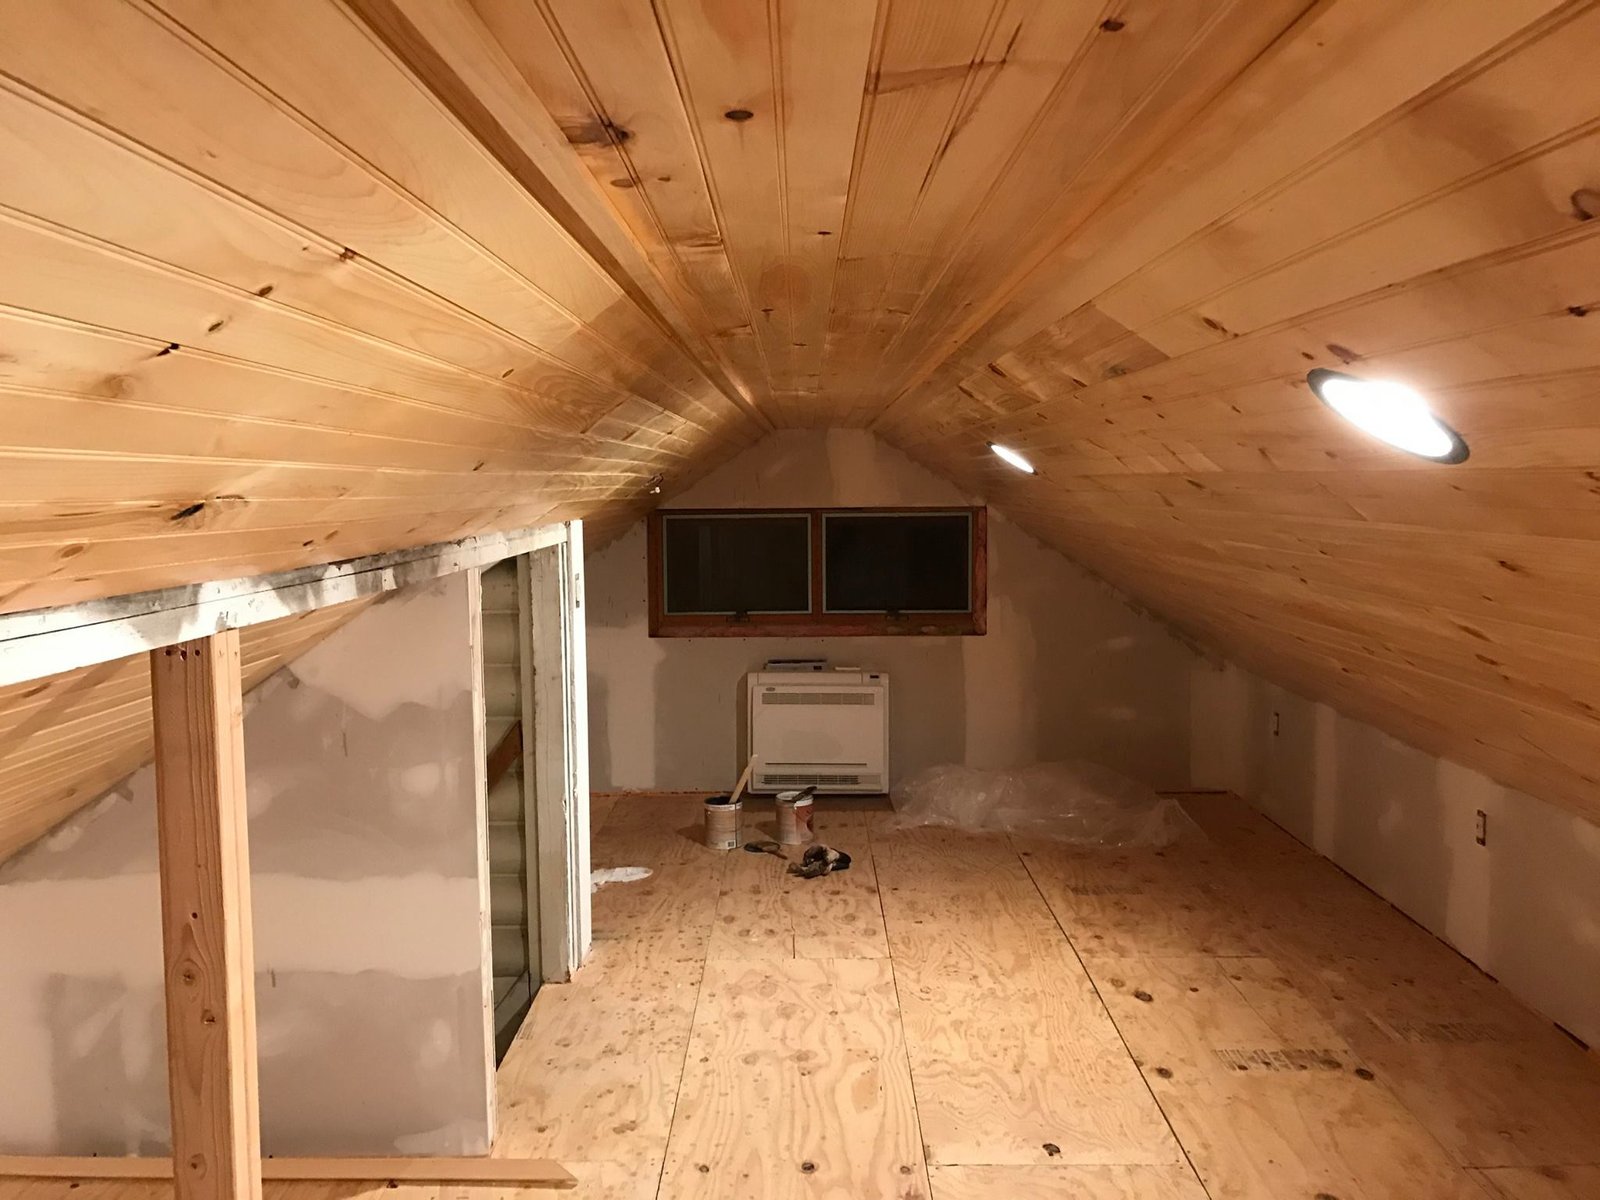
 Recessed lights wired into the pine ceiling. Took some careful layout to keep the cans clear of rafters.
-
 During
 Finished pine ceiling with recessed lighting evenly spaced down both slopes.
-
 During
 Pine ceiling, recessed cans, and the mini-split — the finish elements coming together at the gable end.
-
 During
 Knee walls framed, pine ceiling on, plywood floor sealed. Ready for paint and trim.
-
 During
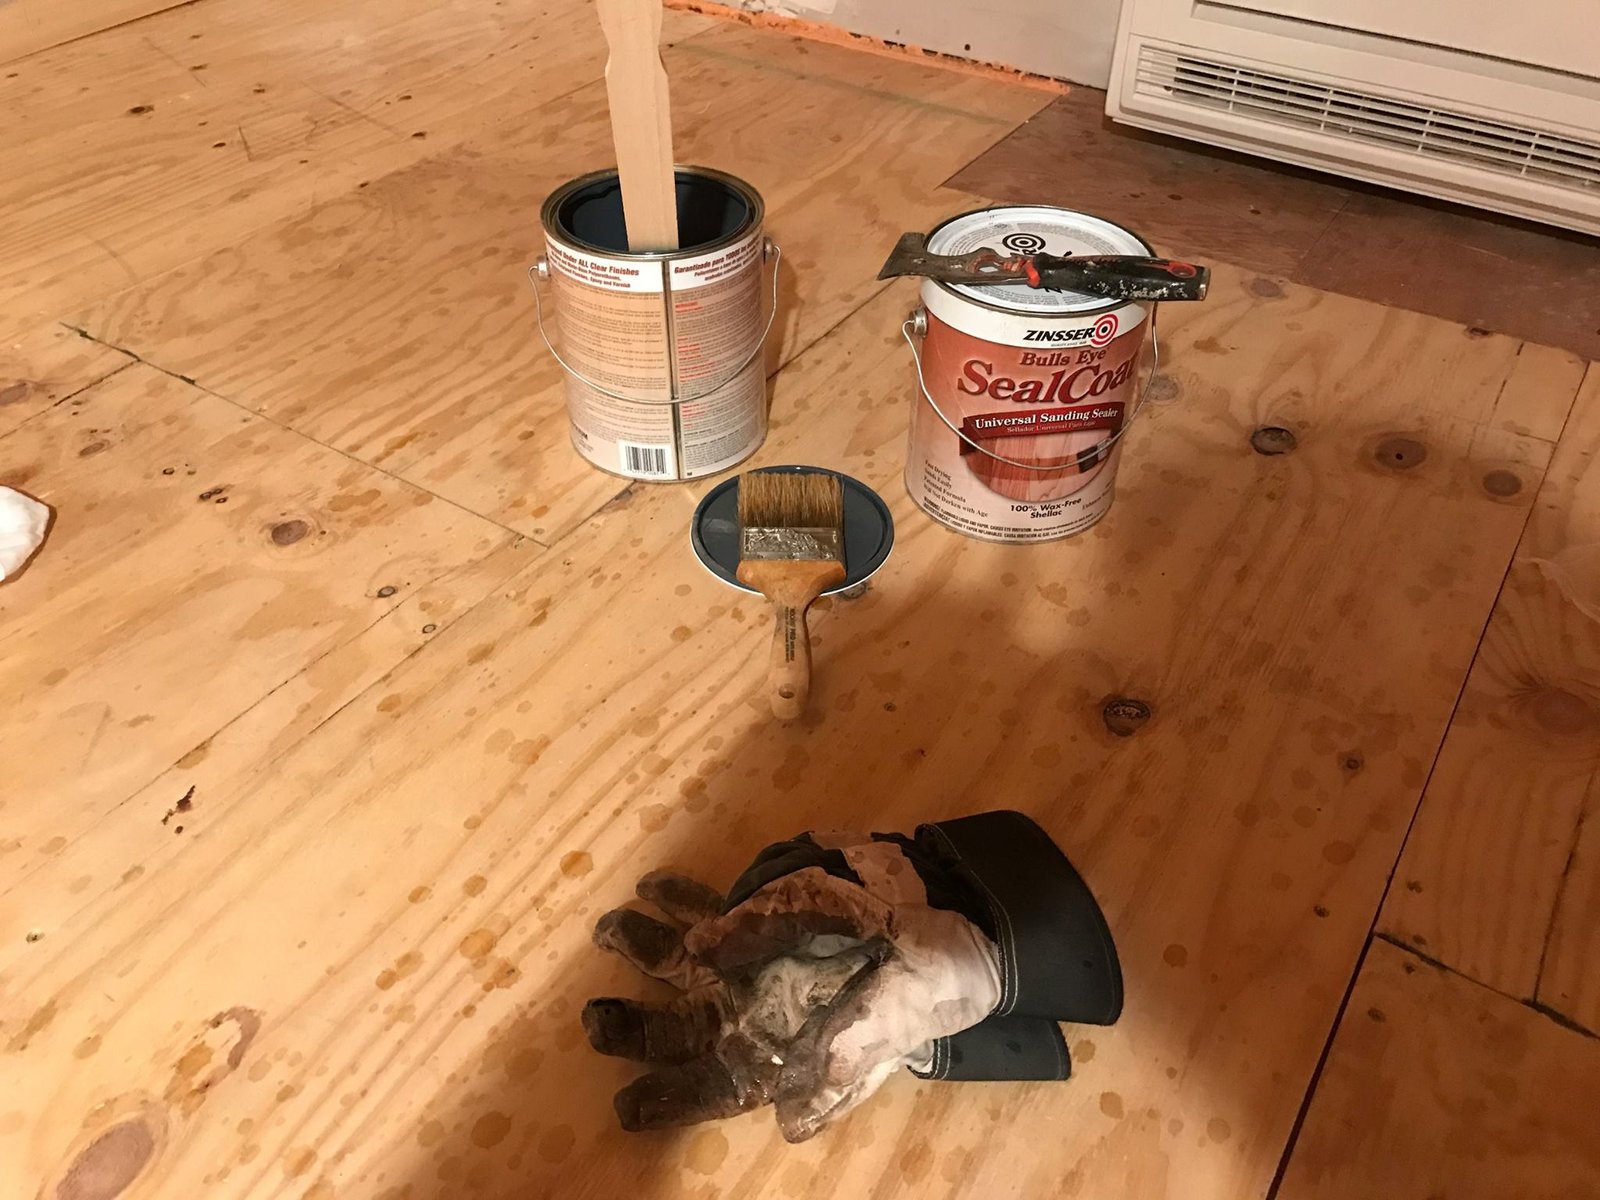
 Brushing Zinsser SealCoat onto the plywood subfloor to seal it before the finish coats went down.
-
 During
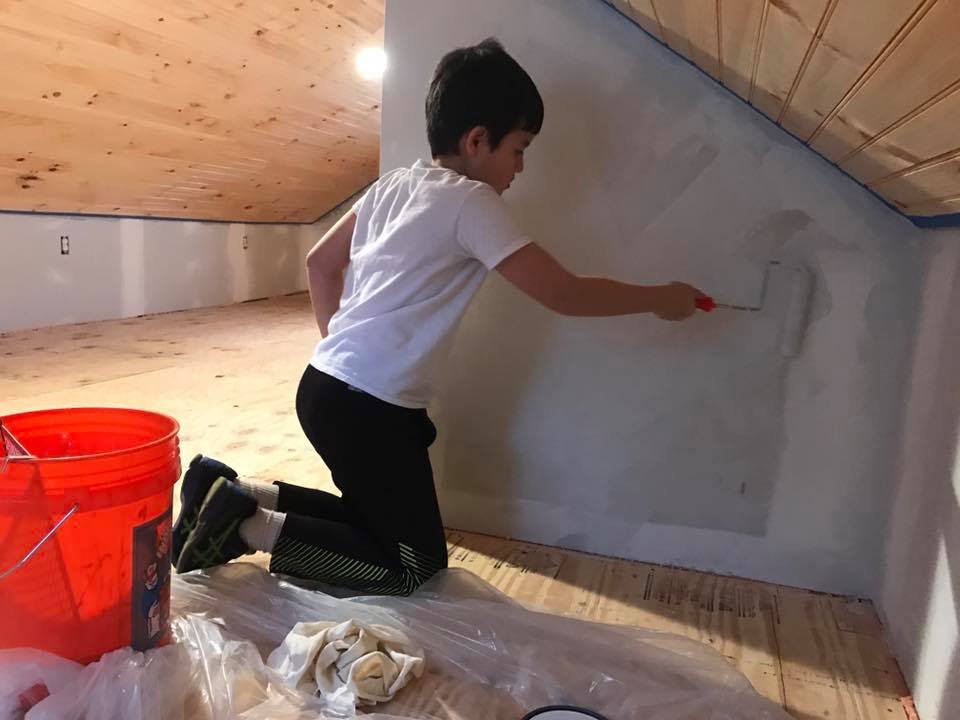
 My son rolling primer onto a knee wall. He liked painting more than carrying drywall.
-
 During
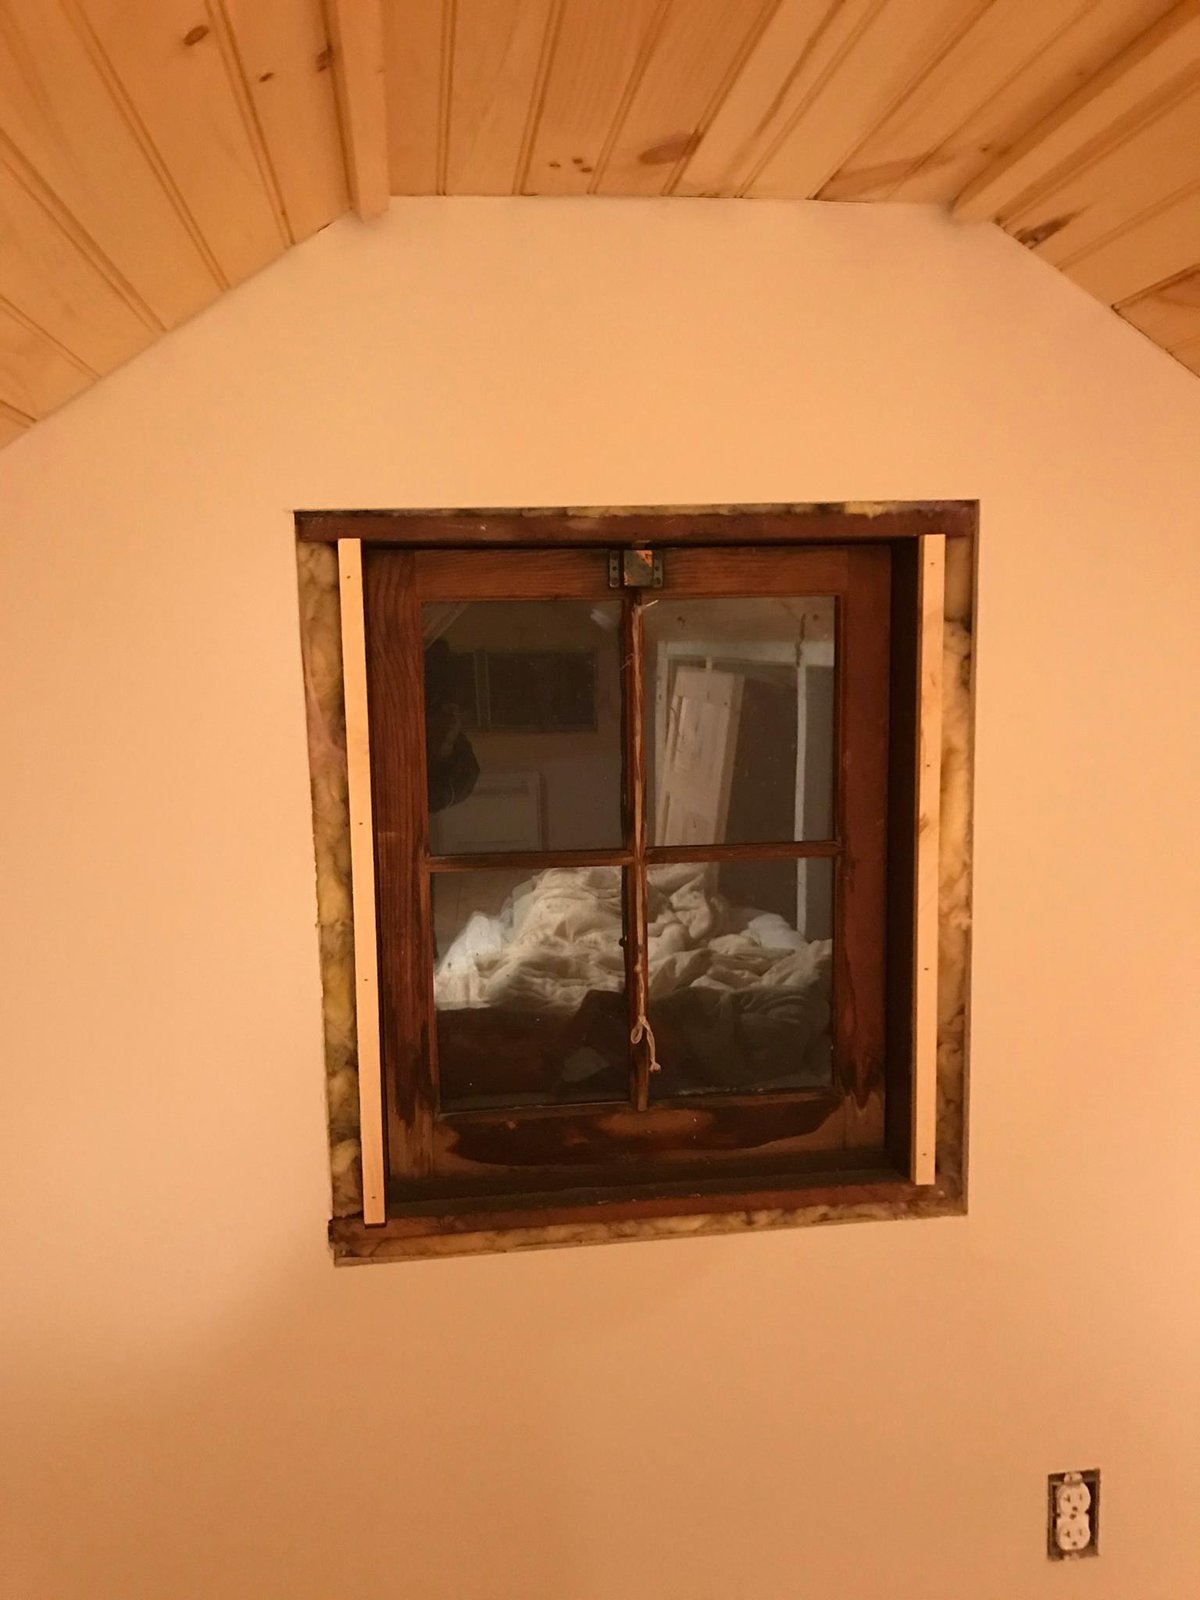
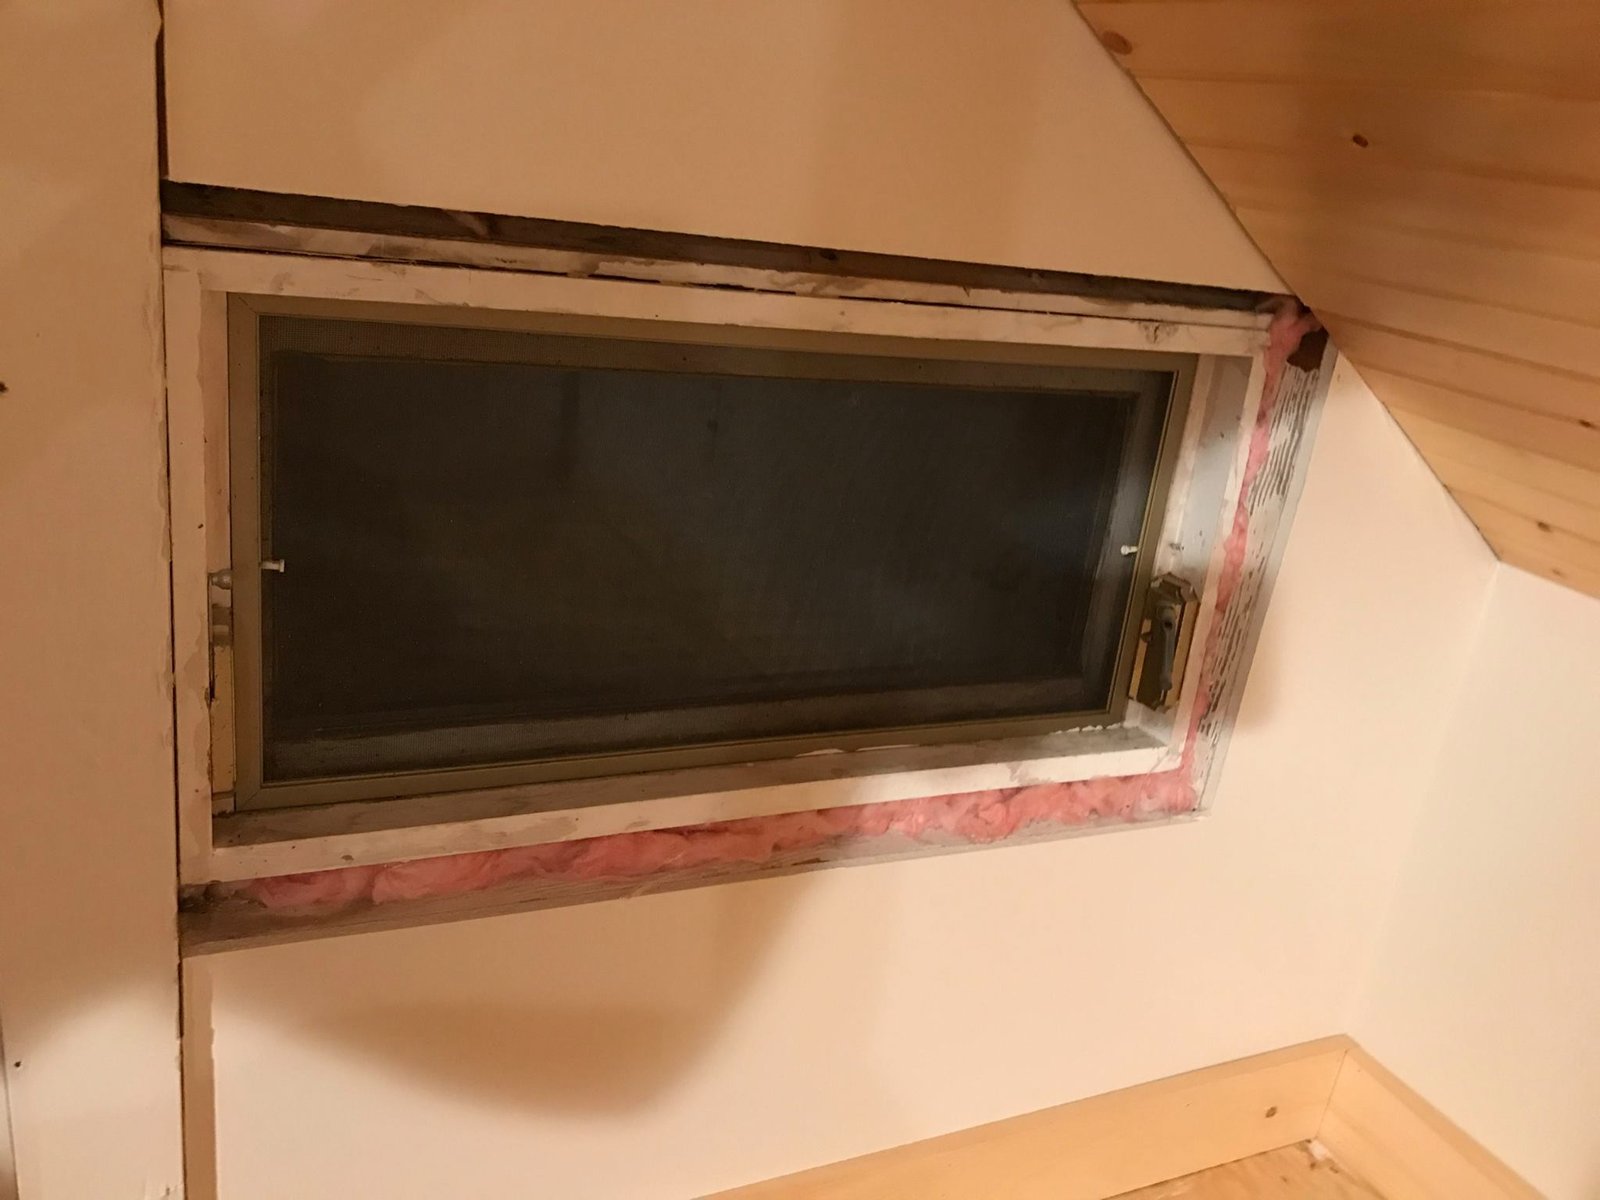
 Window opening with insulation and shims showing — left it like this until I had pine stock to mill the trim.
-
 During
 Same idea on the other window — fiberglass packed around the frame, waiting for the trim.
-
 After
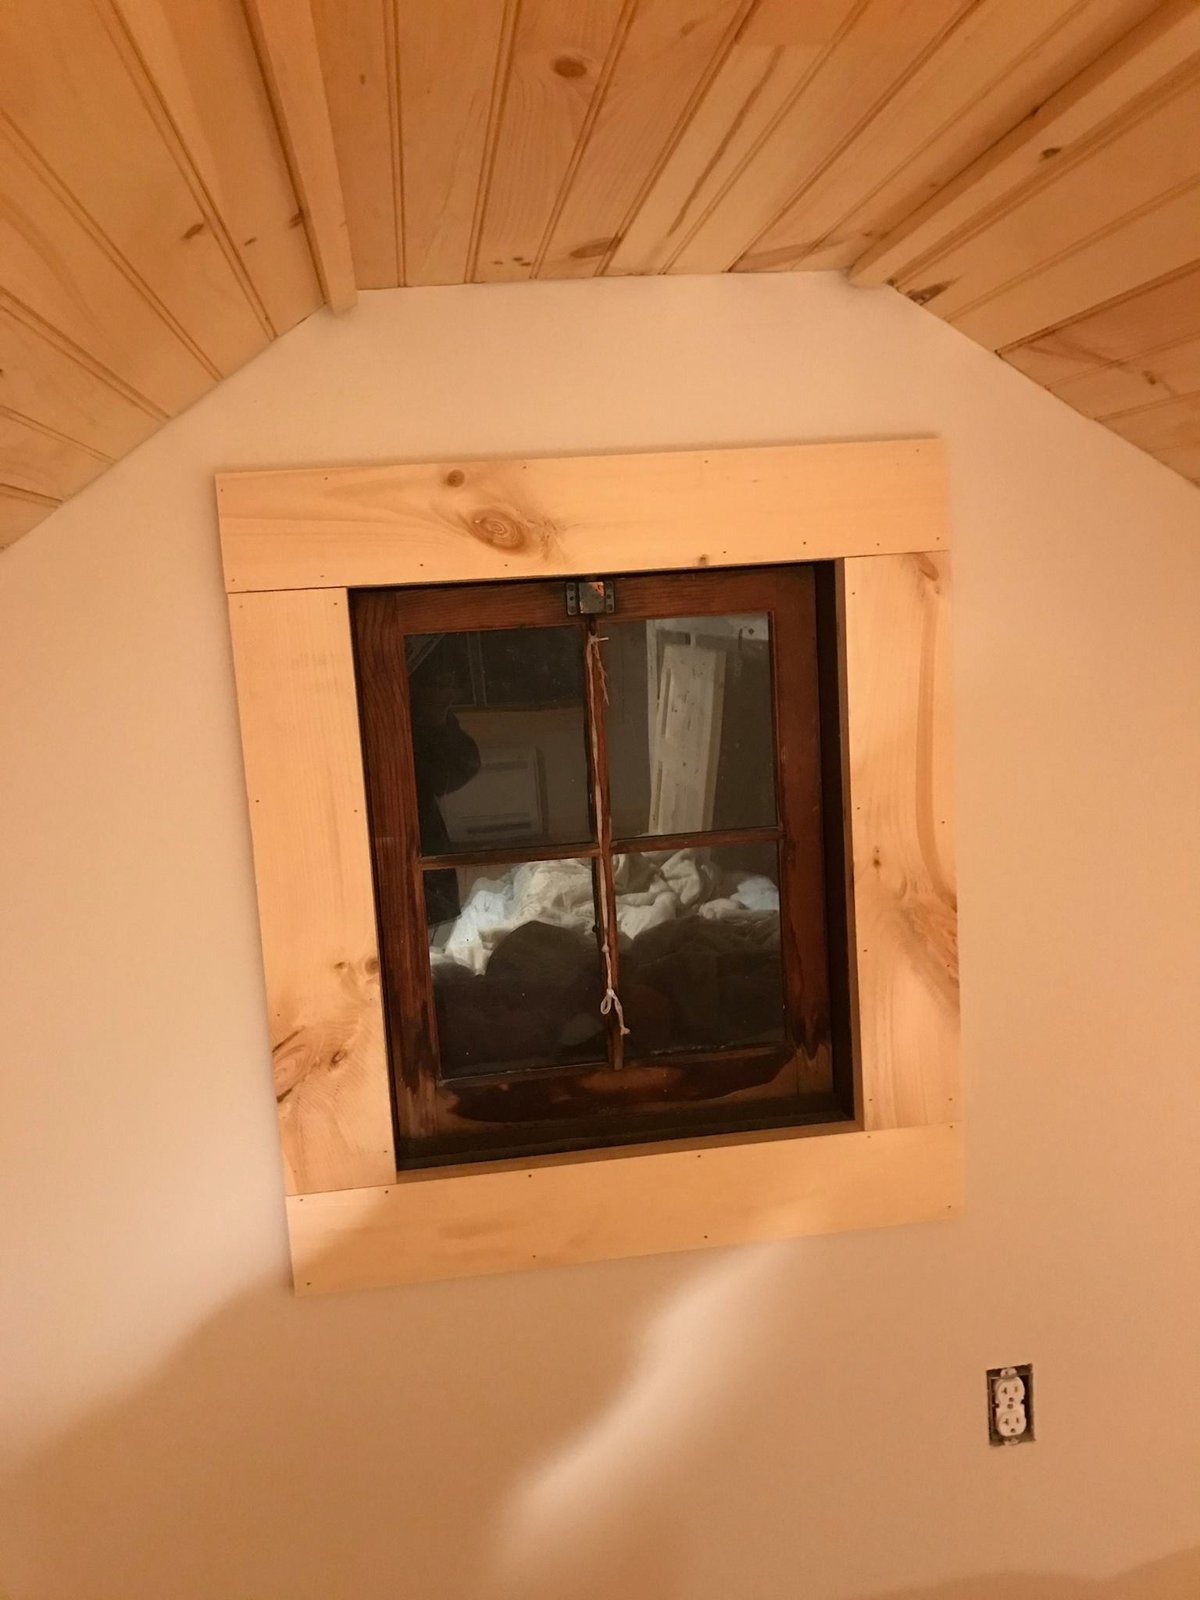
After Pine plank trim around the four-pane window, picking up the same wood as the ceiling.
-
 During
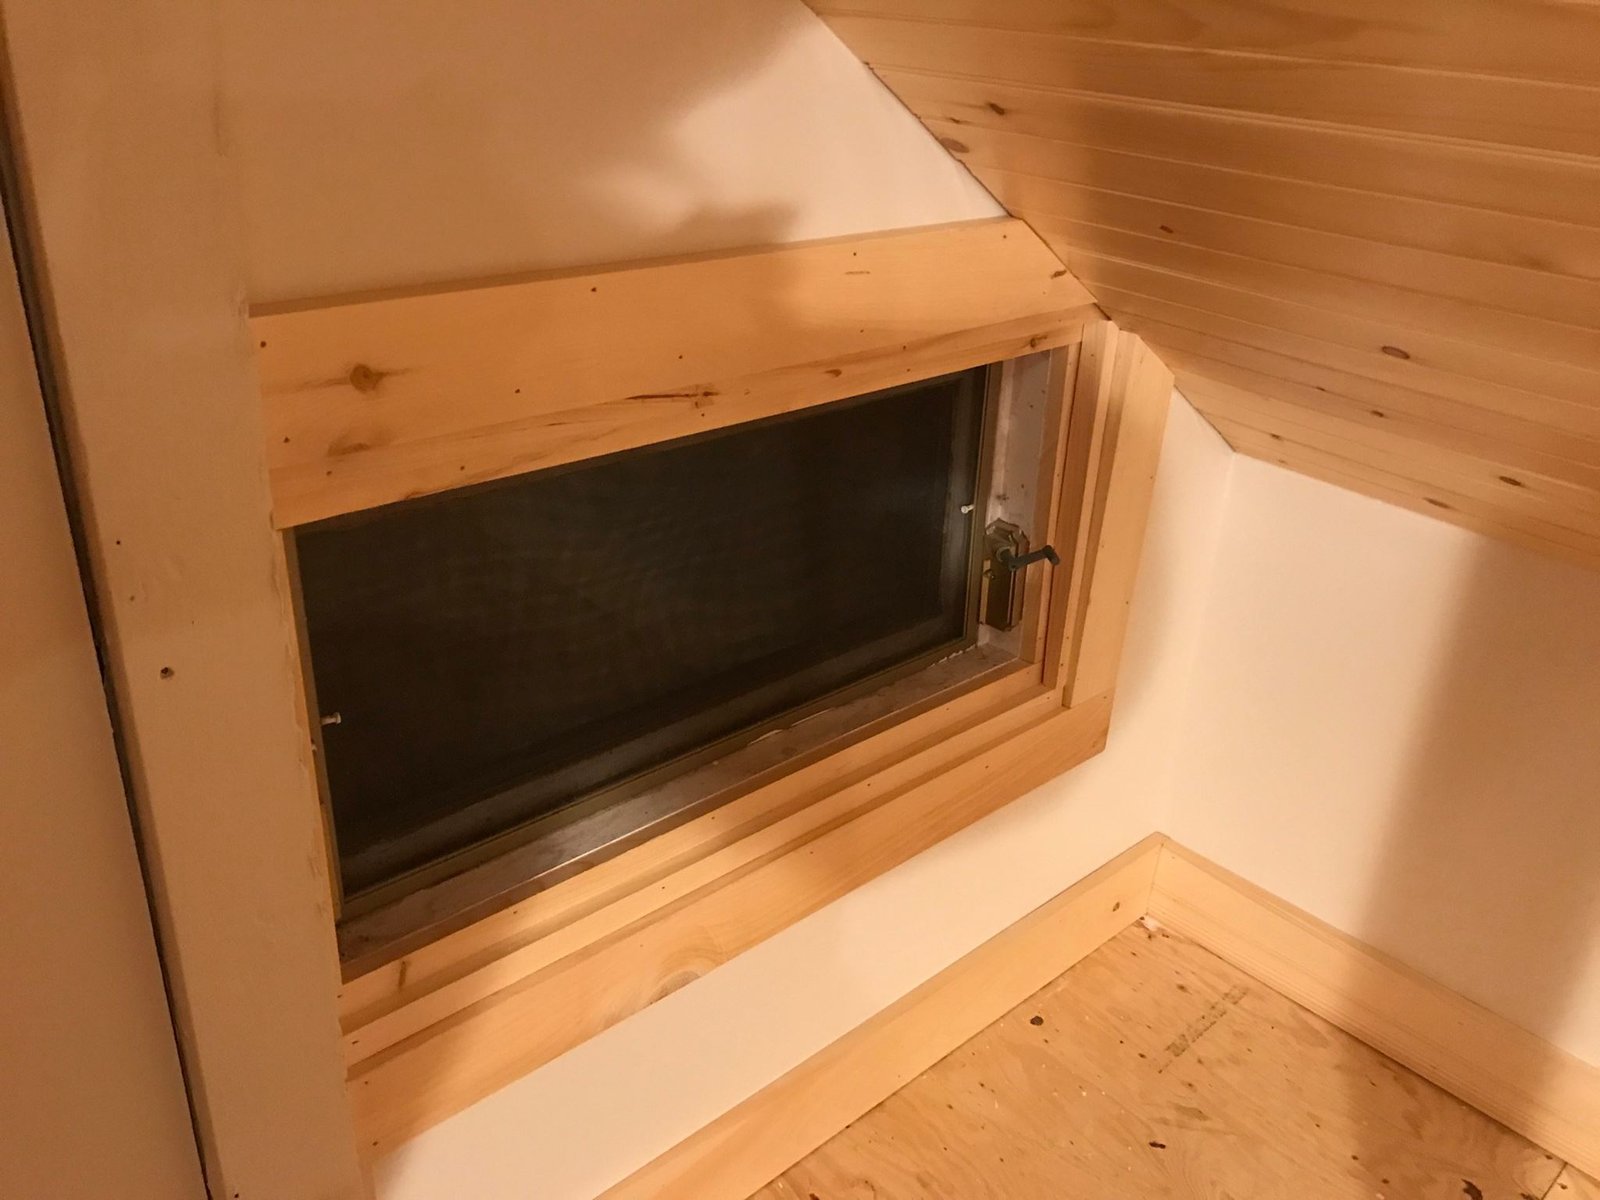
 Custom pine trim around the dormer window where the sloped ceiling meets the wall — nice tight miters.
-
 After
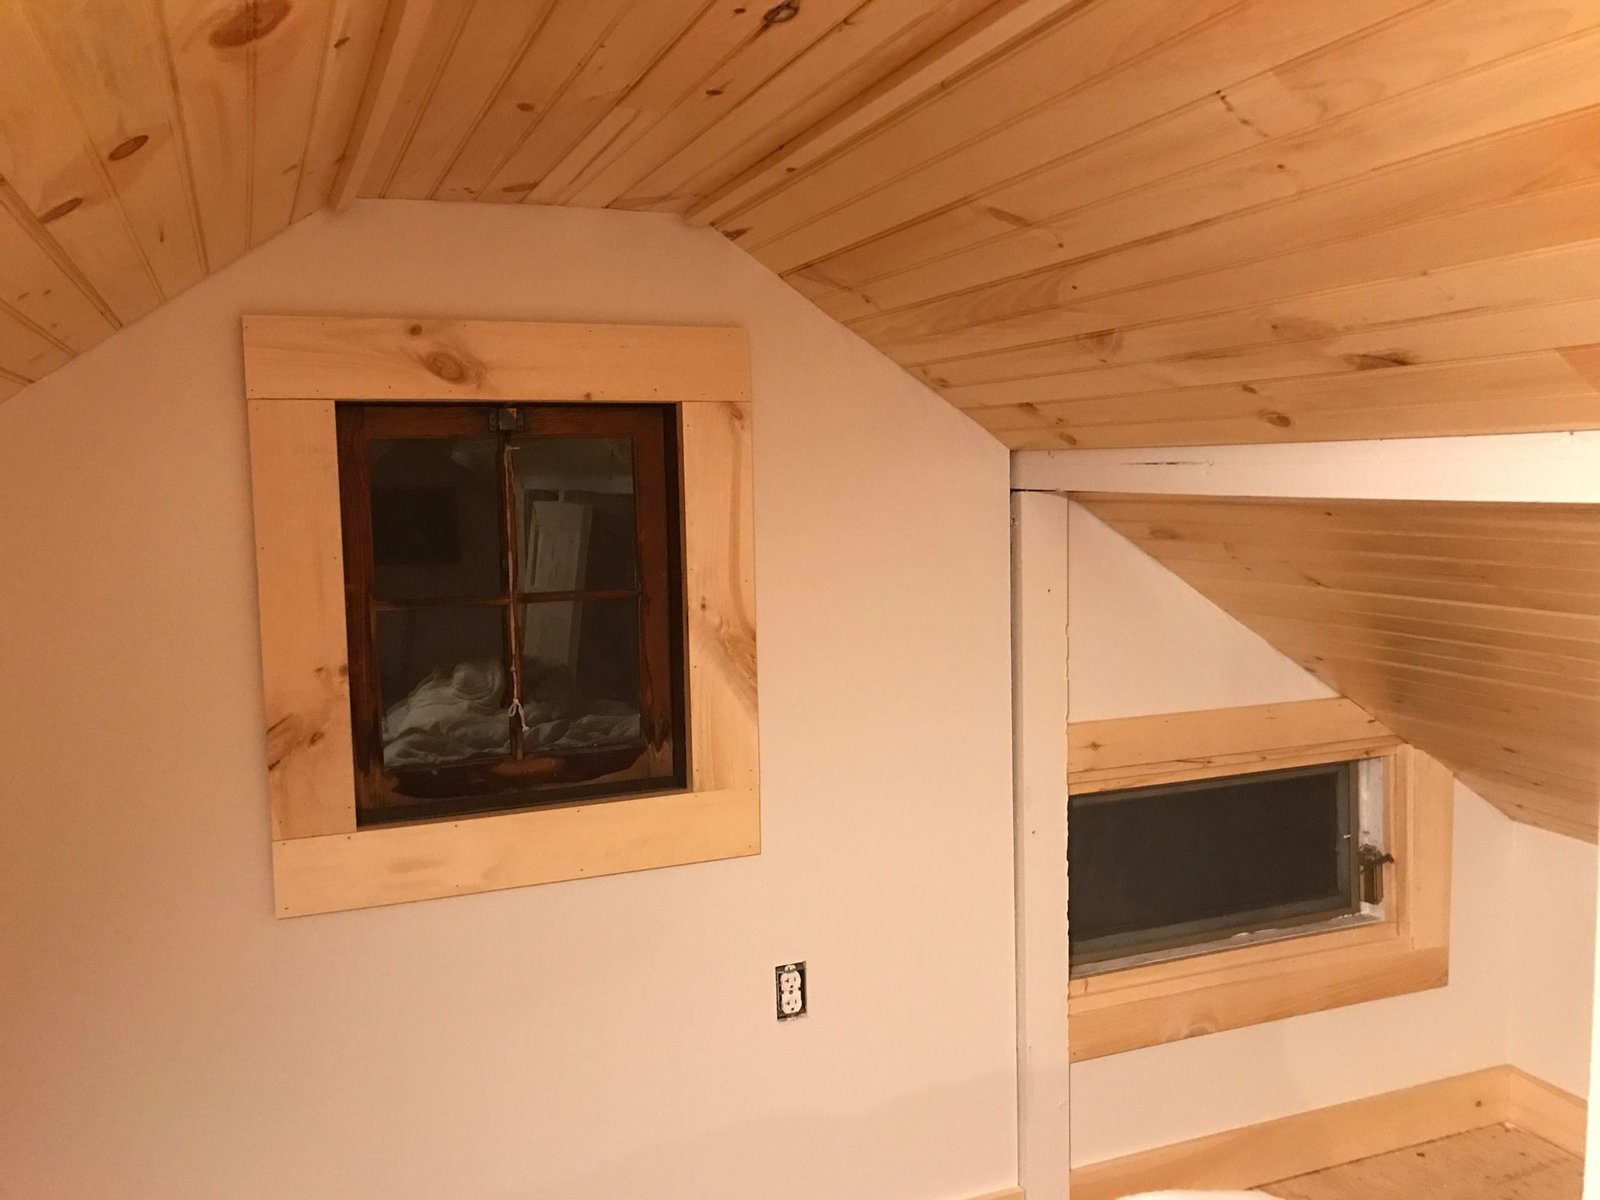
After Room with windows trimmed out in pine. Everything starting to read as one finished space.
-
 During
 Knotty pine sloped ceiling, painted walls, pine trim. The look I was after — cabin without being heavy.
-
 During
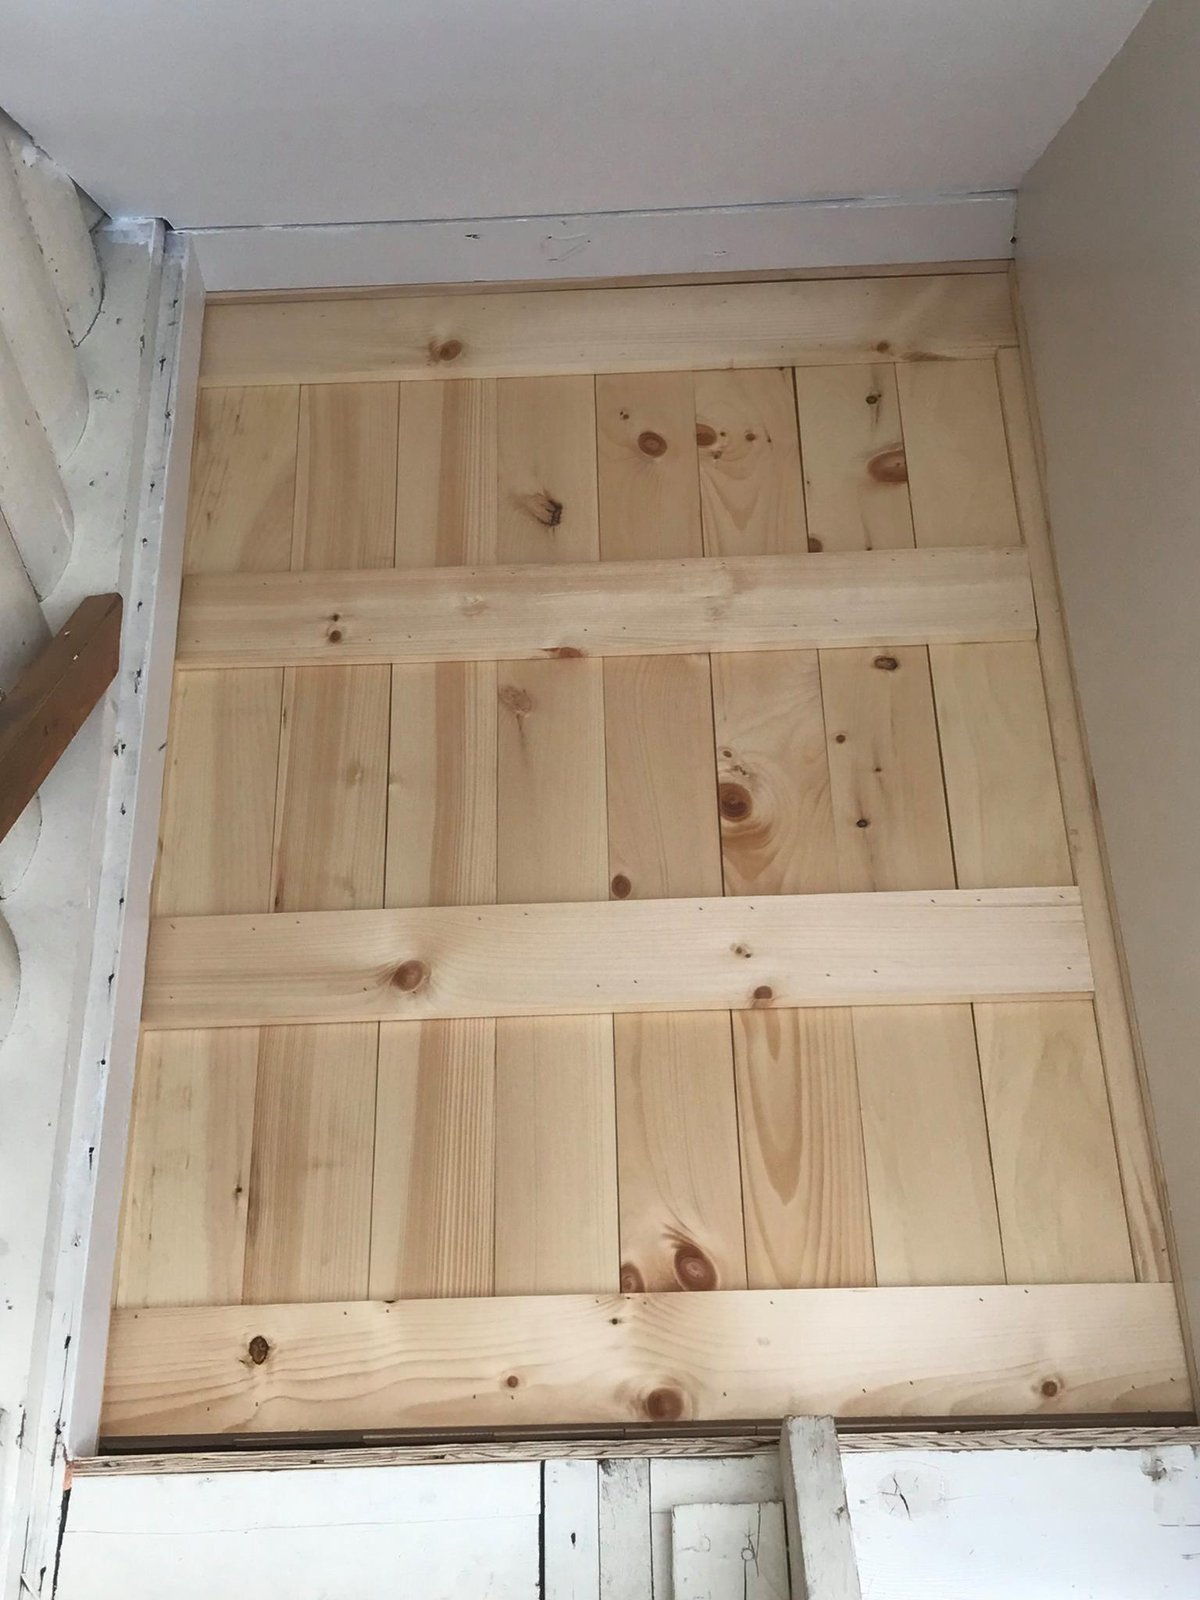
 Built a barn-style door from leftover tongue-and-groove pine with horizontal cross braces.
-
 During
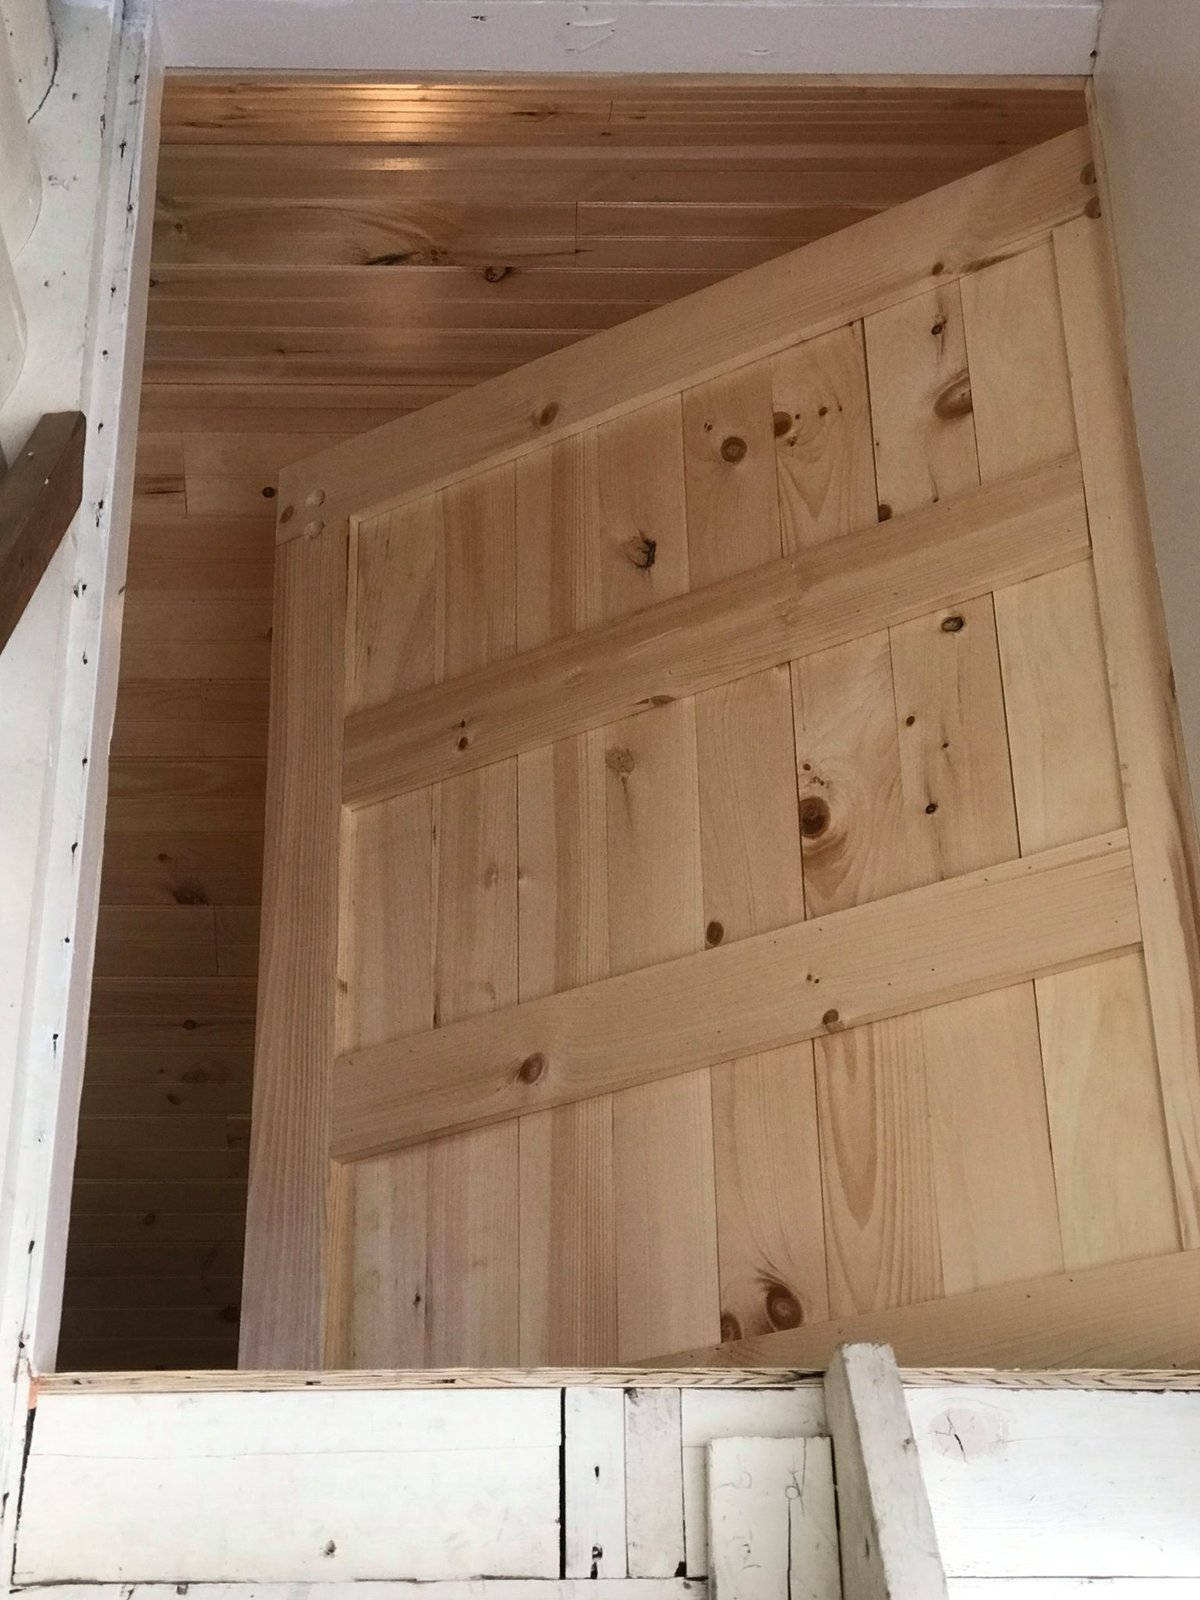
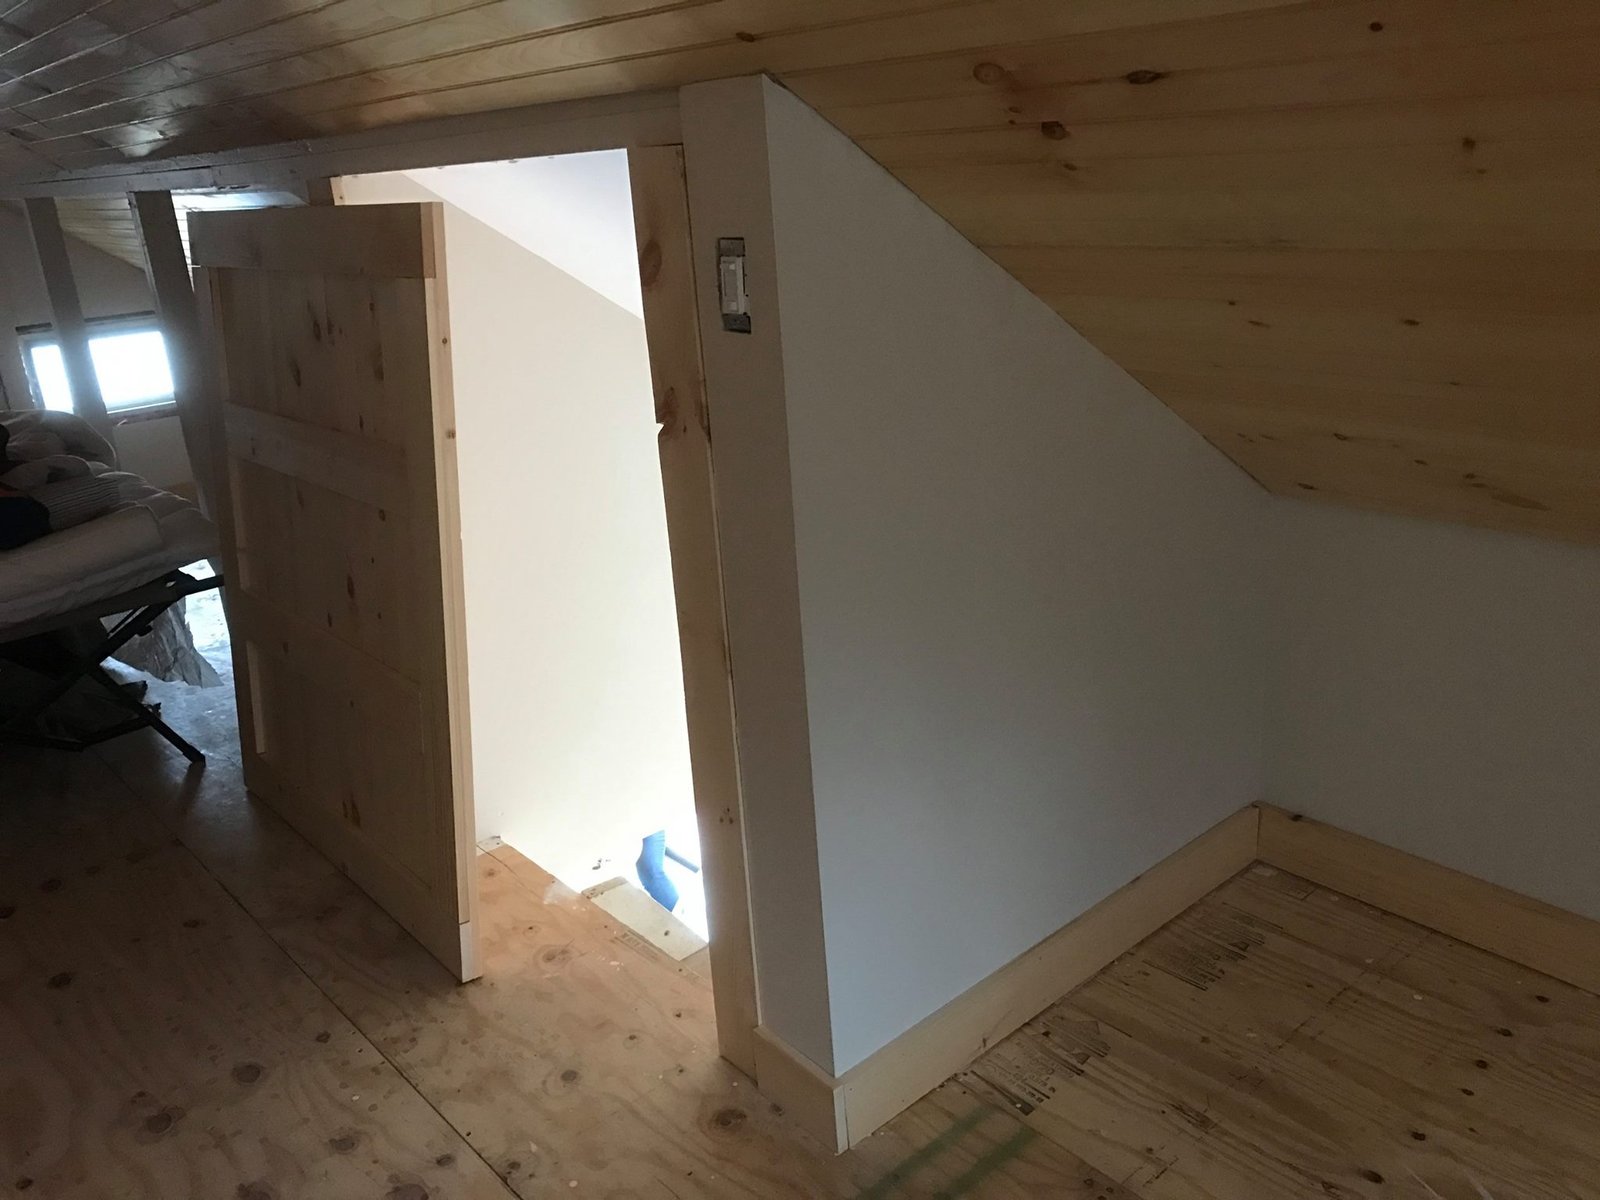
 Custom pine plank door installed at the top of the stairwell. Matches the ceiling so it disappears.
-
 After
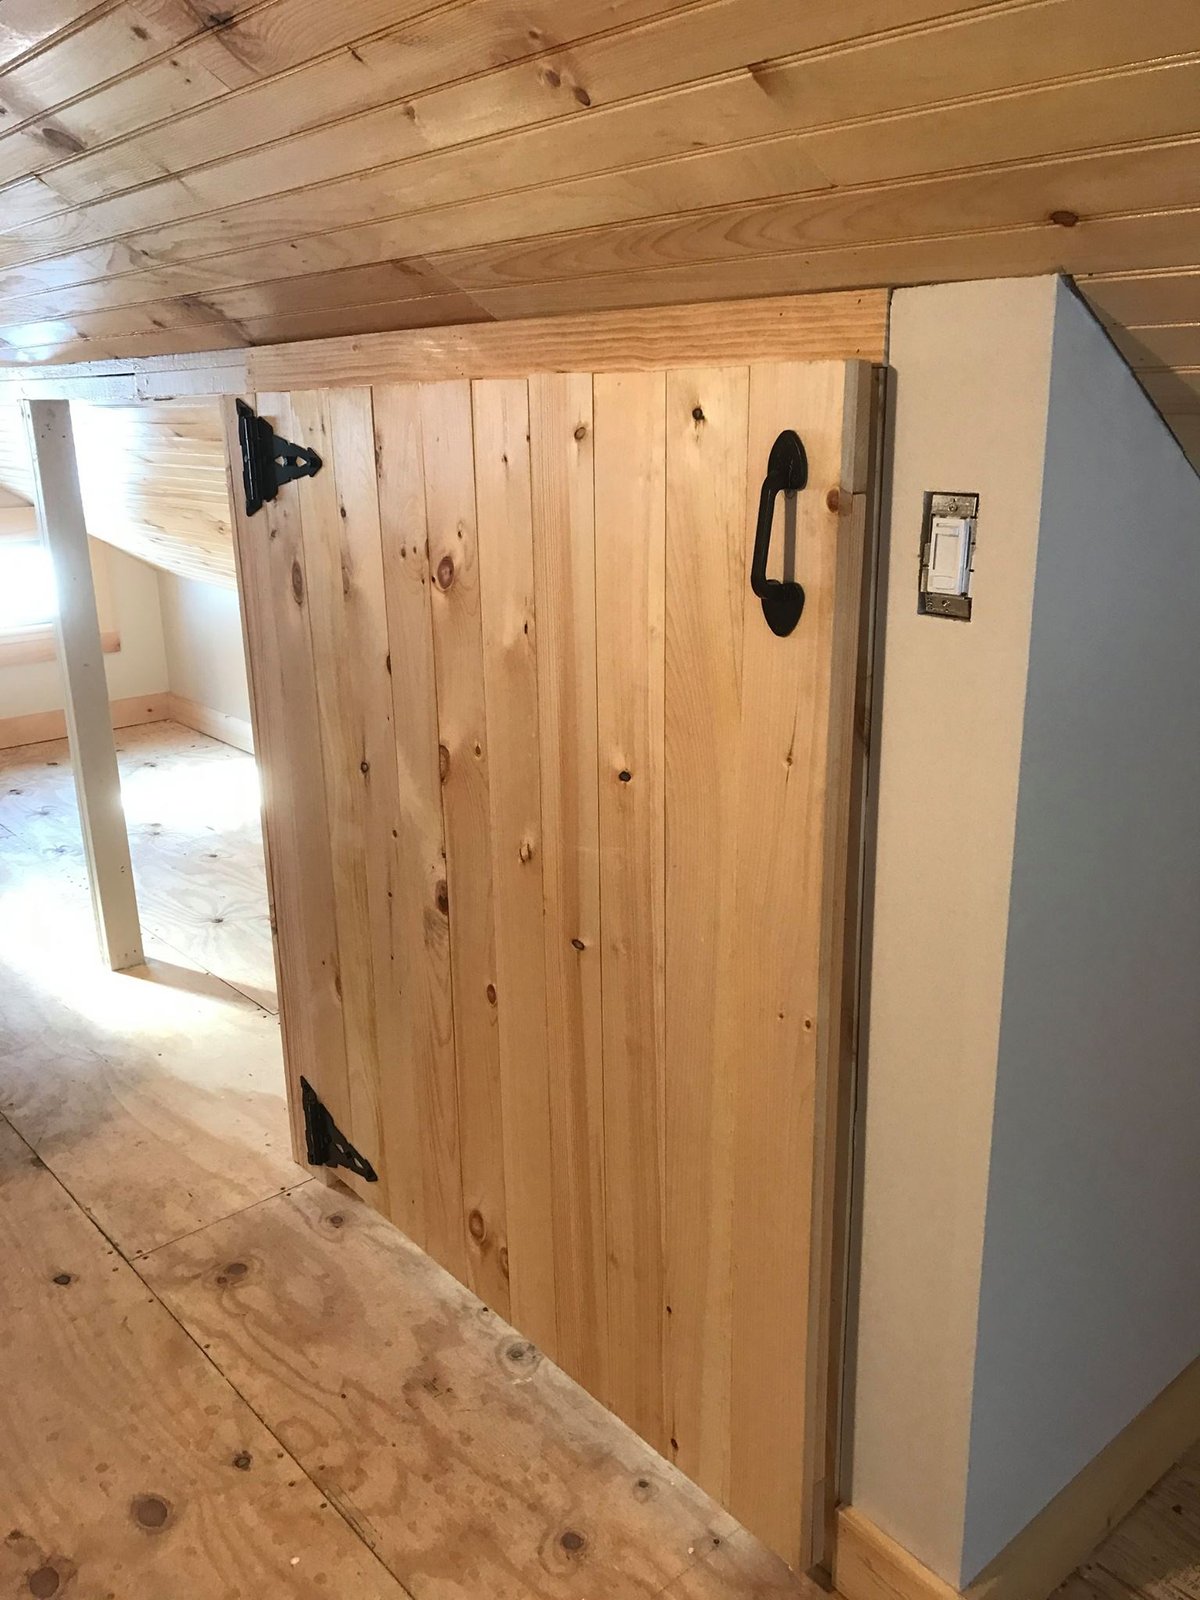
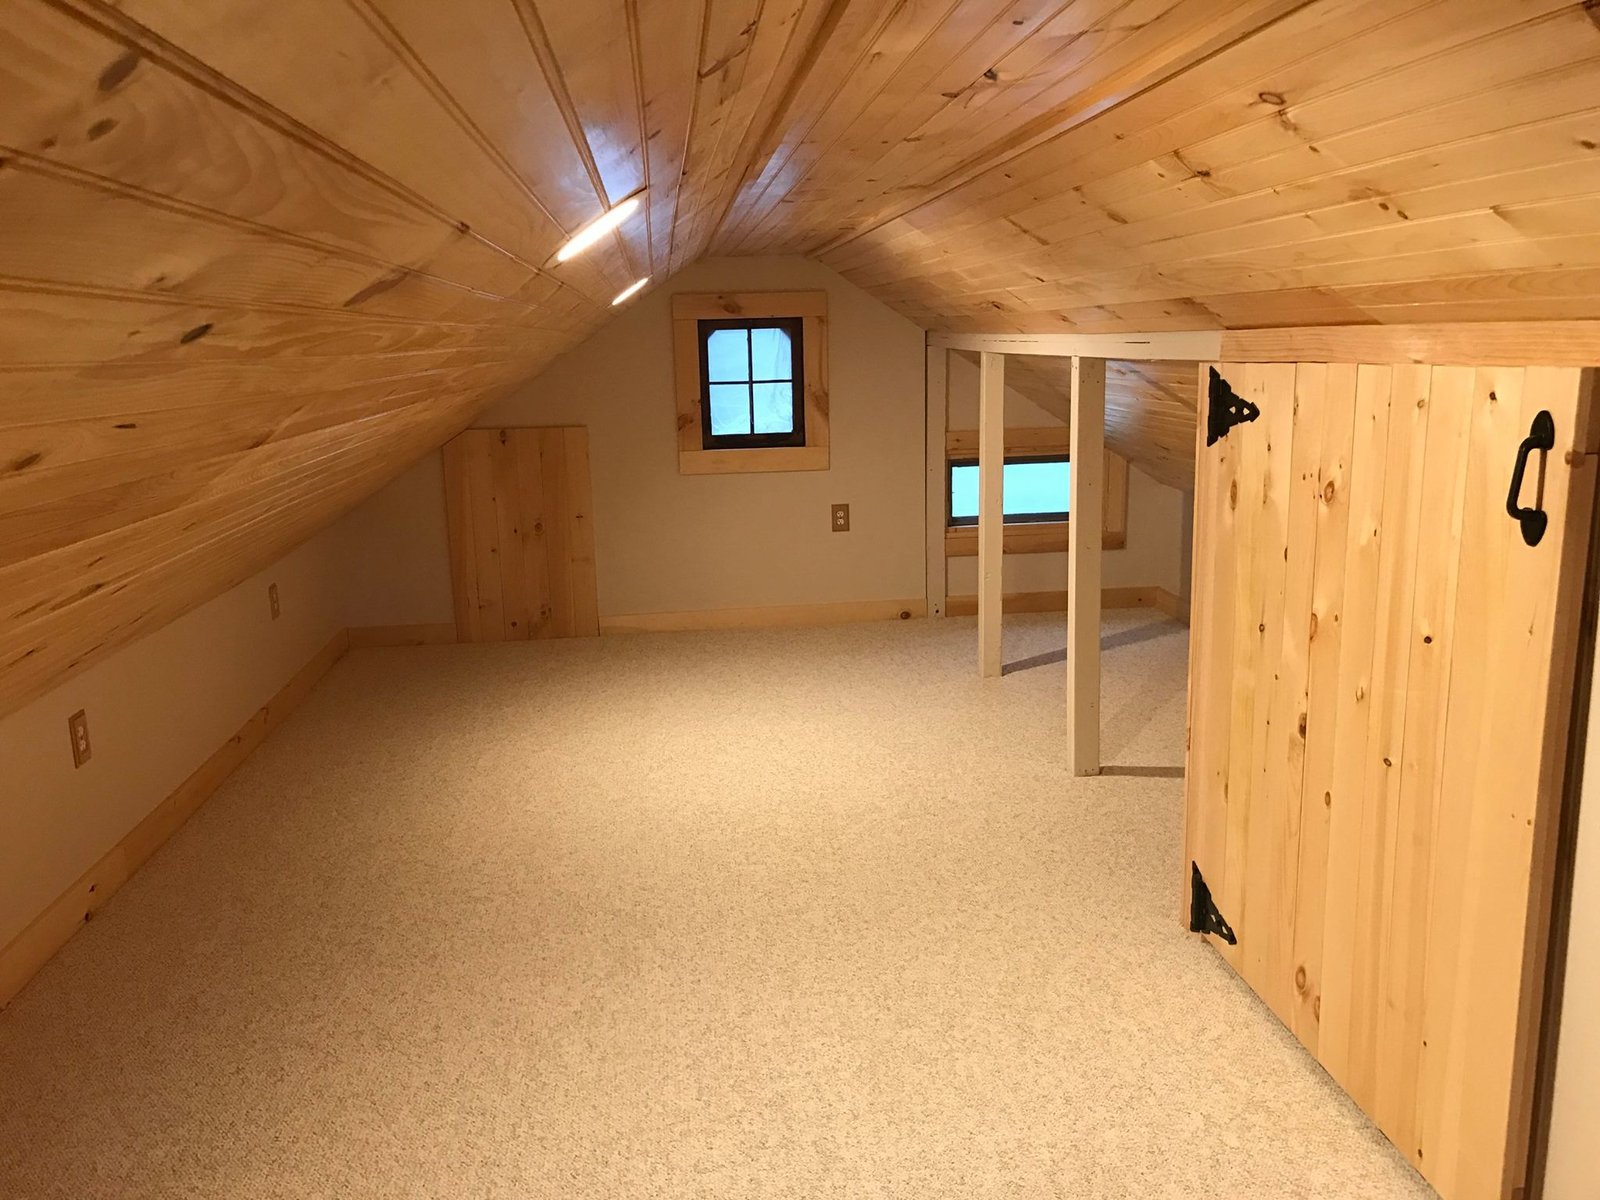
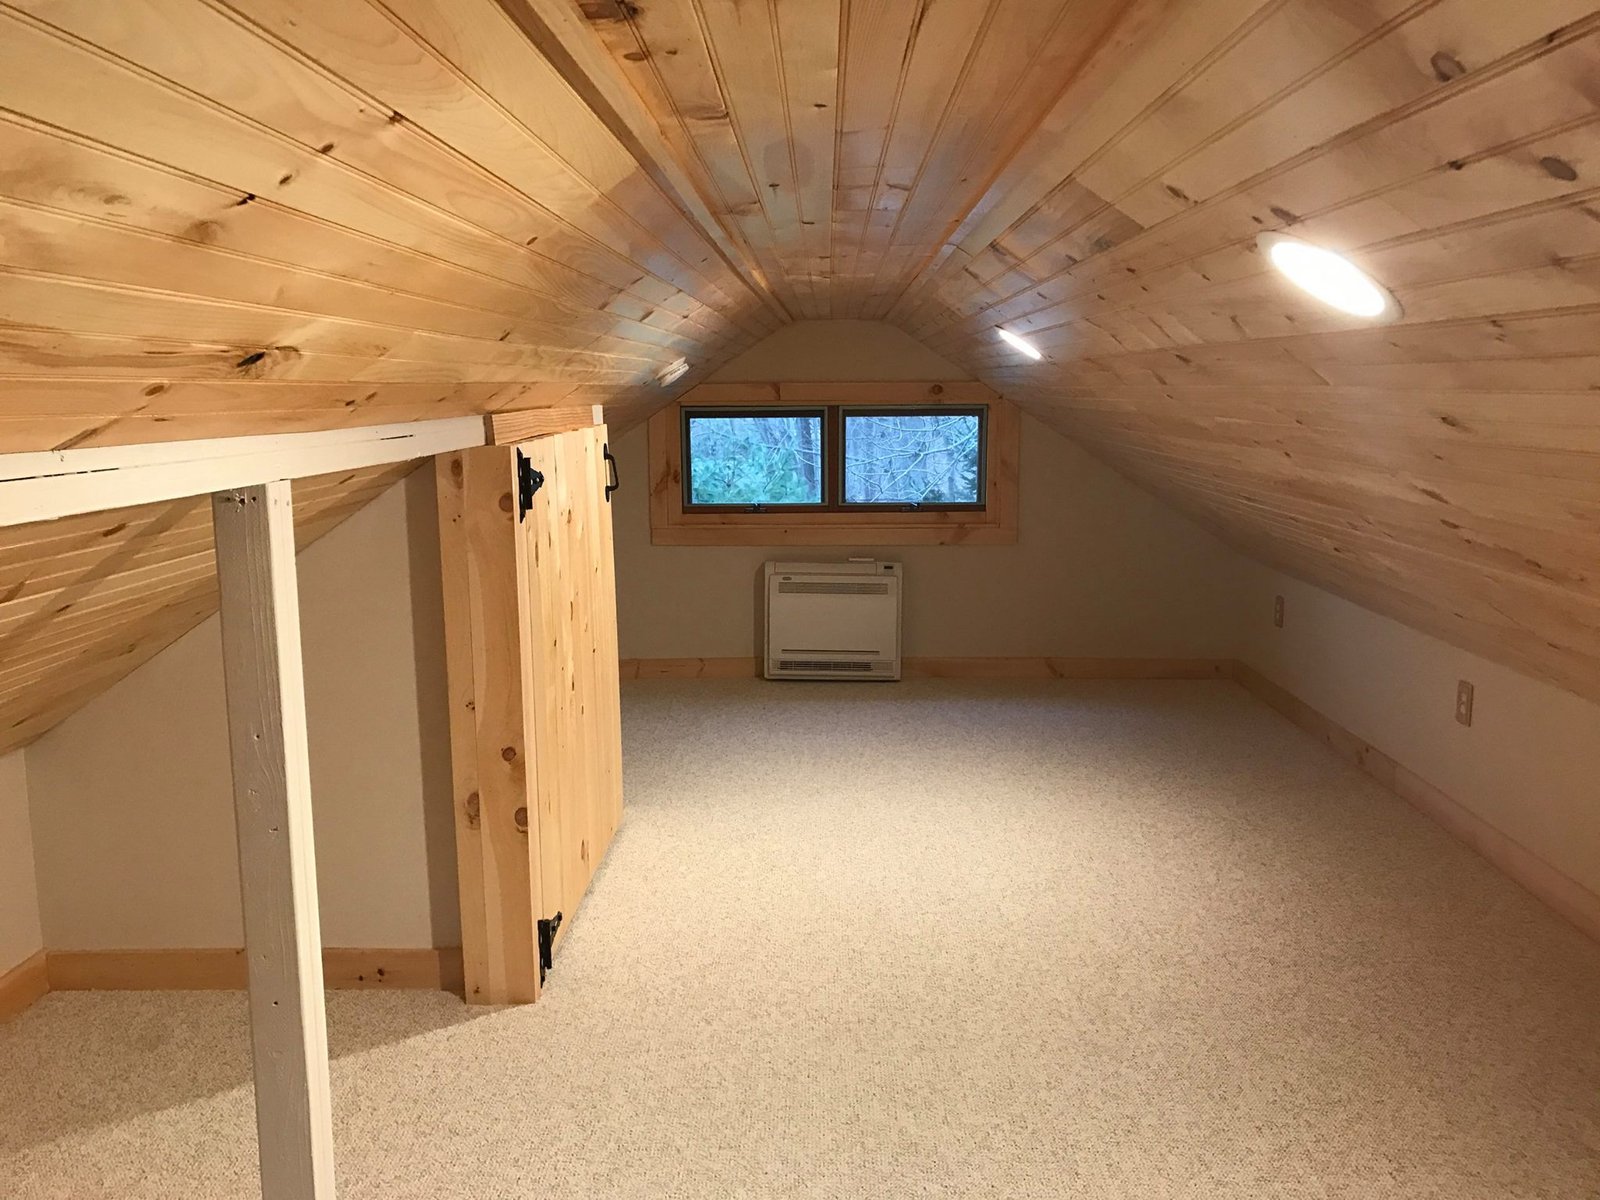
After Knee-wall storage door with wrought-iron hinges and handle. The hardware does most of the styling work.
-
 During
 Partition wall with the custom pine door hung. Splits the attic into a sleeping area and a bonus space.
-
 During
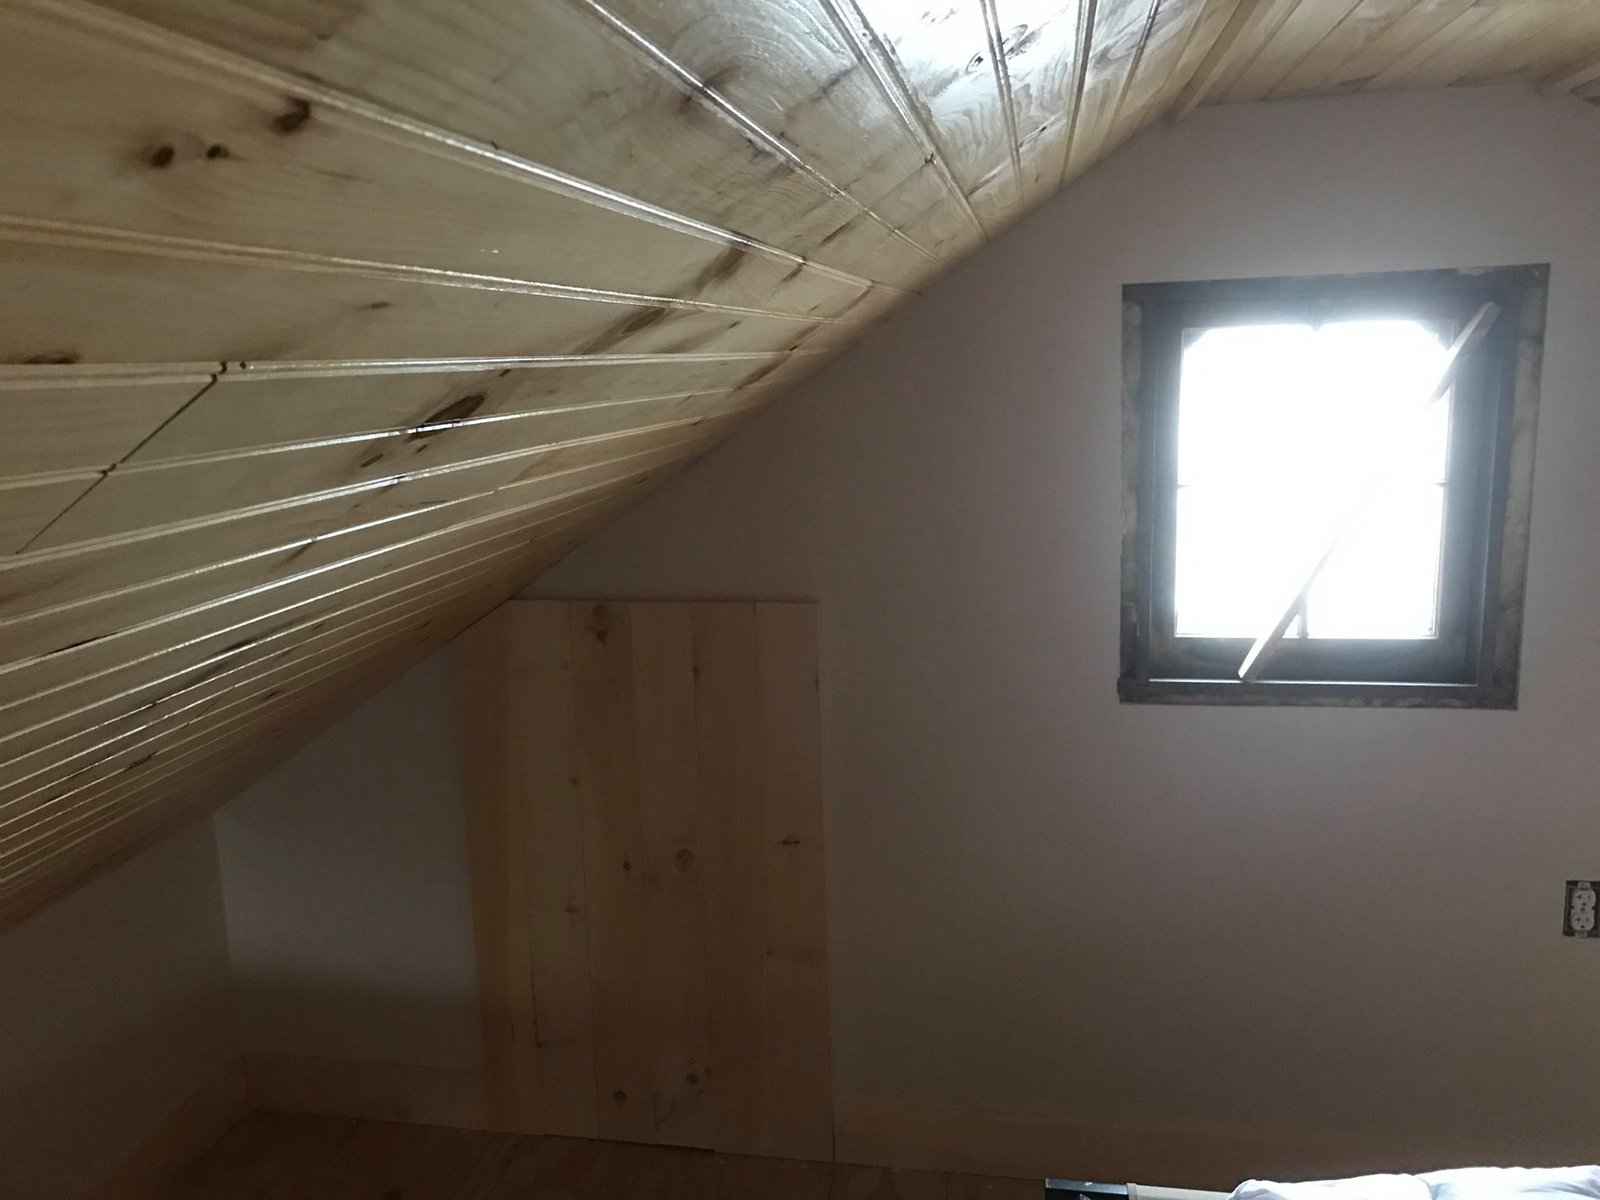
 Quiet corner with the small framed window. Good spot for a reading chair — plywood floor still waiting on carpet.
-
 During
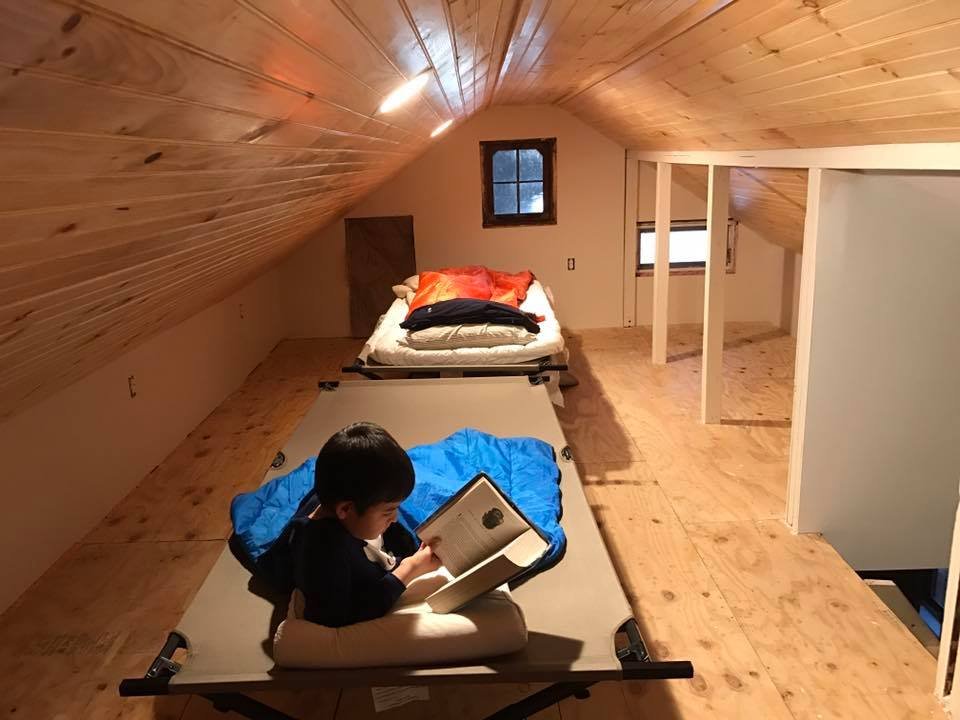
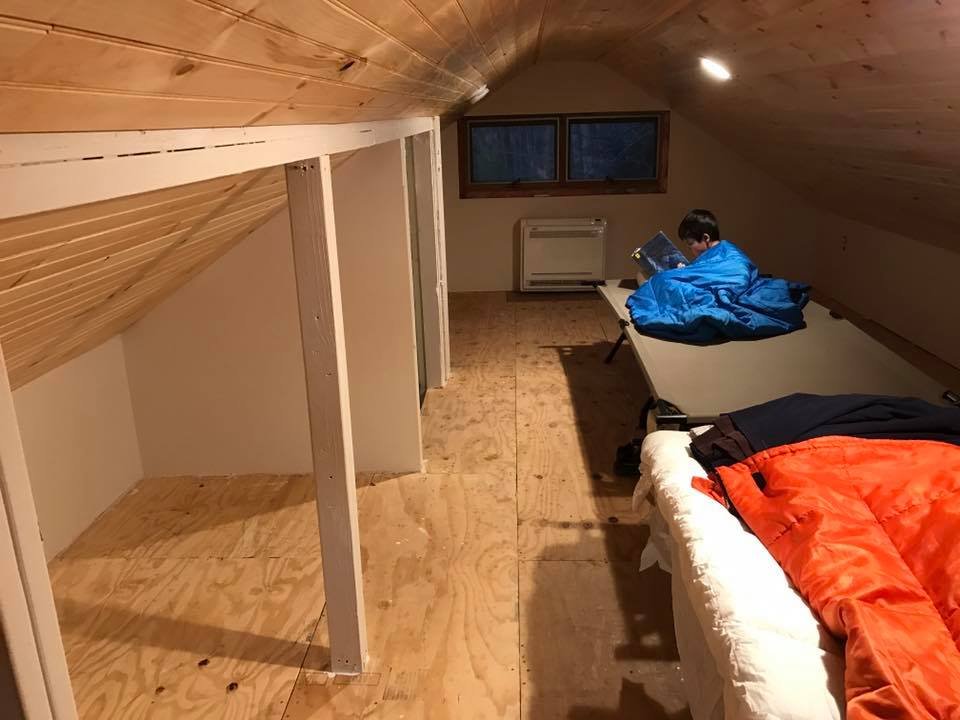
 My son reading on a cot under the gable window before carpet went down. The whole point of the project, right here.
-
 During
 Bunkroom set up with cots on the bare plywood while we tested the layout. Sleeps four easy when family's up.
-
 After
After Bonus side of the partition — pine ceiling, carpet down, and built-in storage doors in the knee wall.
-
 After
After Carpet in, mini-split running, pine ceiling overhead. Comfortable year-round now.
-
 After
After Finished side with the dormer windows and floor-mounted mini-split. Light and air both working.
Want a Plan for Your Project?
Send photos and a few sentences. I'll send back a written diagnostic — what's broken, what it'll cost, and what to DIY vs. hire. $9.99, in your inbox in minutes.
Get a Diagnostic Report — $9.99 →