Rebuilding Around the Steel Beam
13 photos · demo and renovation
With the place gutted, I planned the rebuild around the steel I-beam I'd uncovered. Added wood nailers to the beam so I could attach drywall later. Opened up a wide doorway between the two main rooms to make the whole downstairs feel connected, and put in new sliding glass doors on the lake side. Once framing and a mini-split were in, I started hanging rock.
-
 During
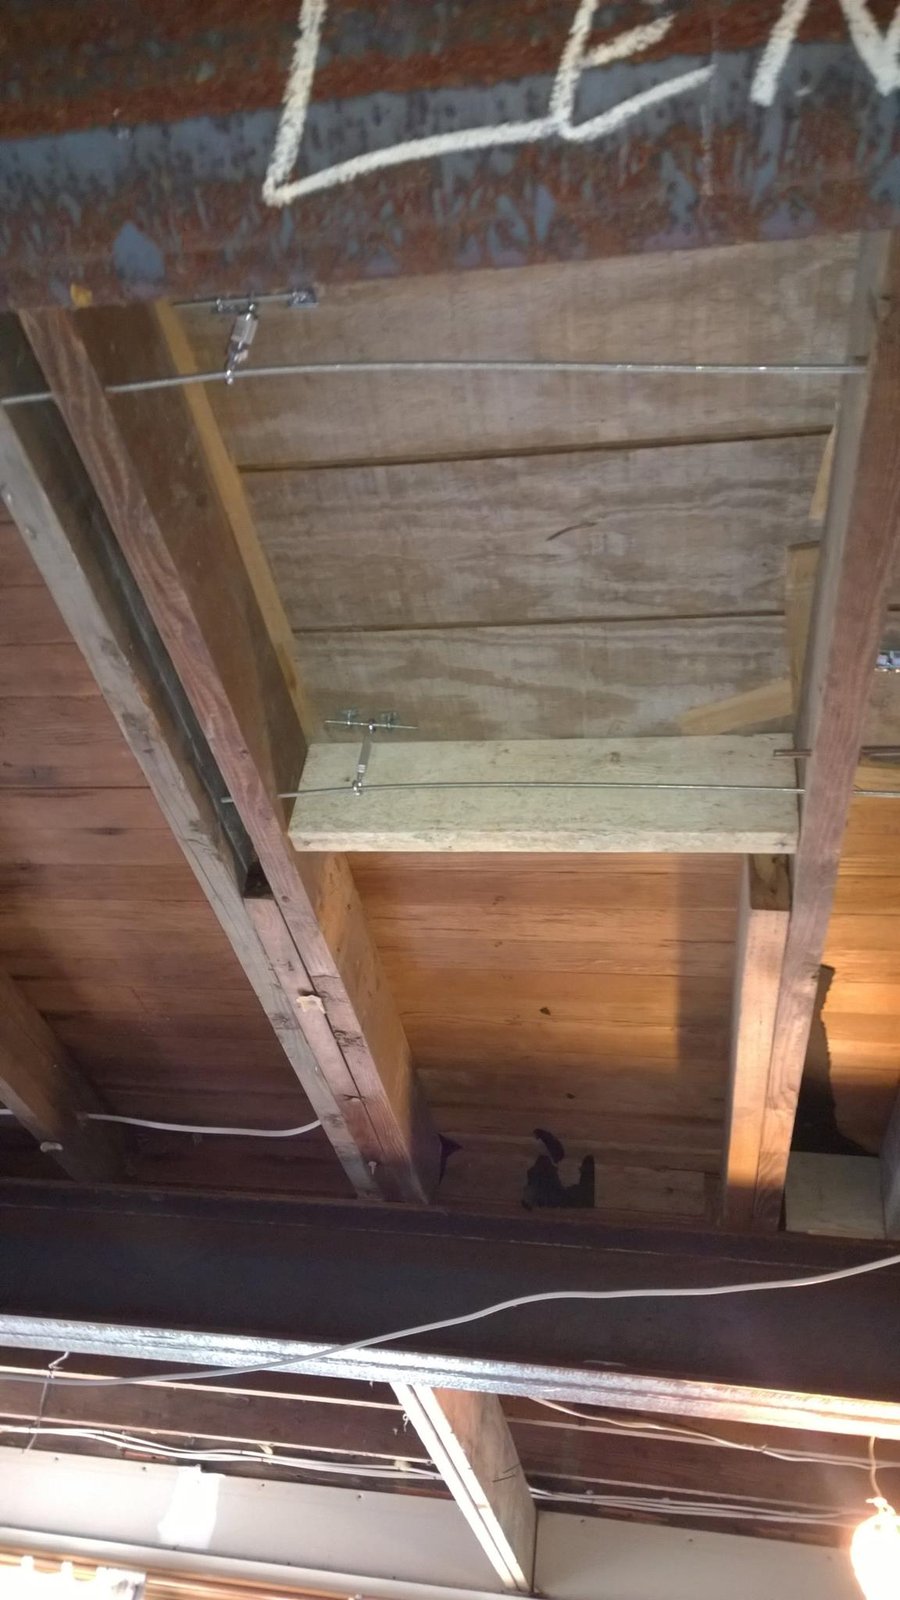
 Turnbuckle tension cables were already in the joists. Left them alone — they were doing their job.
-
 During
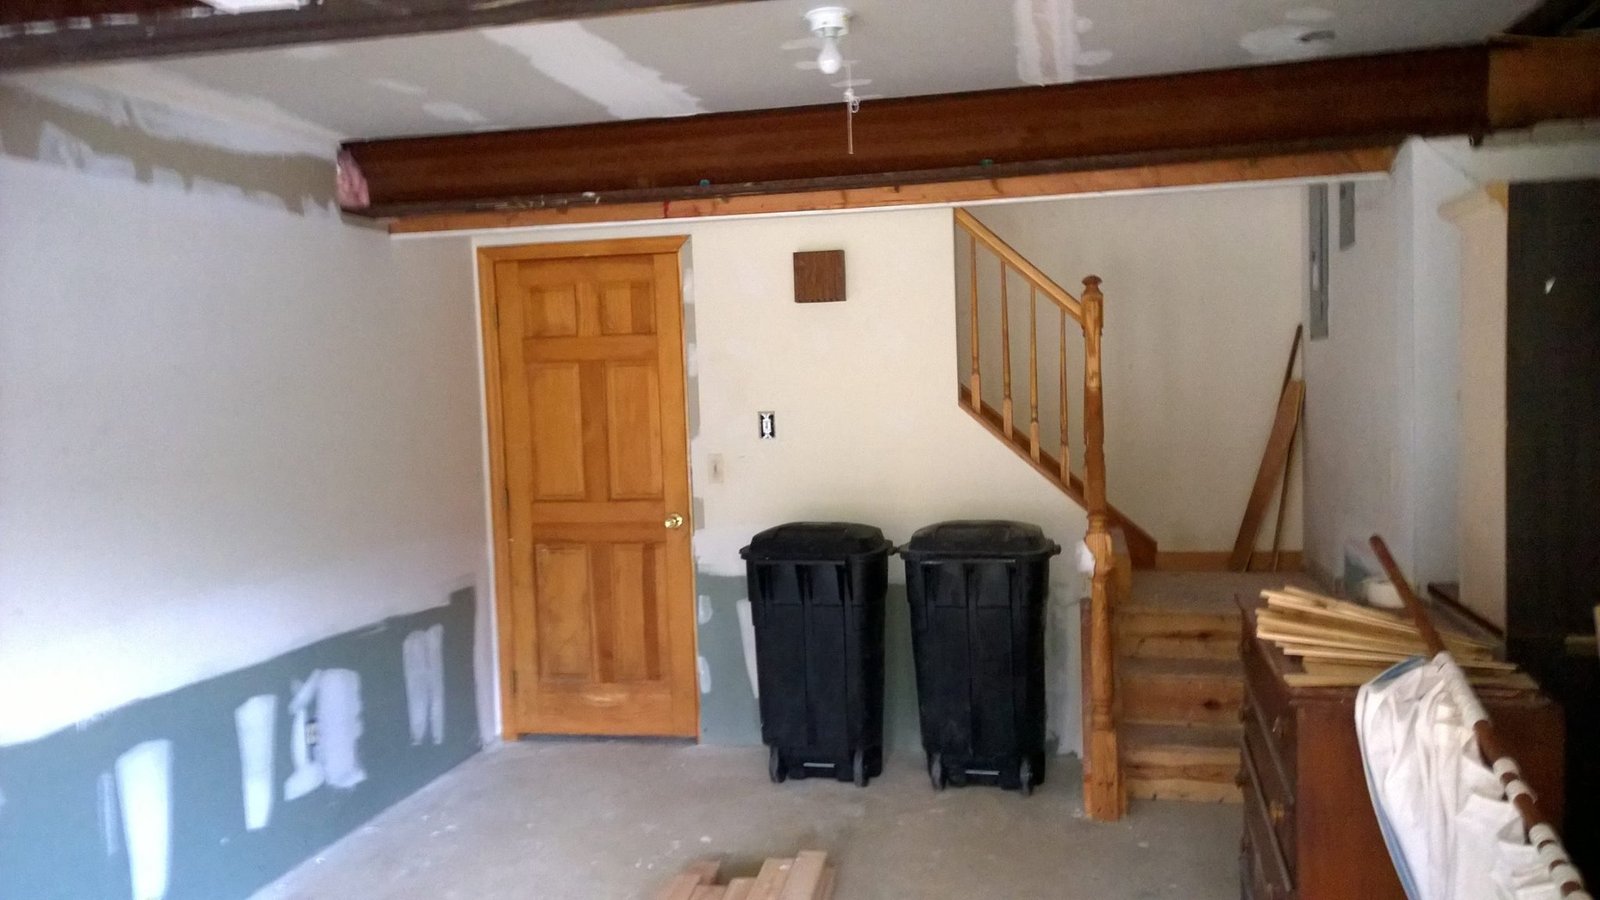
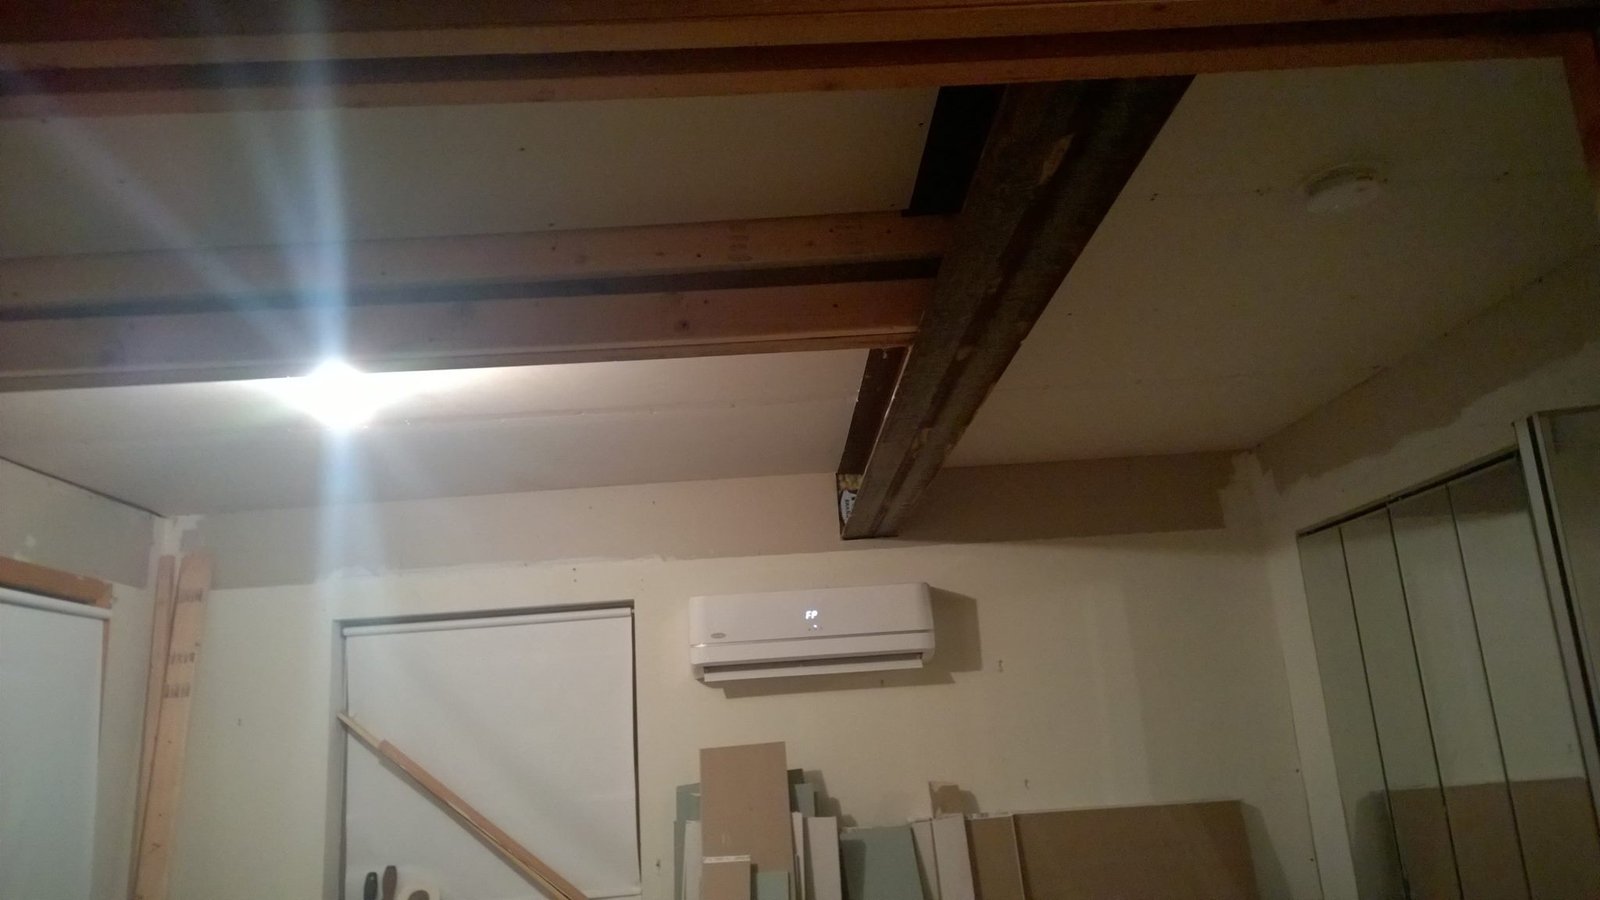
 Bolted wood nailers onto the steel I-beam so I'd have something to screw drywall into later.
-
 During
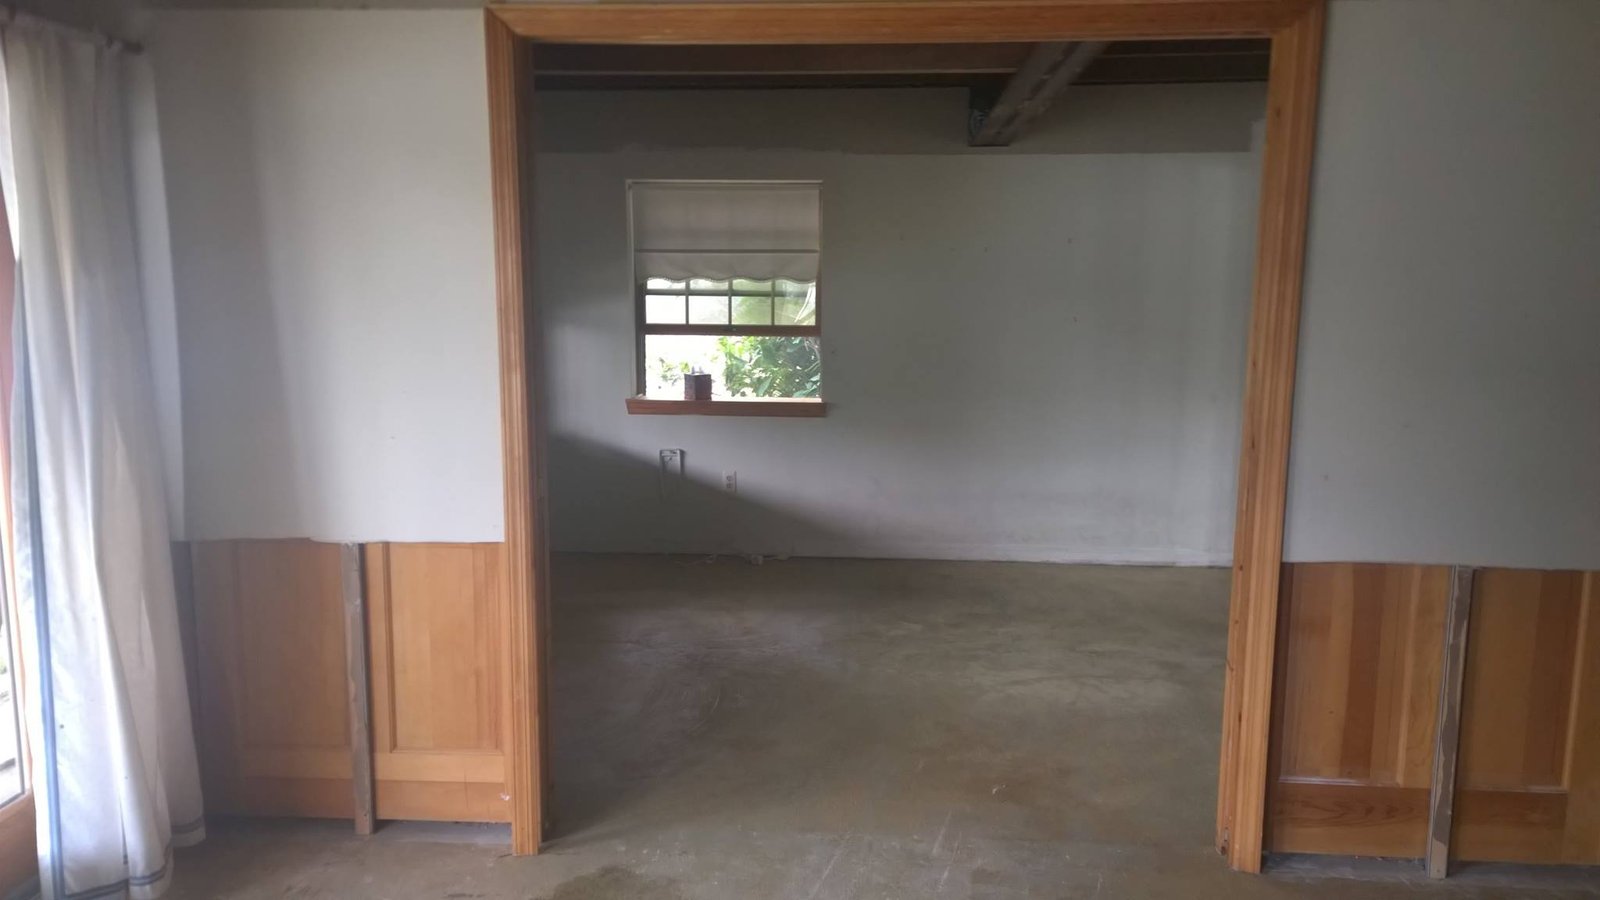
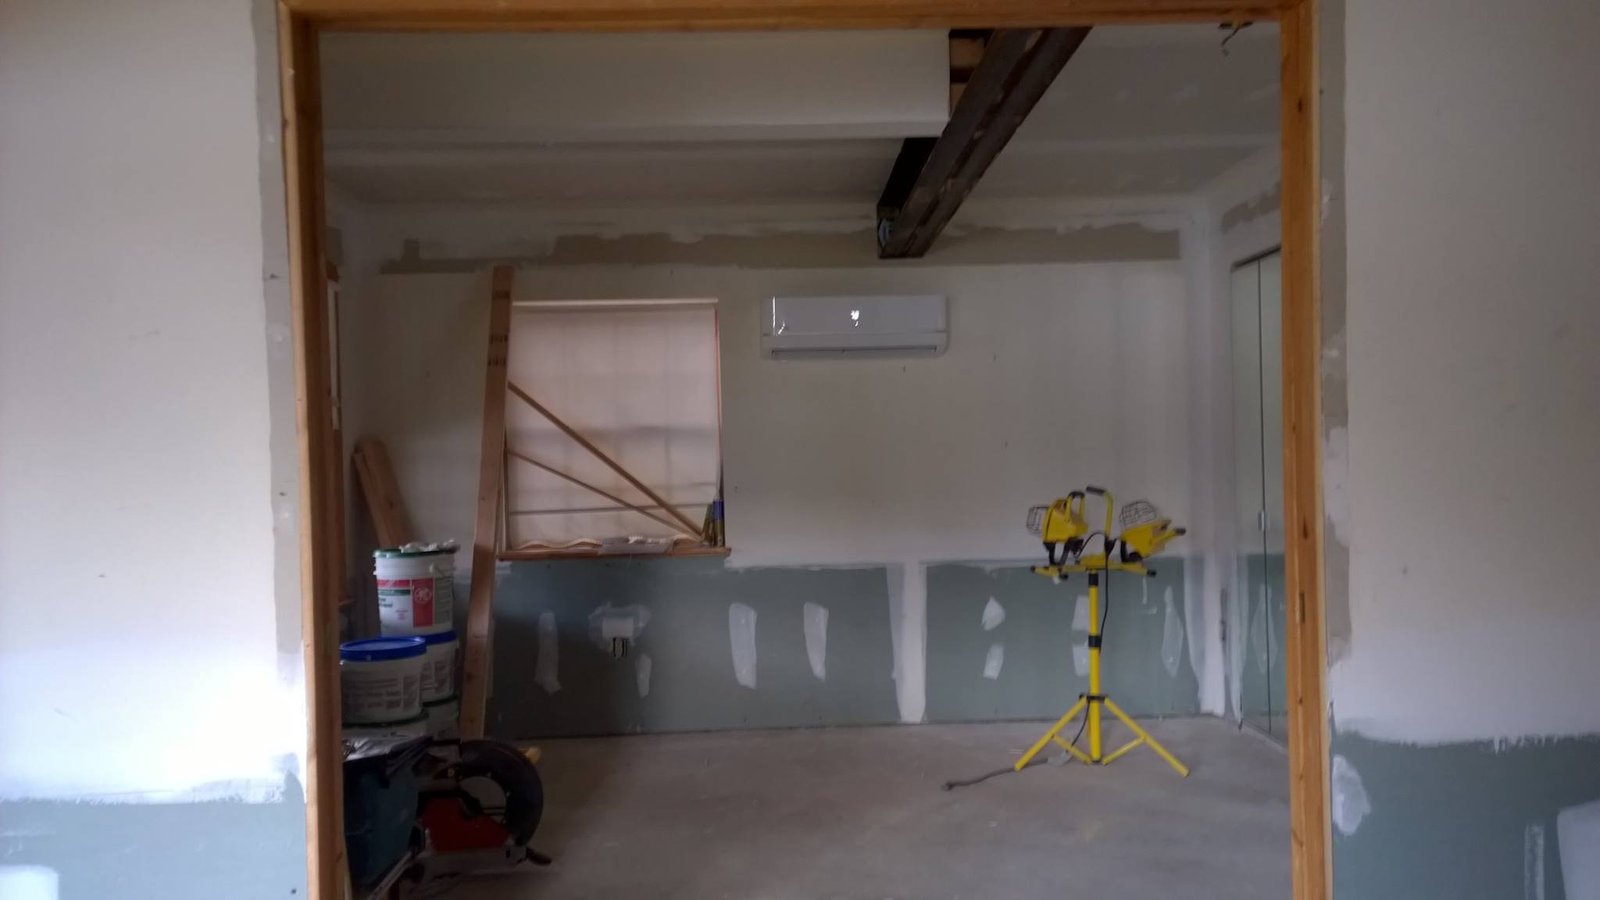
 Widened the doorway between the two rooms so the downstairs would actually feel like one space.
-
 During
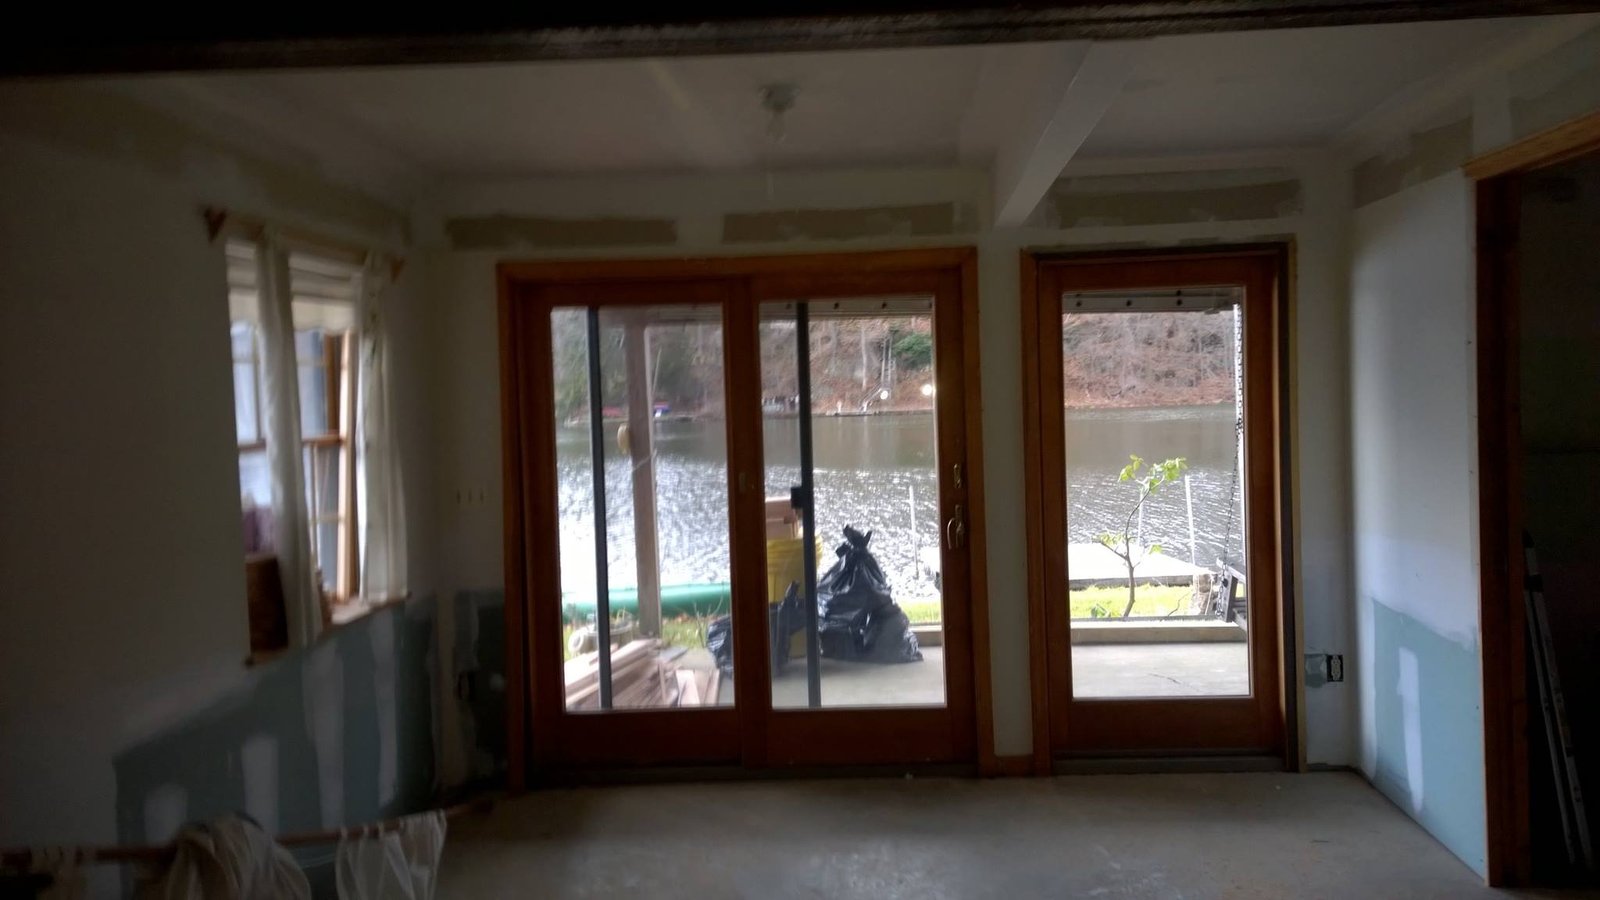
 Pulled the old wall on the lake side and dropped in a new slider with a side window. Light changed everything.
-
 During
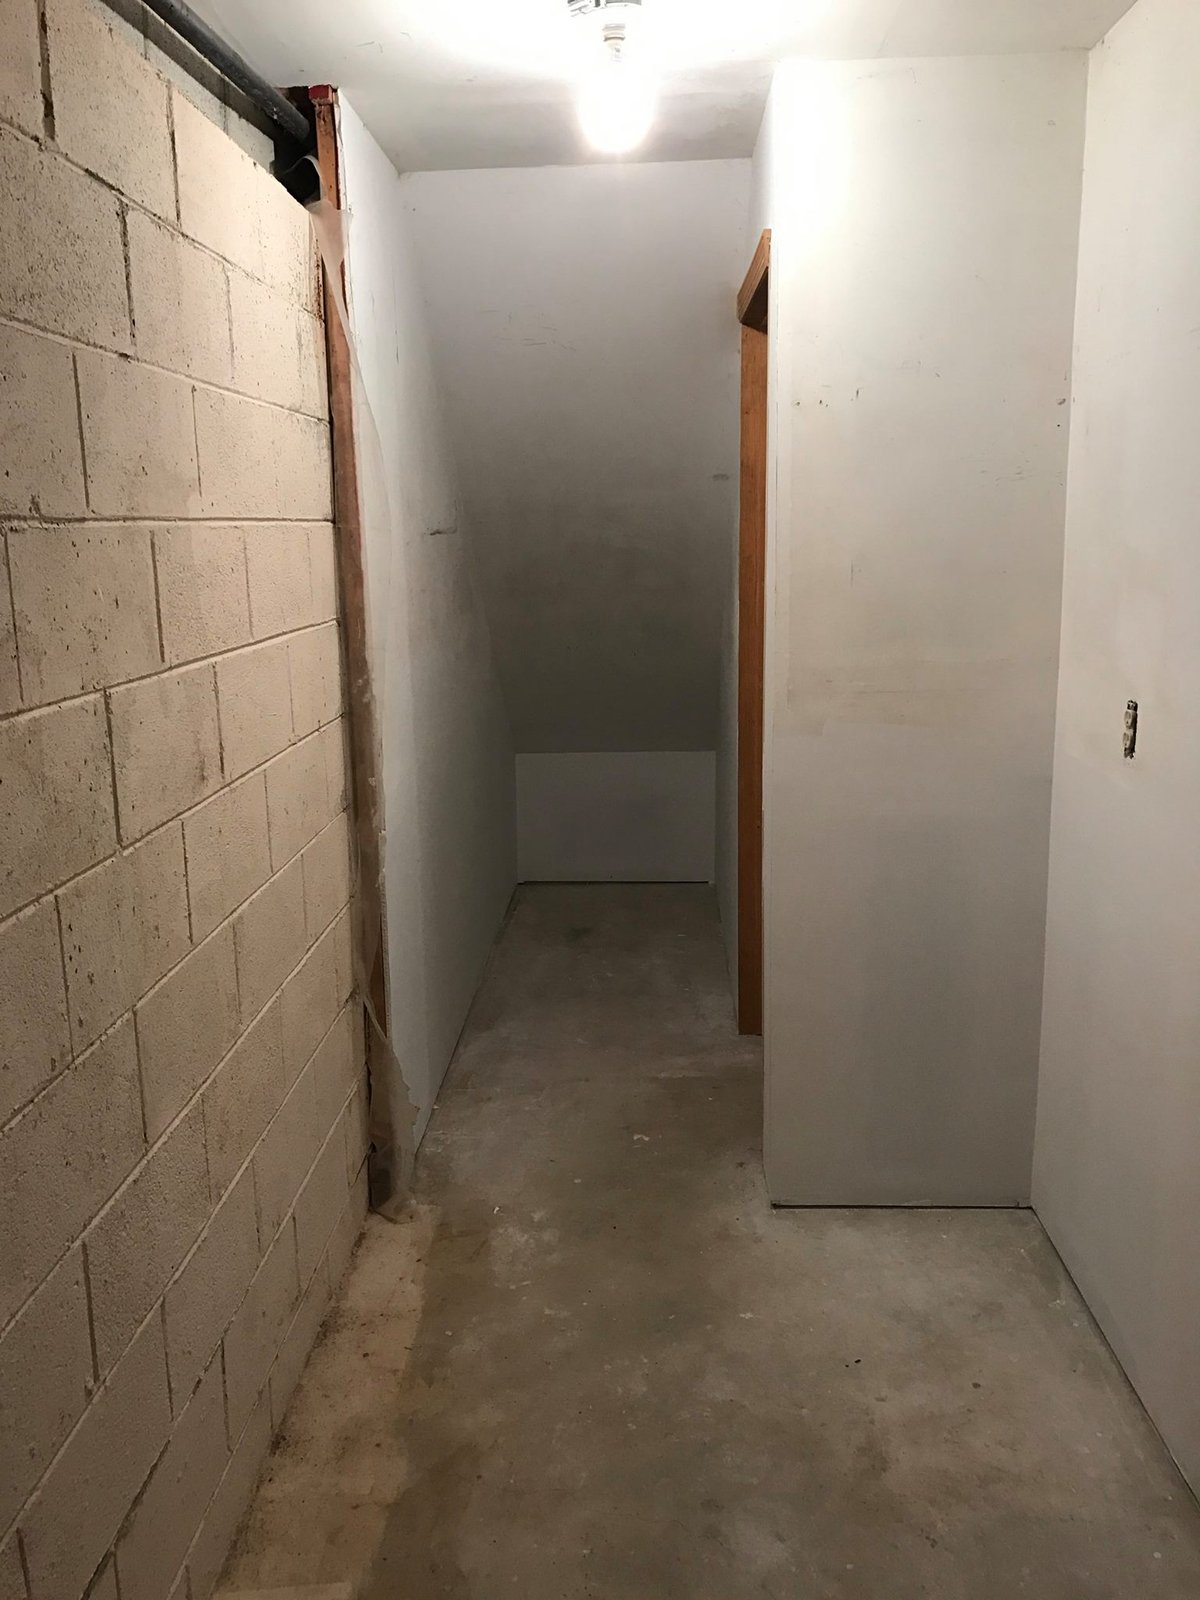
 Built a new partition wall against the original cinder block to give the hallway some shape.
-
 During
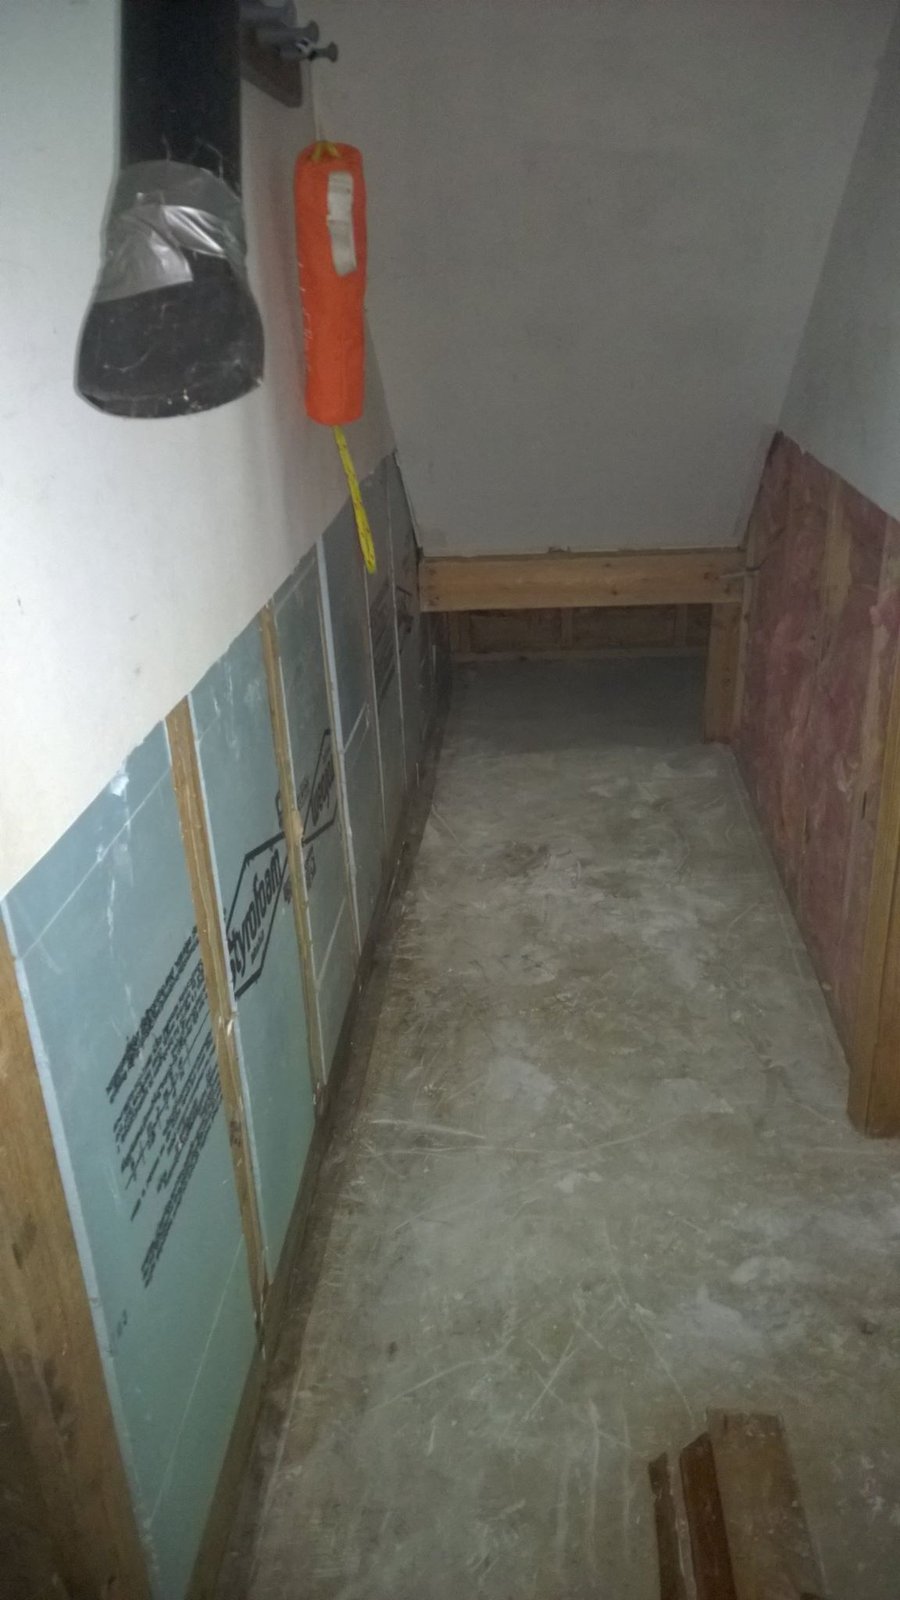
 Foam board against the block, fiberglass in the framed walls. Different jobs, different materials.
-
 During
 Drywall going up against the new framing. Steel beam and stairs gave me the spine to work off of.
-
 During
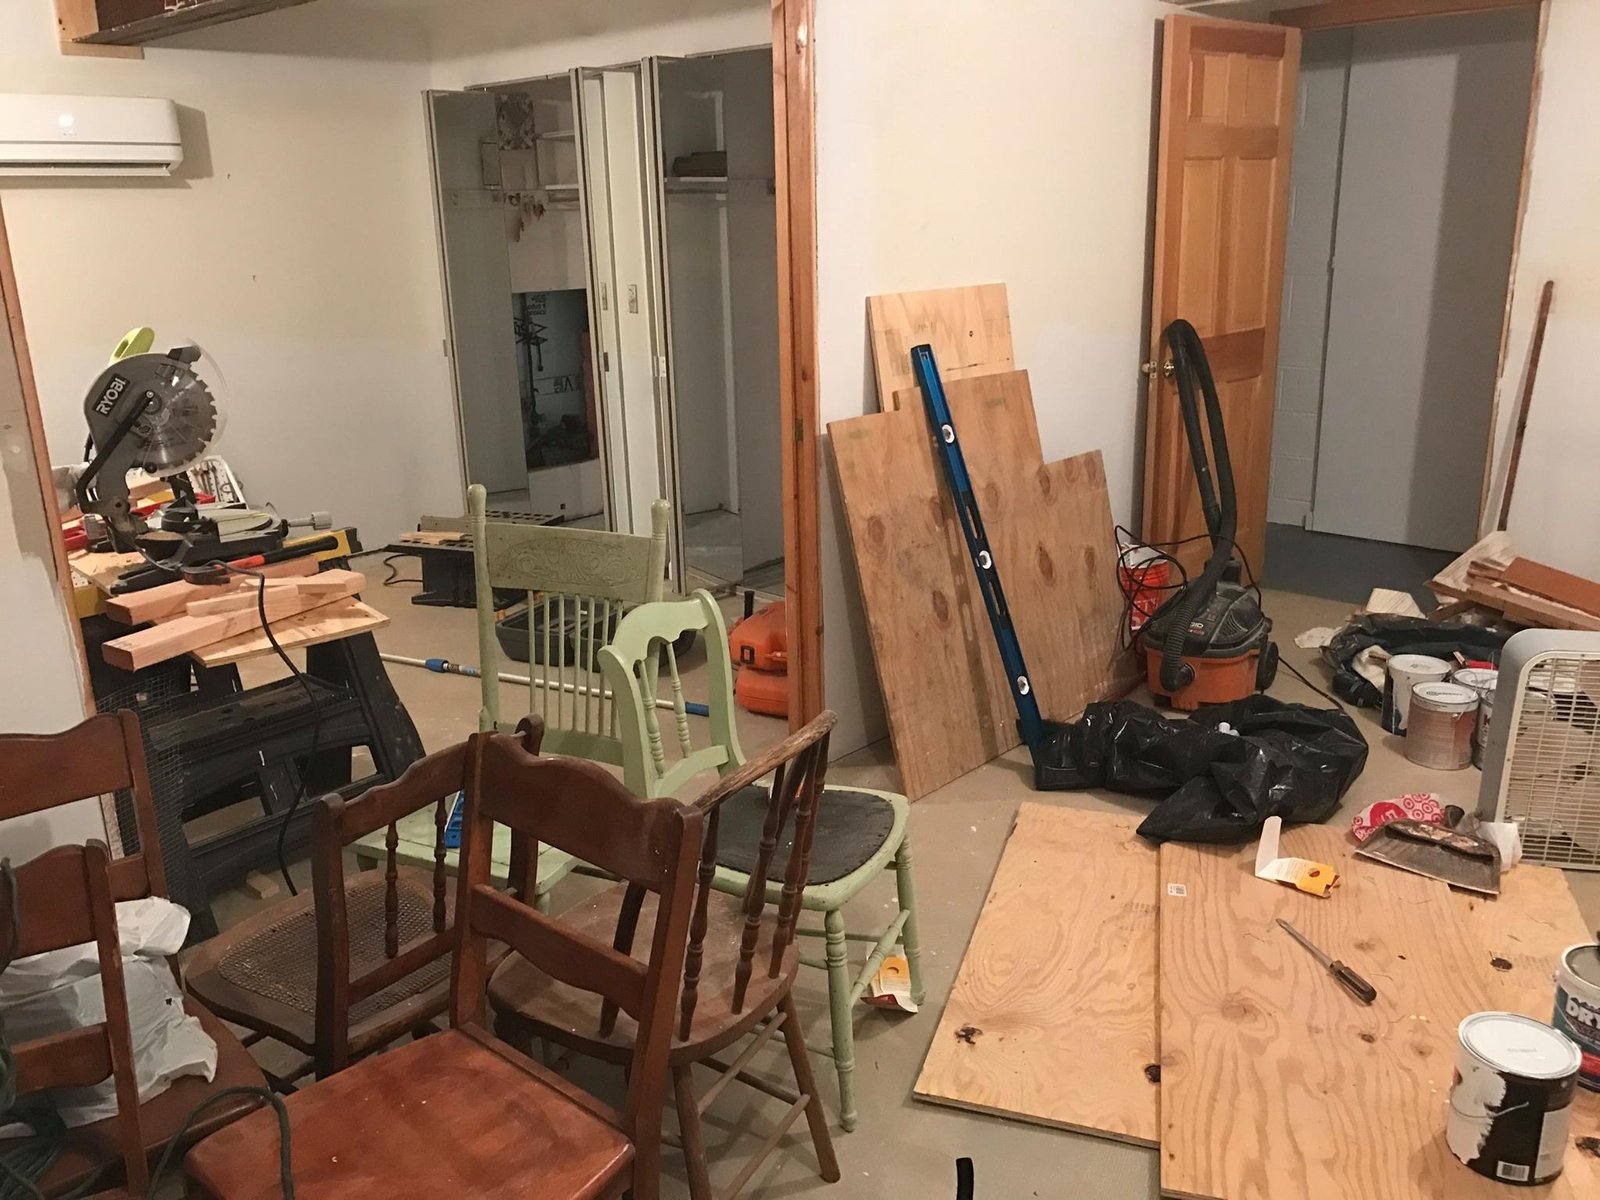
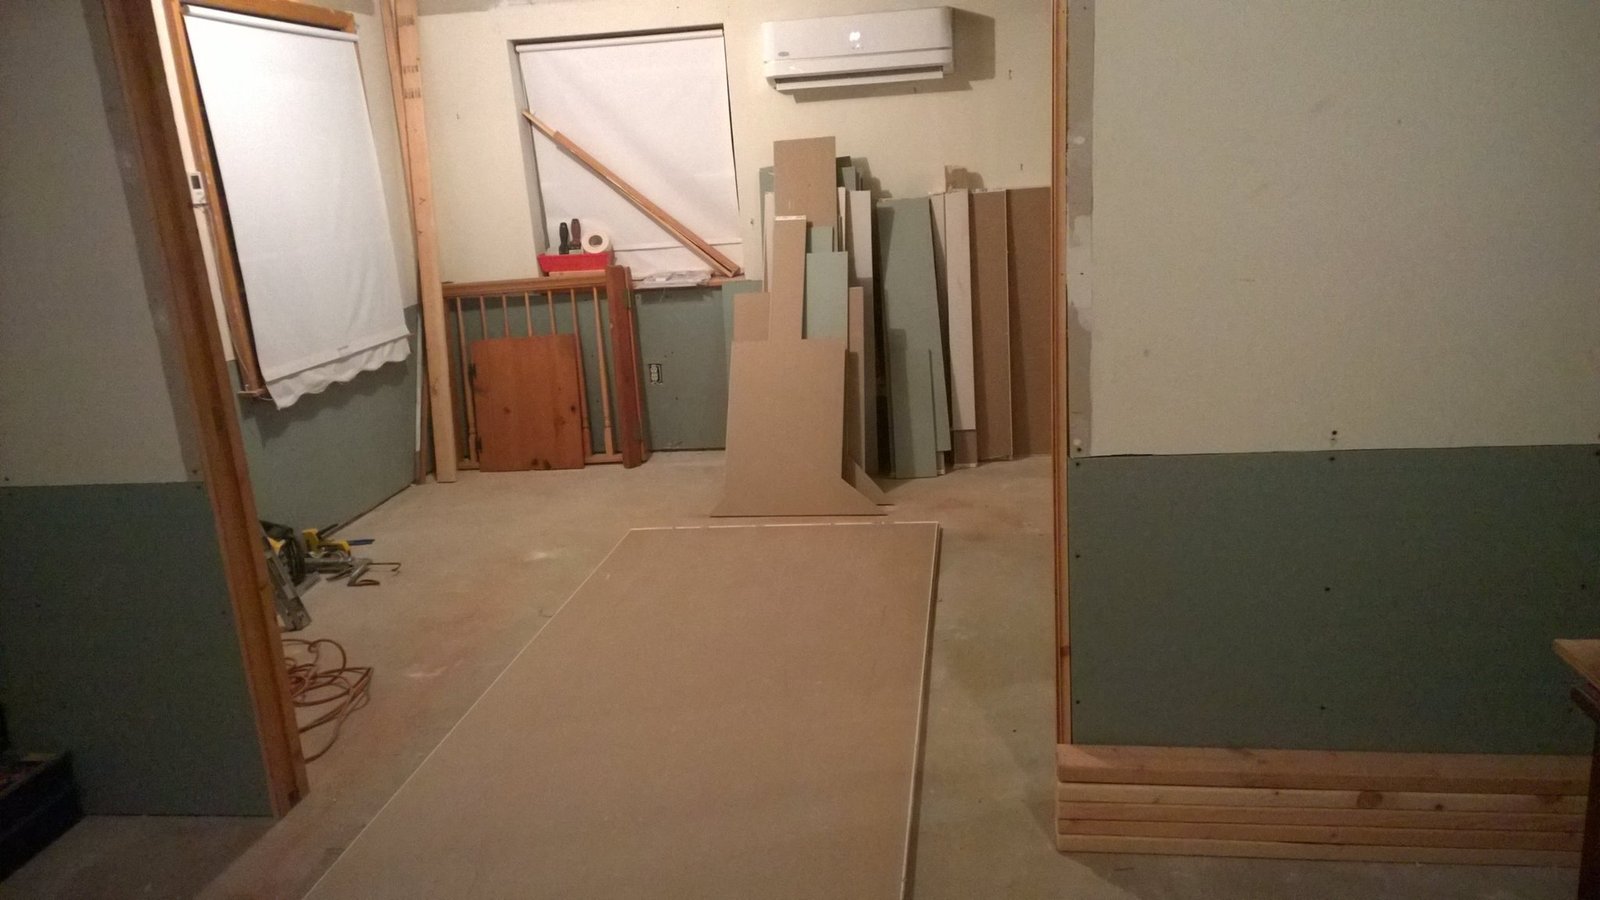
 Set up the miter saw in the bedroom and used the stacked chairs as a worktable. Kept the cuts close to the work.
-
 During
 Got the mini-split head mounted before I closed up the ceiling so the line set could run clean above the joists.
-
 During
 Drywall sheets staged on the slab. I hung the ceilings first so the wall sheets could tuck under clean.
-
 During
 Walls rocked, mini-split running, taping buckets staged. From here it was mud, sand, prime, paint.
-
 Before
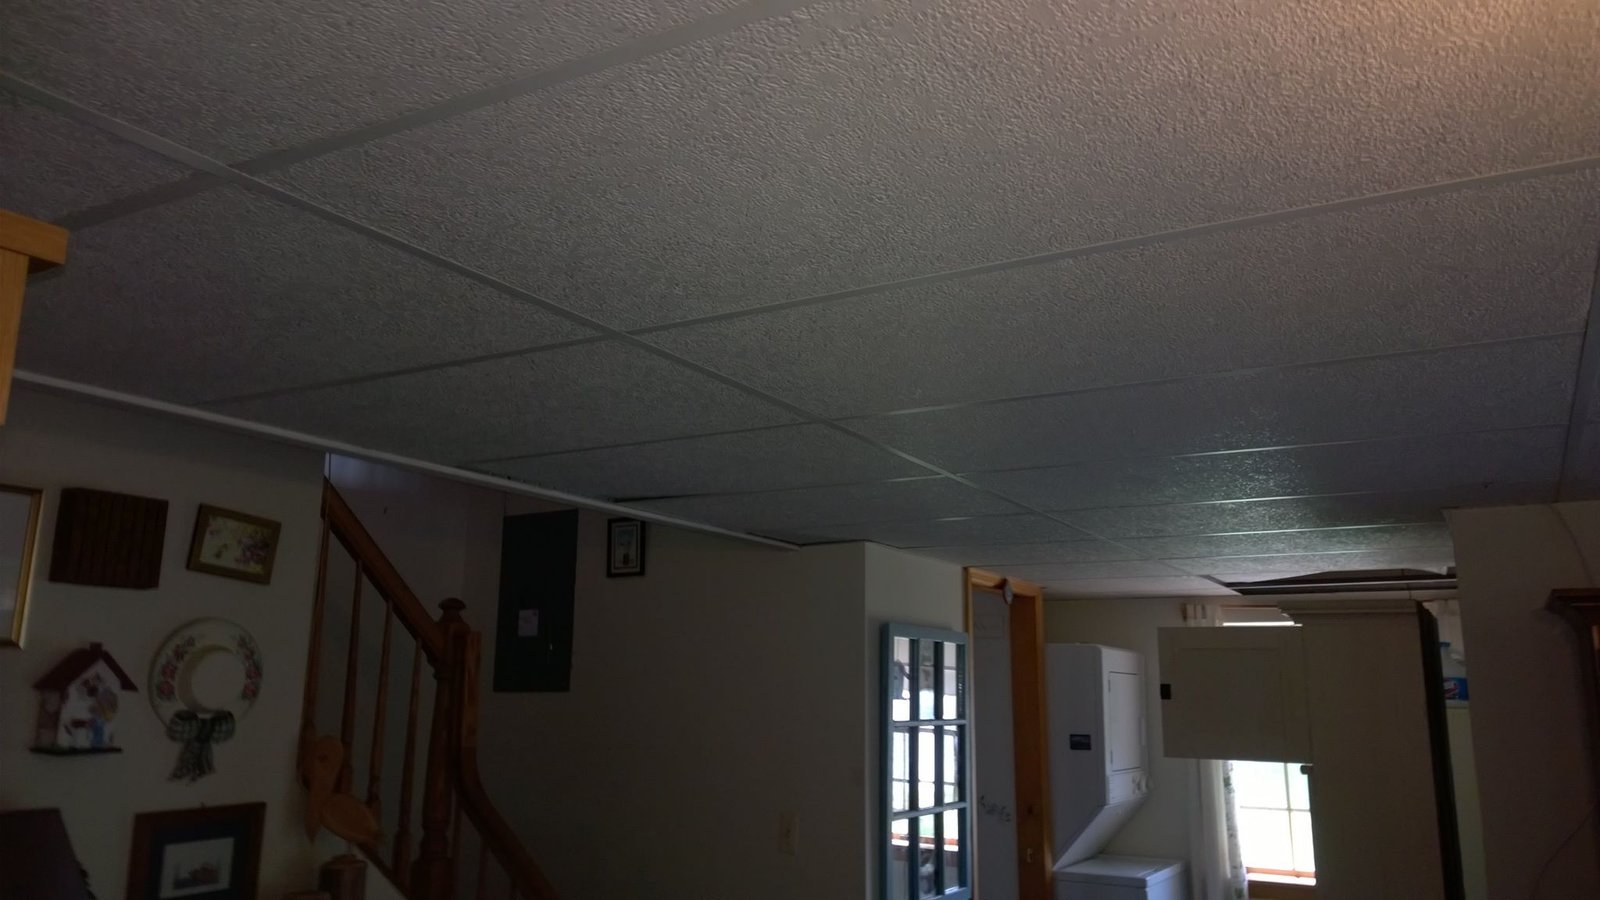
 The old drop ceiling in the utility area before the demo started — left it in temporarily for plumbing and wiring access.
-
 During
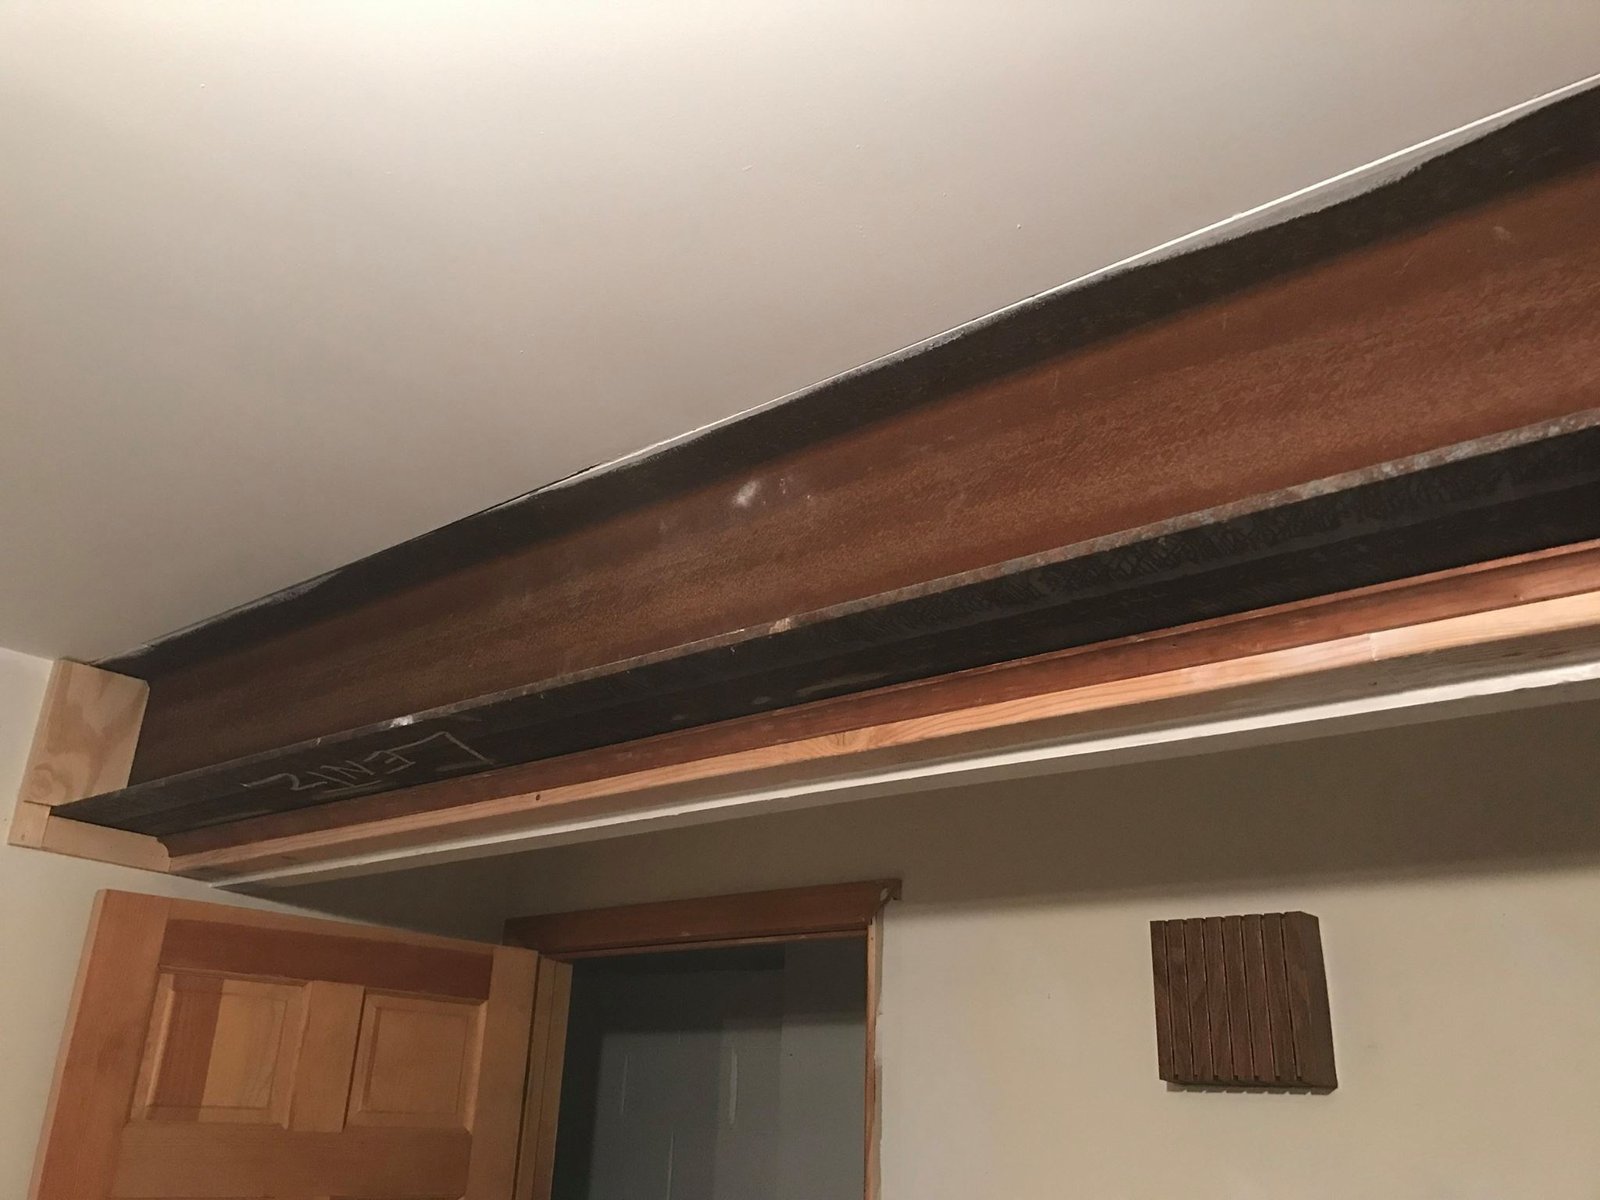
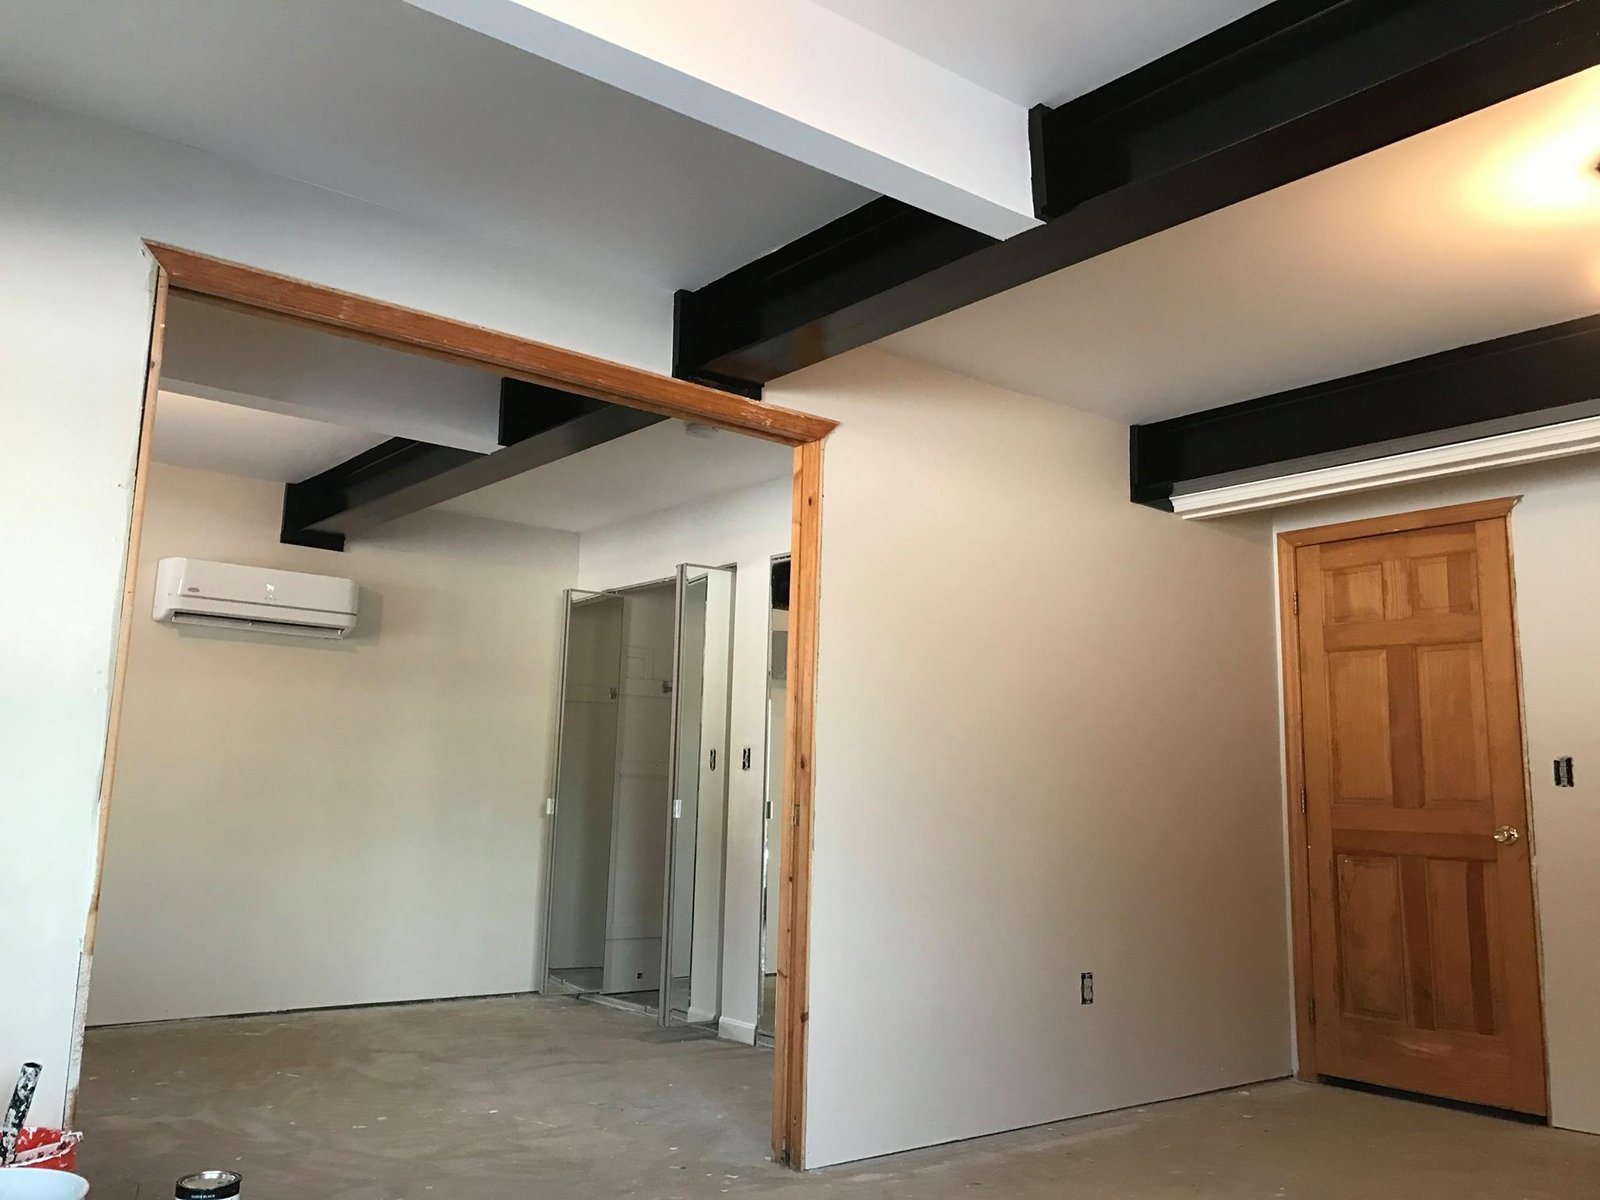
 Painted the steel beam black and left it exposed instead of boxing it in. Cheaper, and it looks intentional.
Want a Plan for Your Project?
Send photos and a few sentences. I'll send back a written diagnostic — what's broken, what it'll cost, and what to DIY vs. hire. $9.99, in your inbox in minutes.
Get a Diagnostic Report — $9.99 →