The basement was a tile-floored, drop-ceilinged 1970s remodel hiding bad wiring, a tired boiler, and water-damaged framing. I pulled the drop ceiling, scraped the vinyl tile off the slab, framed new walls with rigid foam between the studs for moisture control, and ran new electrical and plumbing. New Weil-McLain boiler and Bradford White water heater went in. Speckled epoxy on the slab, drywall on the walls and a fresh drop ceiling for utility access. Ended up with usable storage, a workshop, a laundry, and a bath.
-
 Before
 Previous owner's finished basement — drop ceiling and speckled floor I inherited and gutted.
-
 Before
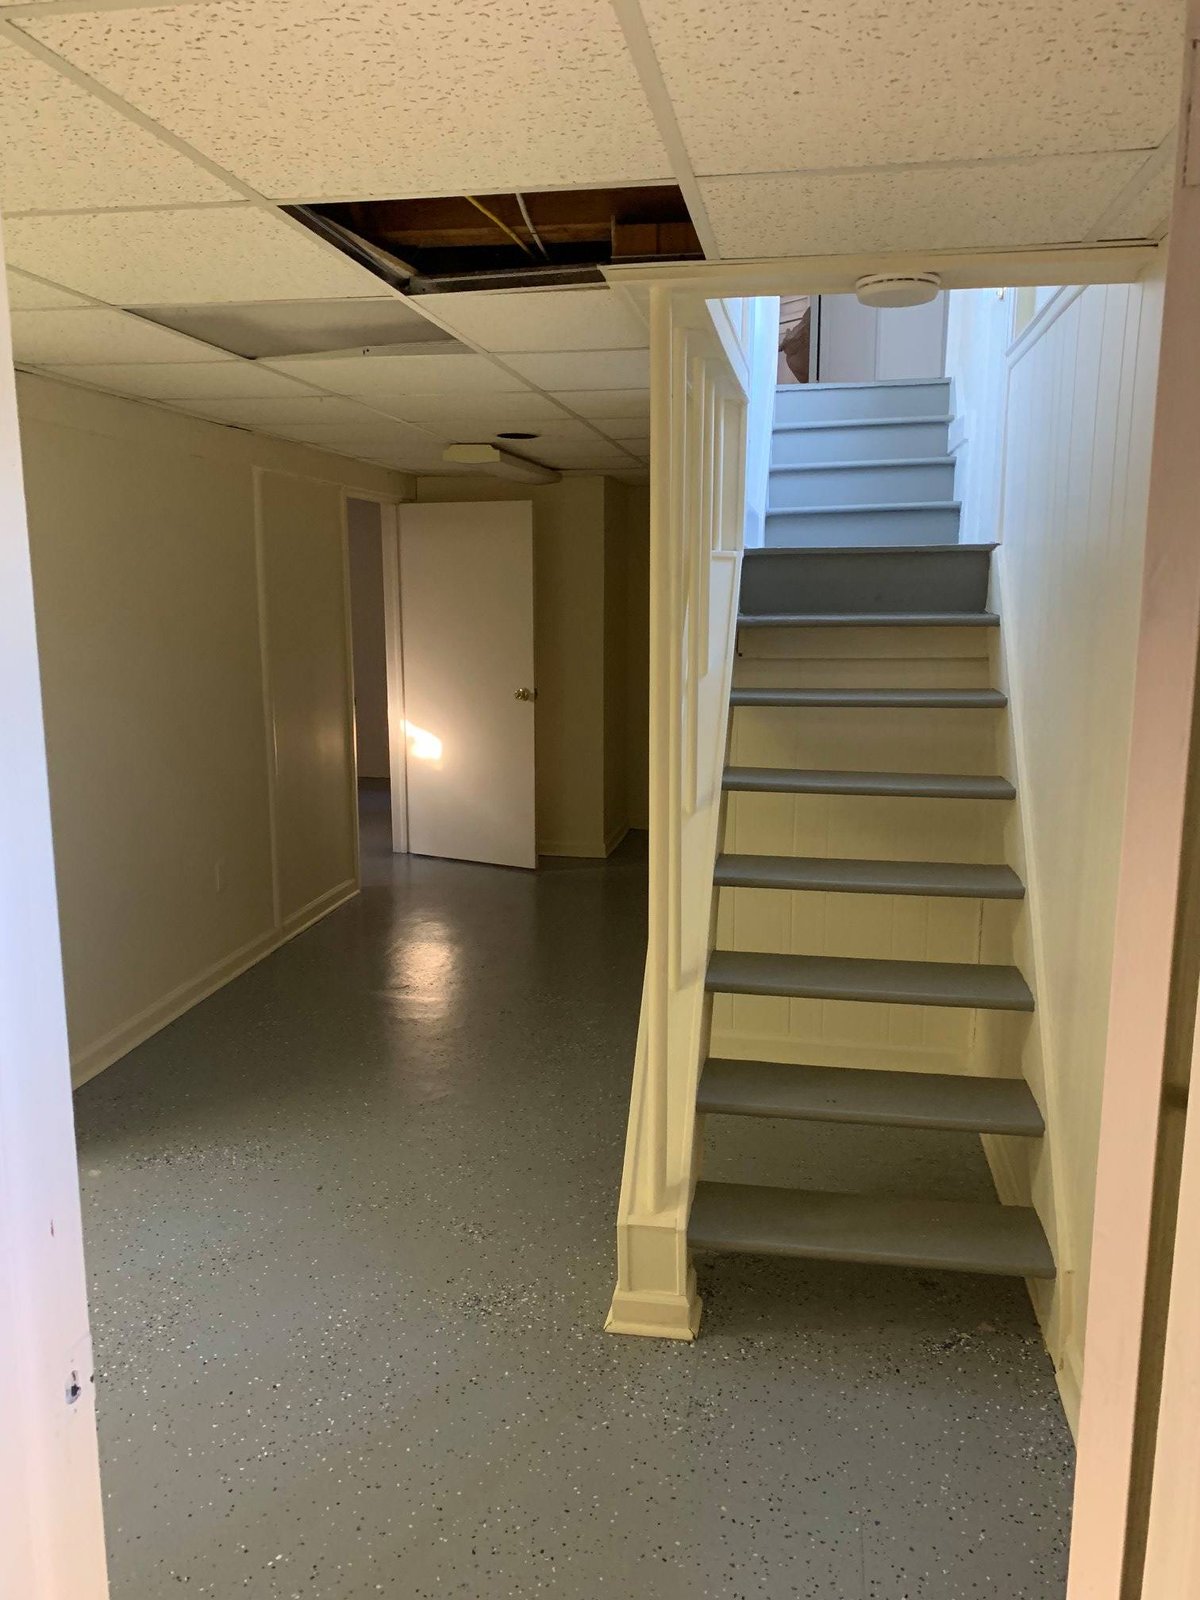
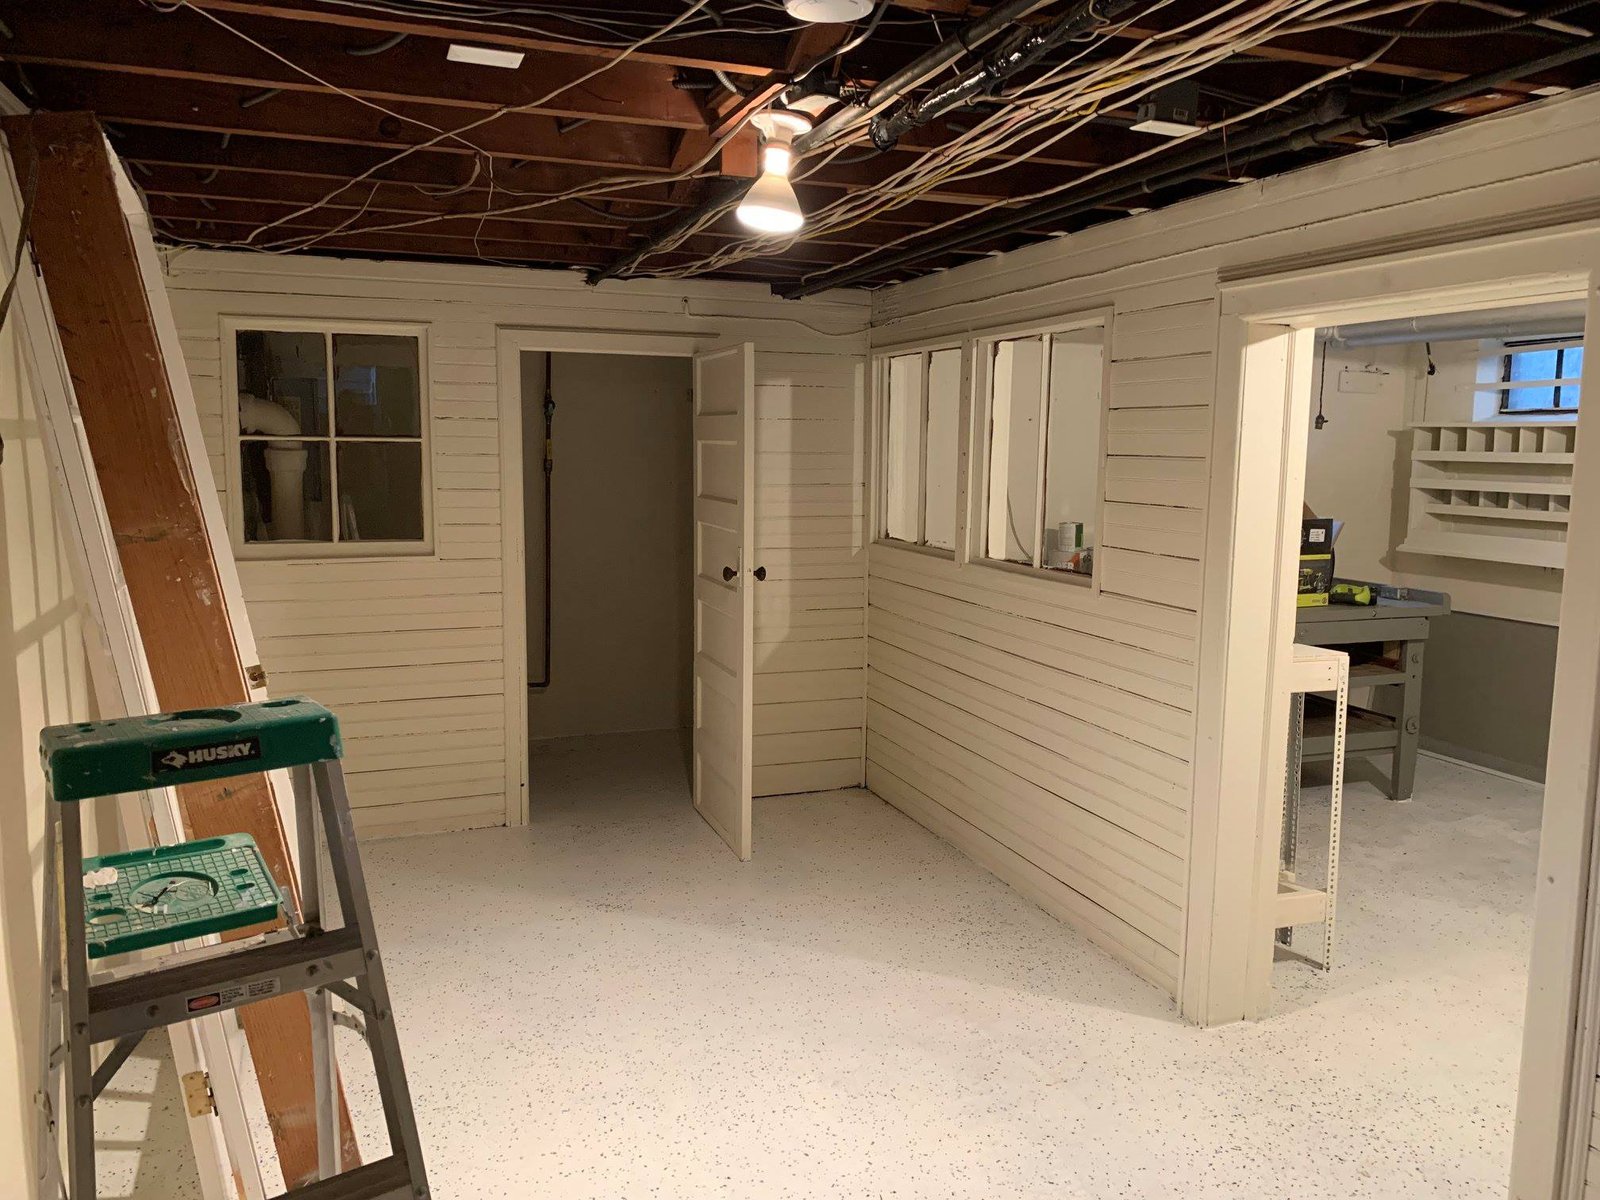
 Wide shot of the basement before I started — painted stair tread, drop ceiling, and a ceiling tile pulled for utility access.
-
 Before
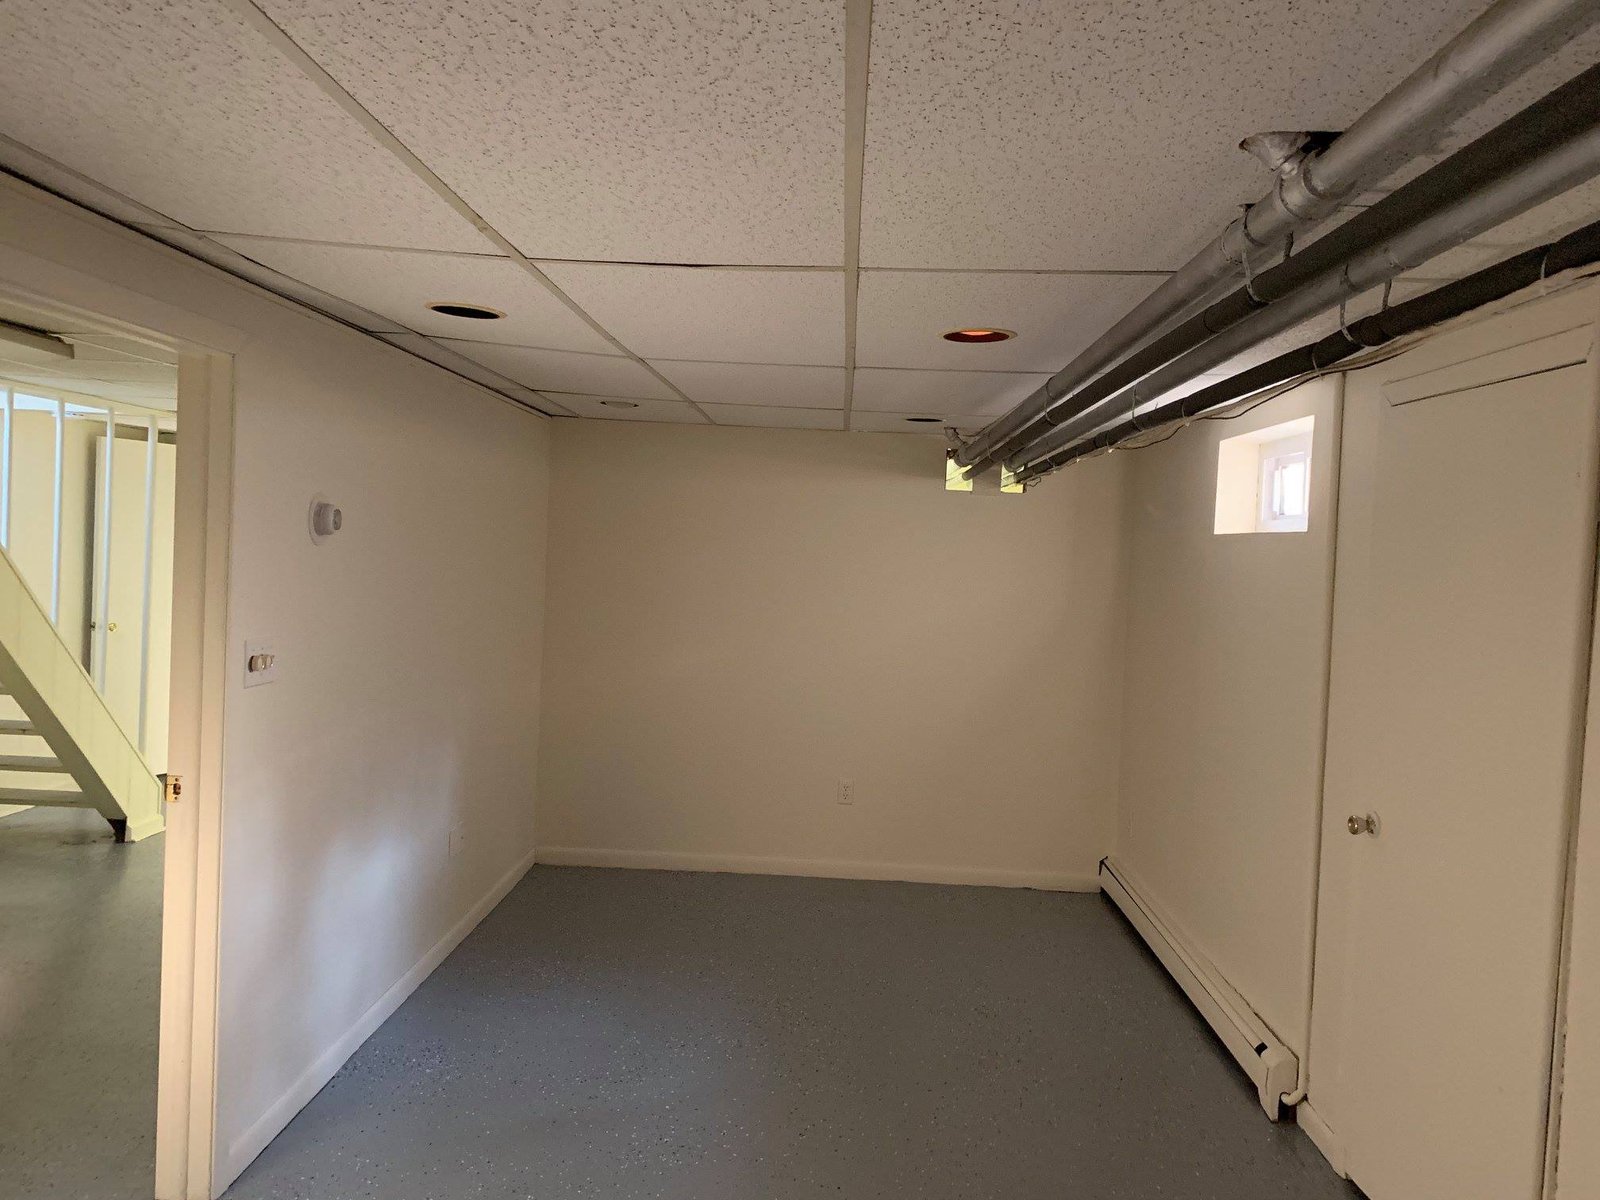
 Smaller basement room before — paint, drop ceiling, and the same speckled floor I tore out.
-
 During
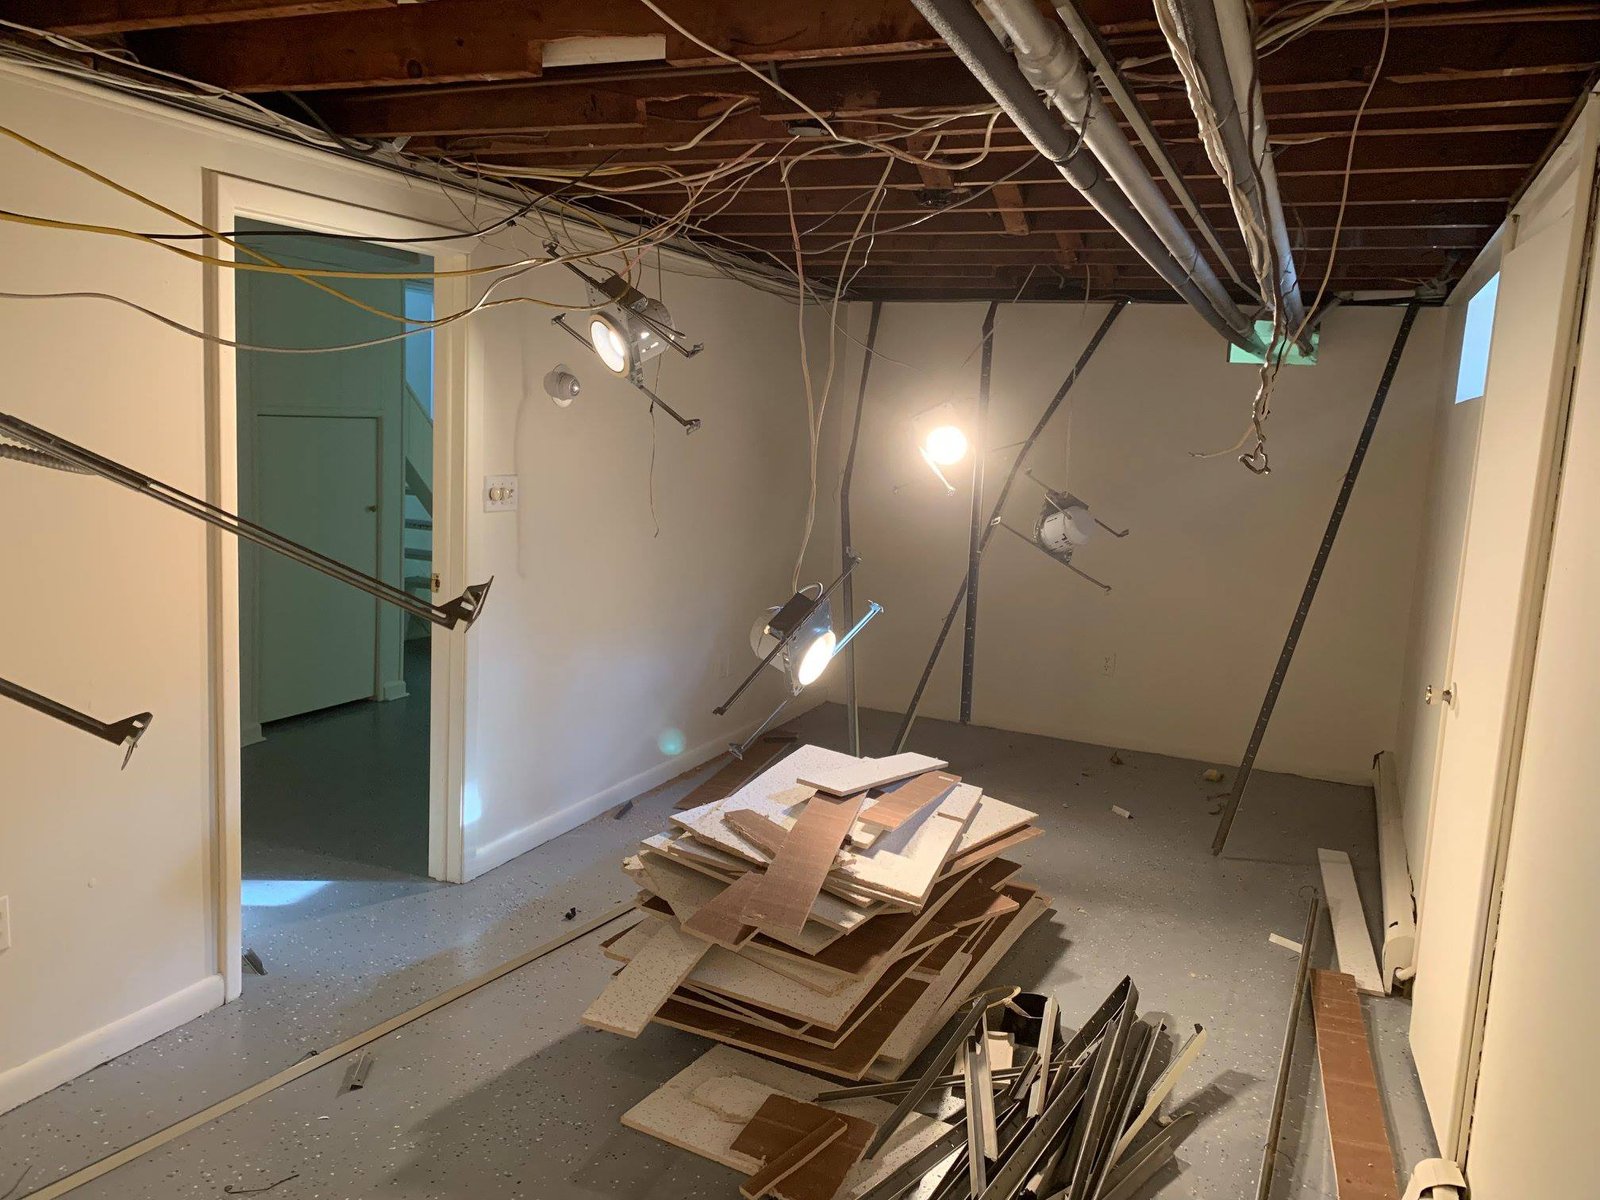
 Drop ceiling out, joists and ductwork exposed. Stacked the tiles in case any could be reused.
-
 During
 Old vinyl tile coming up across the basement and bathroom. The mastic took longer than the tile.
-
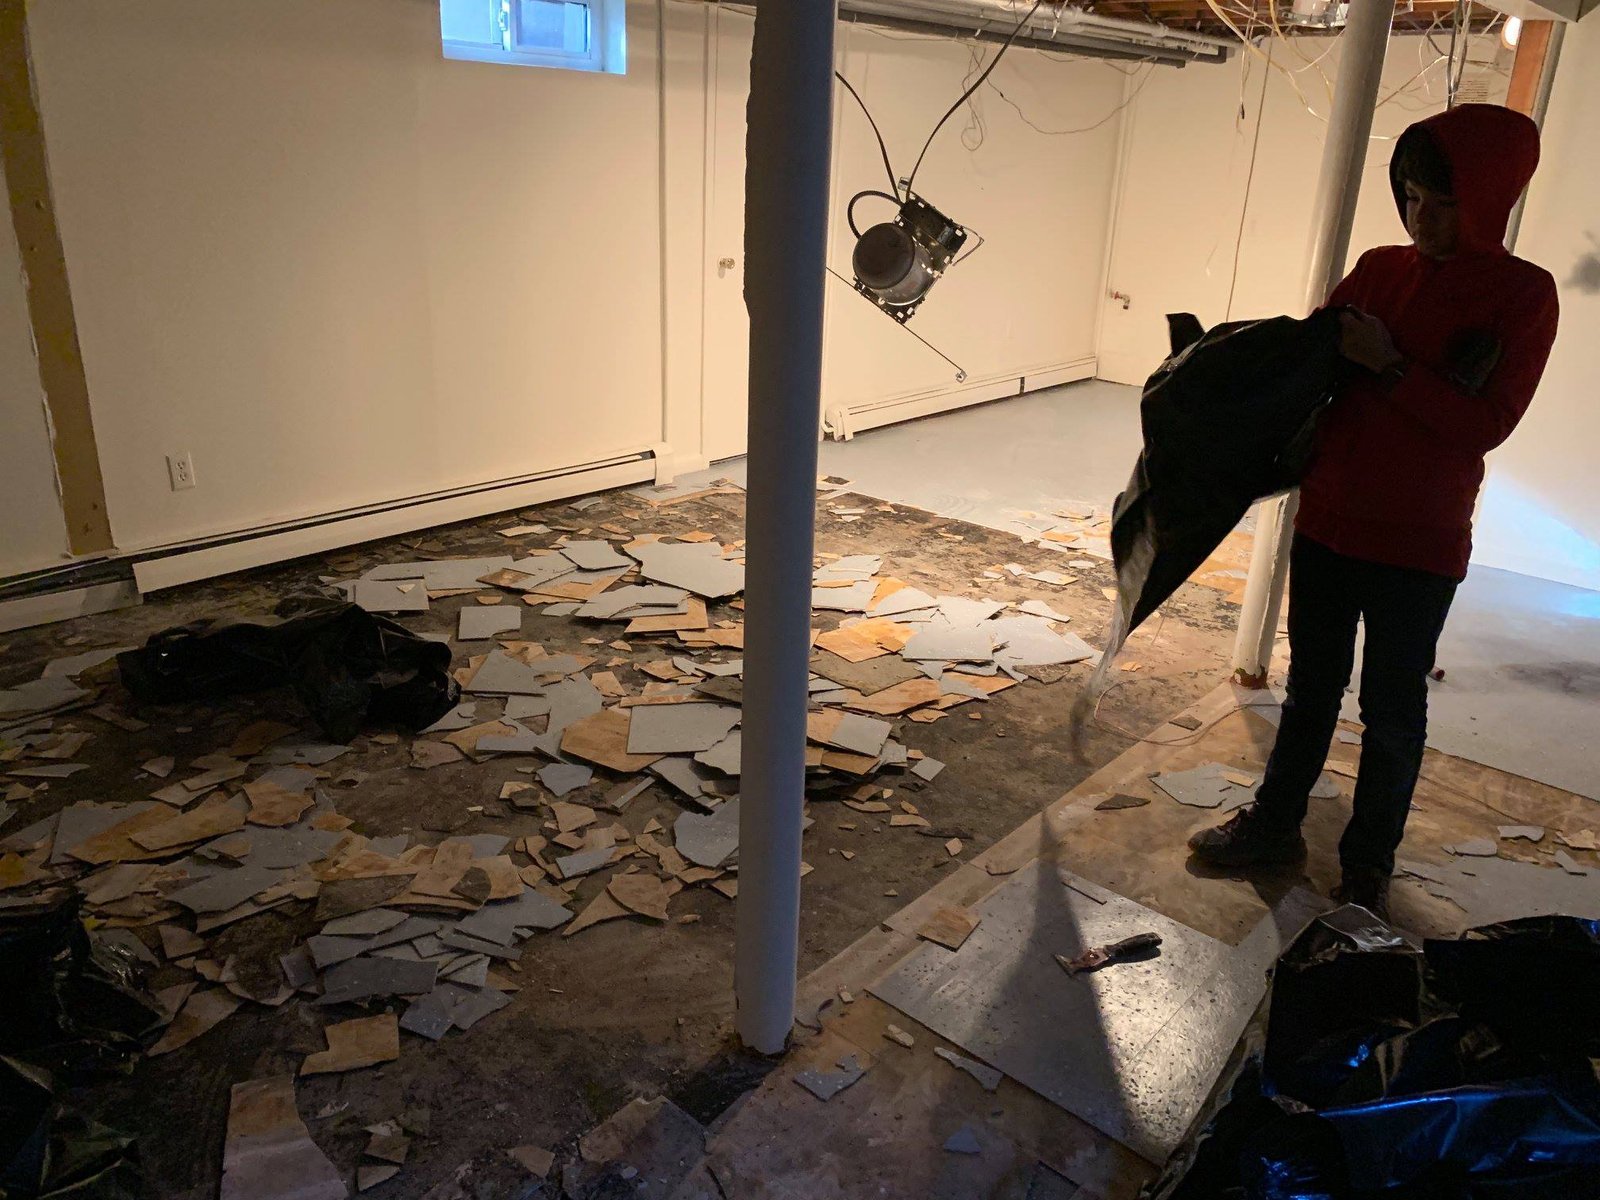
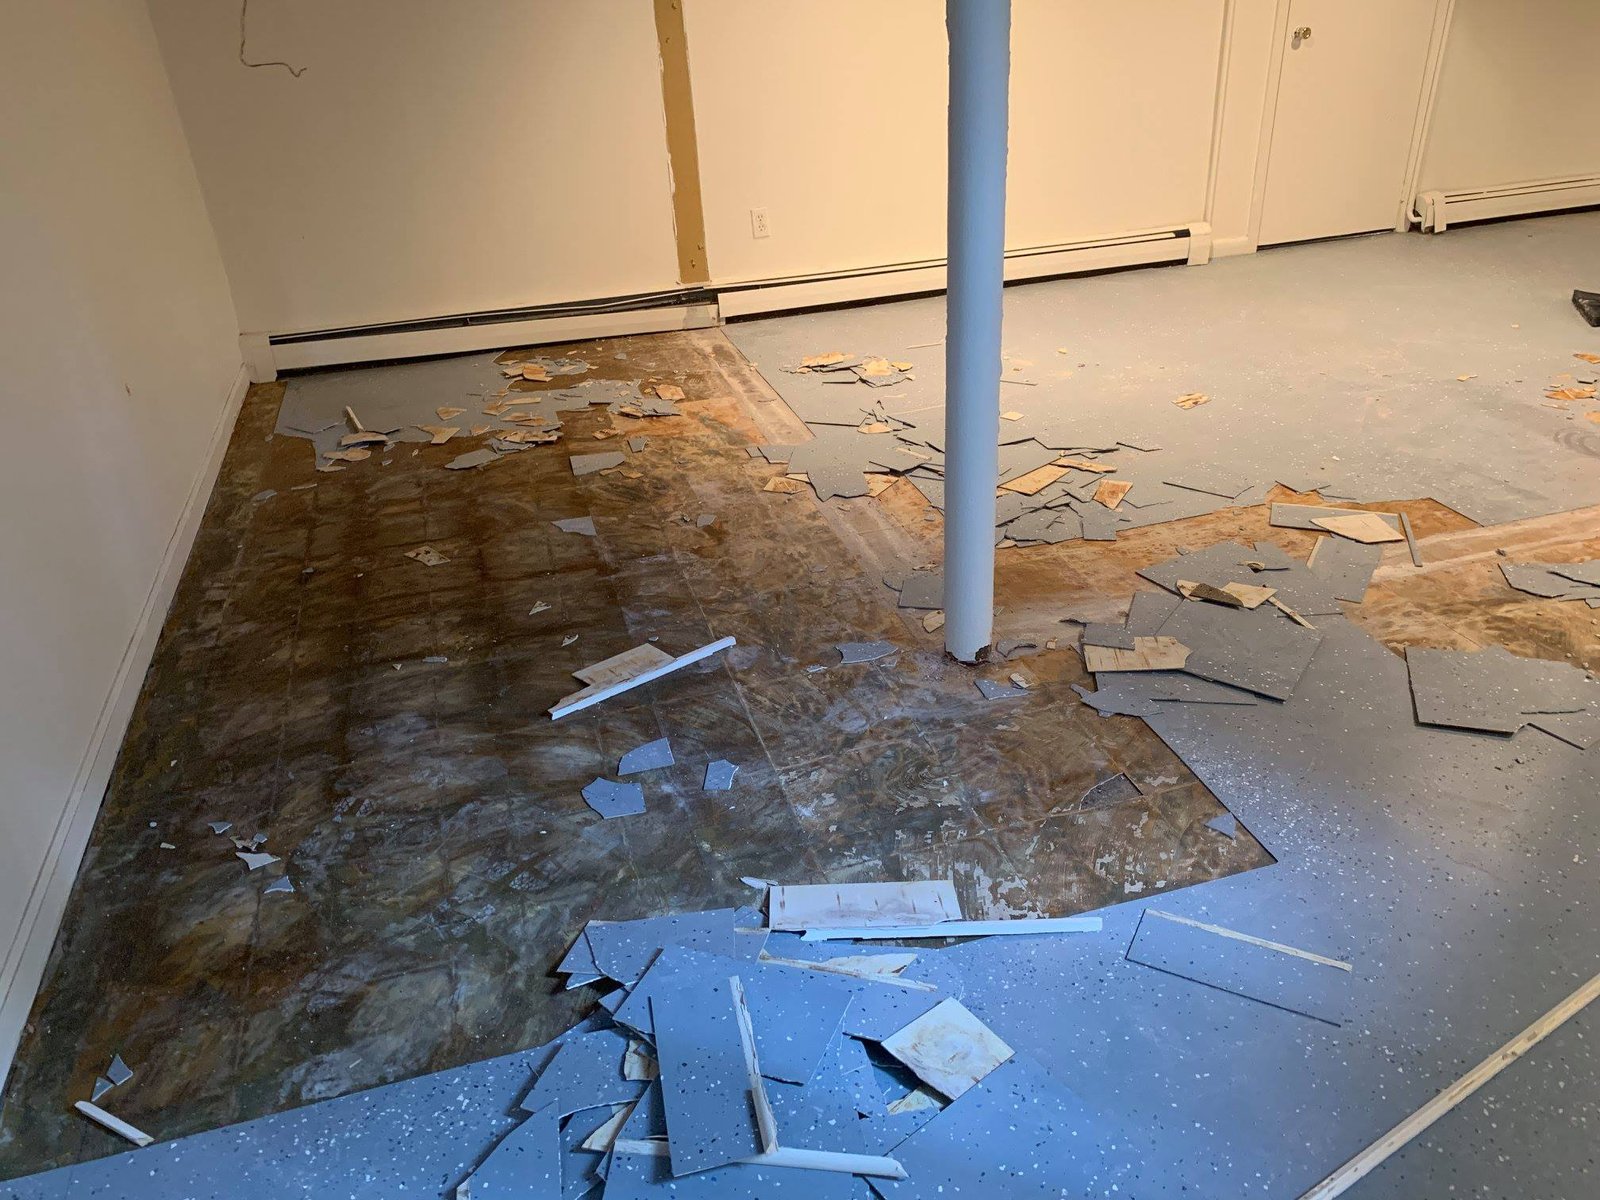 During
 Blue vinyl tile around the support post. Pried it up in pieces and bagged it.
-
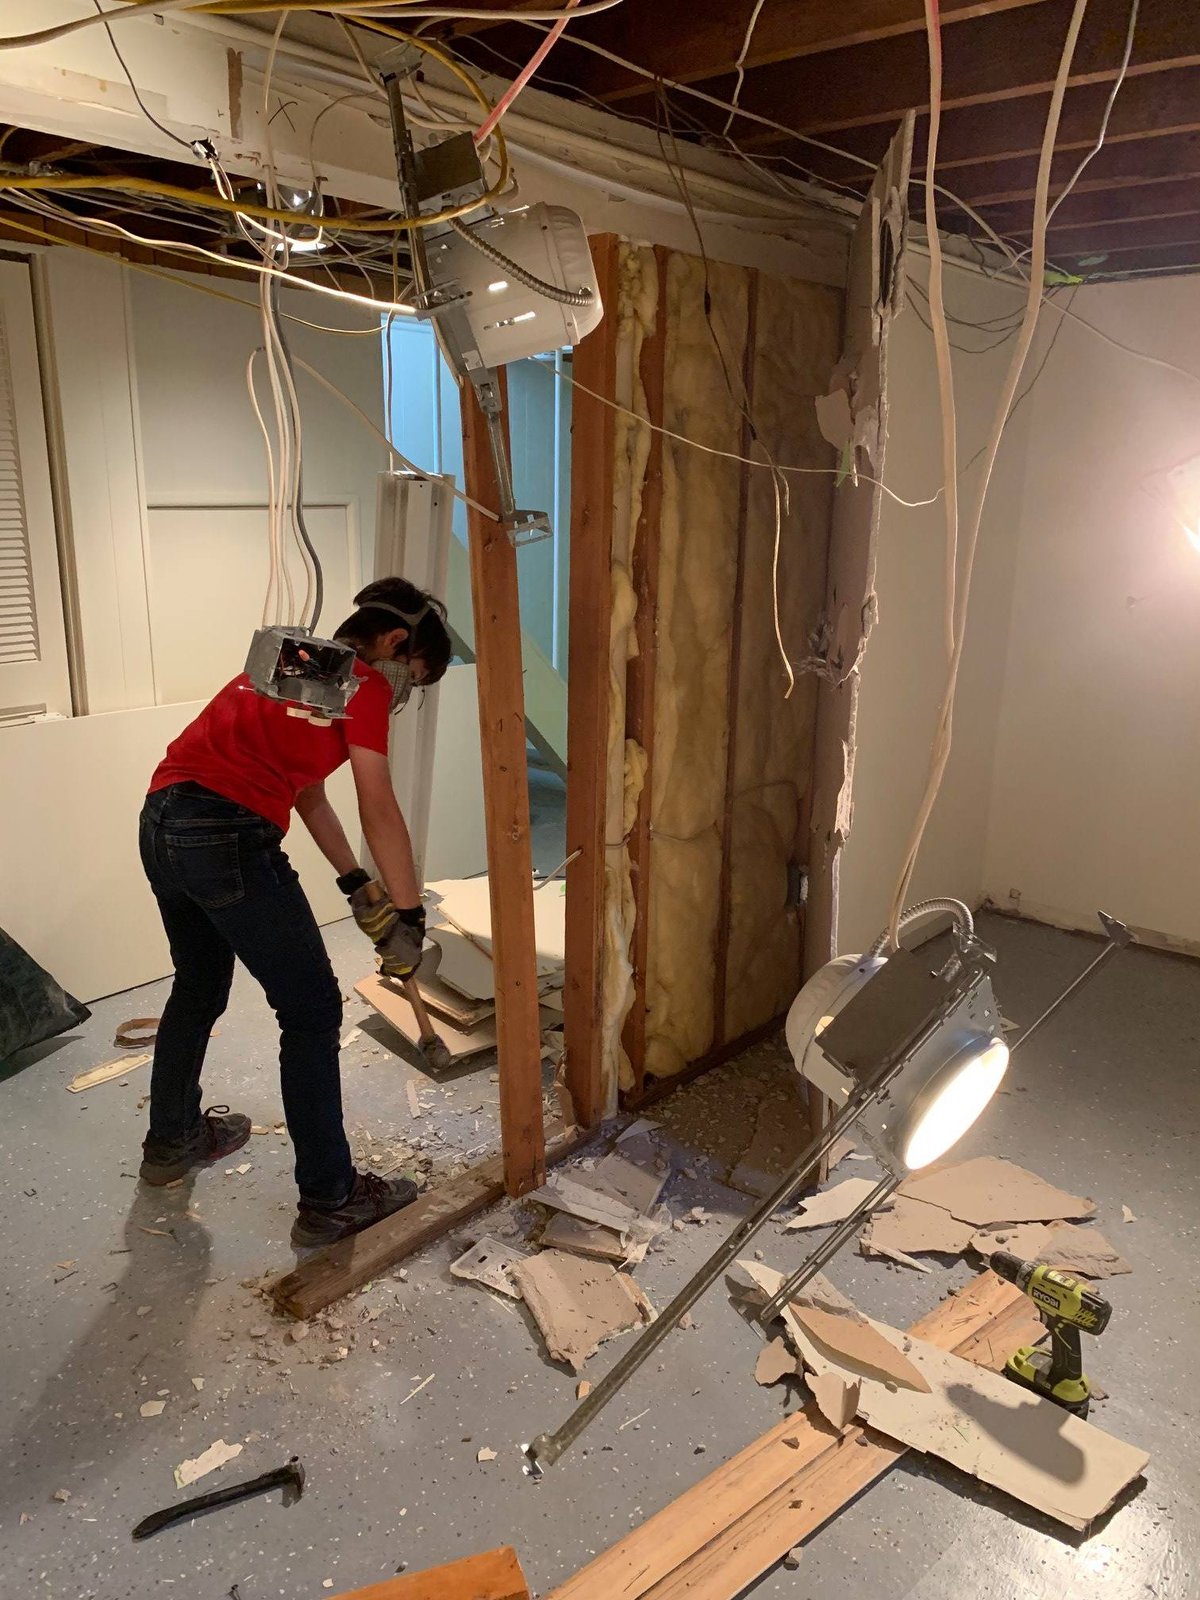 During
 Helper pulling drywall off the basement walls. Wiring overhead all came out and got rerun.
-
 During
 Floor scraped, ceiling open, ready to start framing fresh.
-
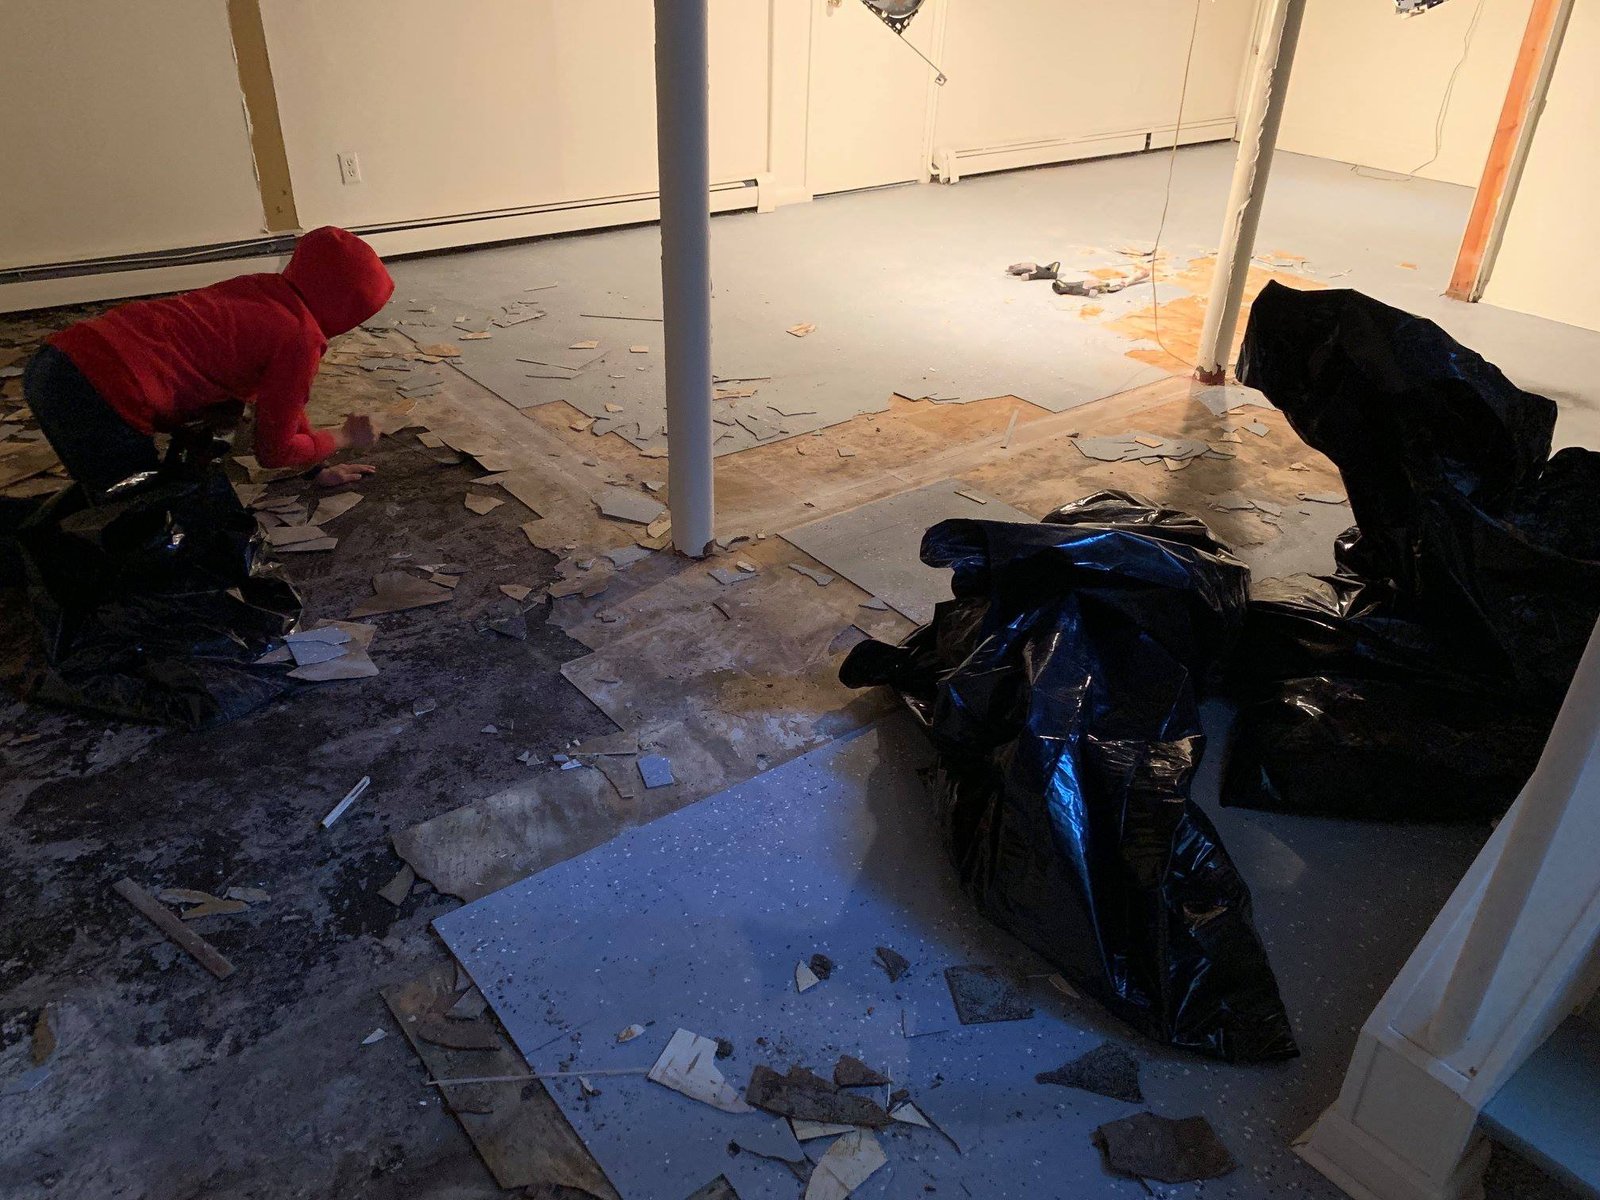
 During
 Helper bagging tile shards. Wear gloves — those edges cut.
-
 During
 Scraping mastic off the slab so the new floor coating would actually bond.
-
 During
 Joists and ducts exposed with tile debris stacked. Halfway through the gut.
-
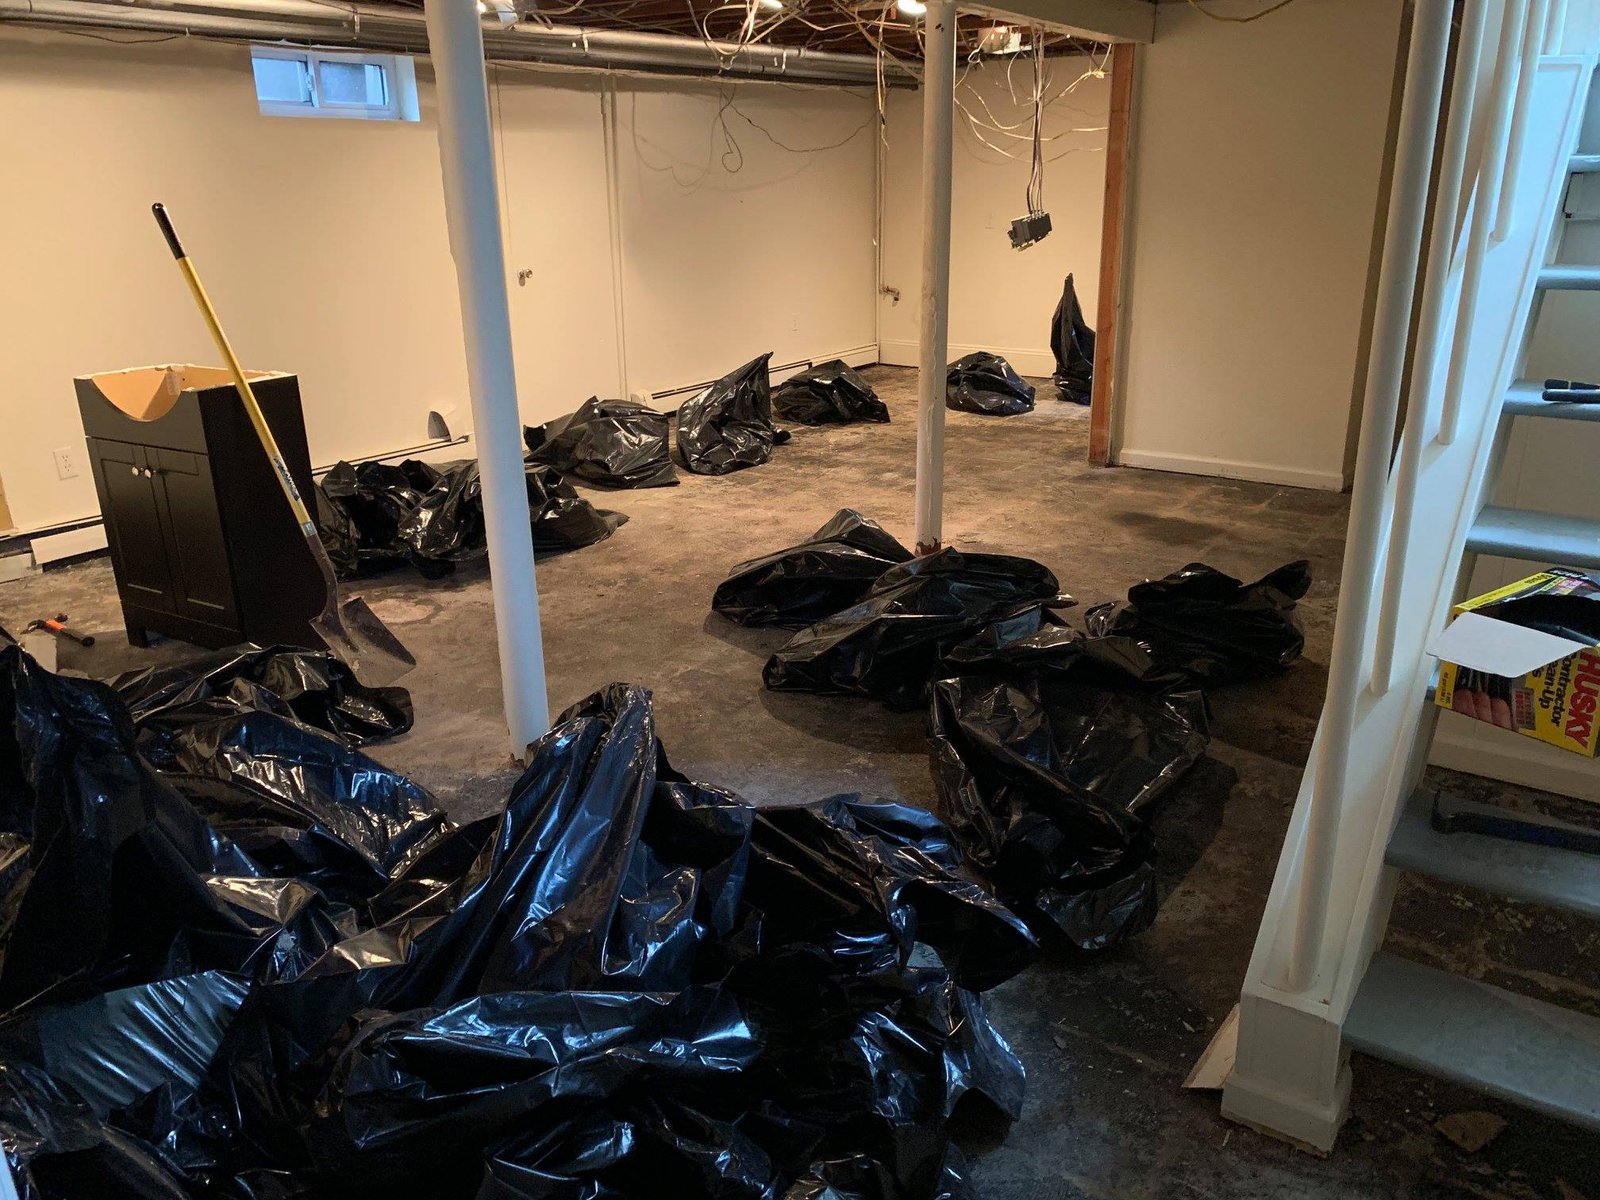 During
 Bagged debris staged for haul-out. We'd run loads to the curb on inspection days.
-
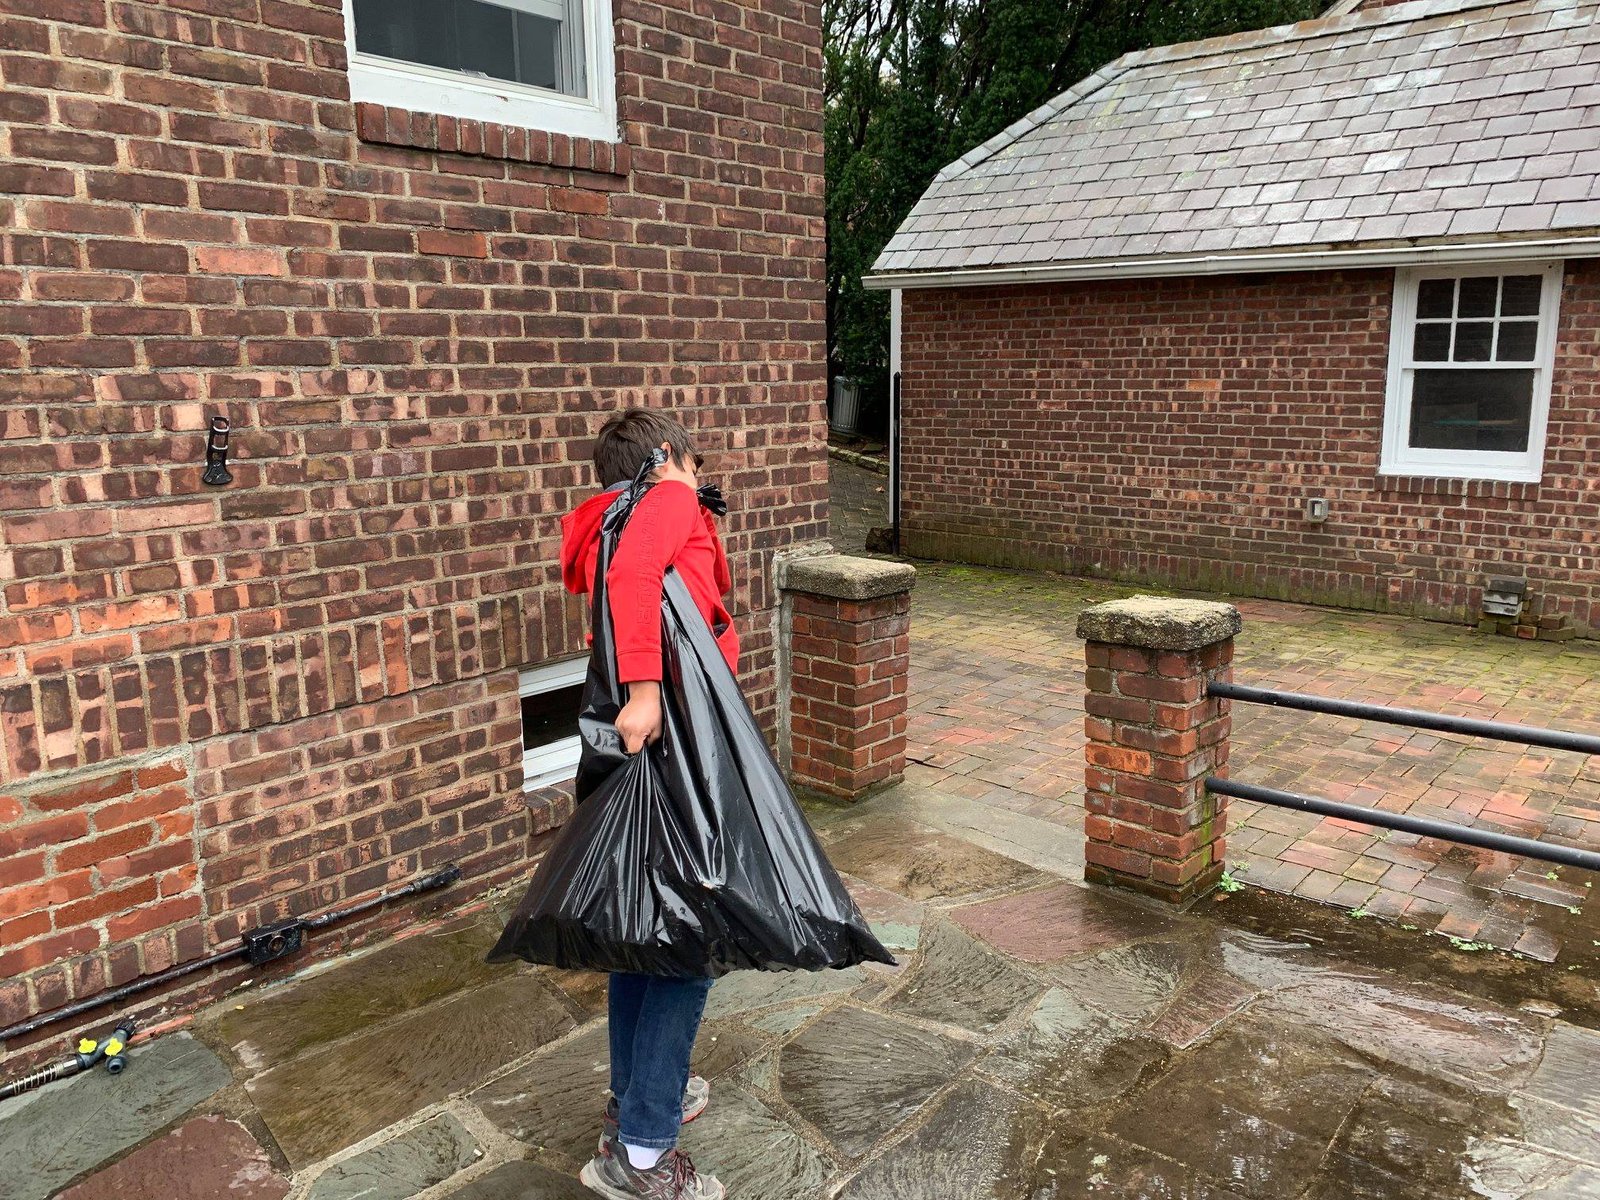 During
 Helper hauling debris out across the patio between the house and the garage.
-
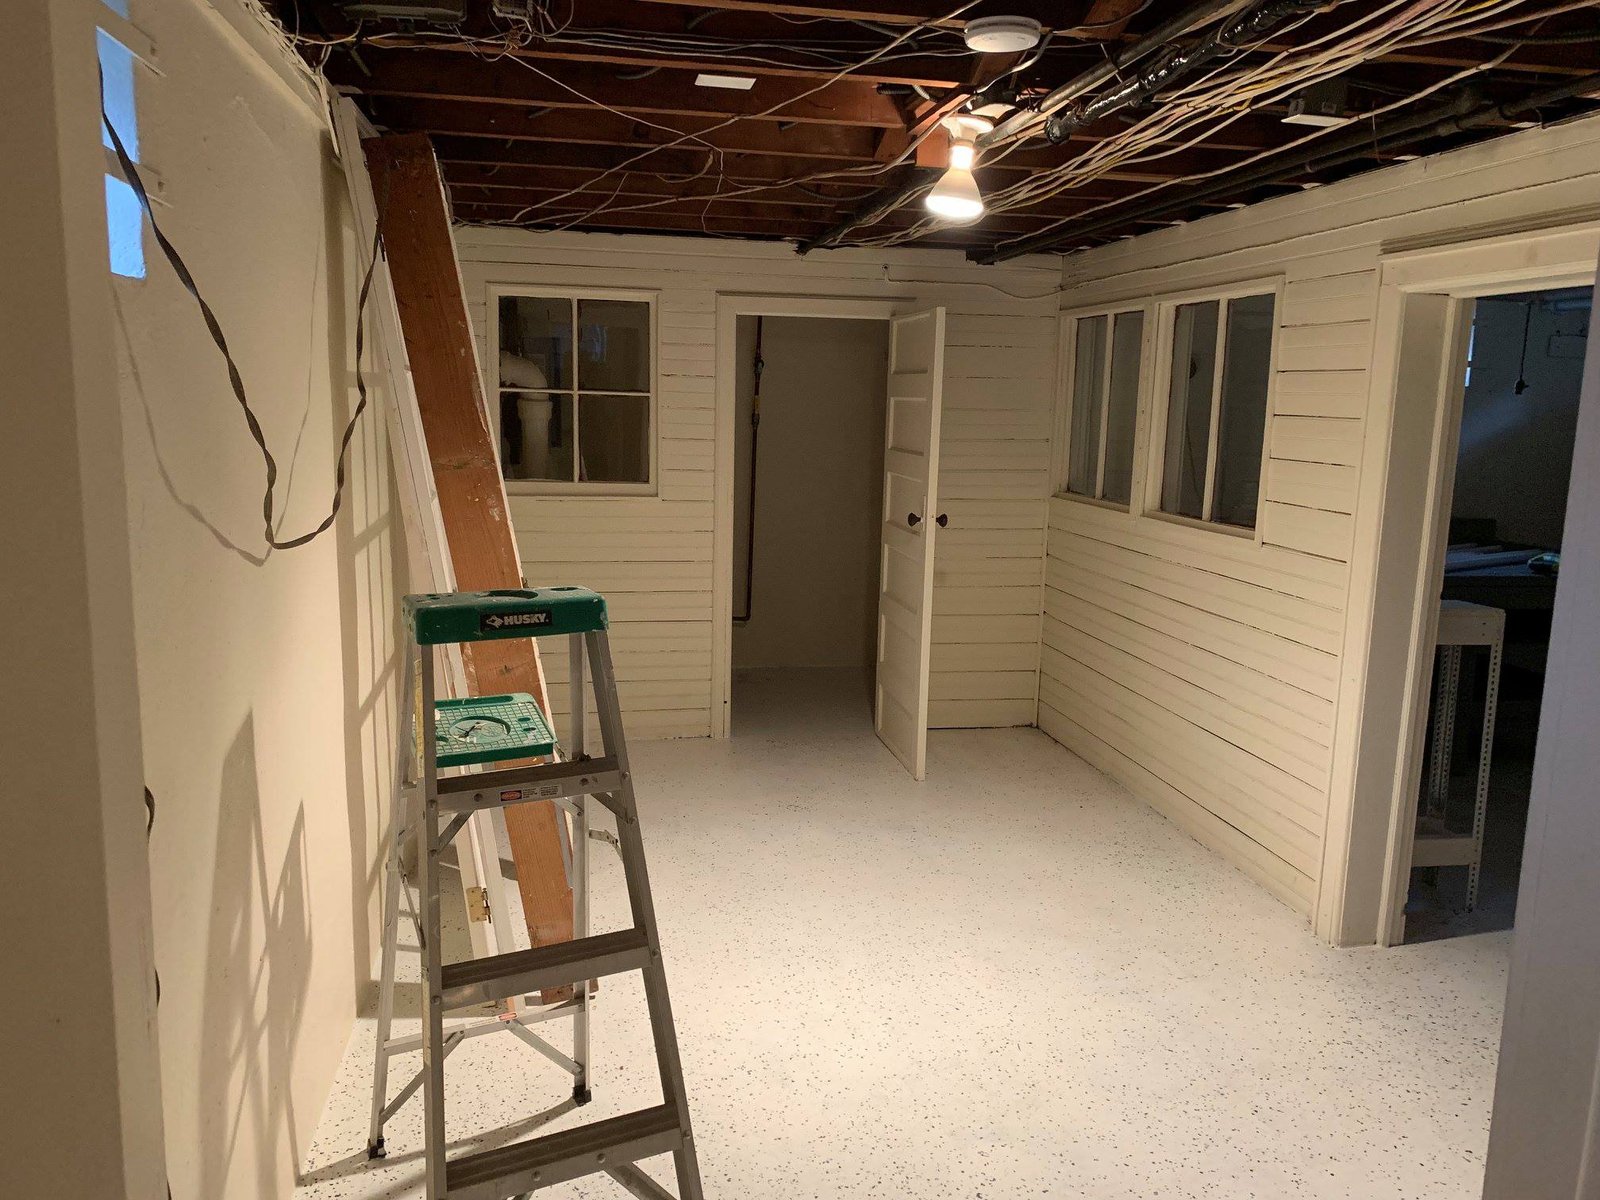
 Before
 Basement gutted to slab and joists with the walls already primed white. Clean starting point.
-
 During
 My son sweeping up after the ceiling came down. He earned his keep on this job.
-
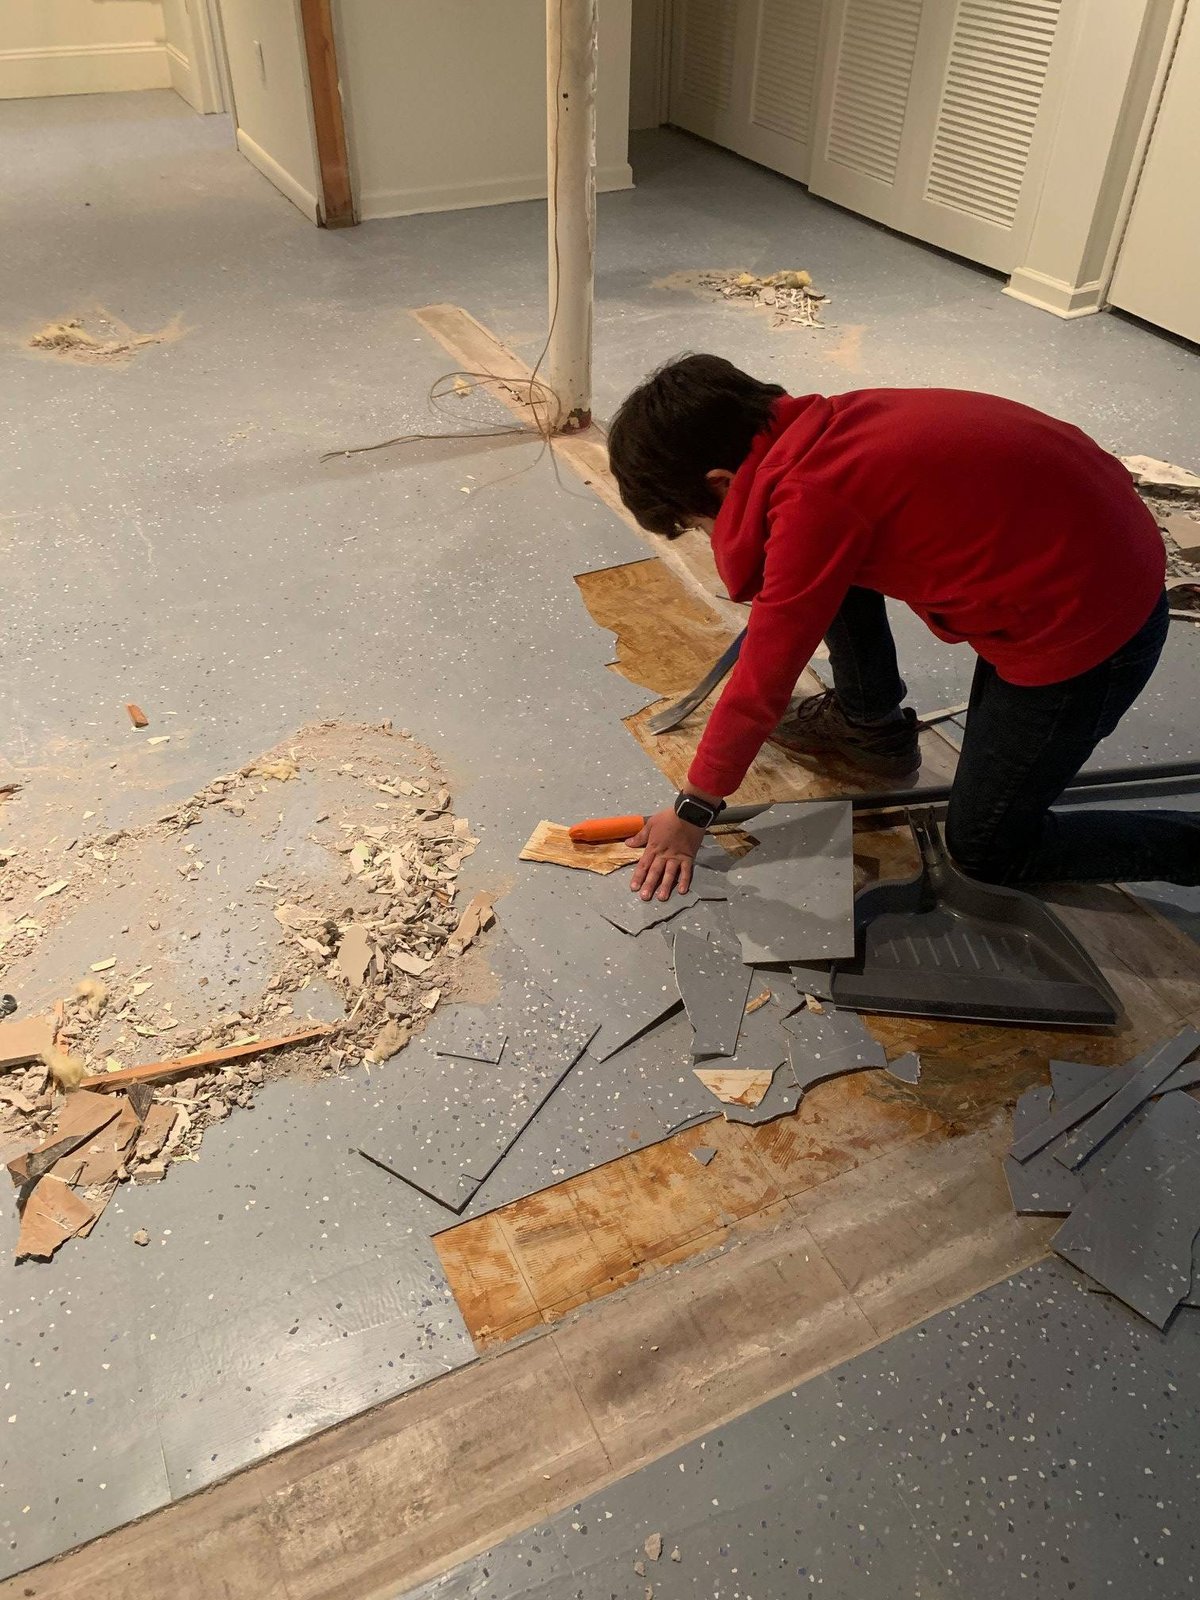 During
 Helper scraping the last of the vinyl tile to expose the plywood subfloor underneath.
-
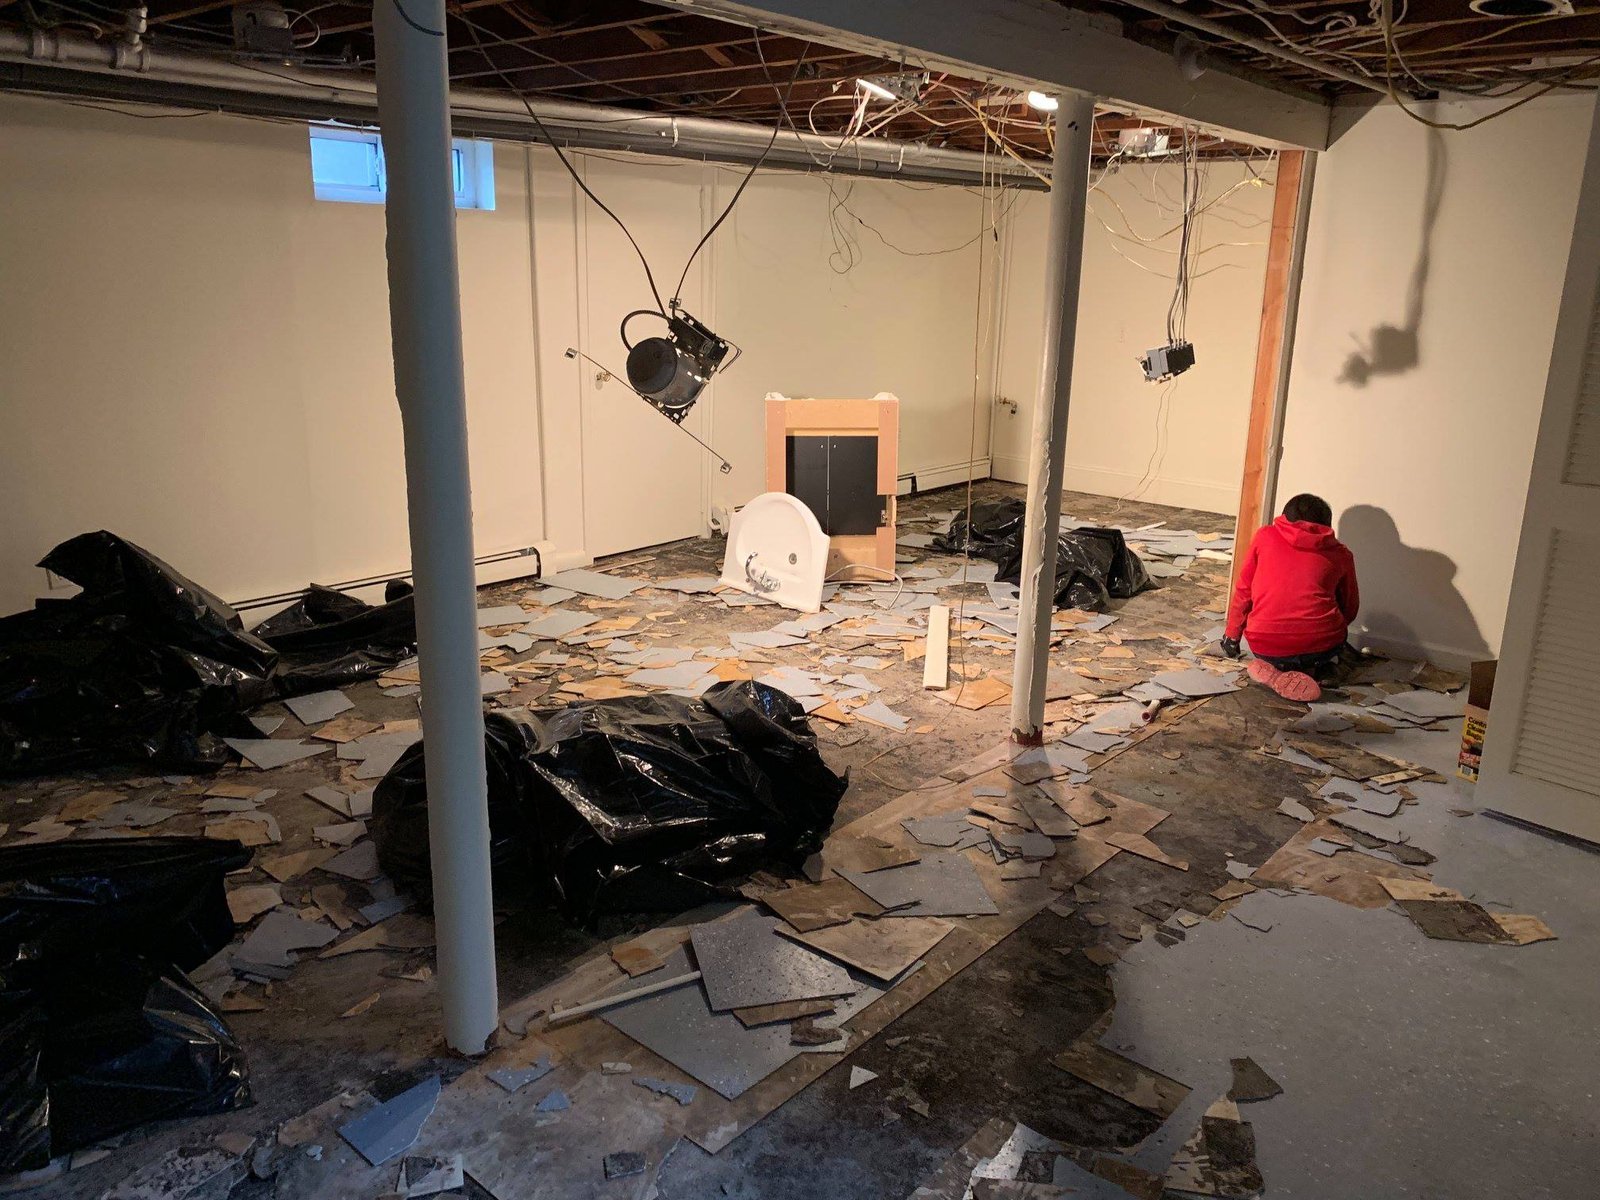
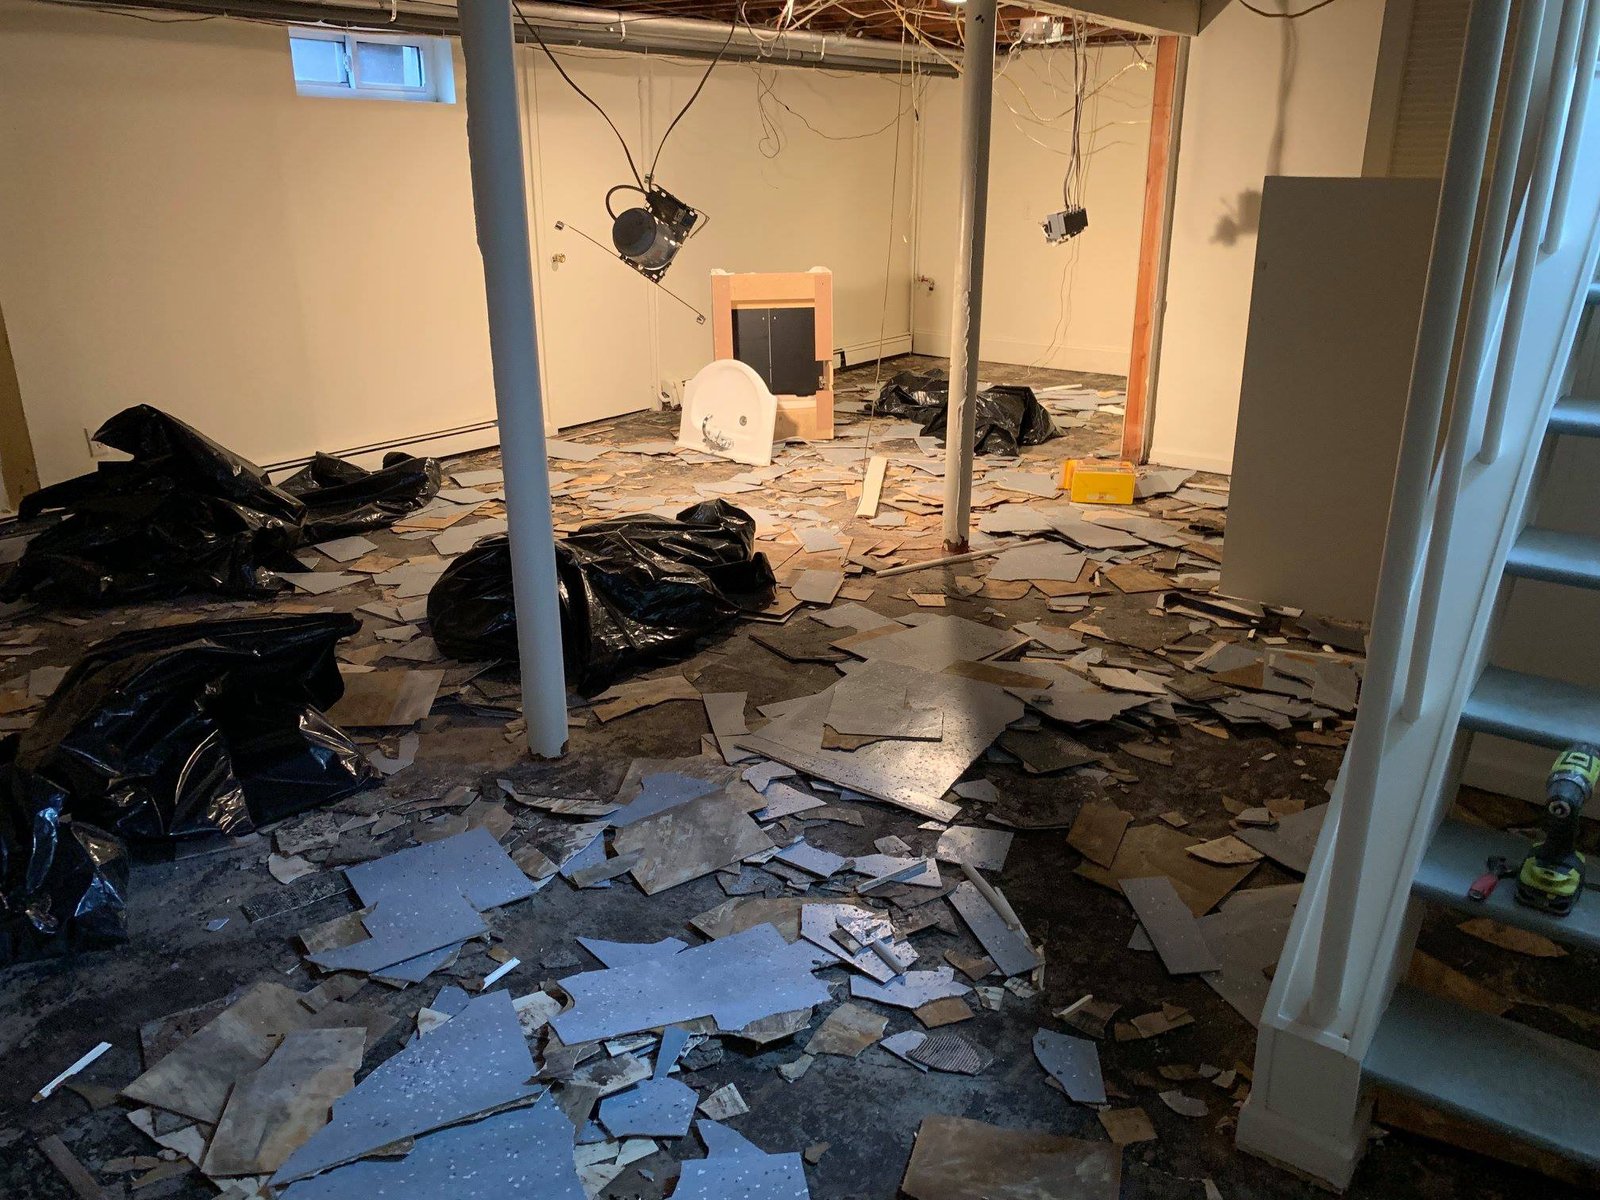 During
 Tile up, bagged, ready to haul. Slab inspection came right after this.
-
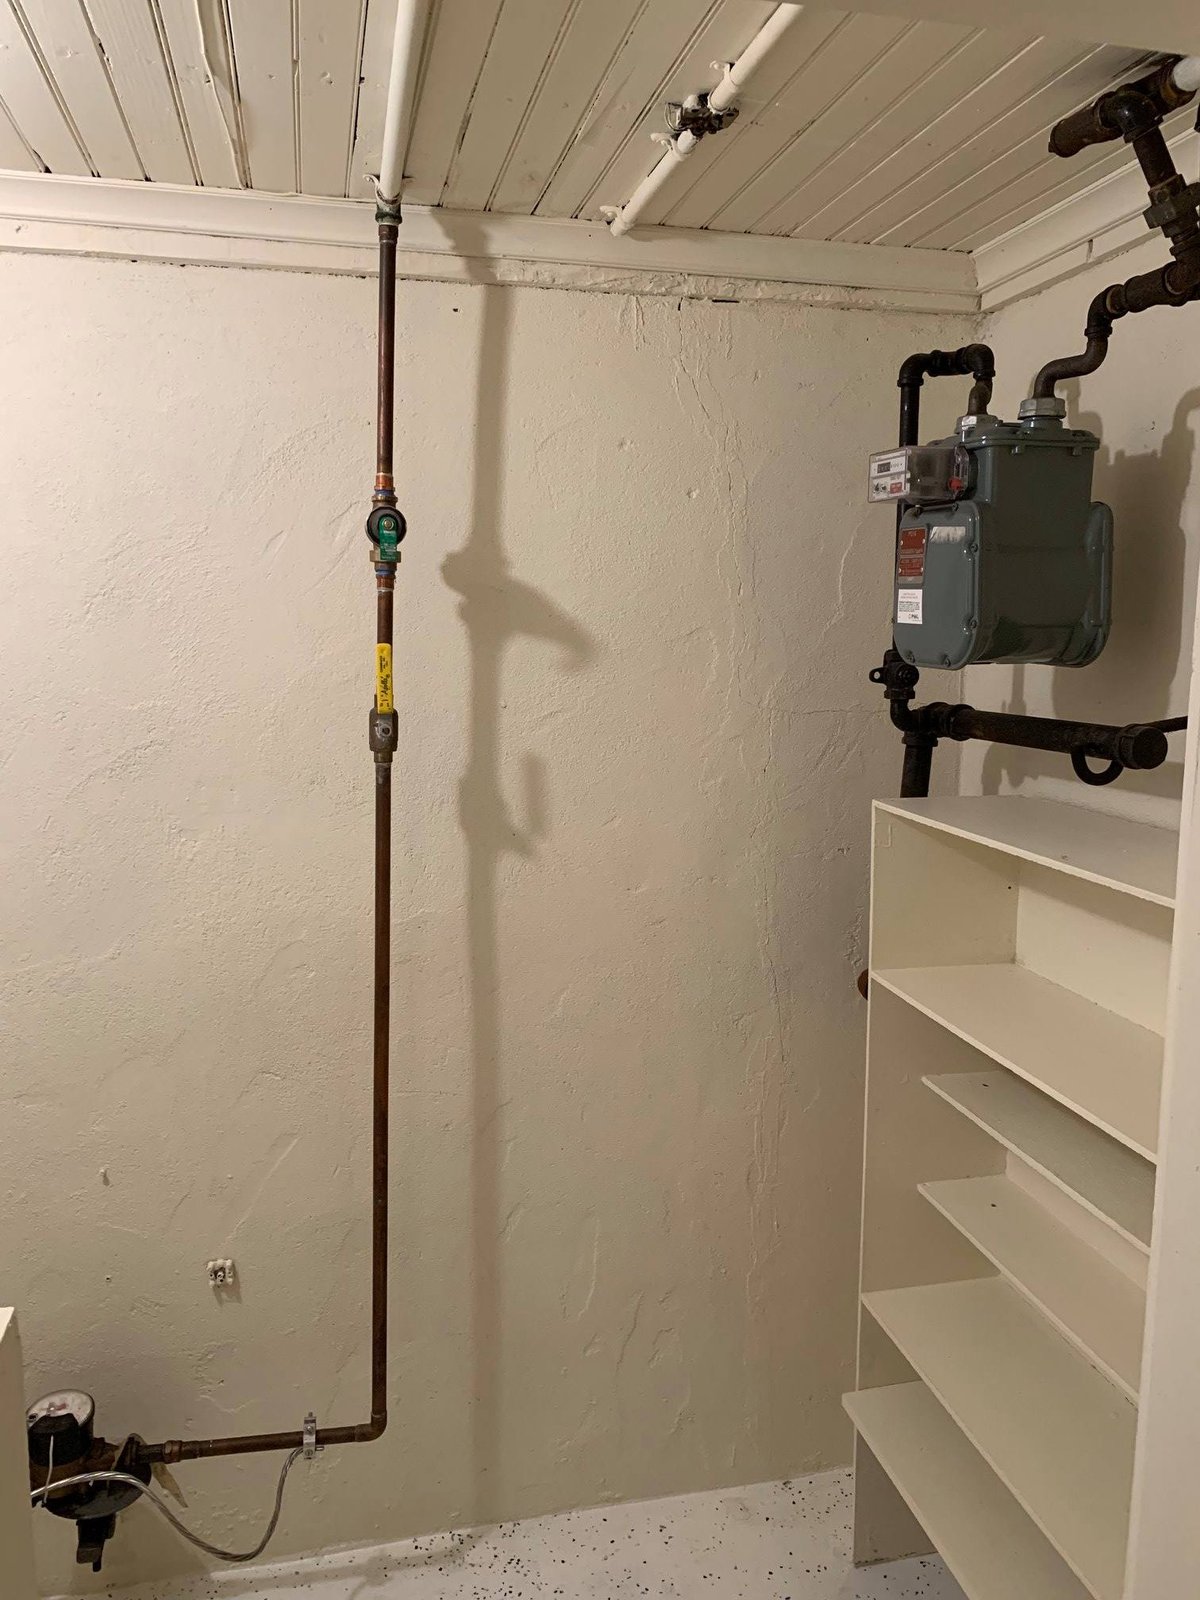
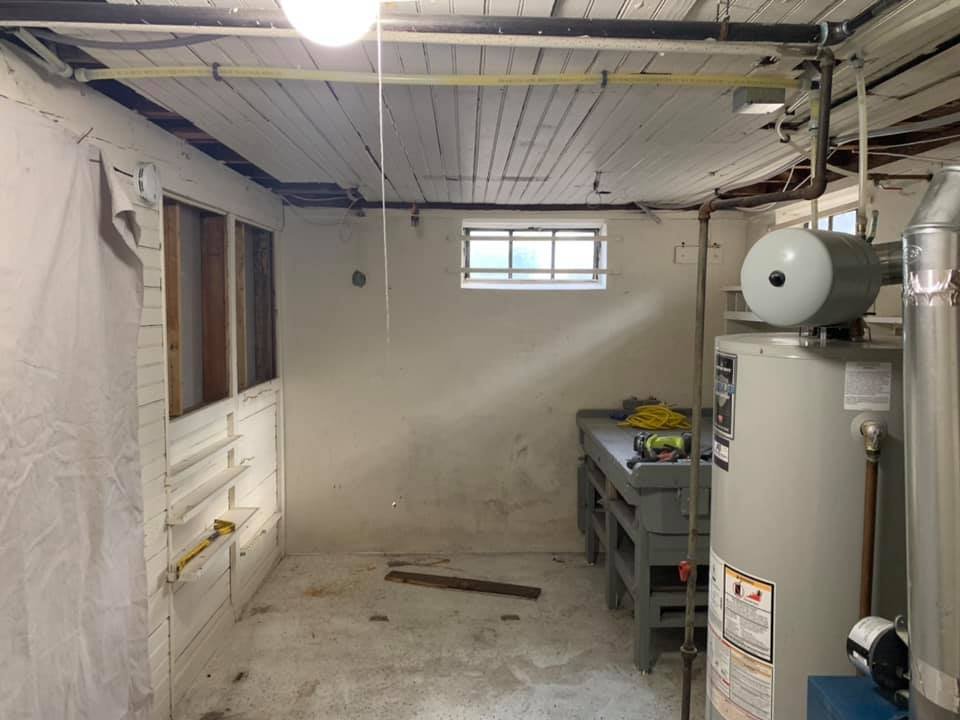
Gas meter, water shutoff, and copper supply lines after I cleaned up and labeled the utility corner.
-
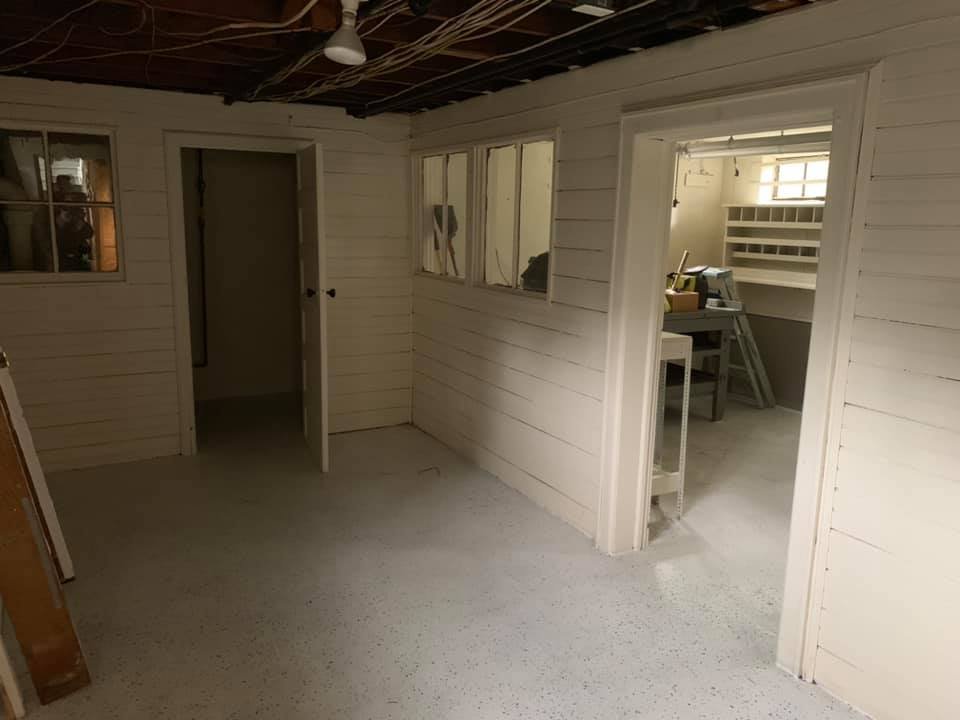
 During
 White shiplap walls and speckled epoxy floor going in. Joists stayed exposed for utility access.
-
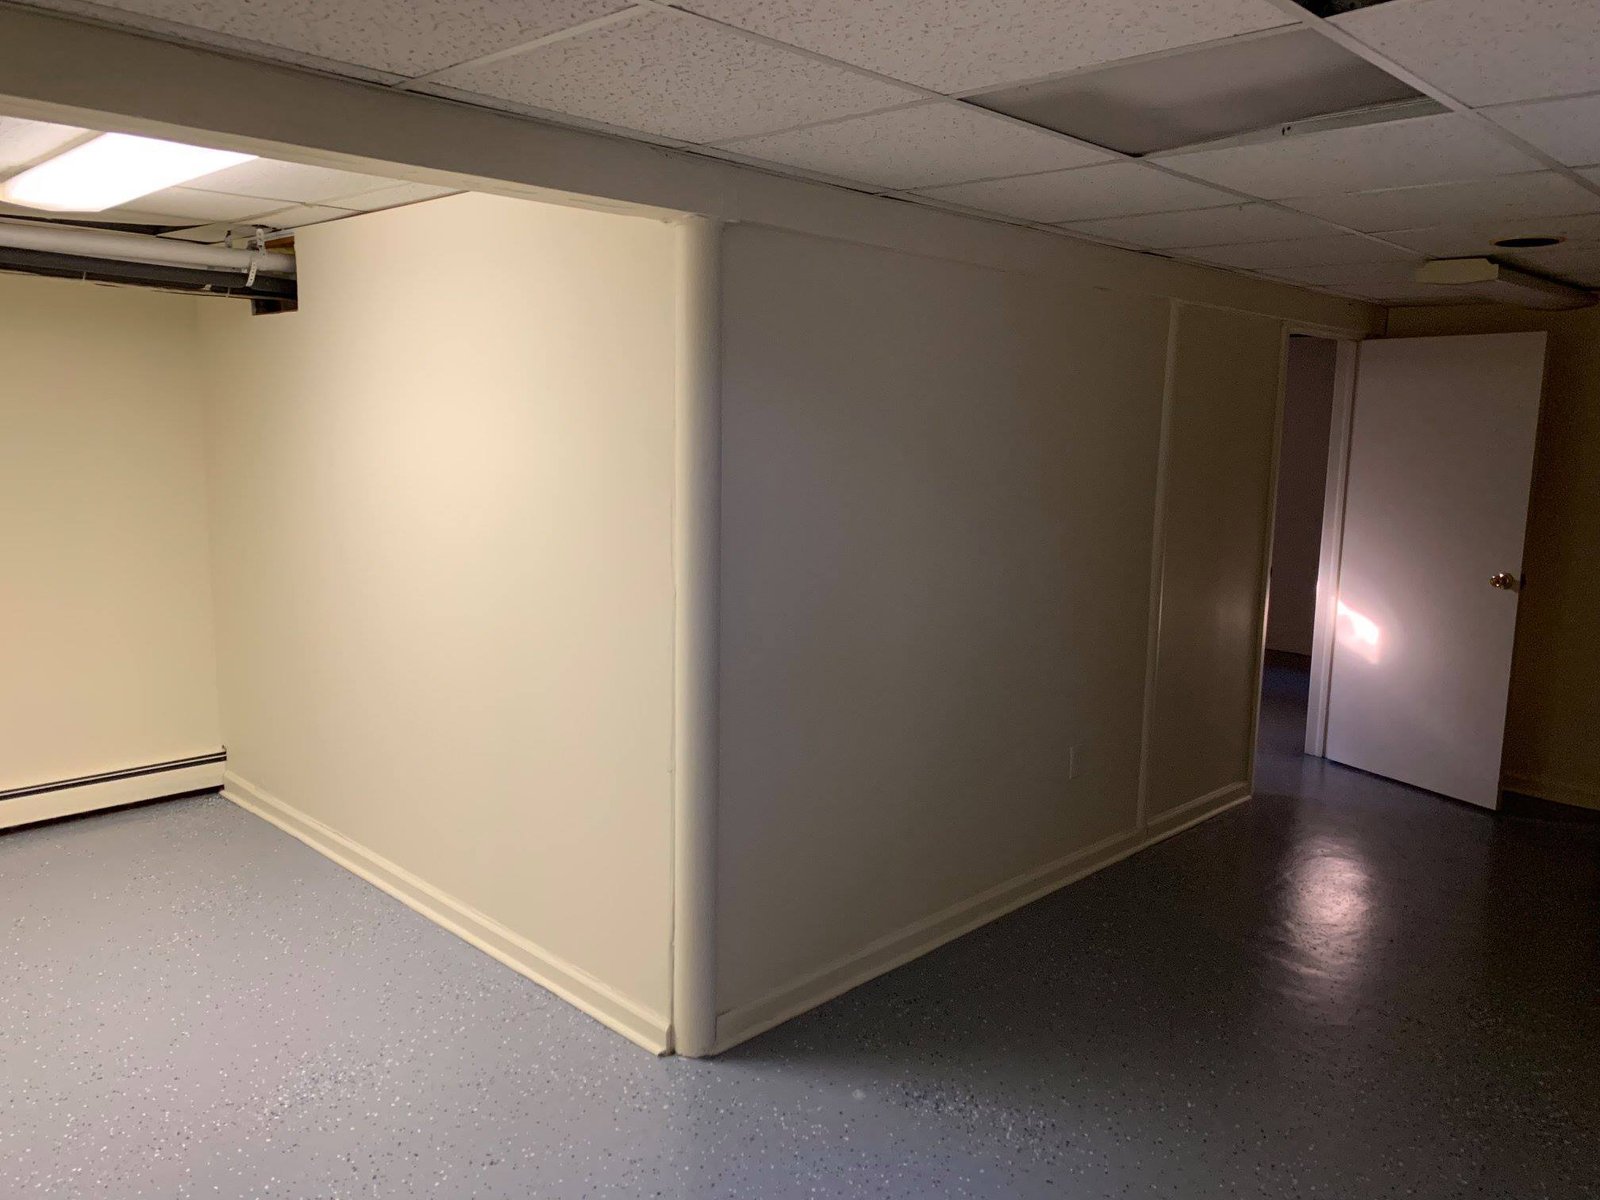
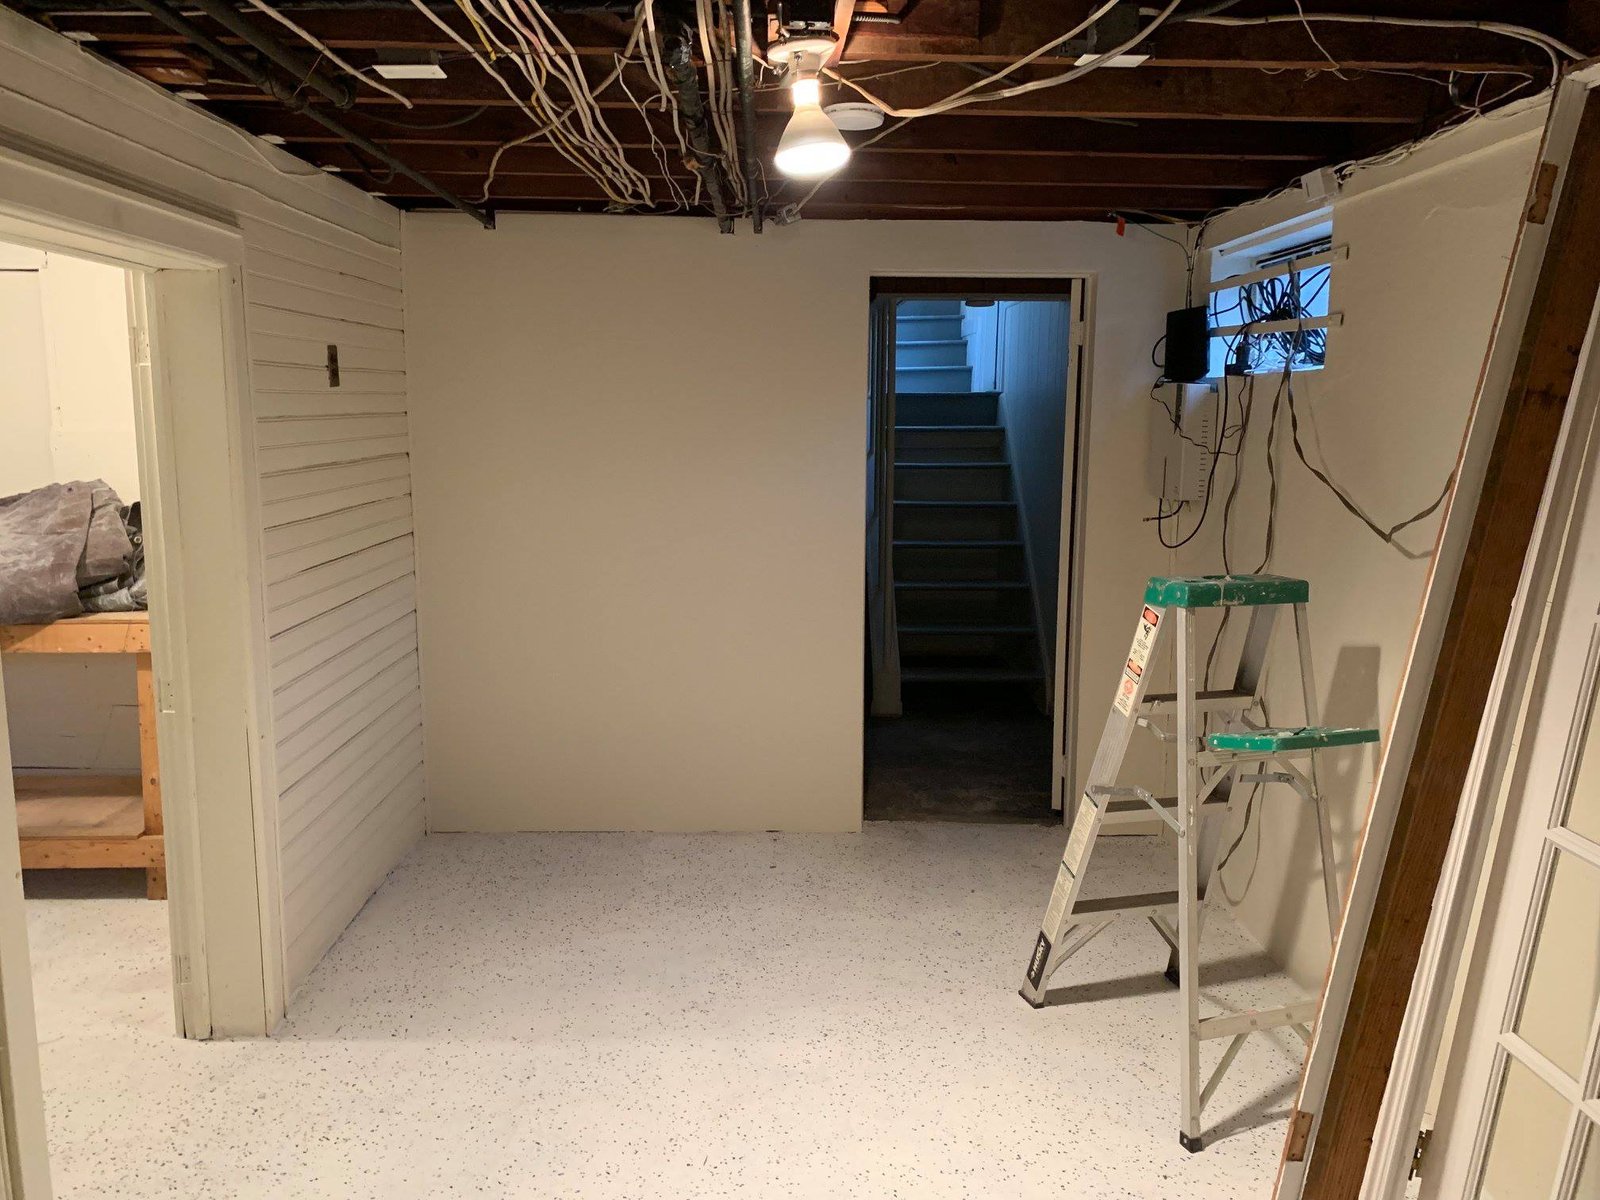
 After
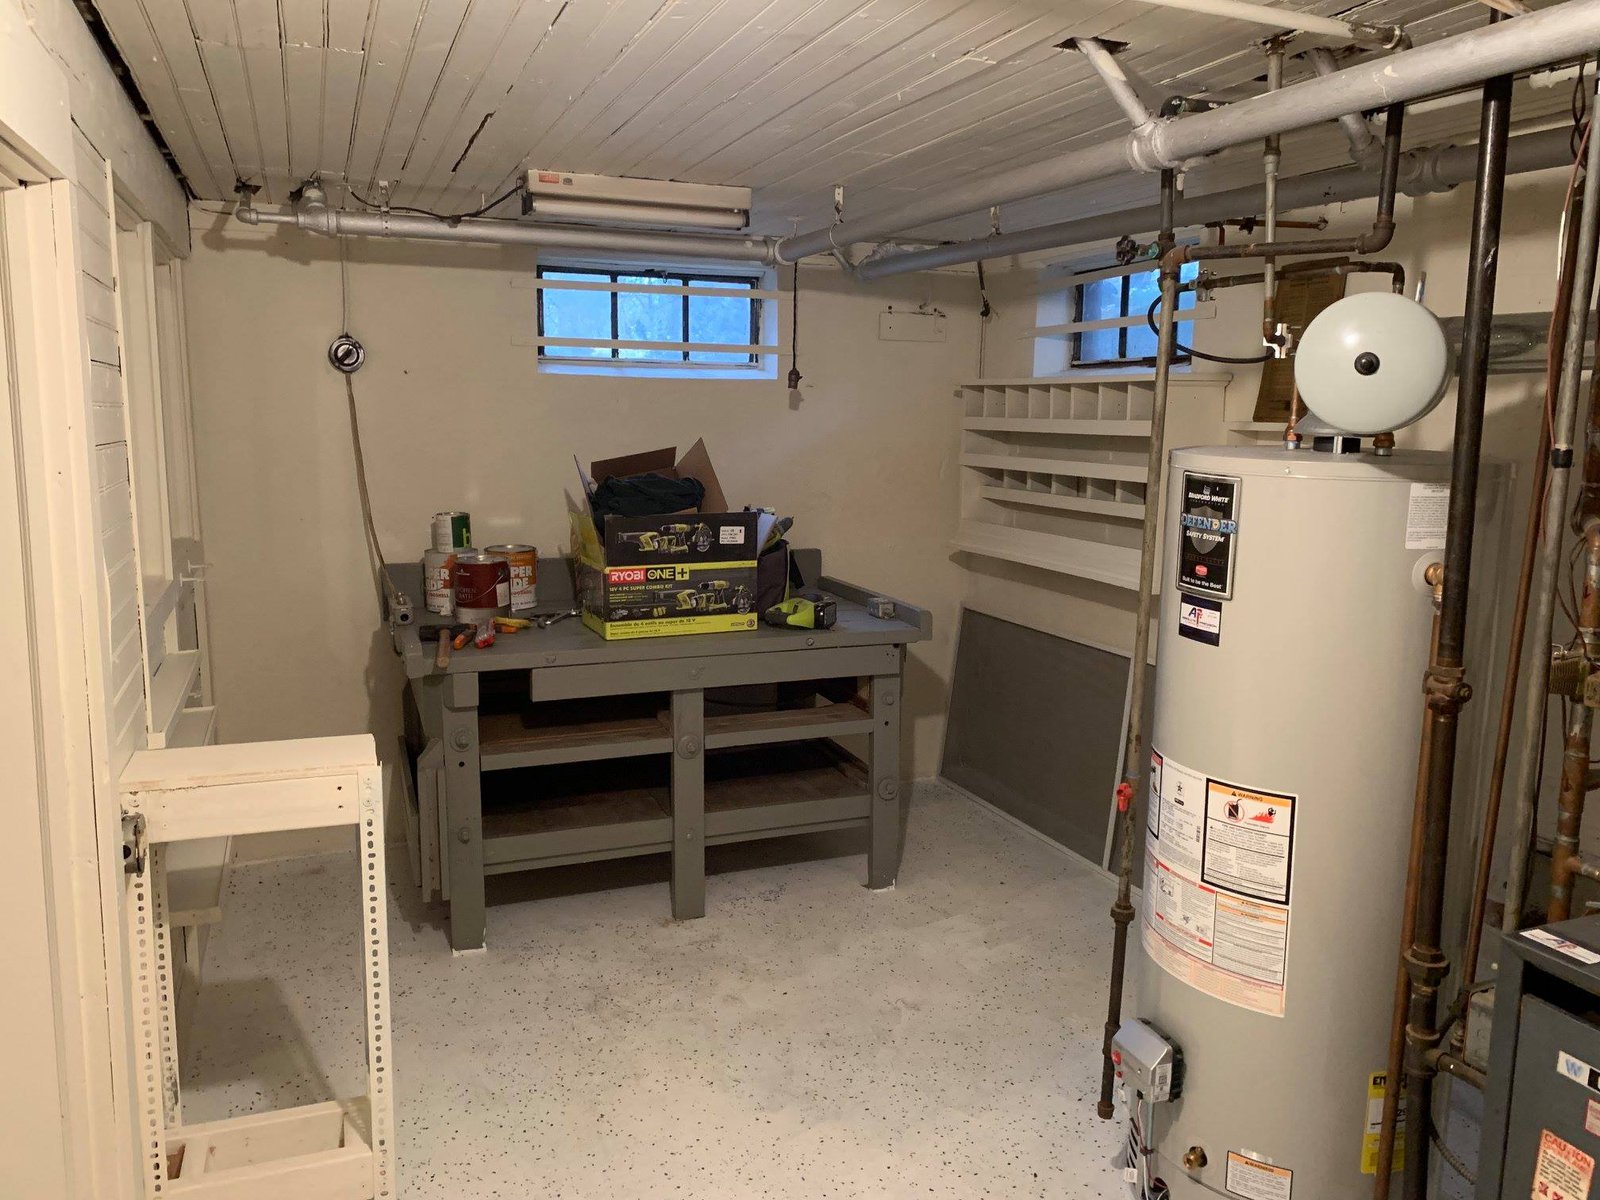
After Utility room finished — water heater, boiler, workbench, all clean and accessible.
-
 Before
 Capped wires on the wall after I pulled the old circuits. Marked them all before the rewire.
-
 During
 Walls primed, floor coated, ceiling open. Plumbing rough-in coming next.
-
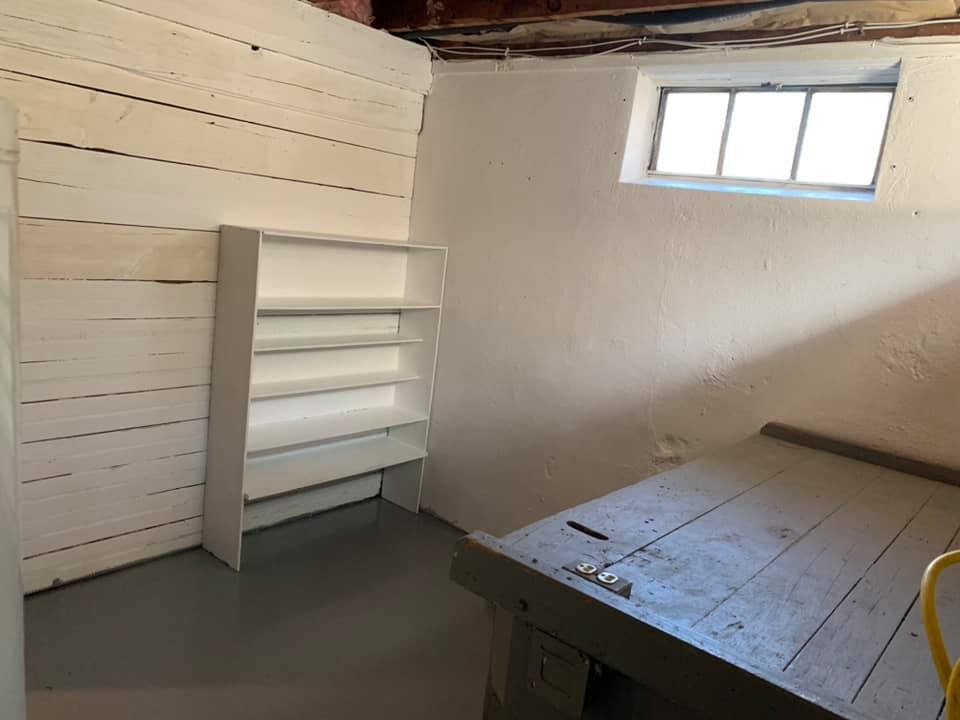
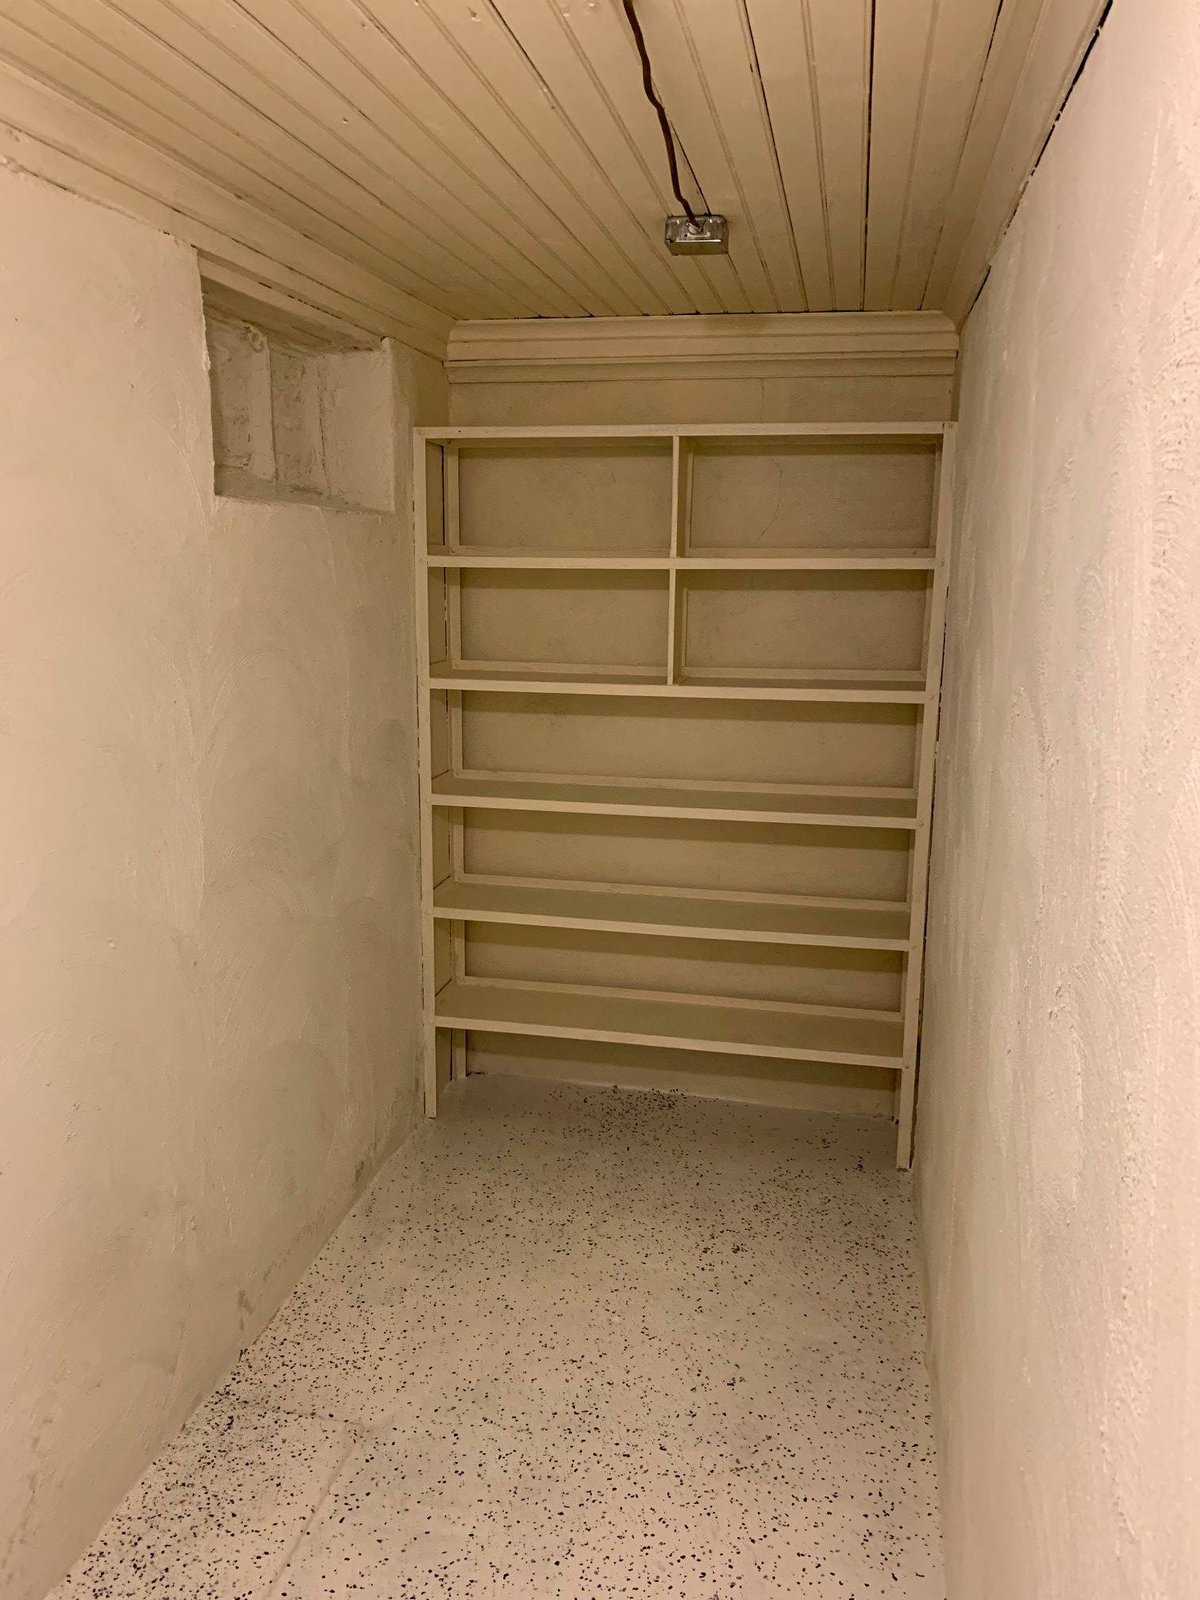 After
After Storage closet finished with built-in shelves and the same speckled floor coating throughout.
-
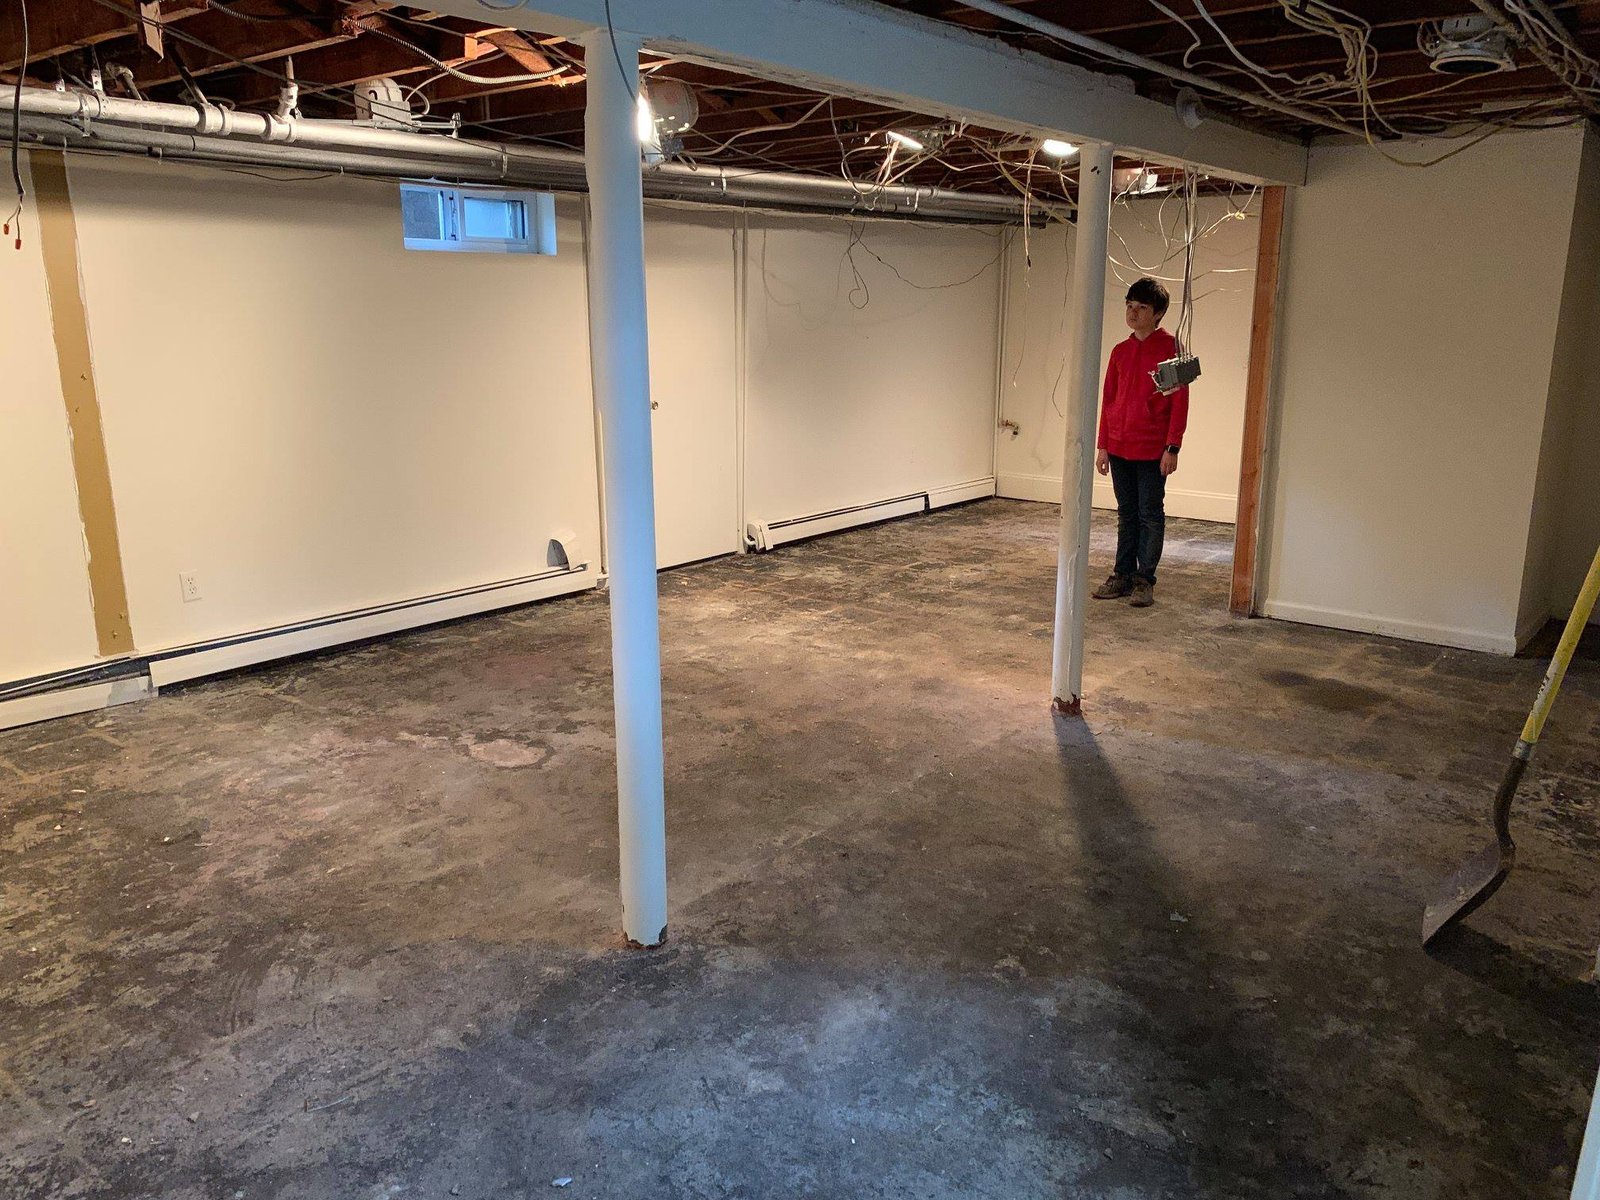
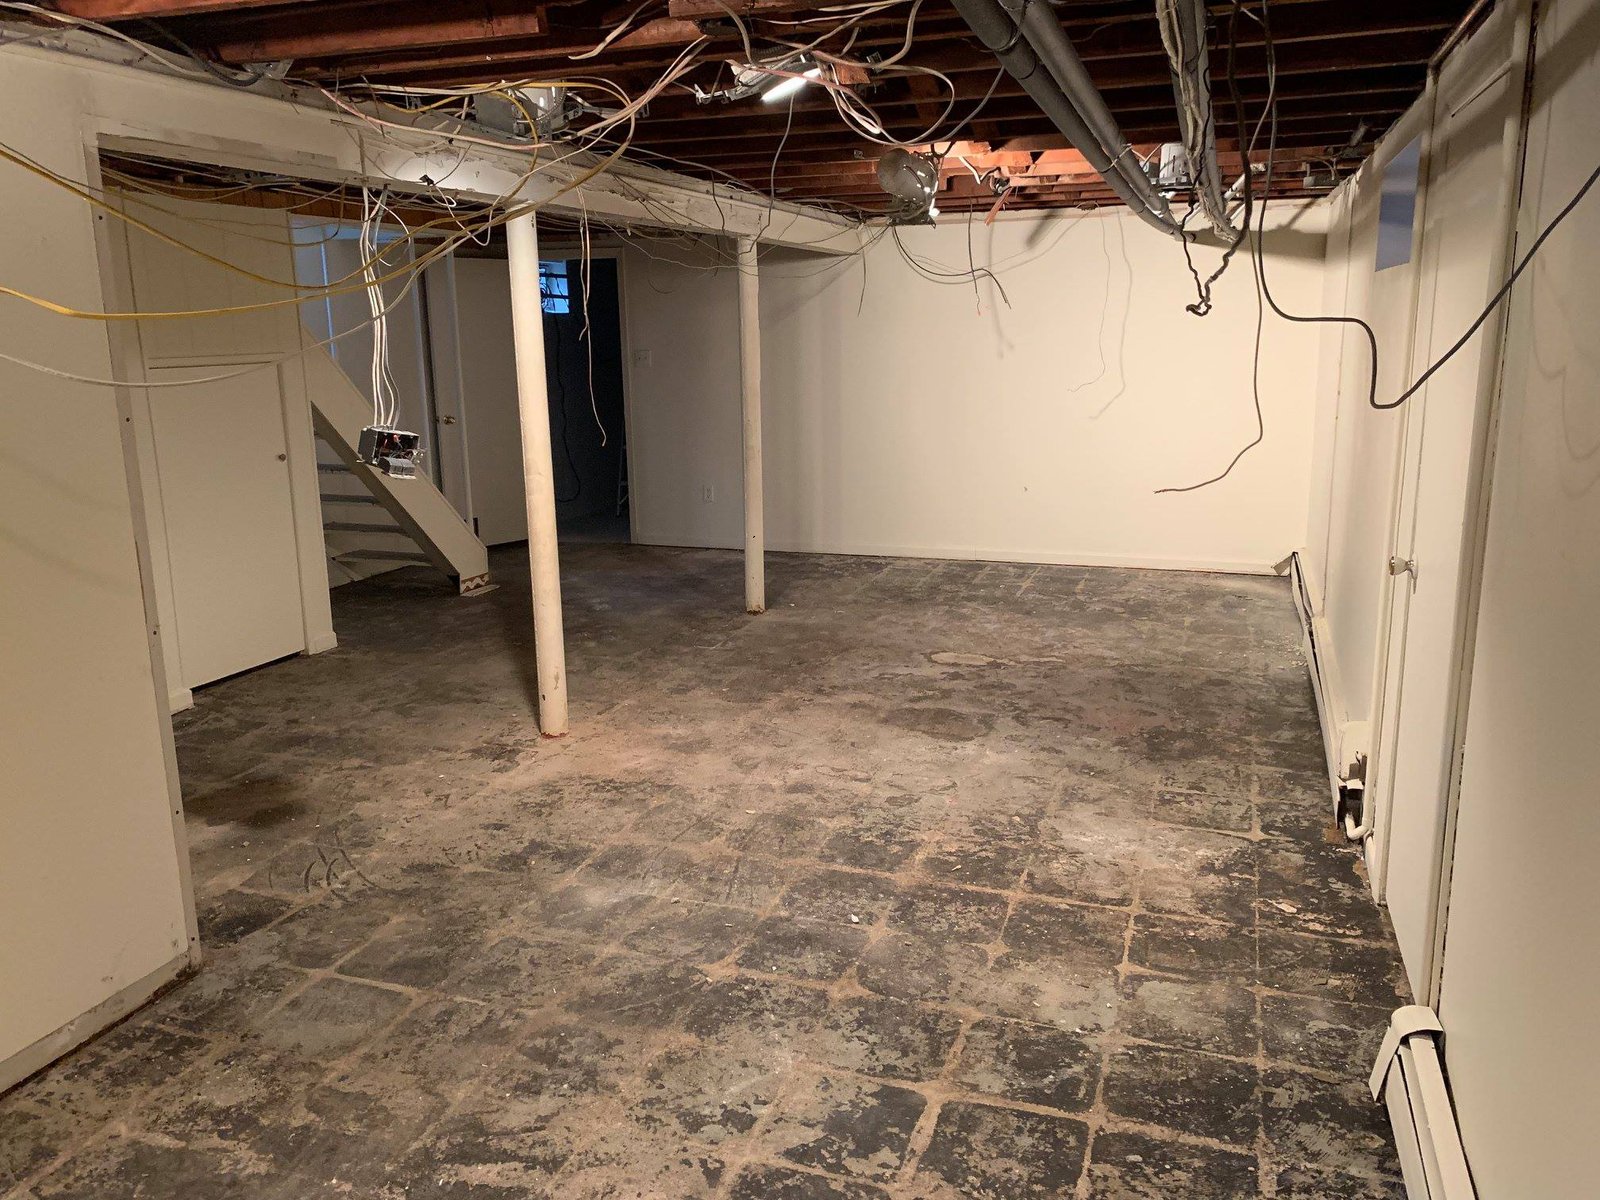
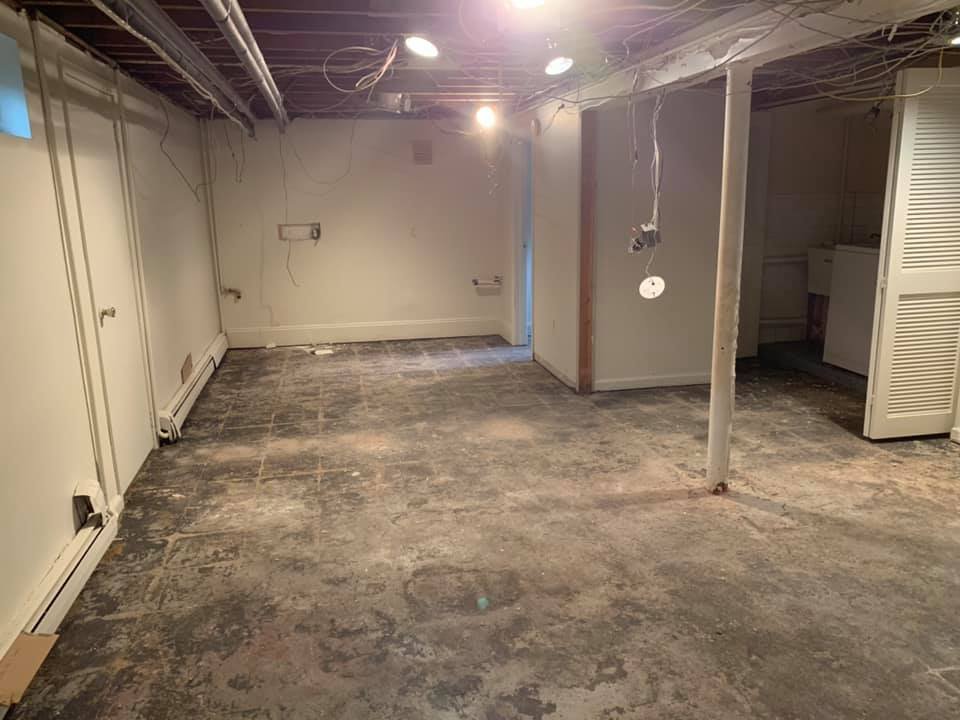
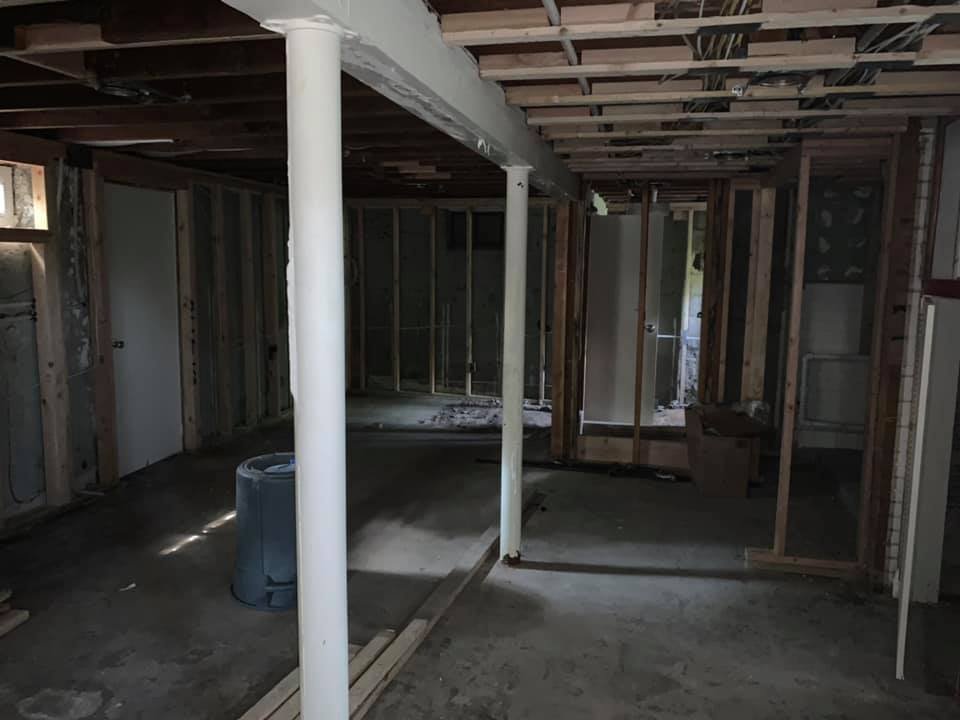
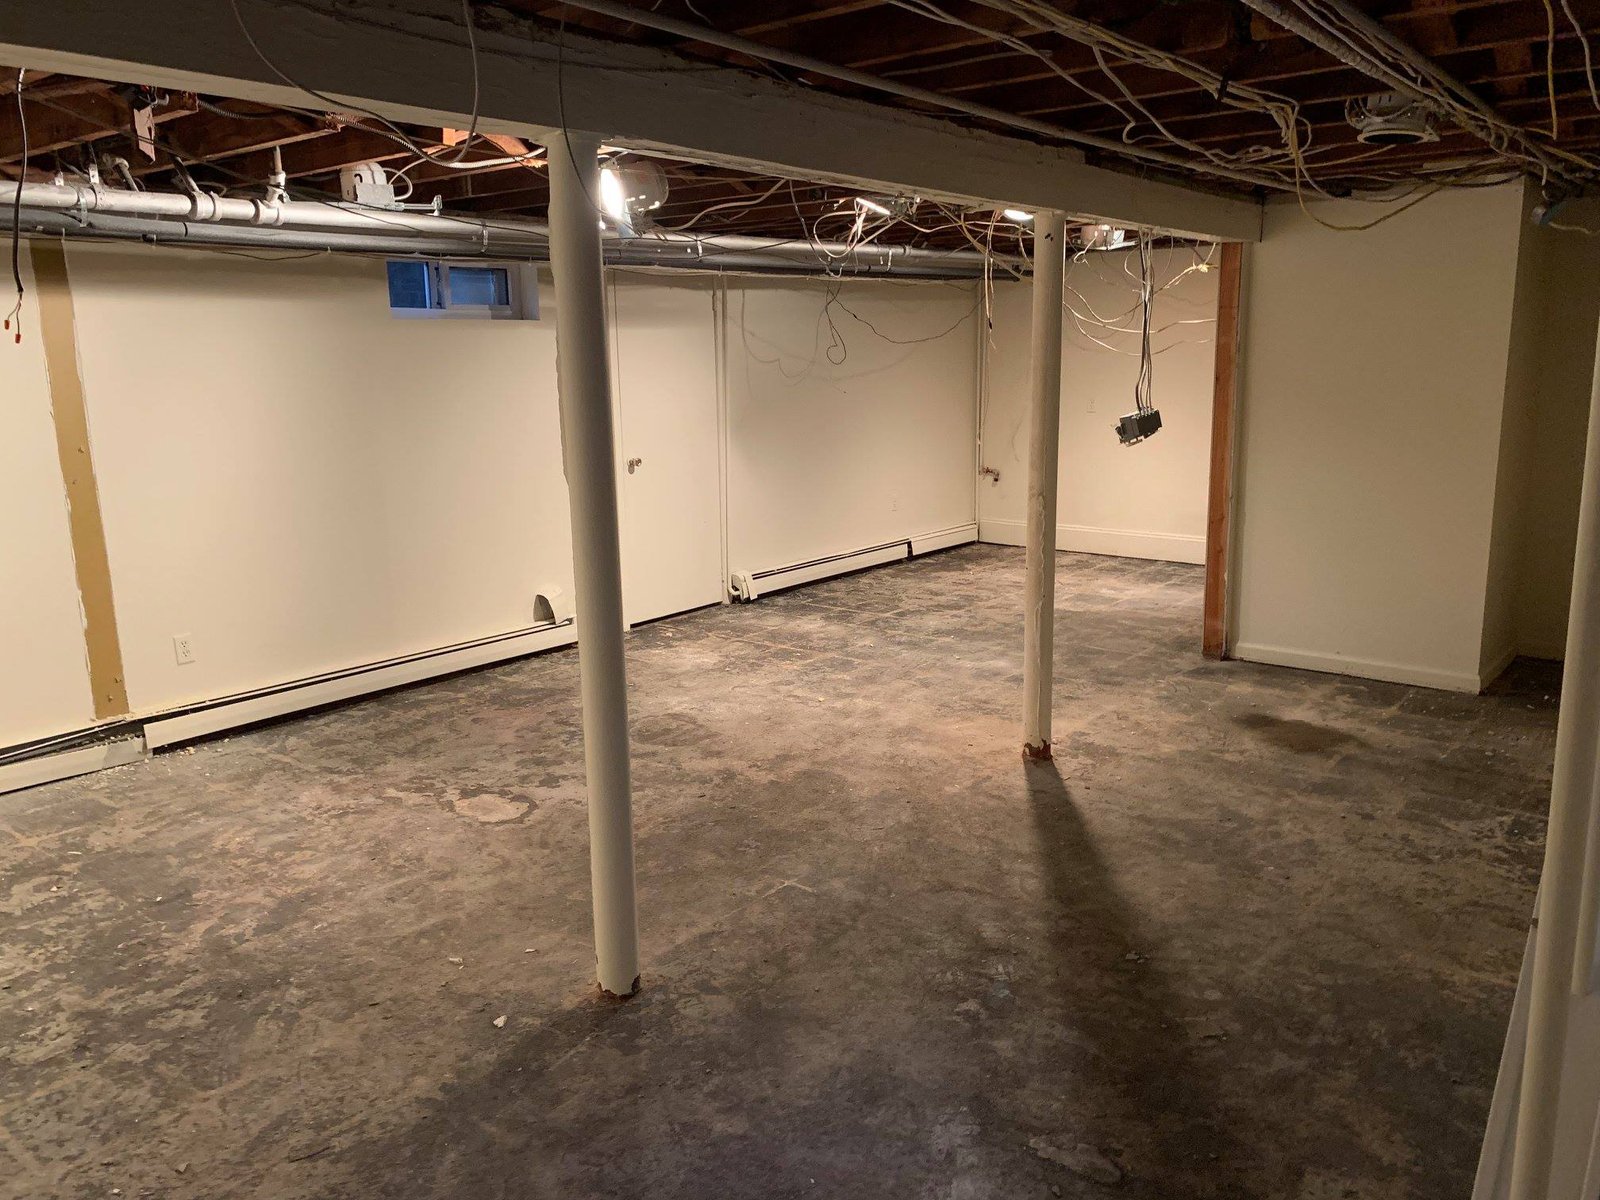 Before
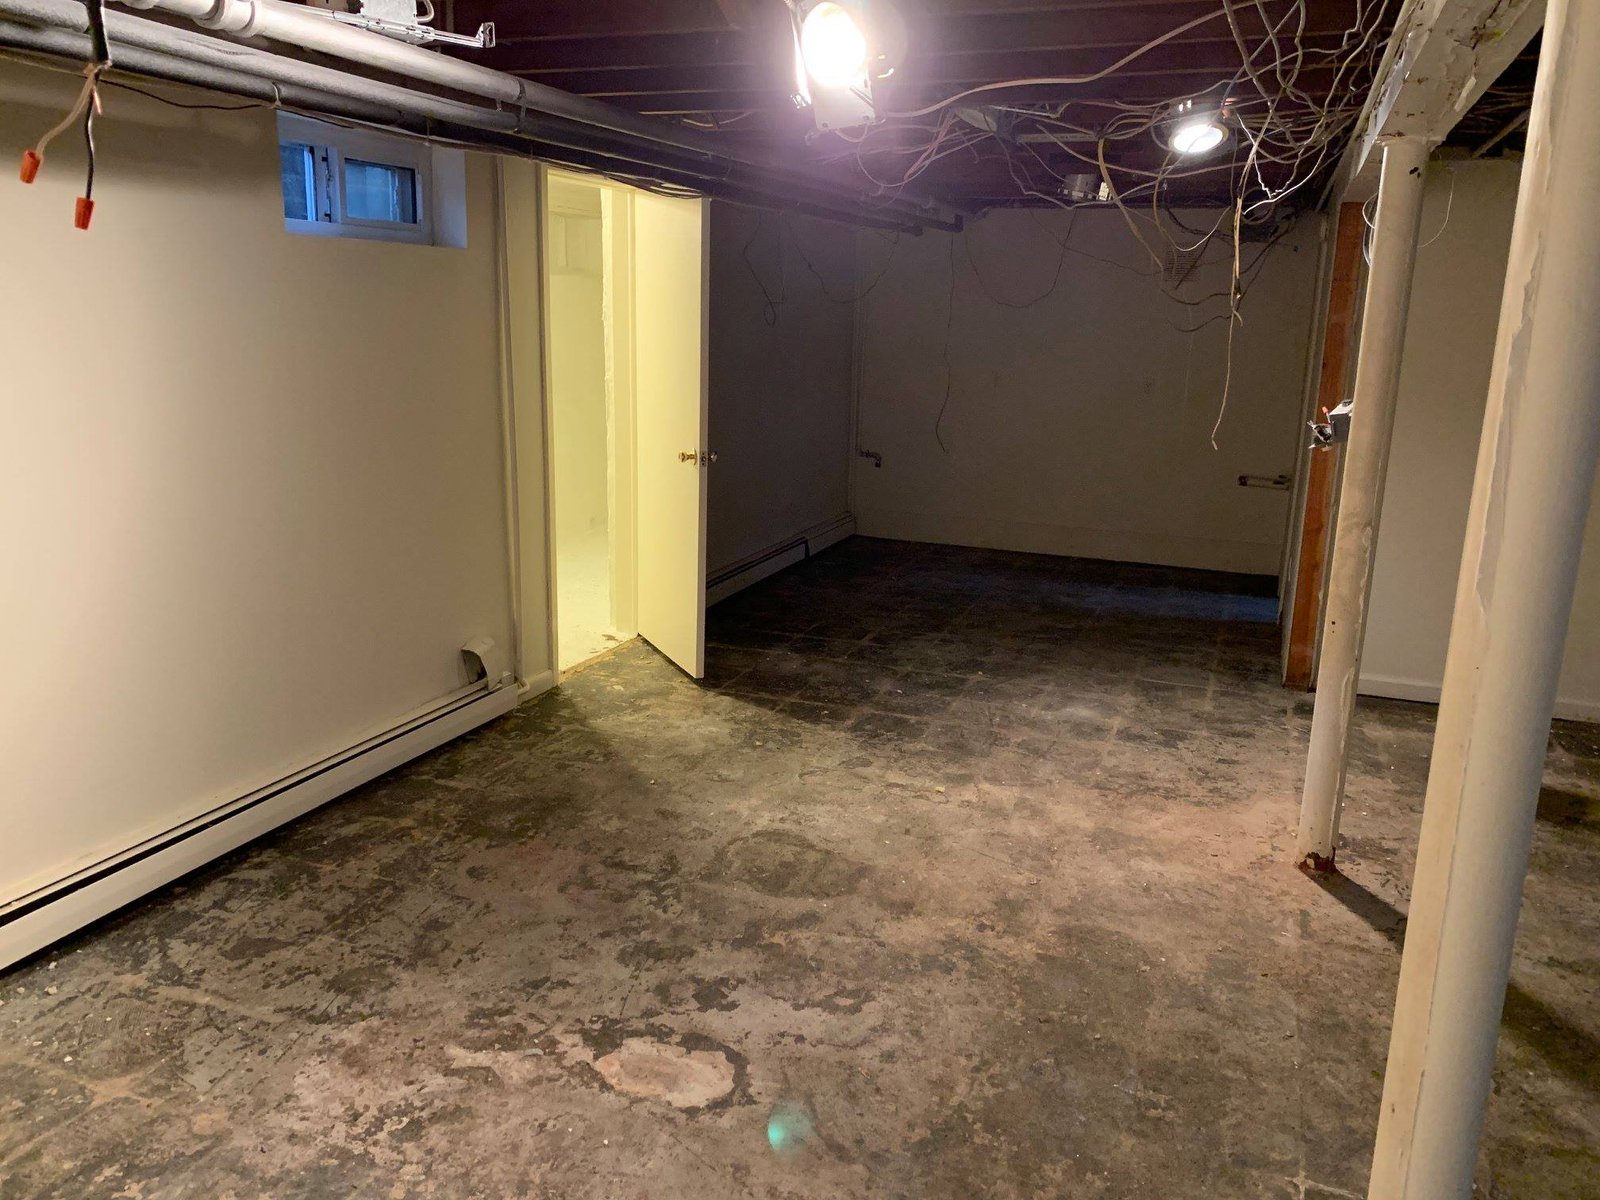
 Bare slab, joists, and posts. This is the cleanest a basement looks before it gets dirty again.
-
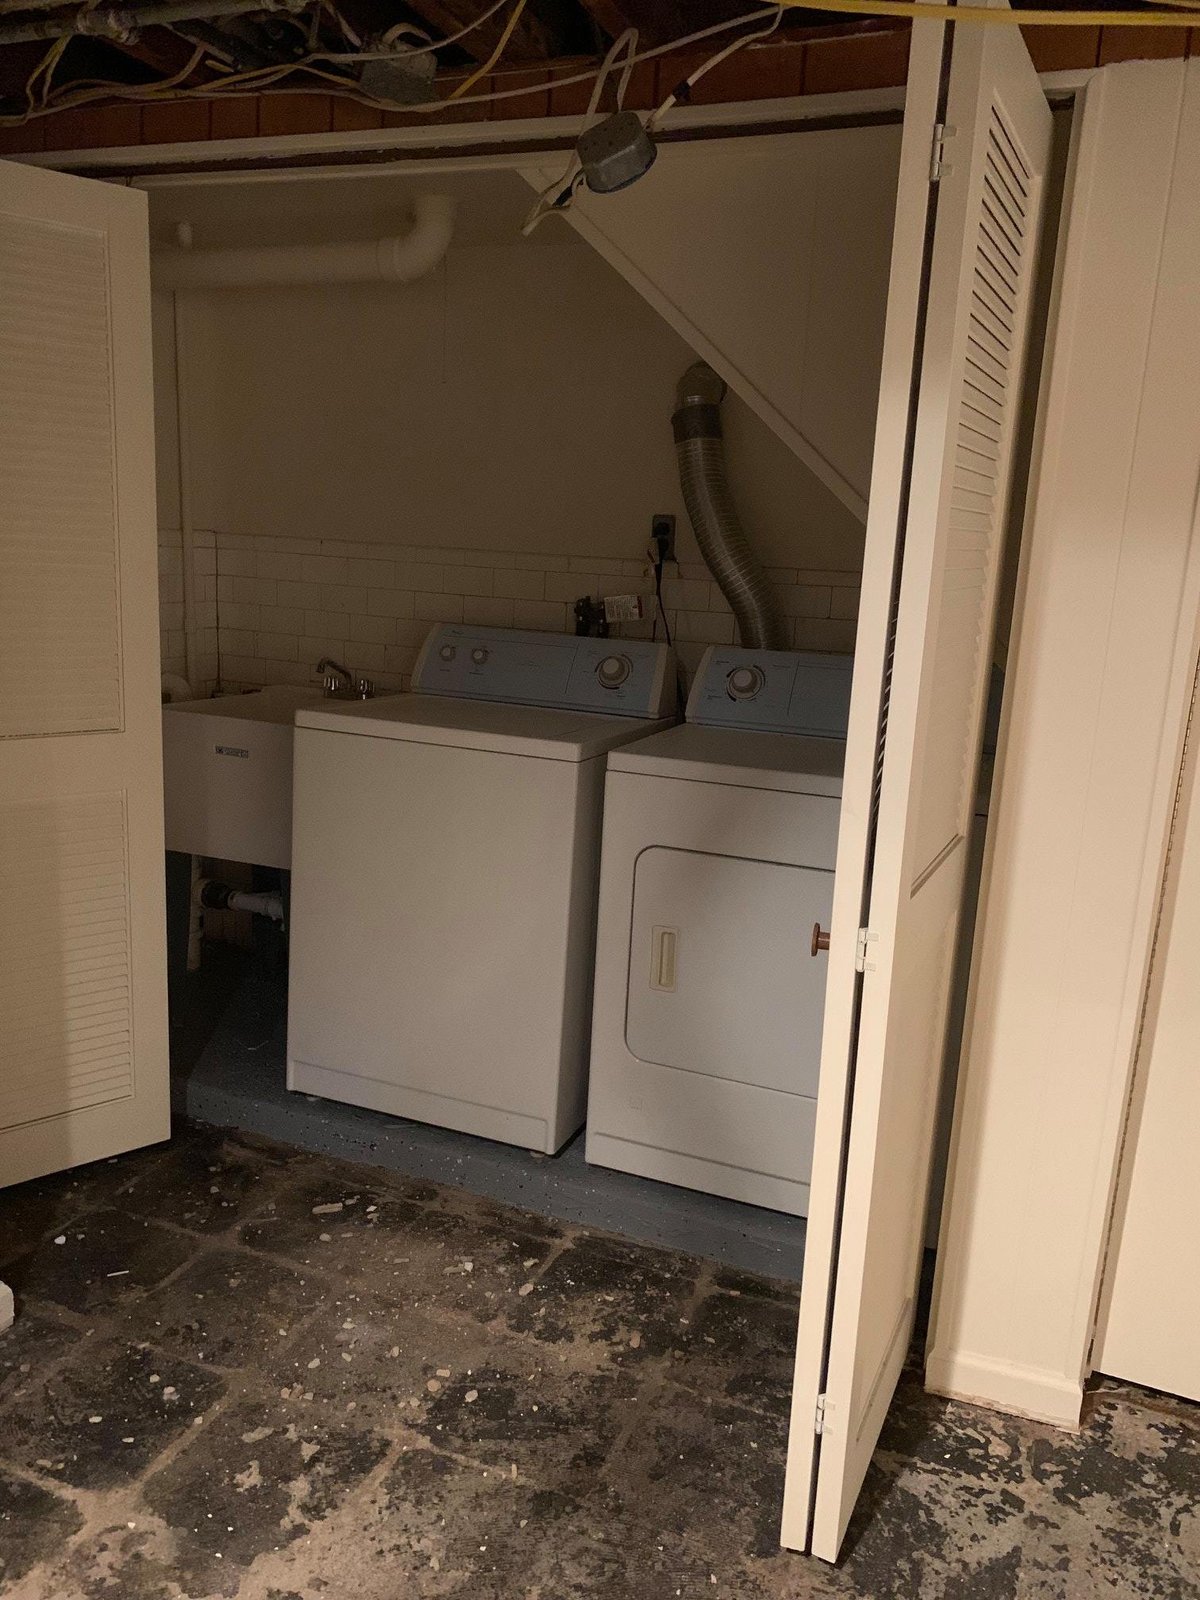 During
 Laundry tucked under the stairs with washer, dryer, and a utility sink. Tight but works.
-
 After
After New Bradford White water heater next to the Weil-McLain boiler. Copper supply runs cleaned up.
-
 After
After Utility room done — heat, hot water, and overhead supply lines all serviceable.
-
 During
 Mid-paint with primer drying and floor coating curing. Smelled like a paint store for a week.
-
 Before
 Last of the old wiring still hanging while I prepped the slab for coating.
-
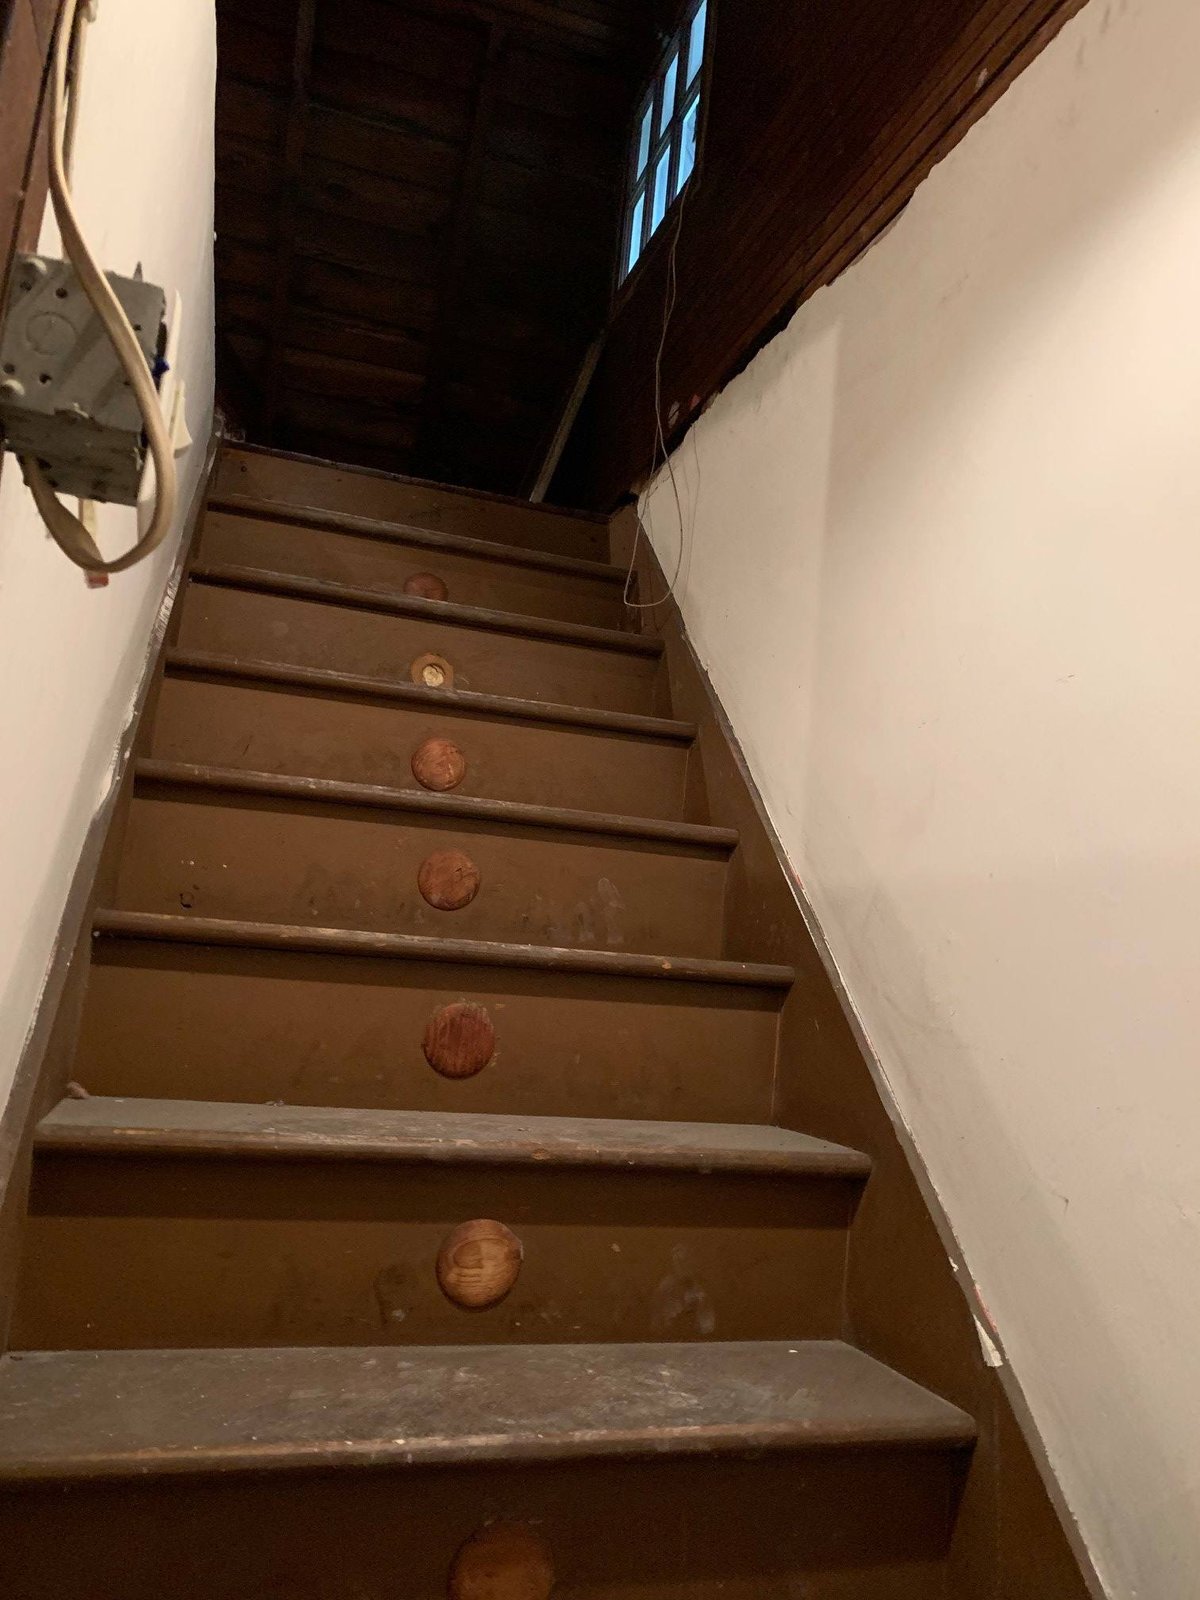 Before
 Old basement stairs before I sanded and repainted them gray to match the new finish.
-
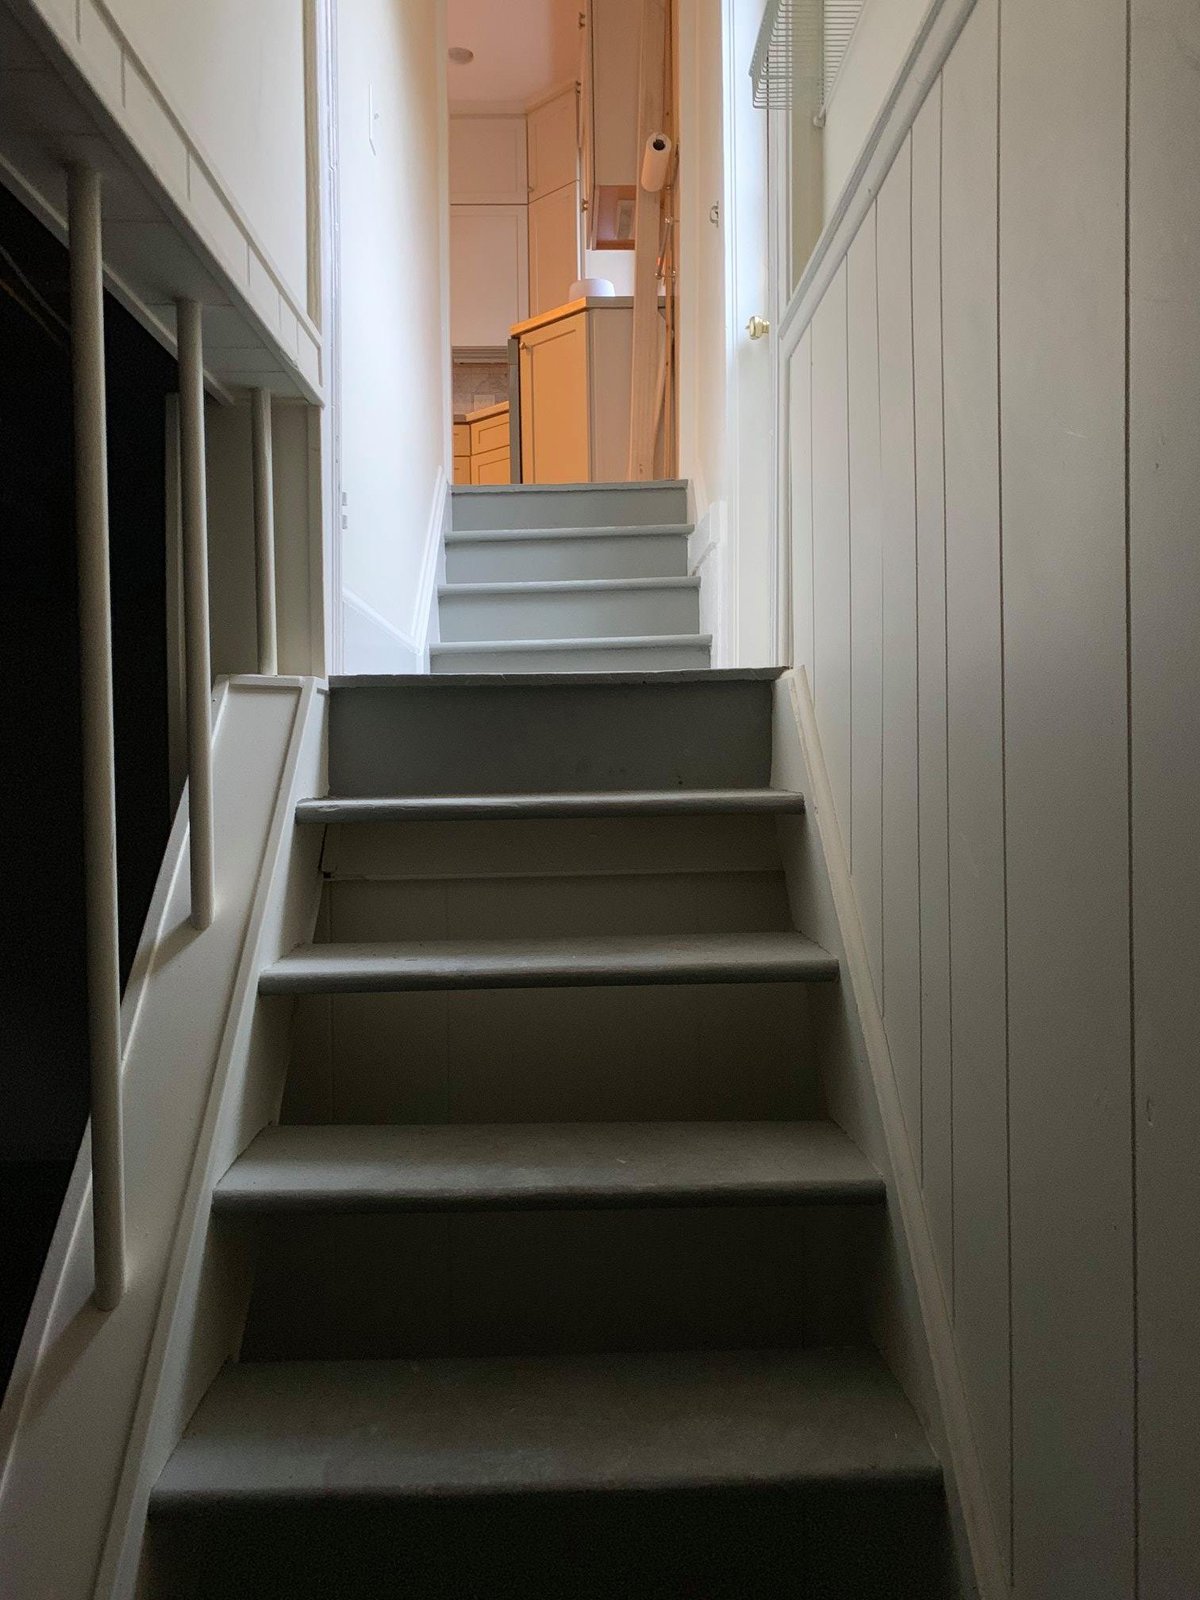 After
After Same stairs after — gray treads, white shiplap walls, clean run up to the kitchen.
-
 During
 Stained slab where the old laundry had leaked. Sealed it before I coated.
-
 During
 White shiplap up, floor coated, joists exposed for utilities. Came out cleaner than I expected.
-
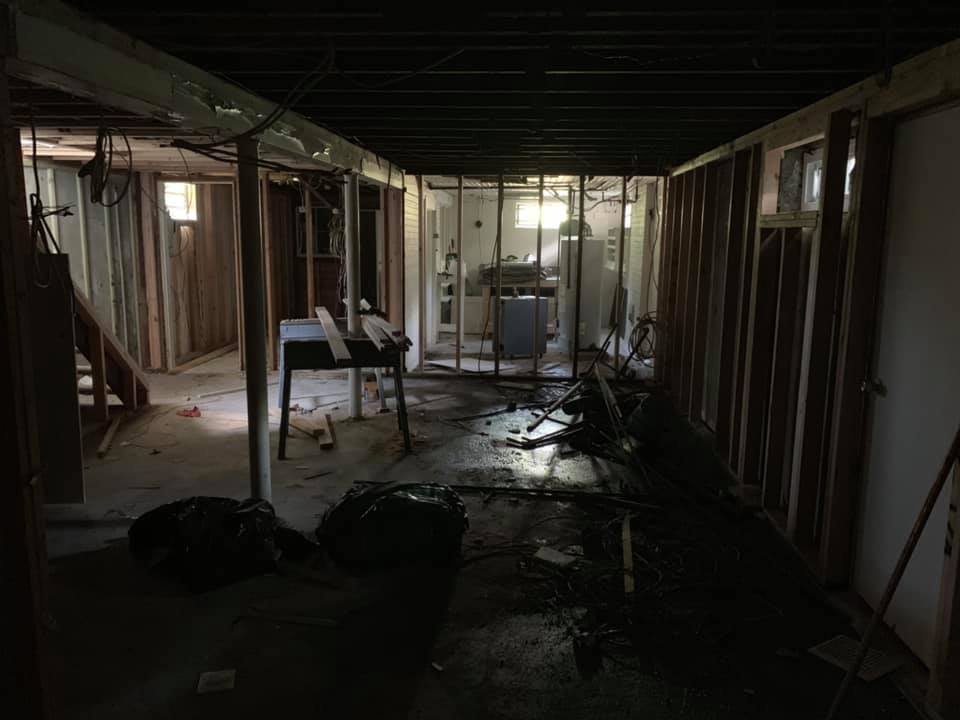
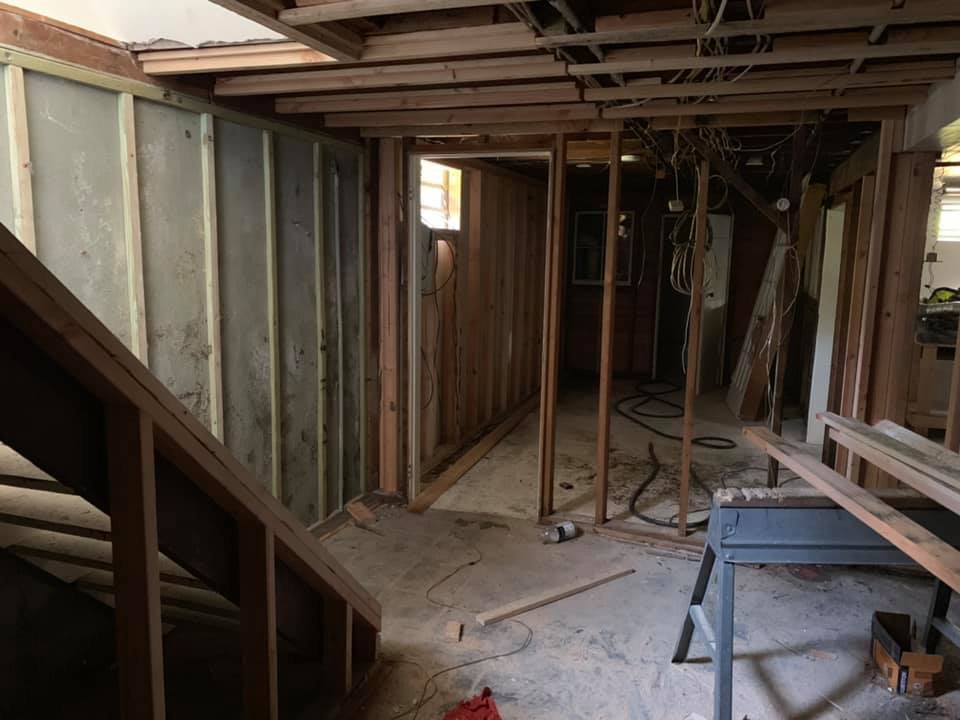
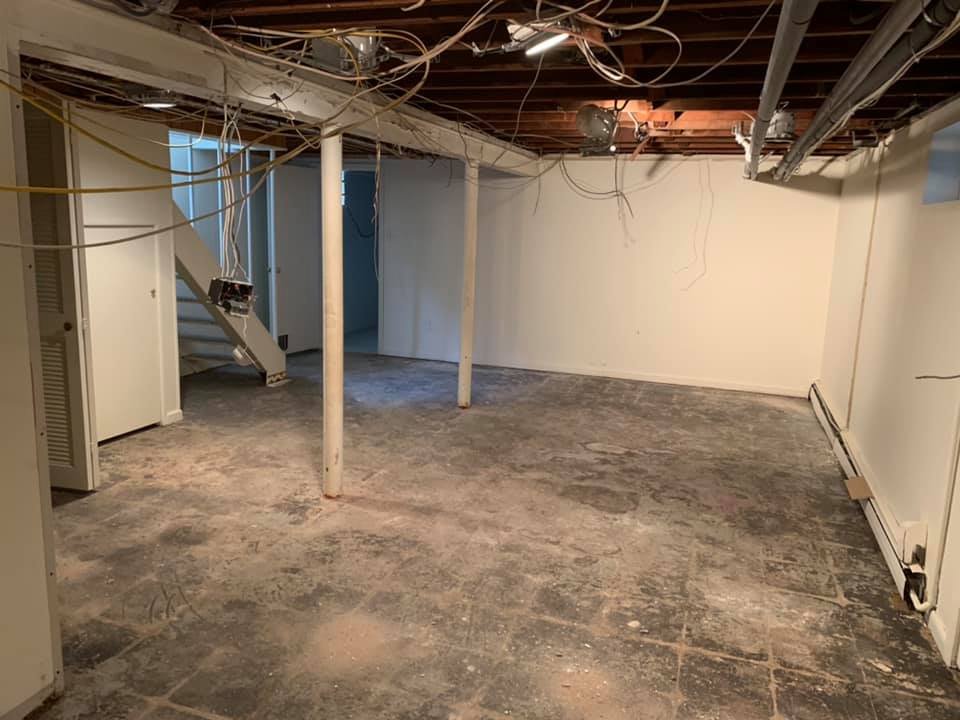 During
 Joists, posts, and rough wiring after demo. Framing started from here.
-
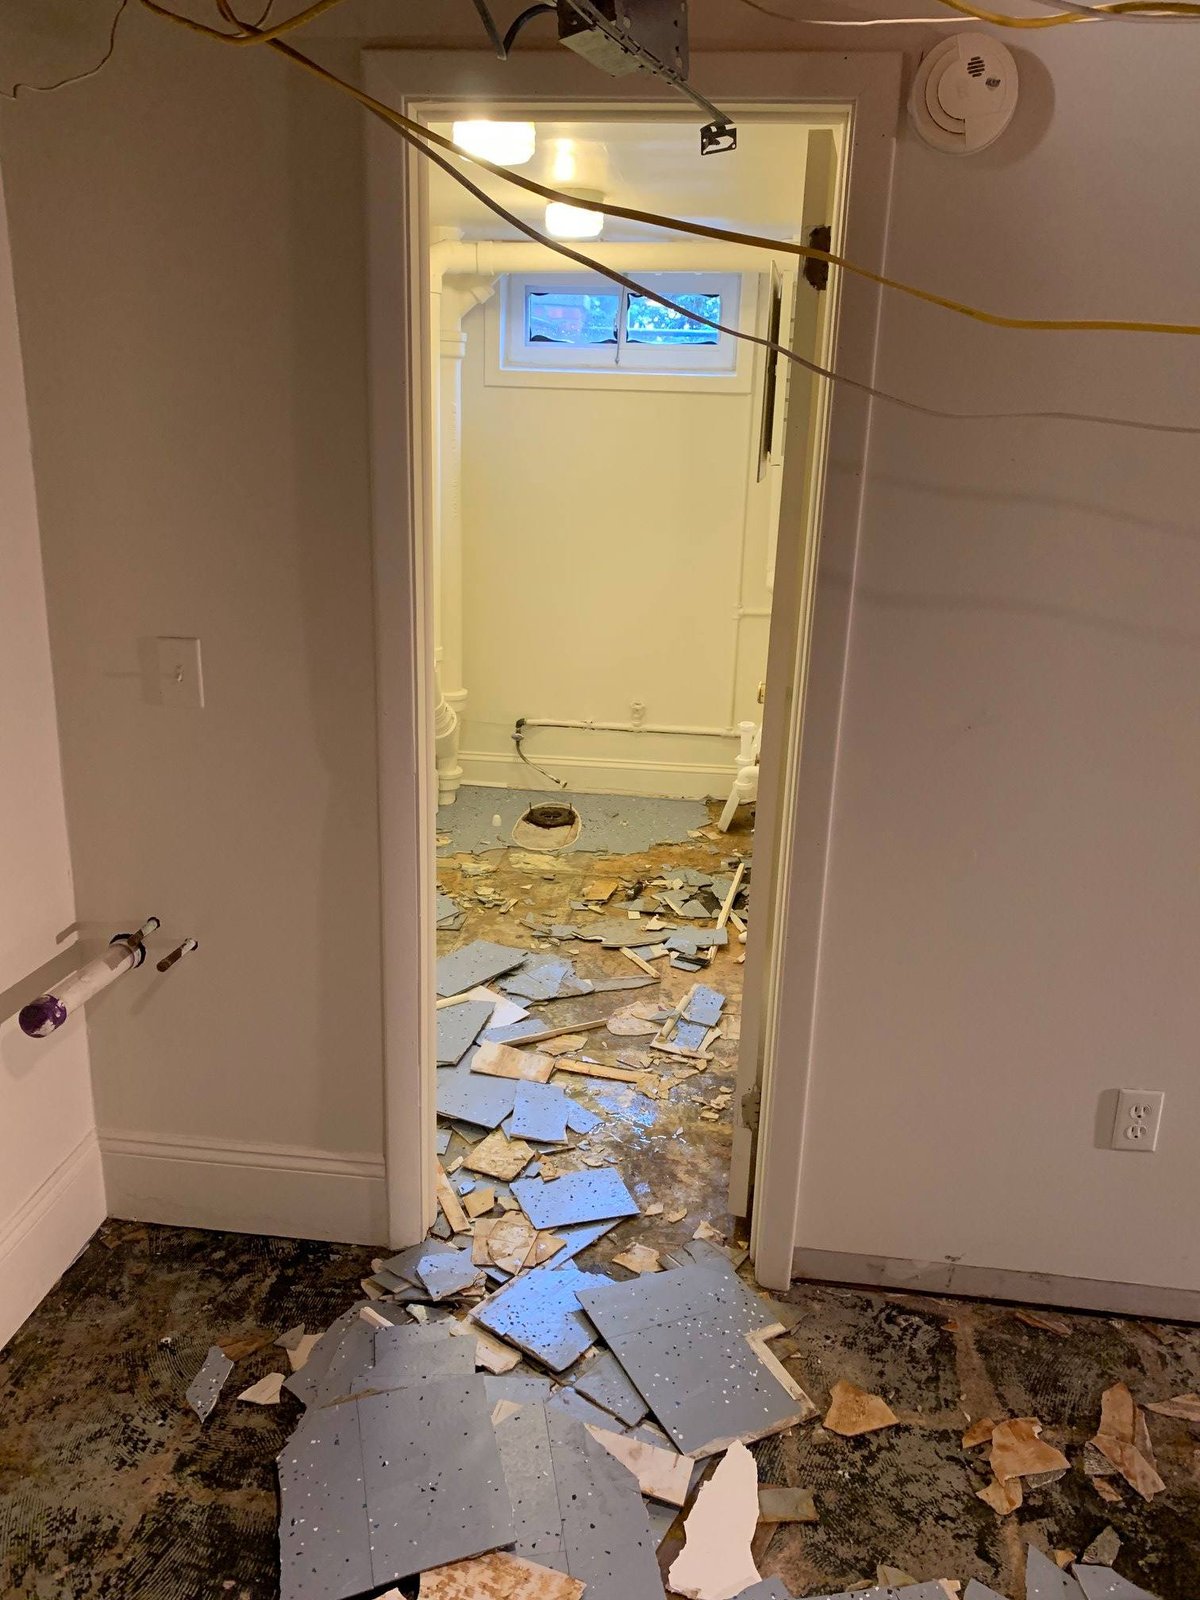
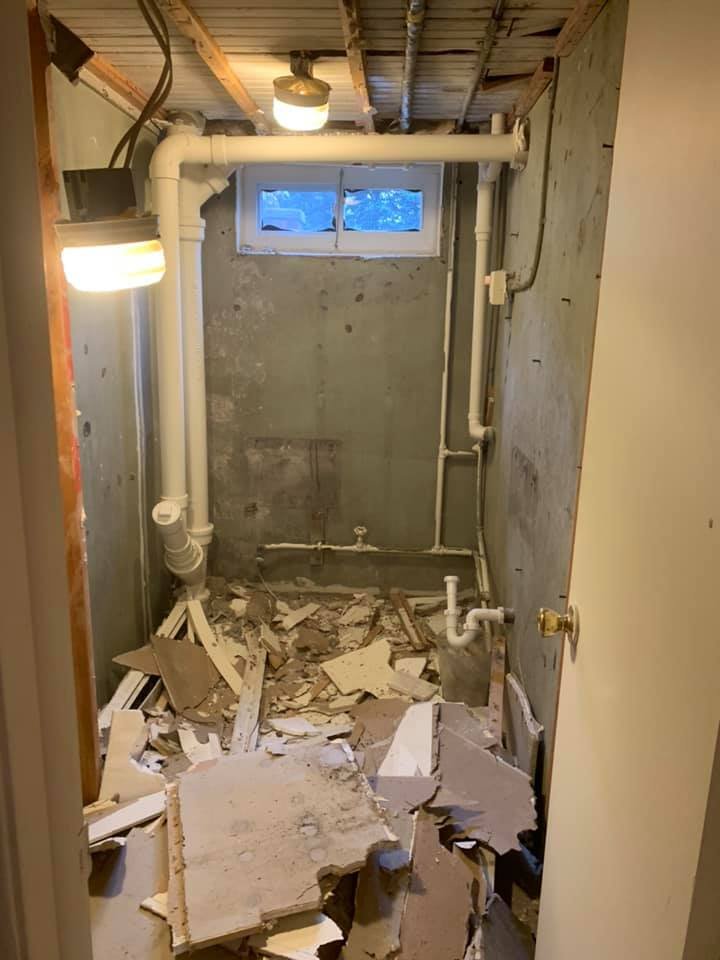 During
 Basement bathroom stripped down with drywall debris piled. Slab broke open to access the drain.
-
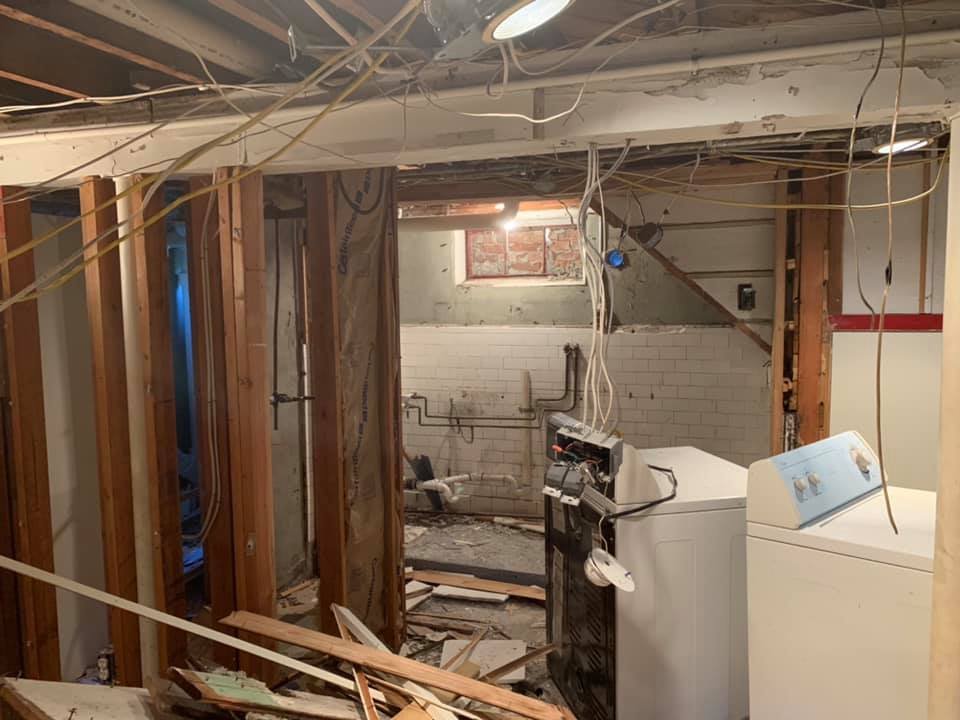 During
 Old laundry area with the original tile walls coming off. Wiring back to the panel got rerun.
-
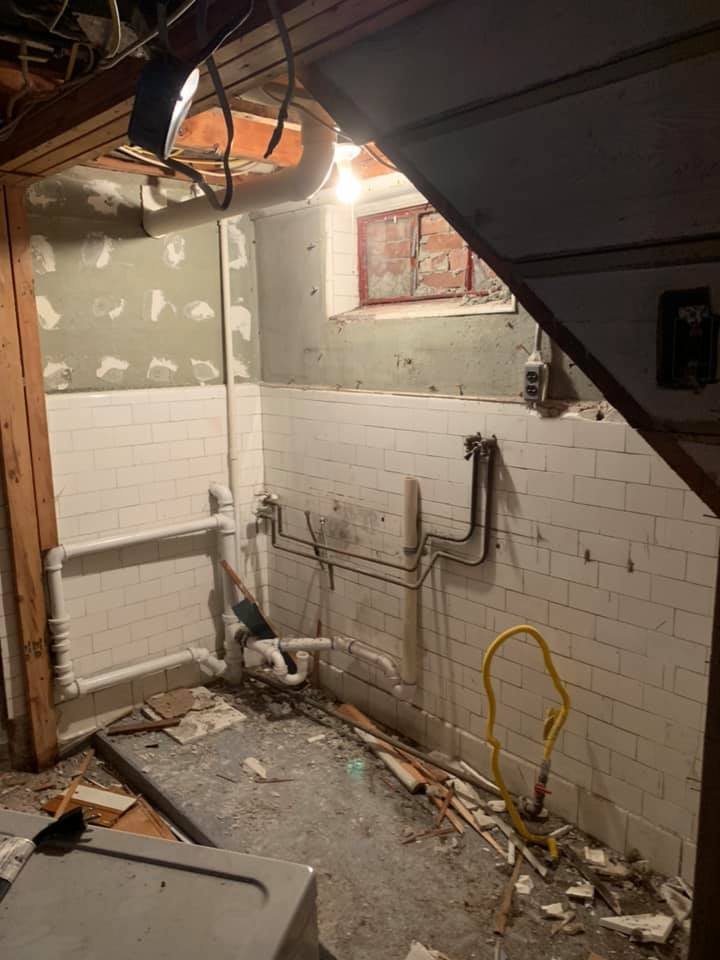 During
 Bath under the stairs gutted to original plumbing rough-in. Tight space, but worth saving.
-
 During
 Basement studded out, ready for insulation and electrical.
-
 During
 Framing through to the stairs. Laid out the rooms before I committed to walls.
-
 During
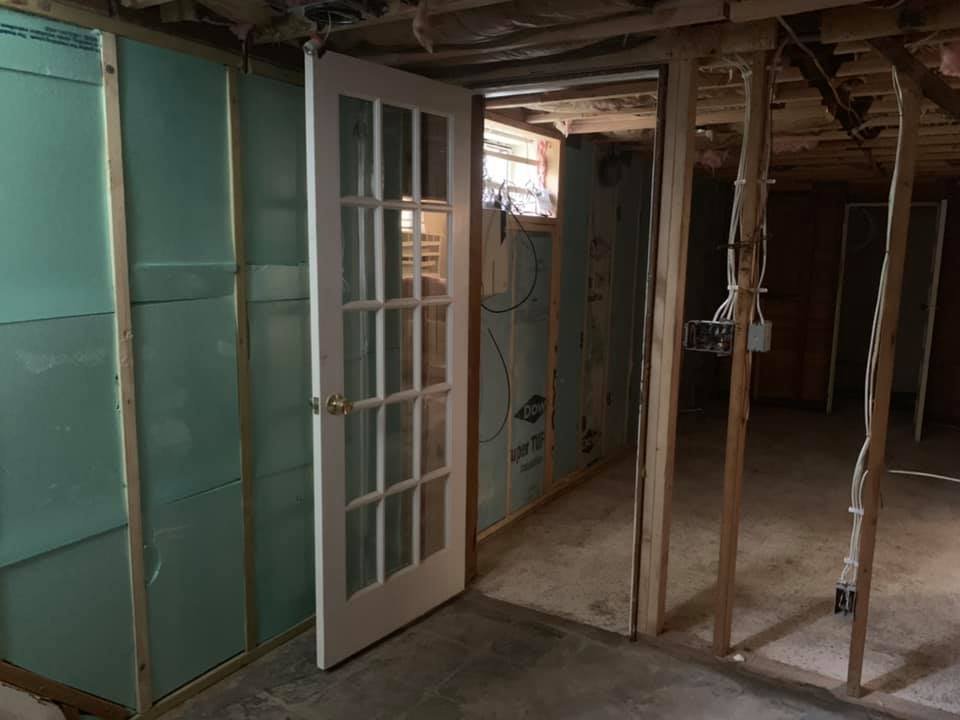
 New stud framing, rough wiring, and the exterior door at the back. Layout starting to read.
-
 During
 Posts and HVAC visible during the gut. Framed around them so I didn't lose ceiling height.
-
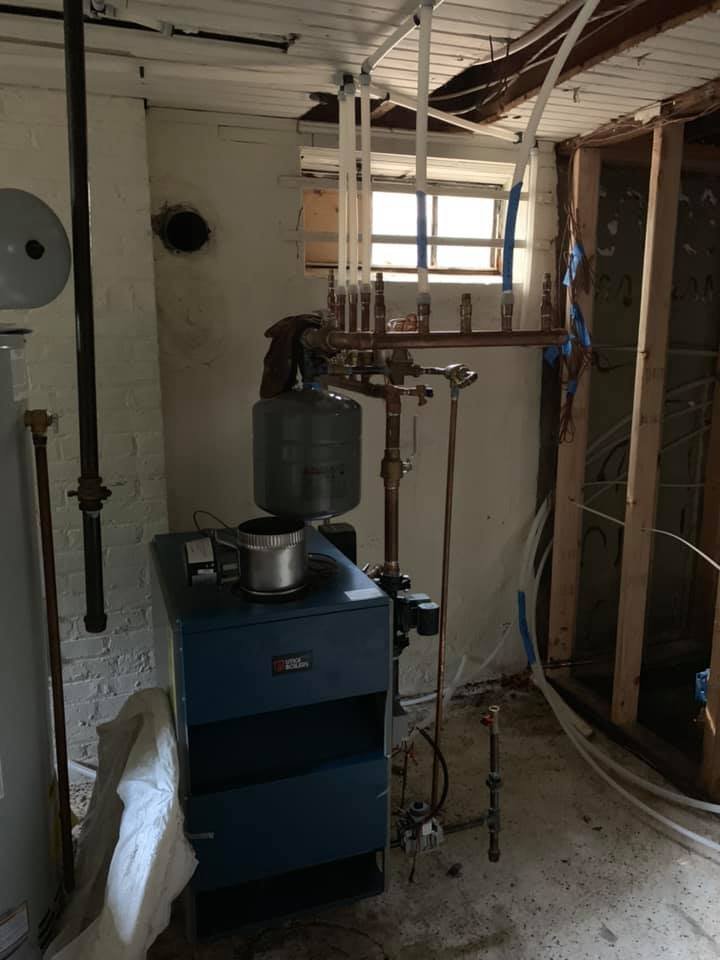 During
 New Weil-McLain boiler with copper manifold and expansion tank. Sized right and zoned out for the upstairs.
-
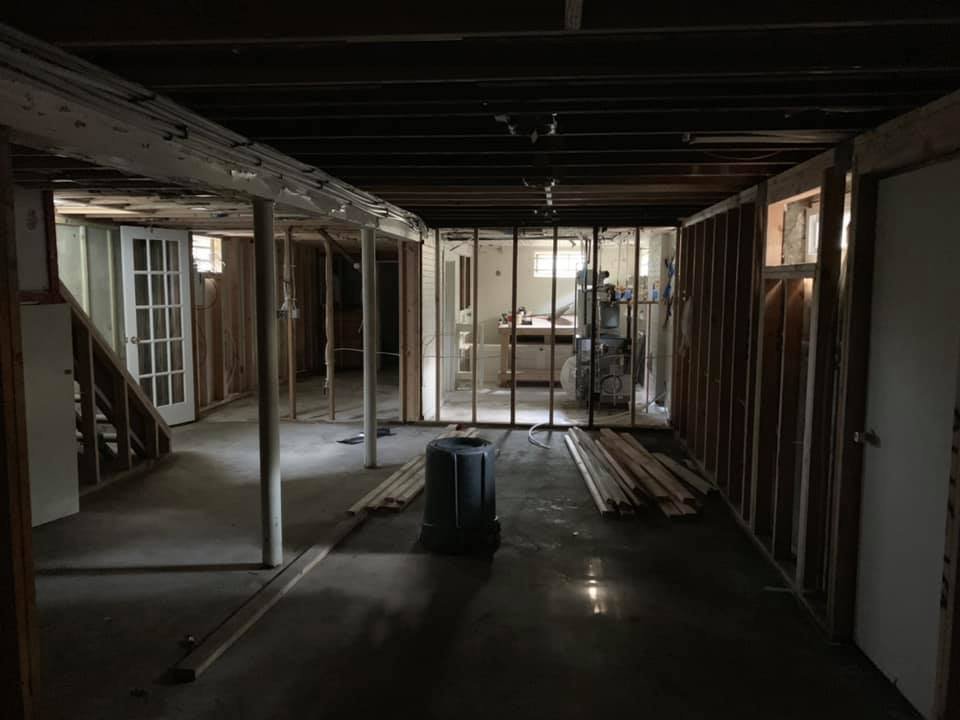
 During
 Posts and joists exposed before the drop ceiling went back. Marked locations for new utilities.
-
 During
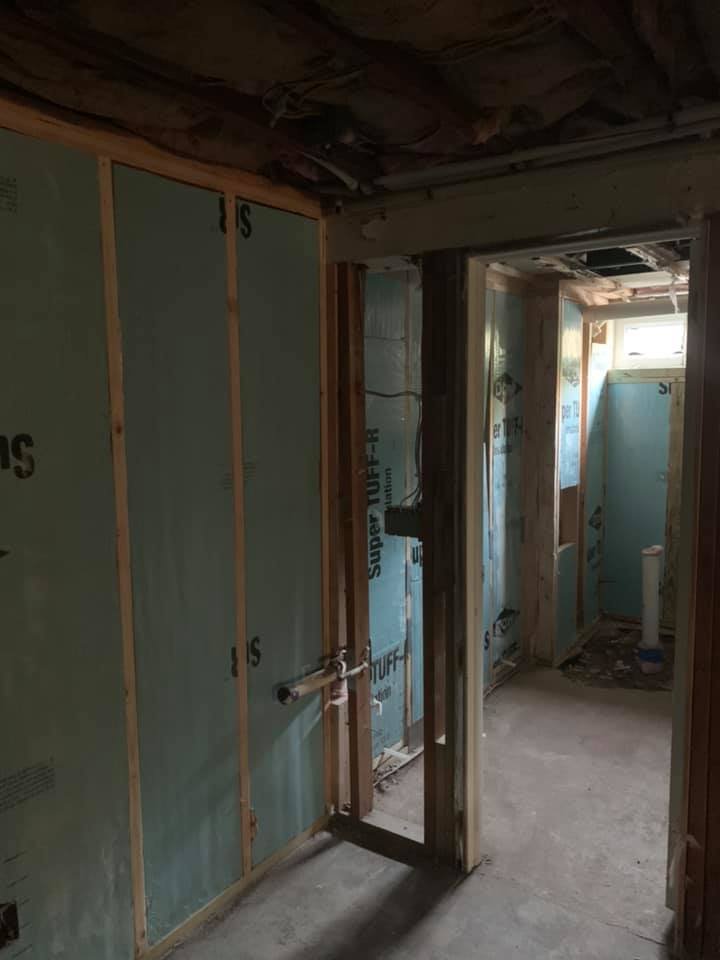
 Dow Tuff-R rigid foam tucked between studs against the foundation. Better than fiberglass below grade.
-
 During
 Foam in, electrical roughed, ready for inspection before drywall.
-
 During
 Super TUFF-R panels on a foundation wall with rough plumbing visible. Cleaner than batts down here.
-
 During
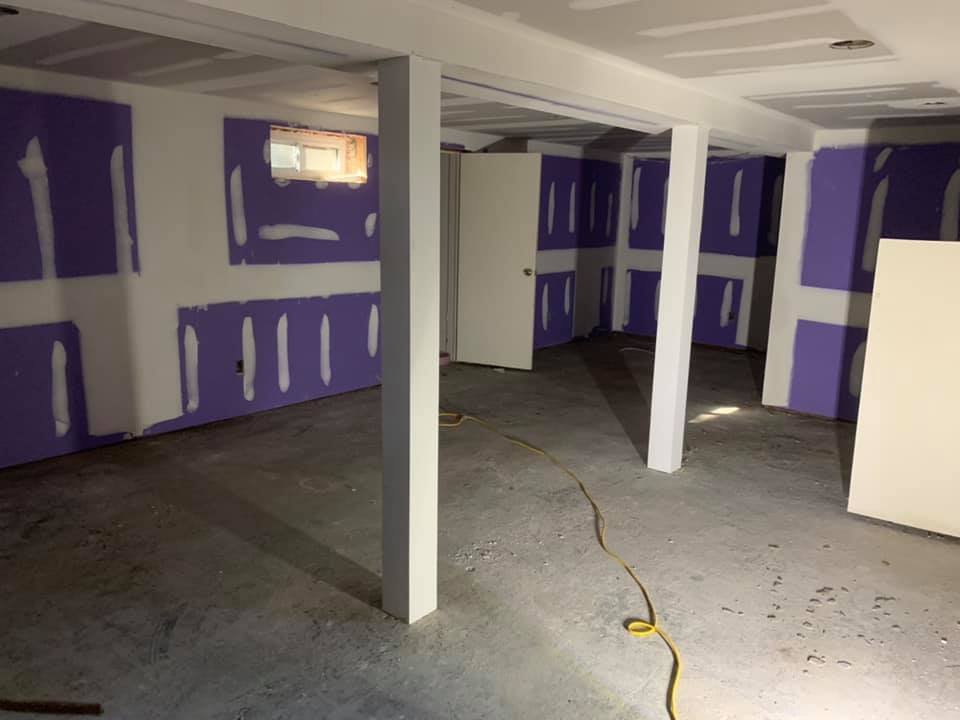
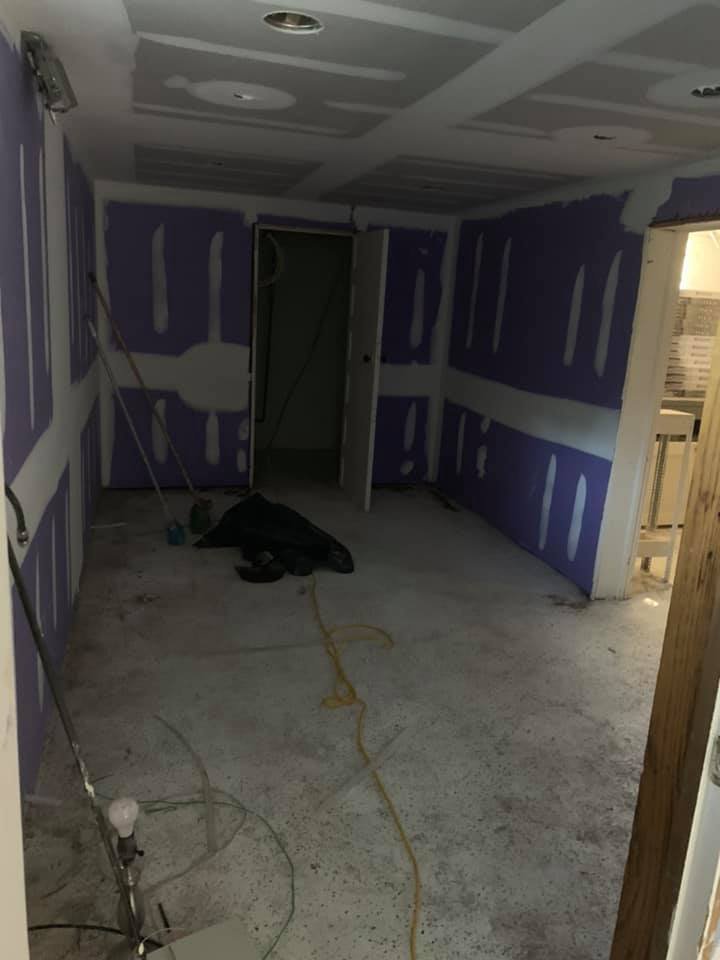
 Purple moisture-resistant drywall up with seams taped. Right product for a basement.
-
 During
 Coffered ceiling drywalled and taped. The boxes hide ductwork without dropping the whole ceiling.
-
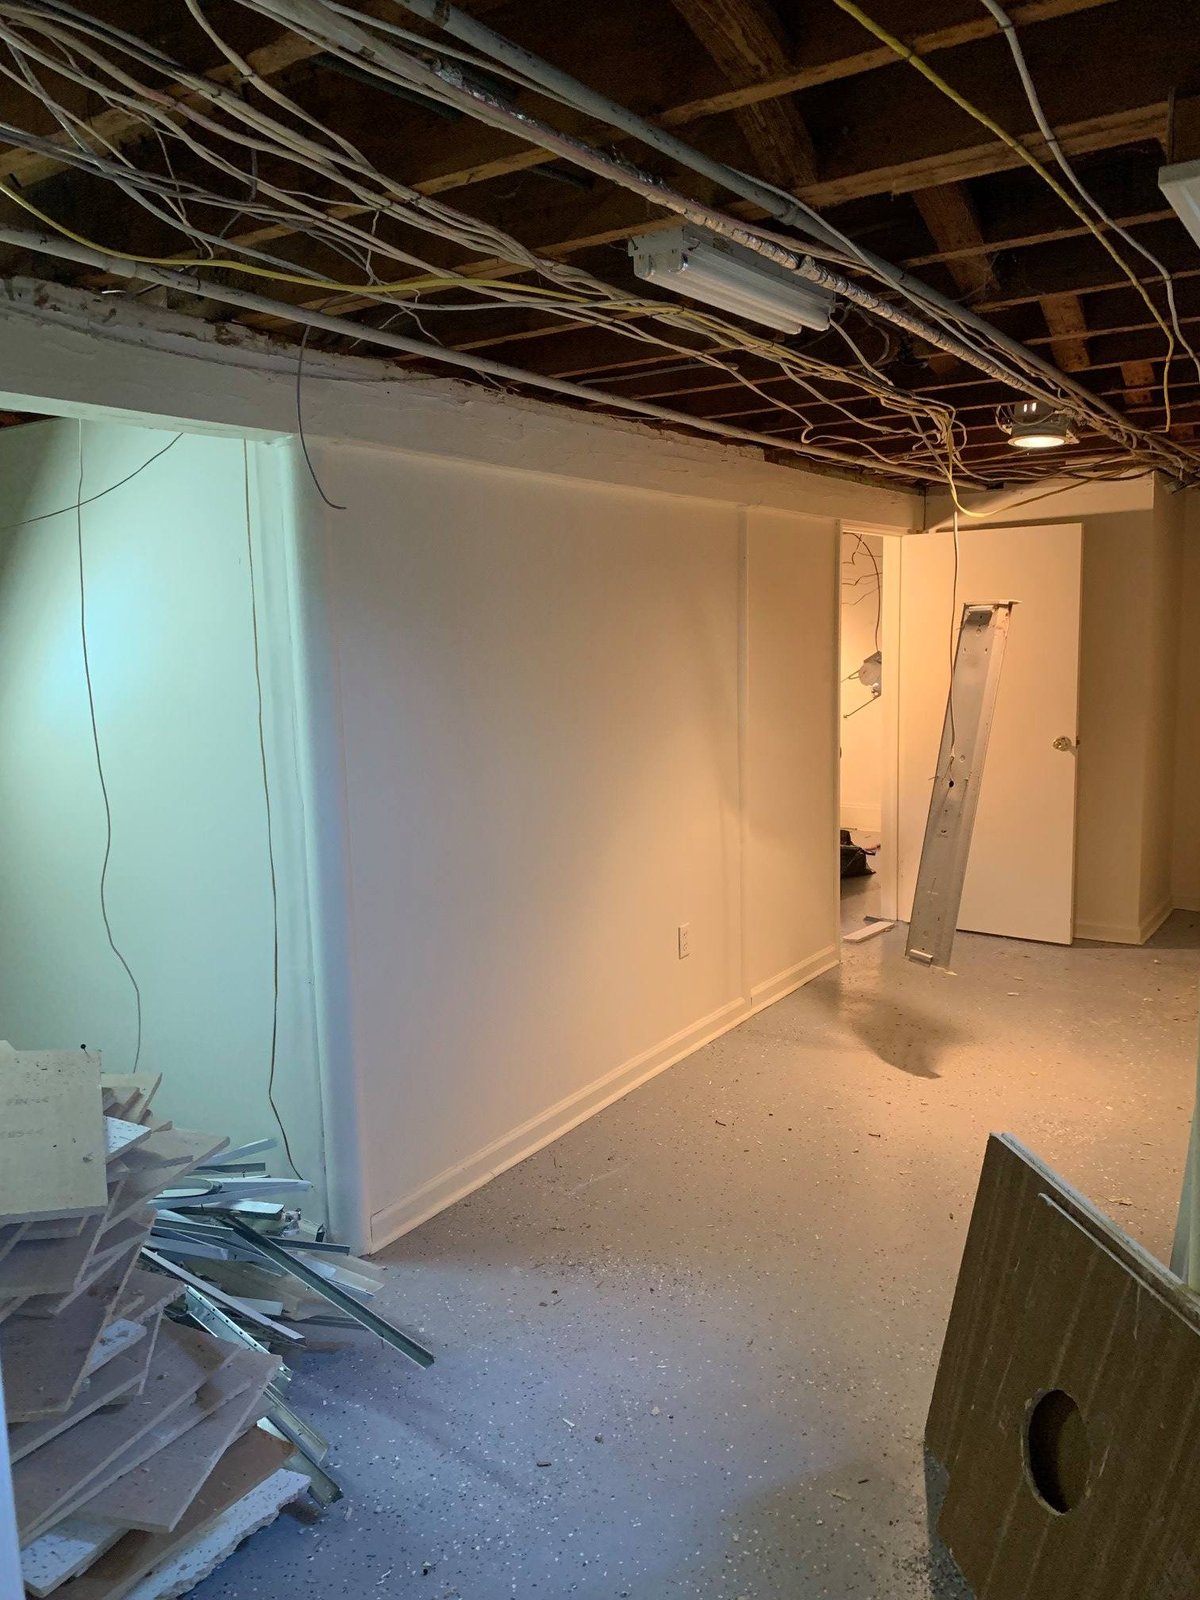
 During
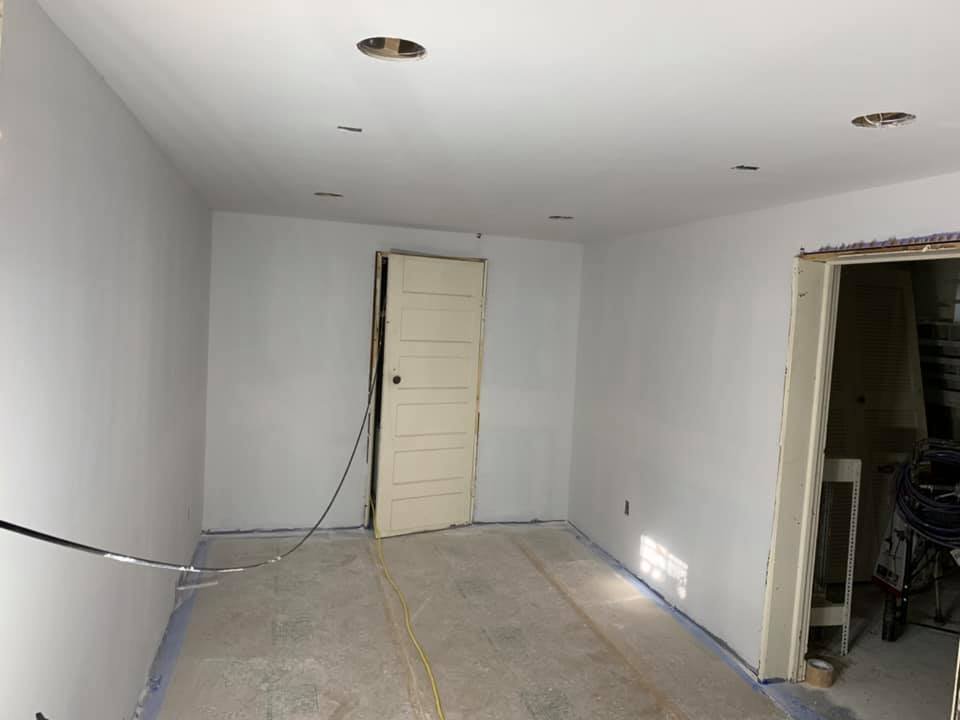
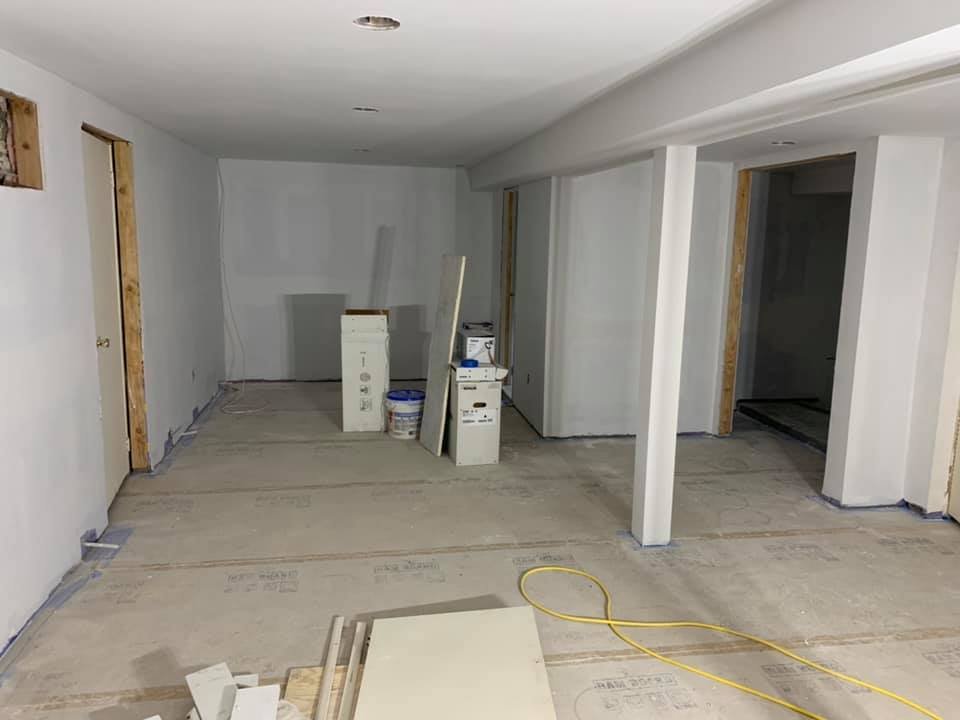
 Walls primed, lights cut in, slab still bare. Almost ready for finished flooring.
-
 During
 Subfloor protection down before flooring went in. Saves the new drywall from carts and tools.
-
 During
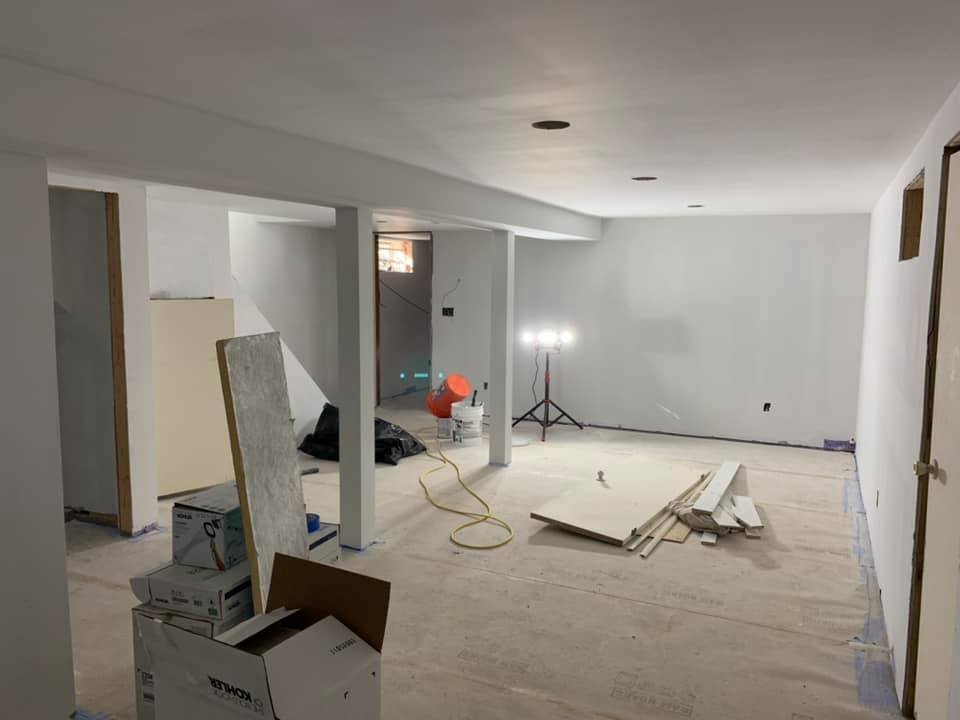
 Recessed cans installed, trim staged. Final stretch.
-
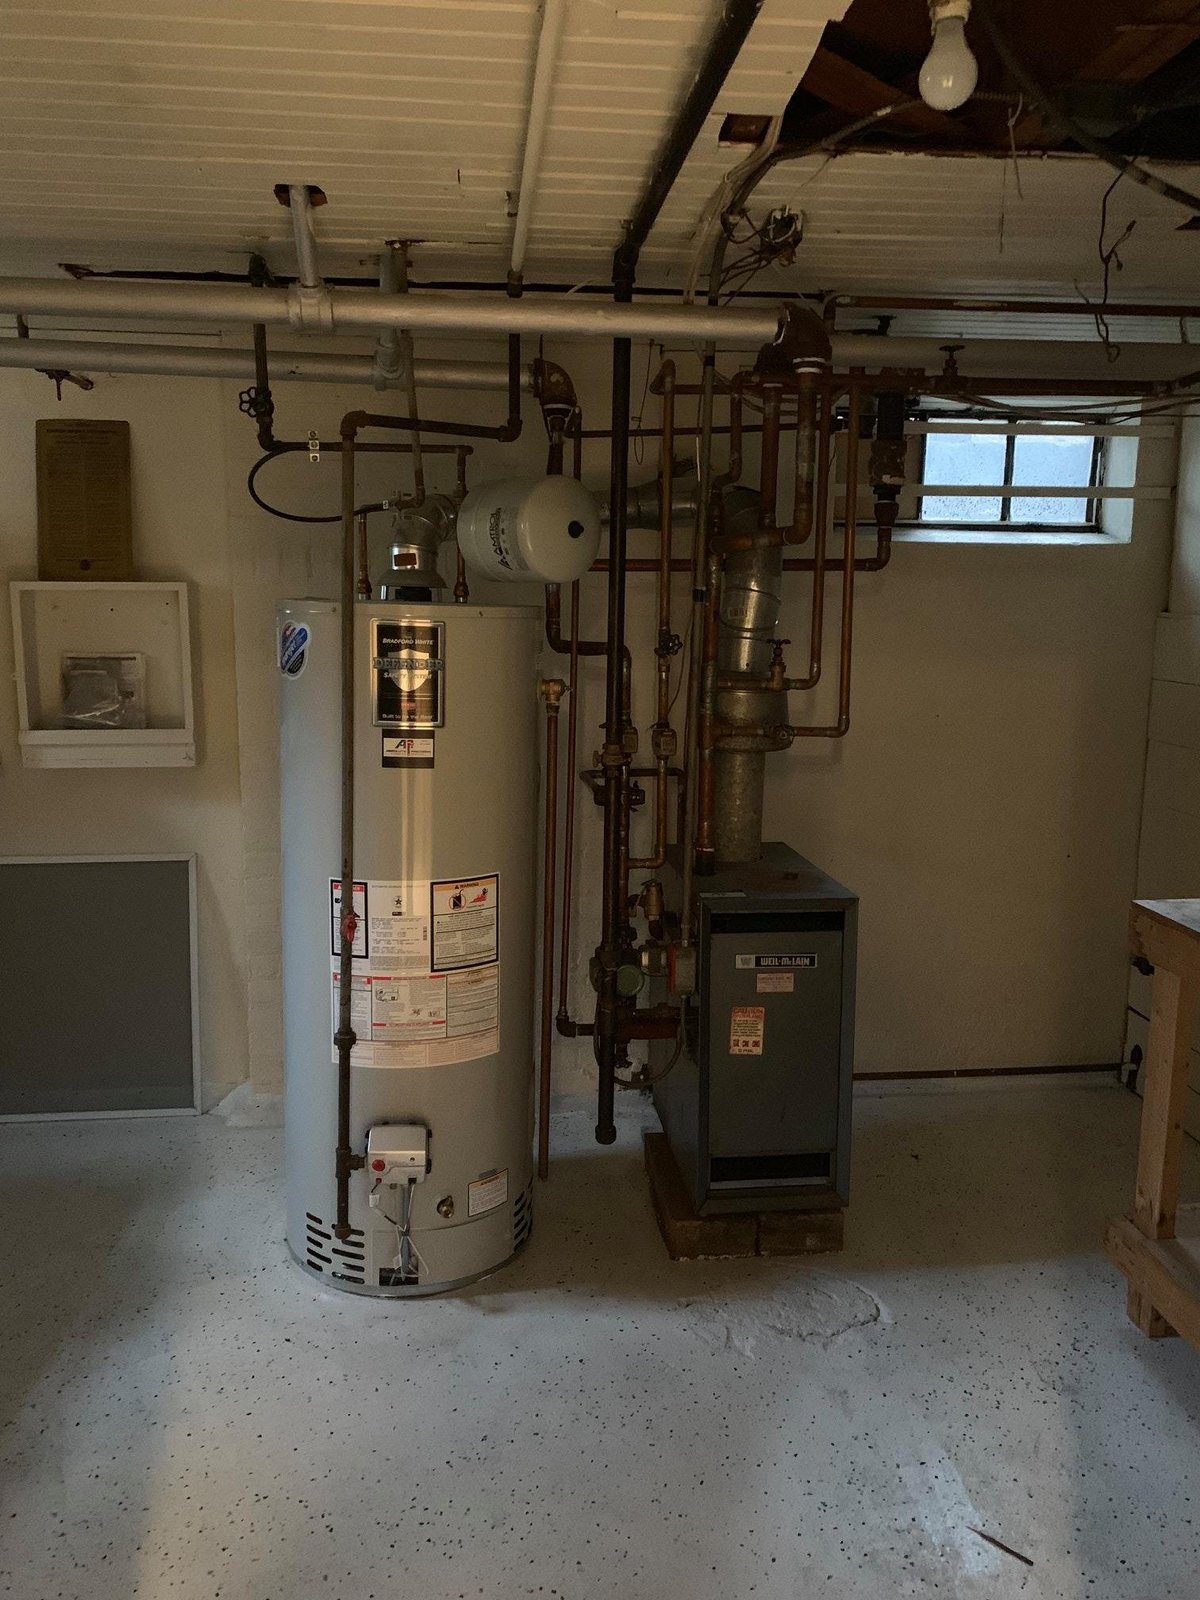
 Before
 Utility room before — water heater, expansion tank, and a tired workbench. All staying, just cleaned up.
-
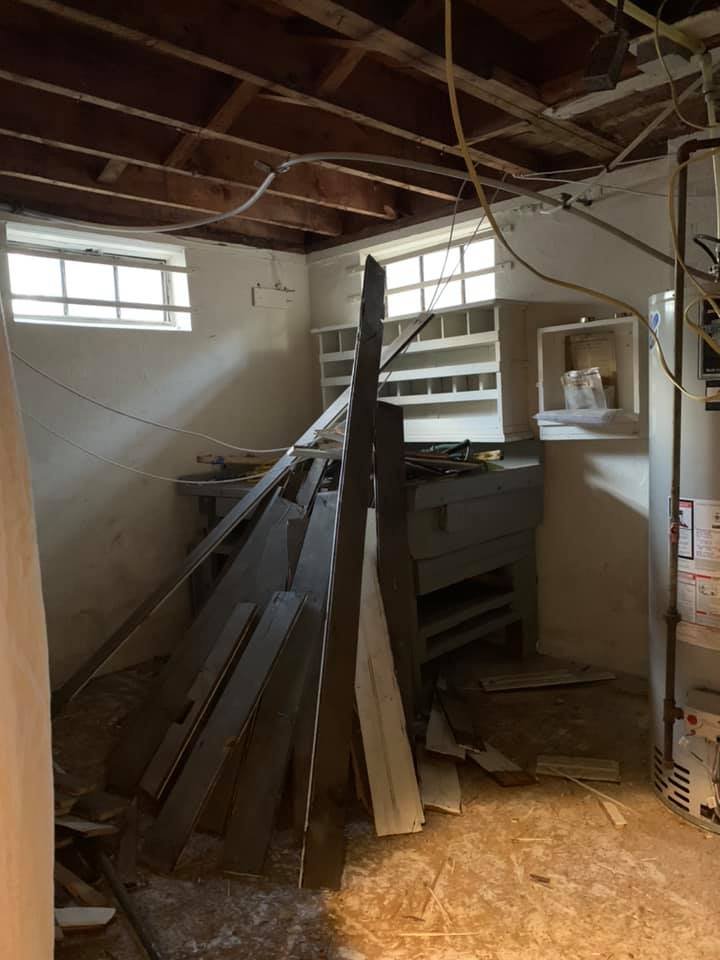 During
 Mid-demo with stripped joists and salvaged lumber stacked next to the water heater.
-
 After
After Workshop area with gray epoxy floor and white walls drying. Ventilation ran for two days.
-
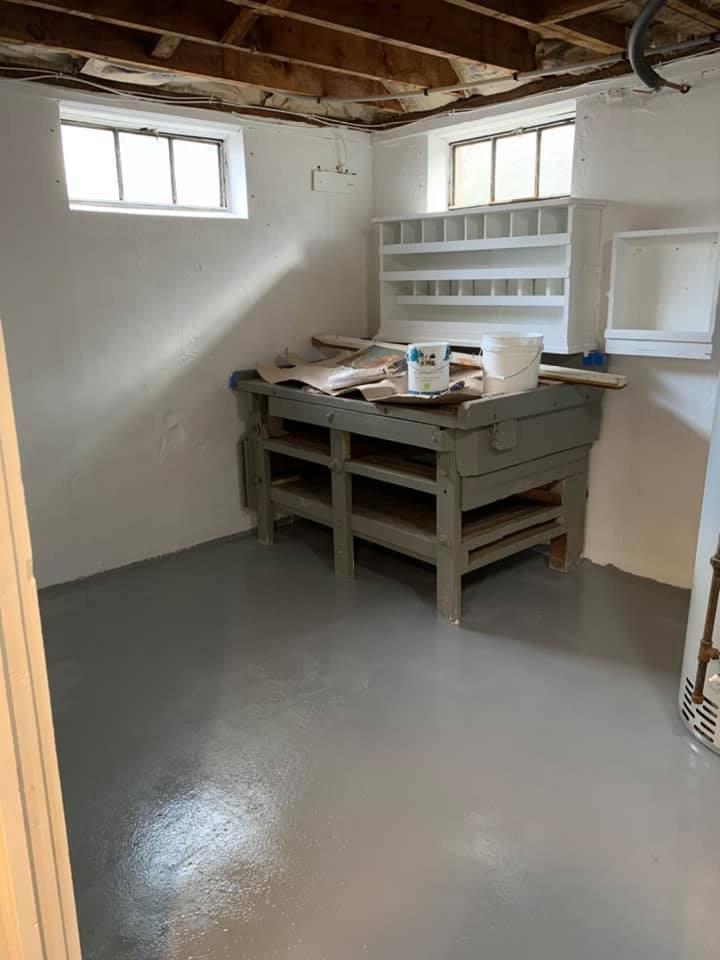
 After
After Storage room finished with sealed concrete and a clean workbench area.
-
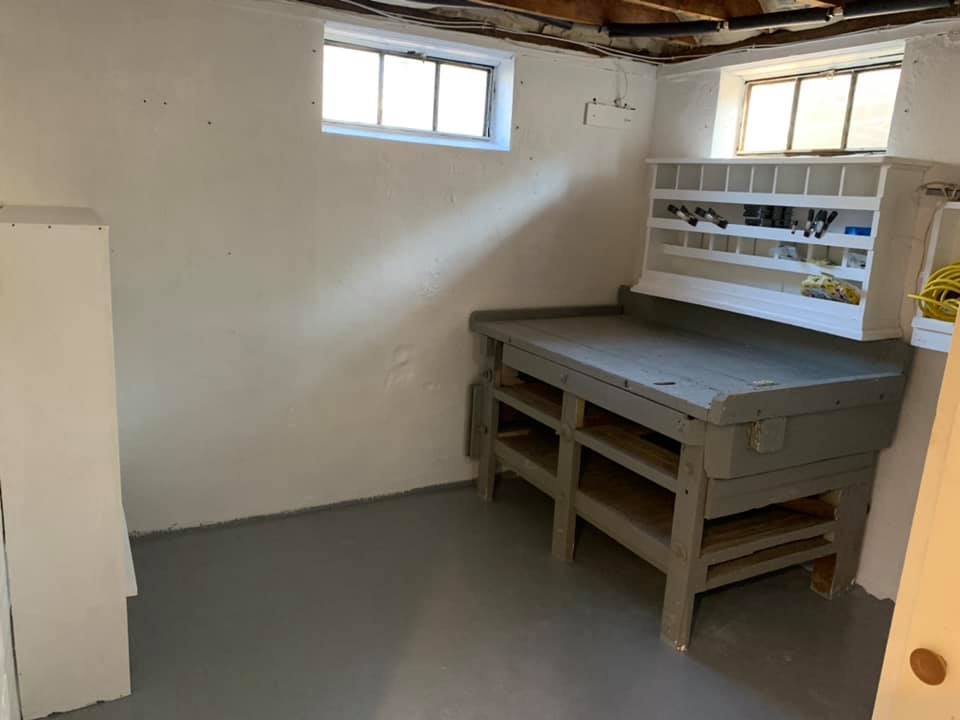 After
After Workshop done — built-in bench, painted walls, sealed floor. Where the next project gets prepped.
Want a Plan for Your Project?
Send photos and a few sentences. I'll send back a written diagnostic — what's broken, what it'll cost, and what to DIY vs. hire. $9.99, in your inbox in minutes.
Get a Diagnostic Report — $9.99 →