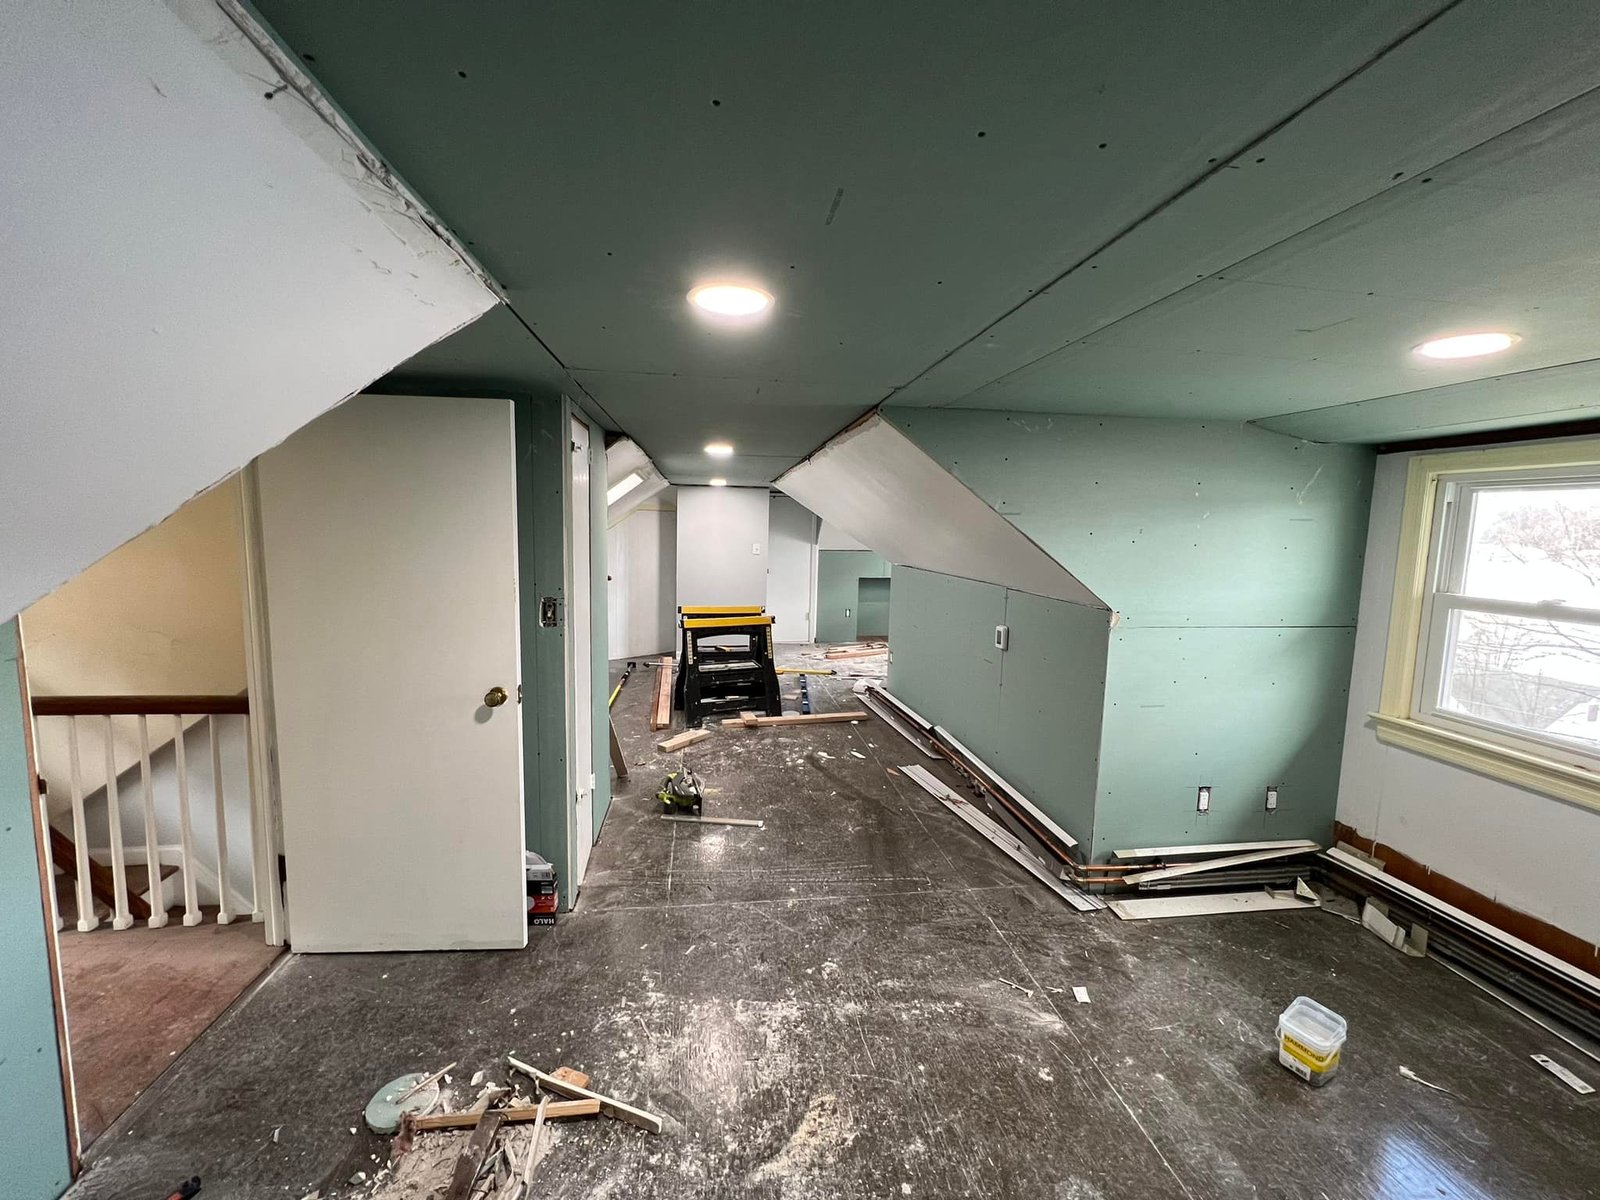
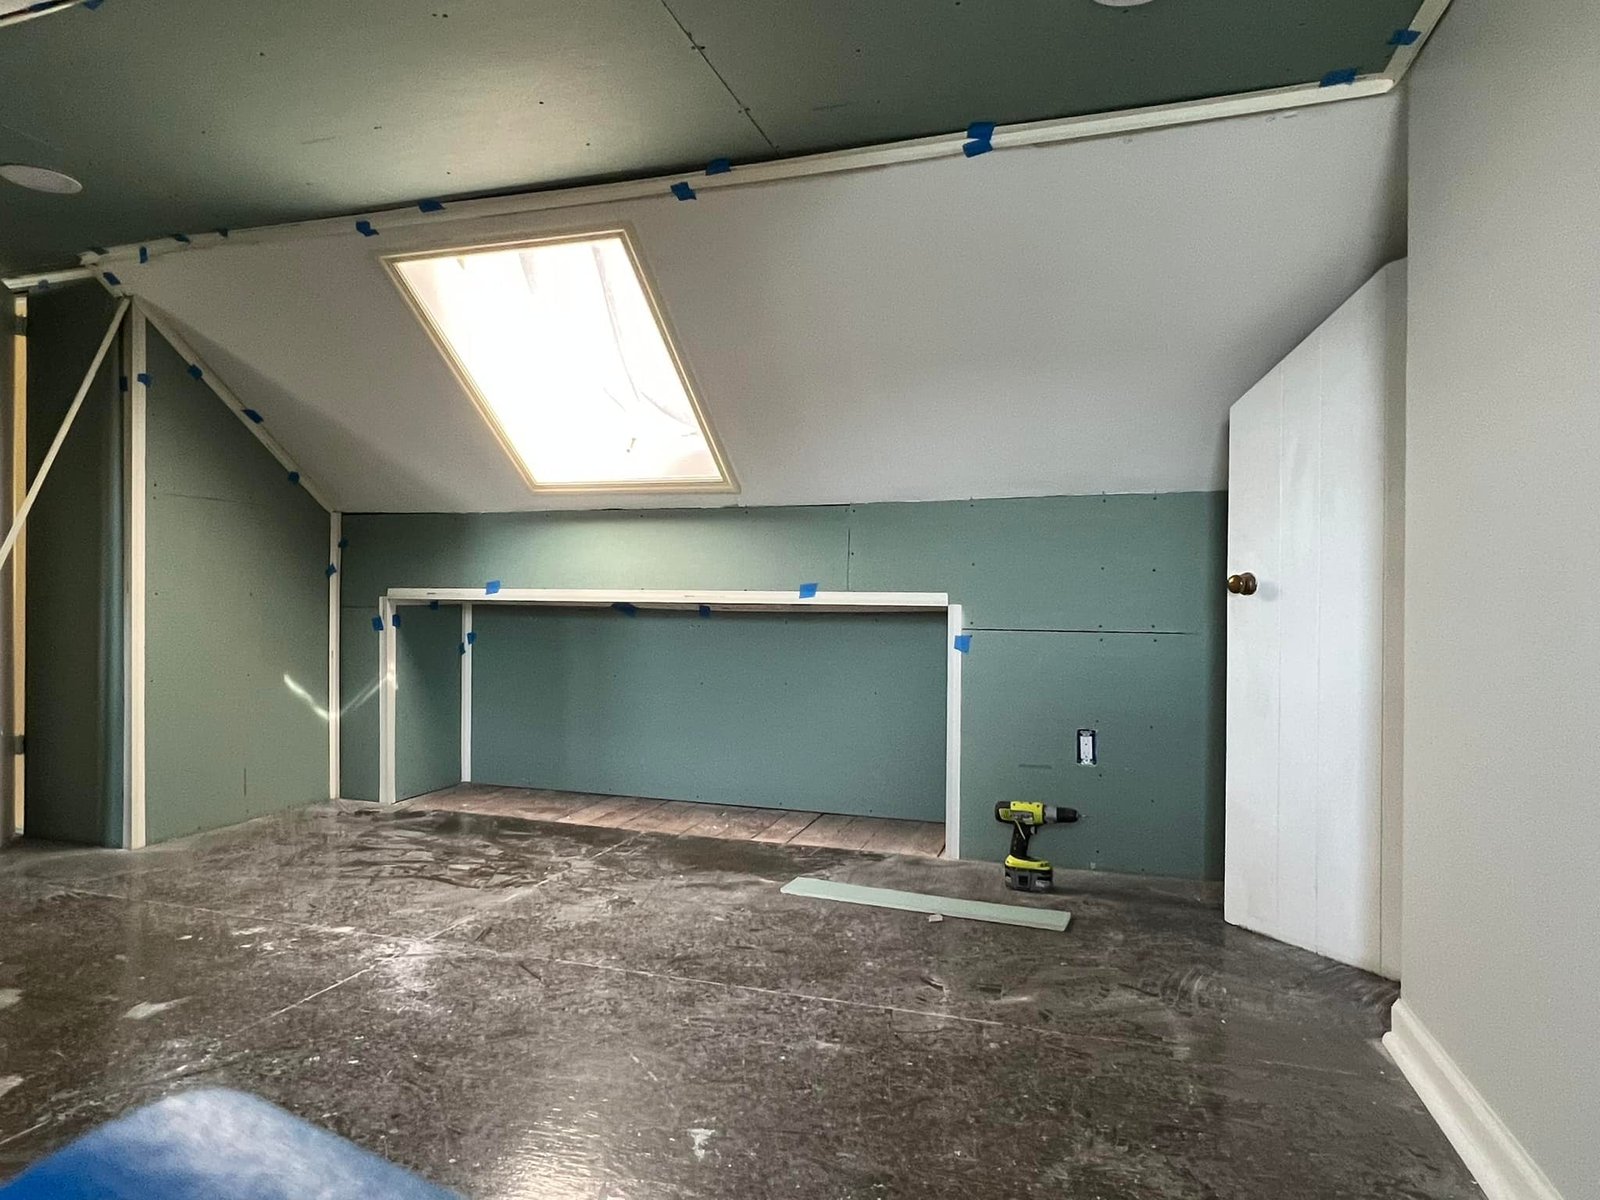
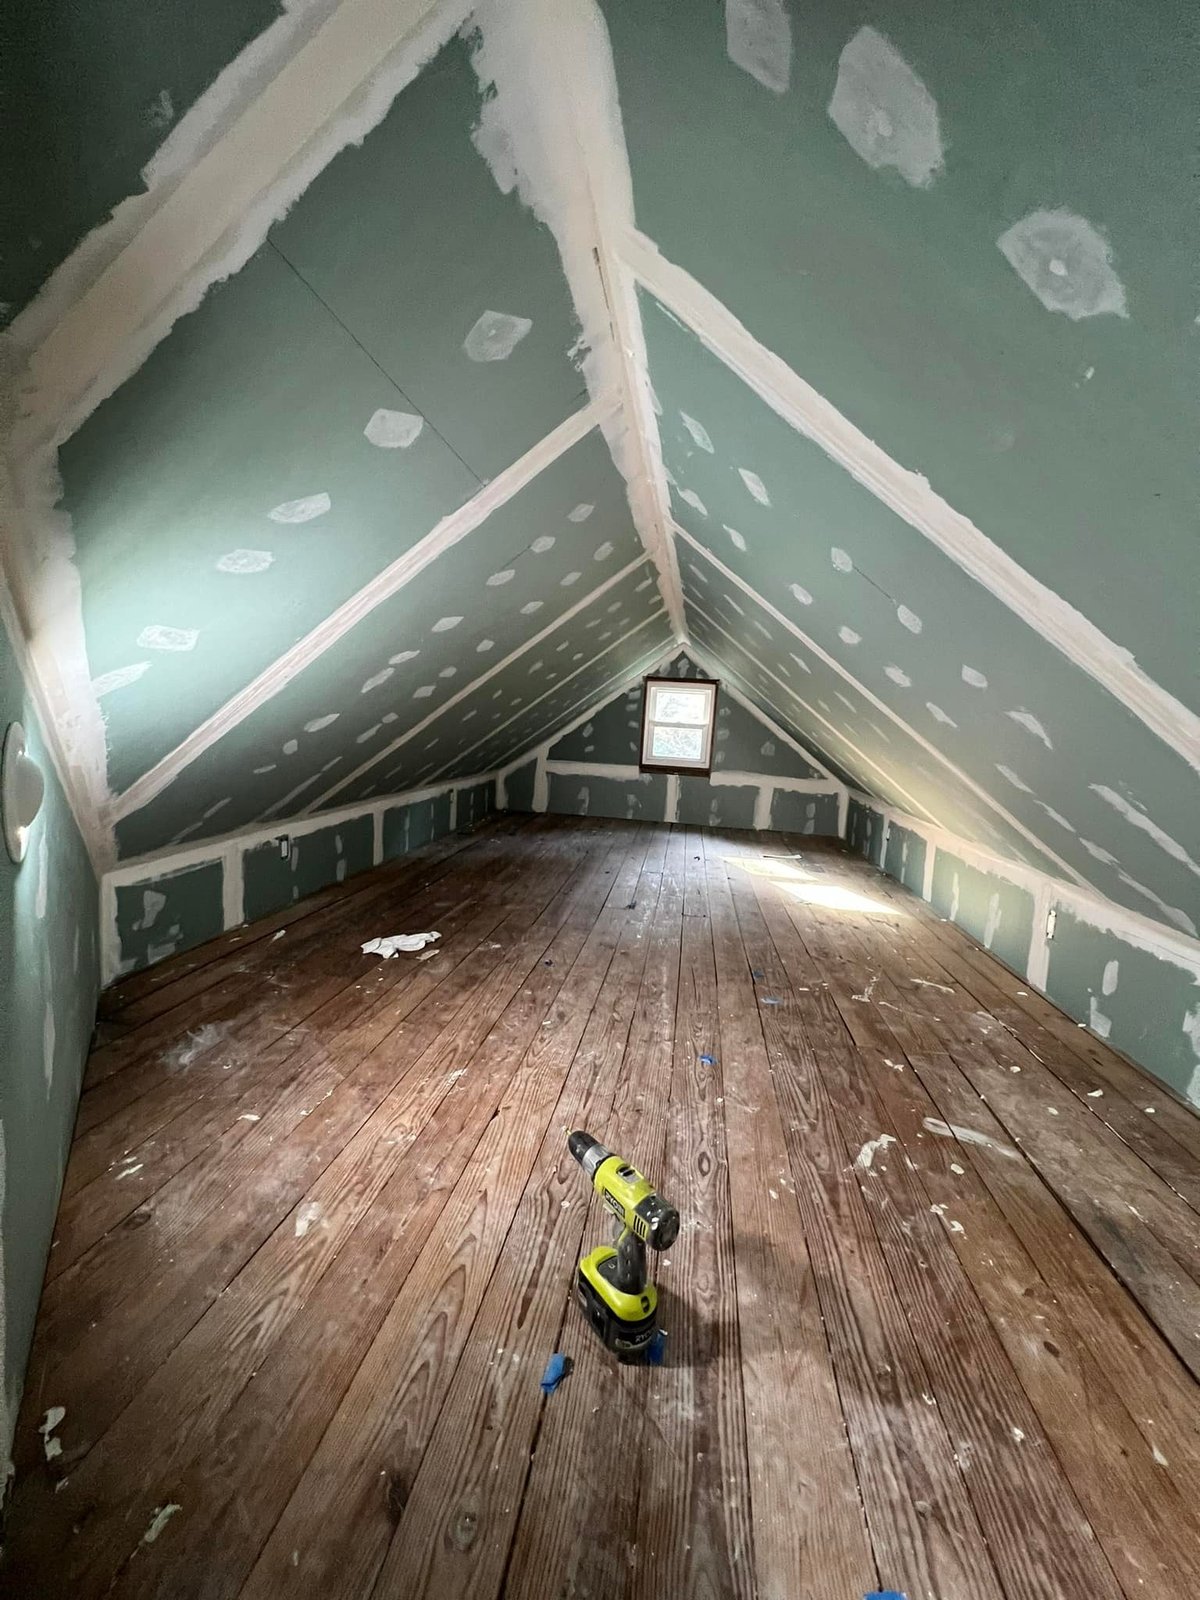
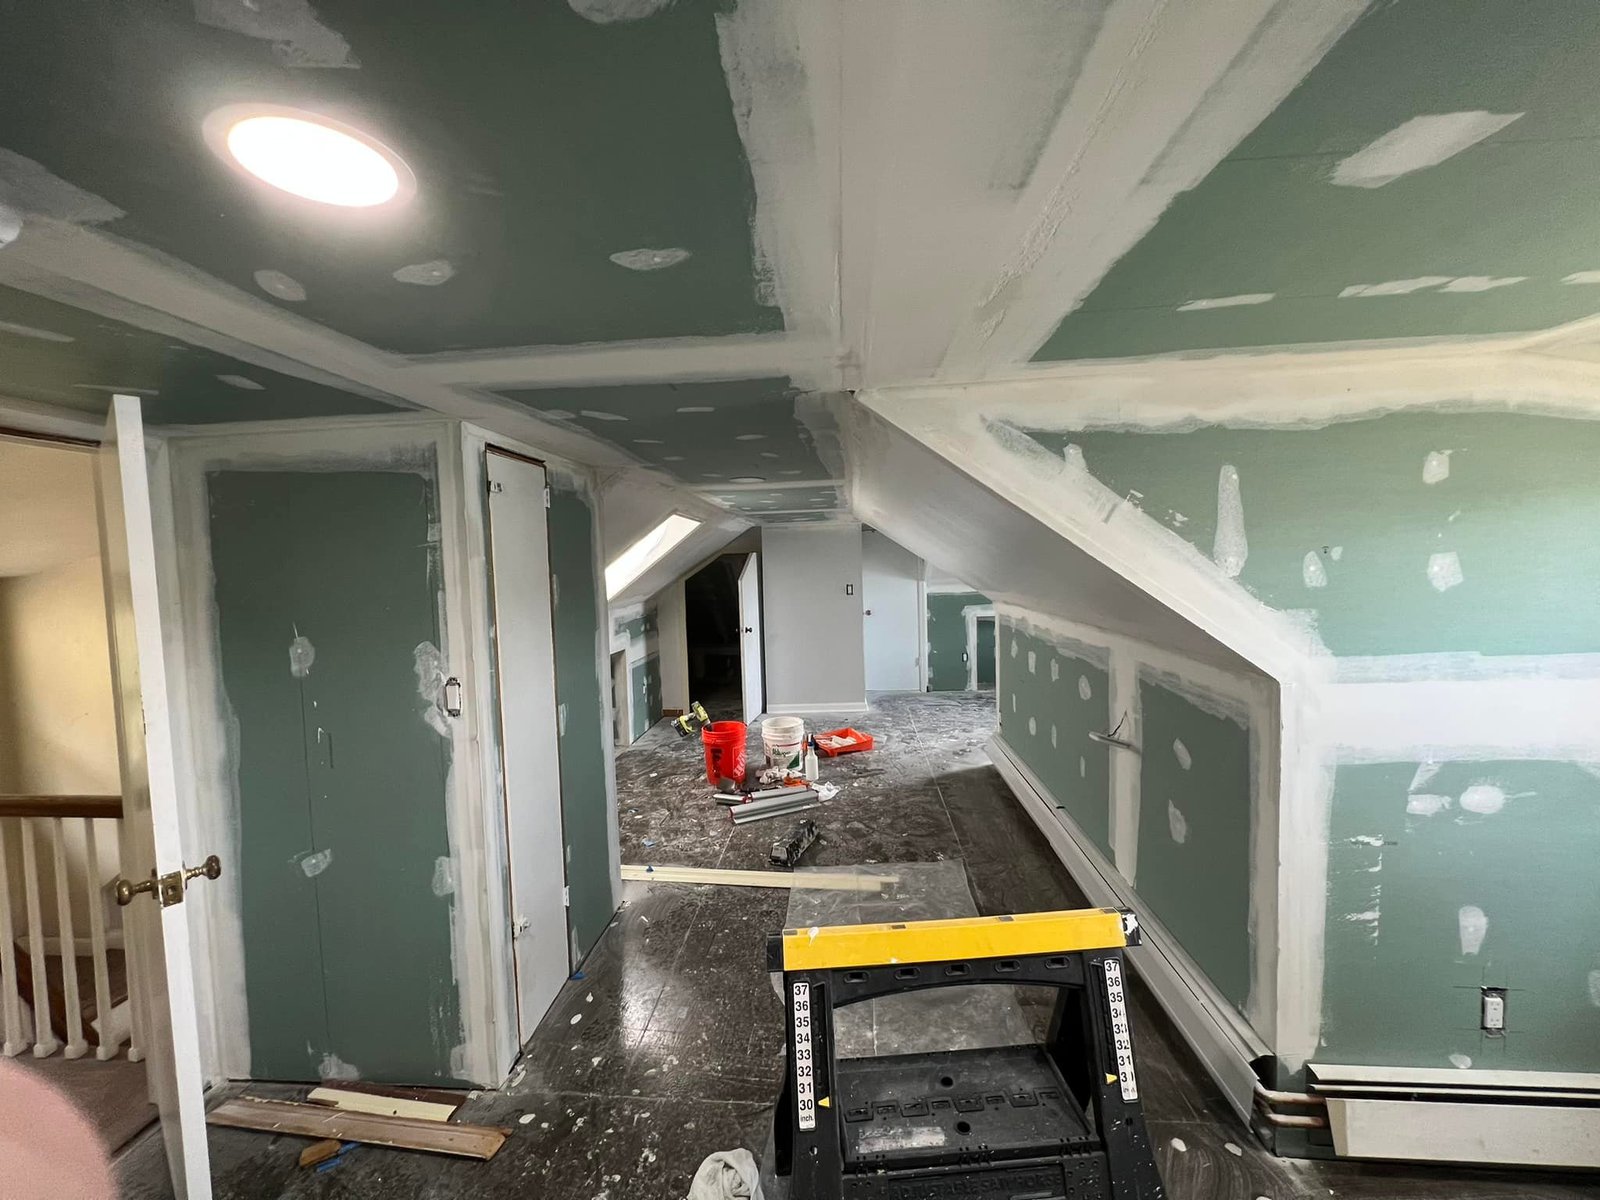
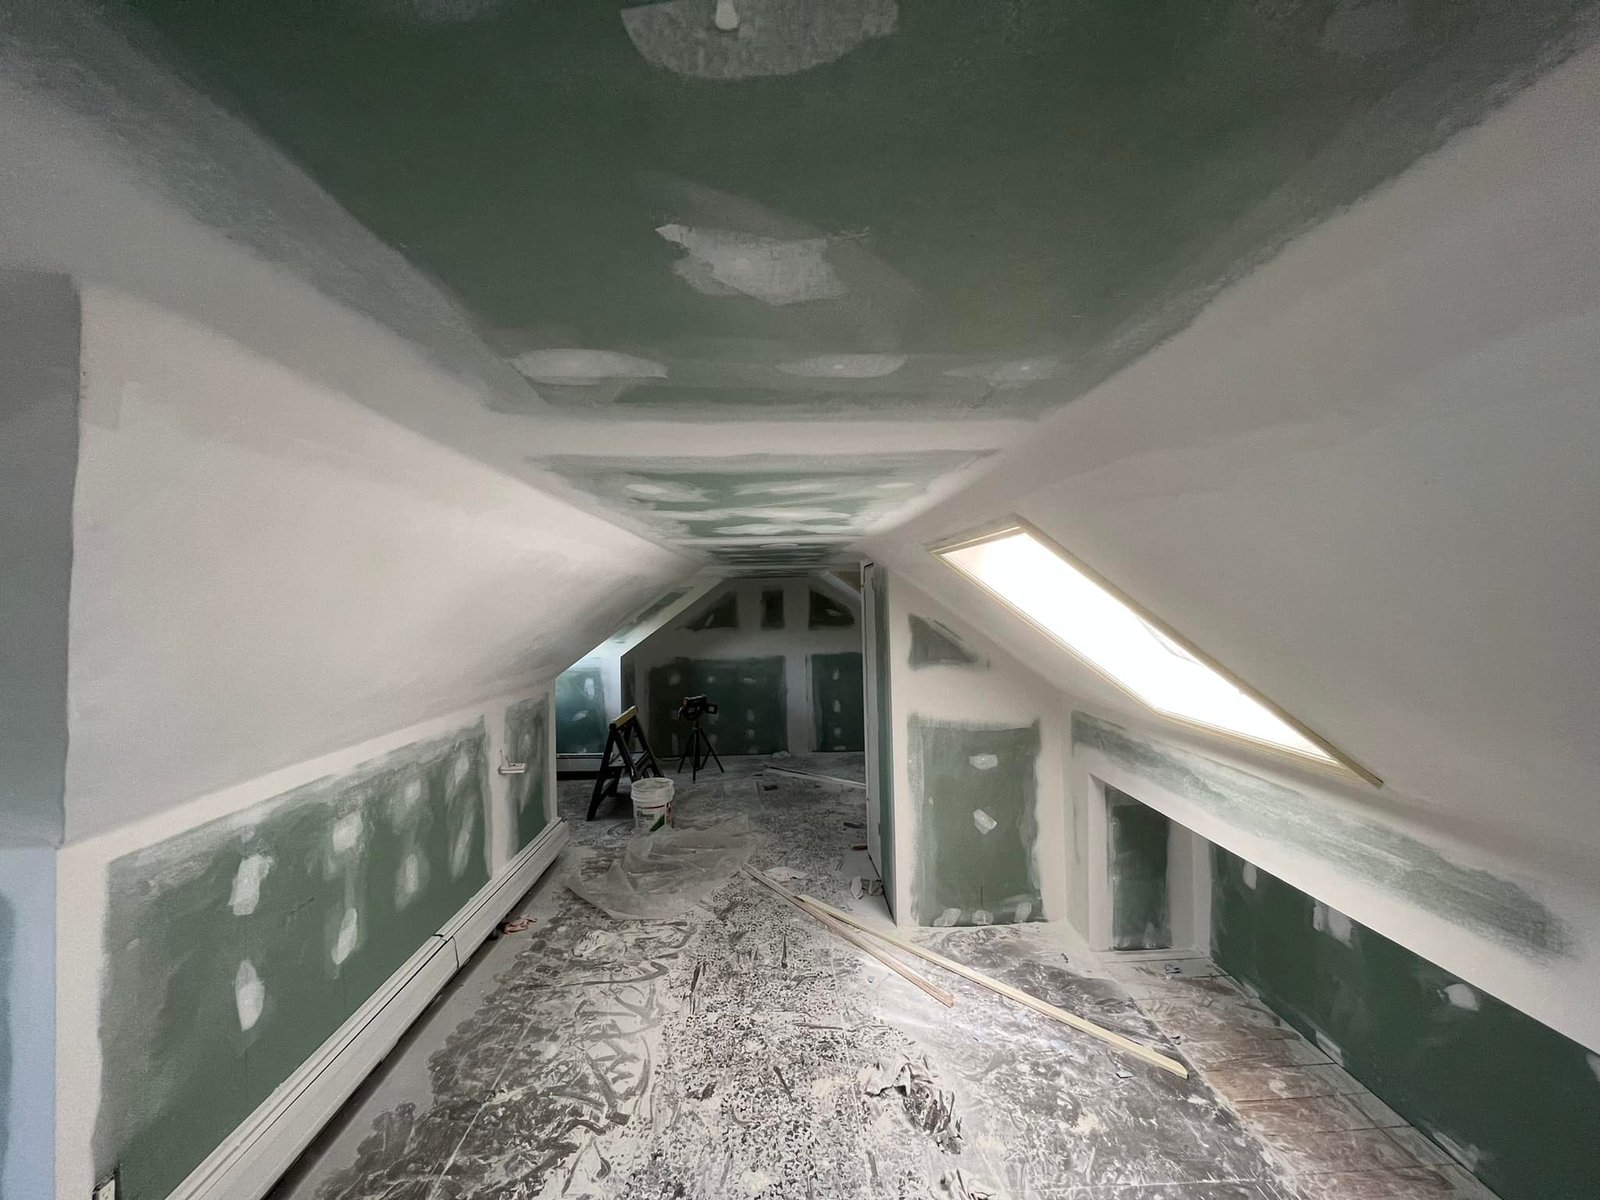
I converted the unfinished attic into real bedroom space. Hung mold-resistant green board on the sloped ceilings and knee walls, taped and mudded every seam, and worked around new skylights, dormer windows, and recessed lights I'd already roughed in. Used adjustable poles to hold sheets to the rafters since I was working alone most days. Kept the original plank floors so the rooms still read like cottage attic, just sealed up and habitable.
-
 During
 Green board going up on the sloped ceilings with the recessed cans already roughed in.
-
 During
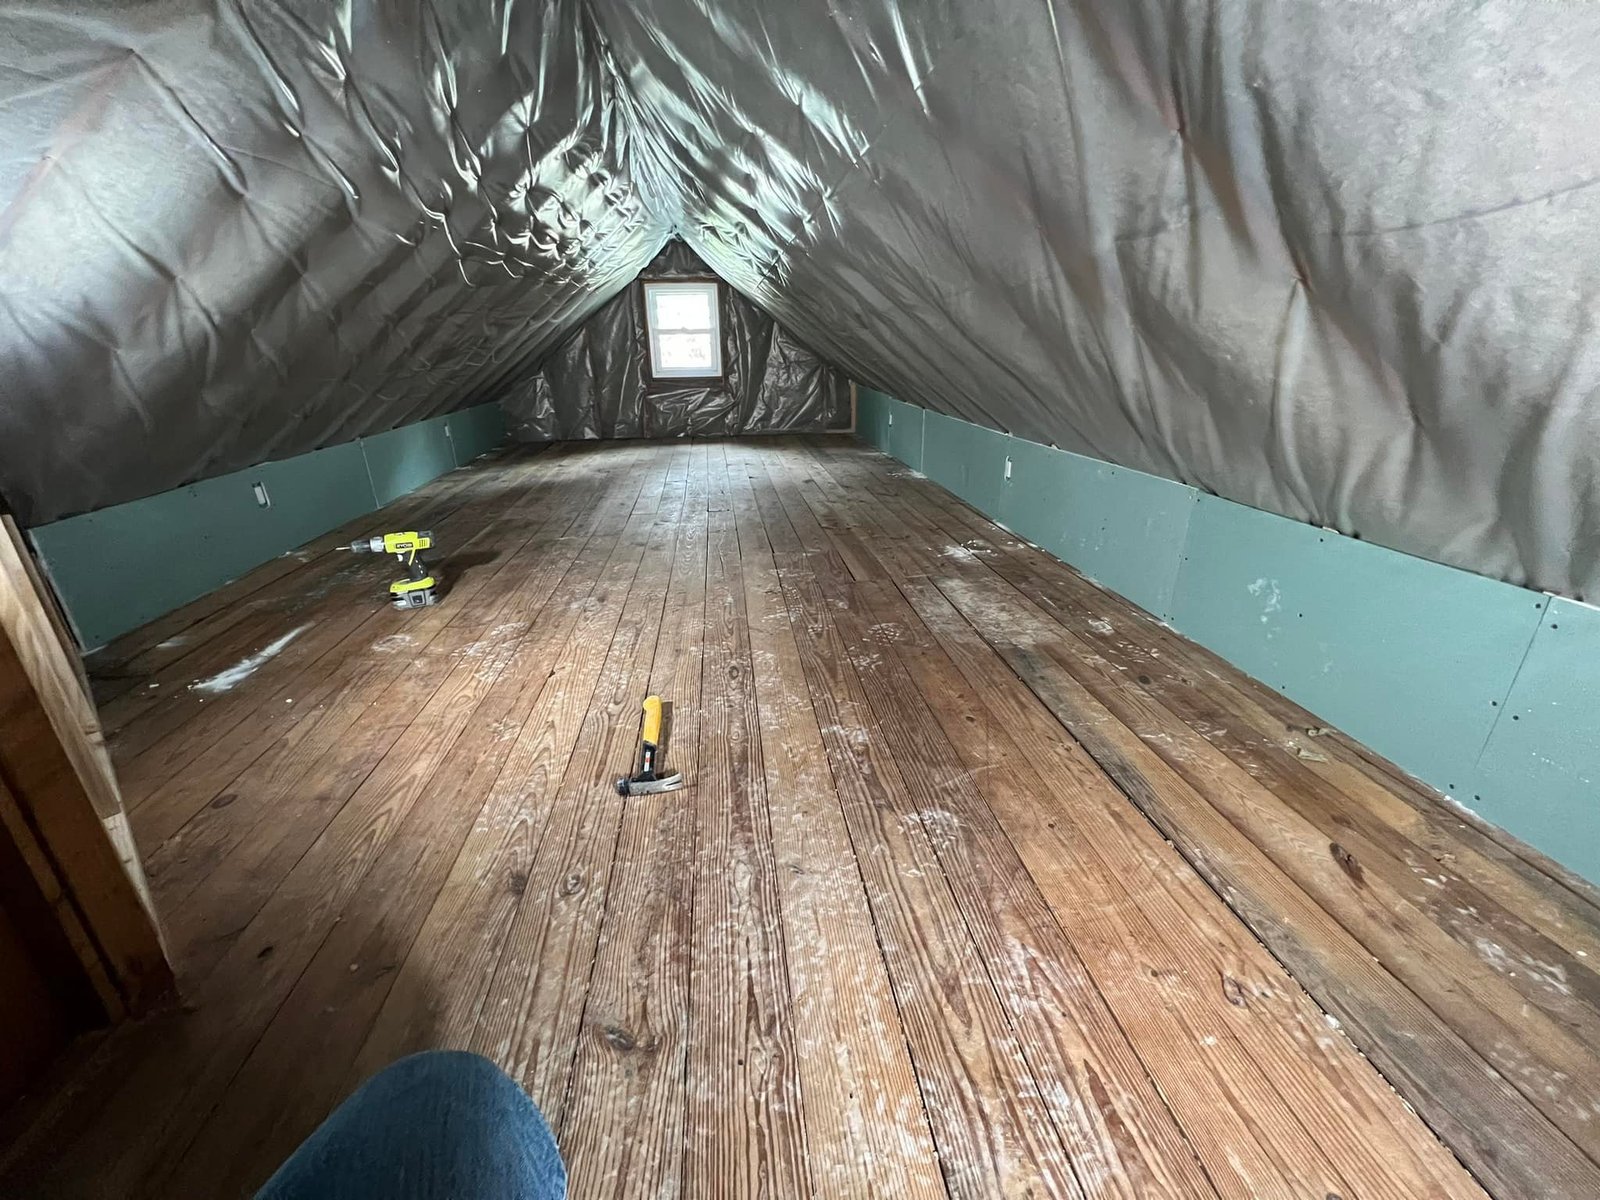
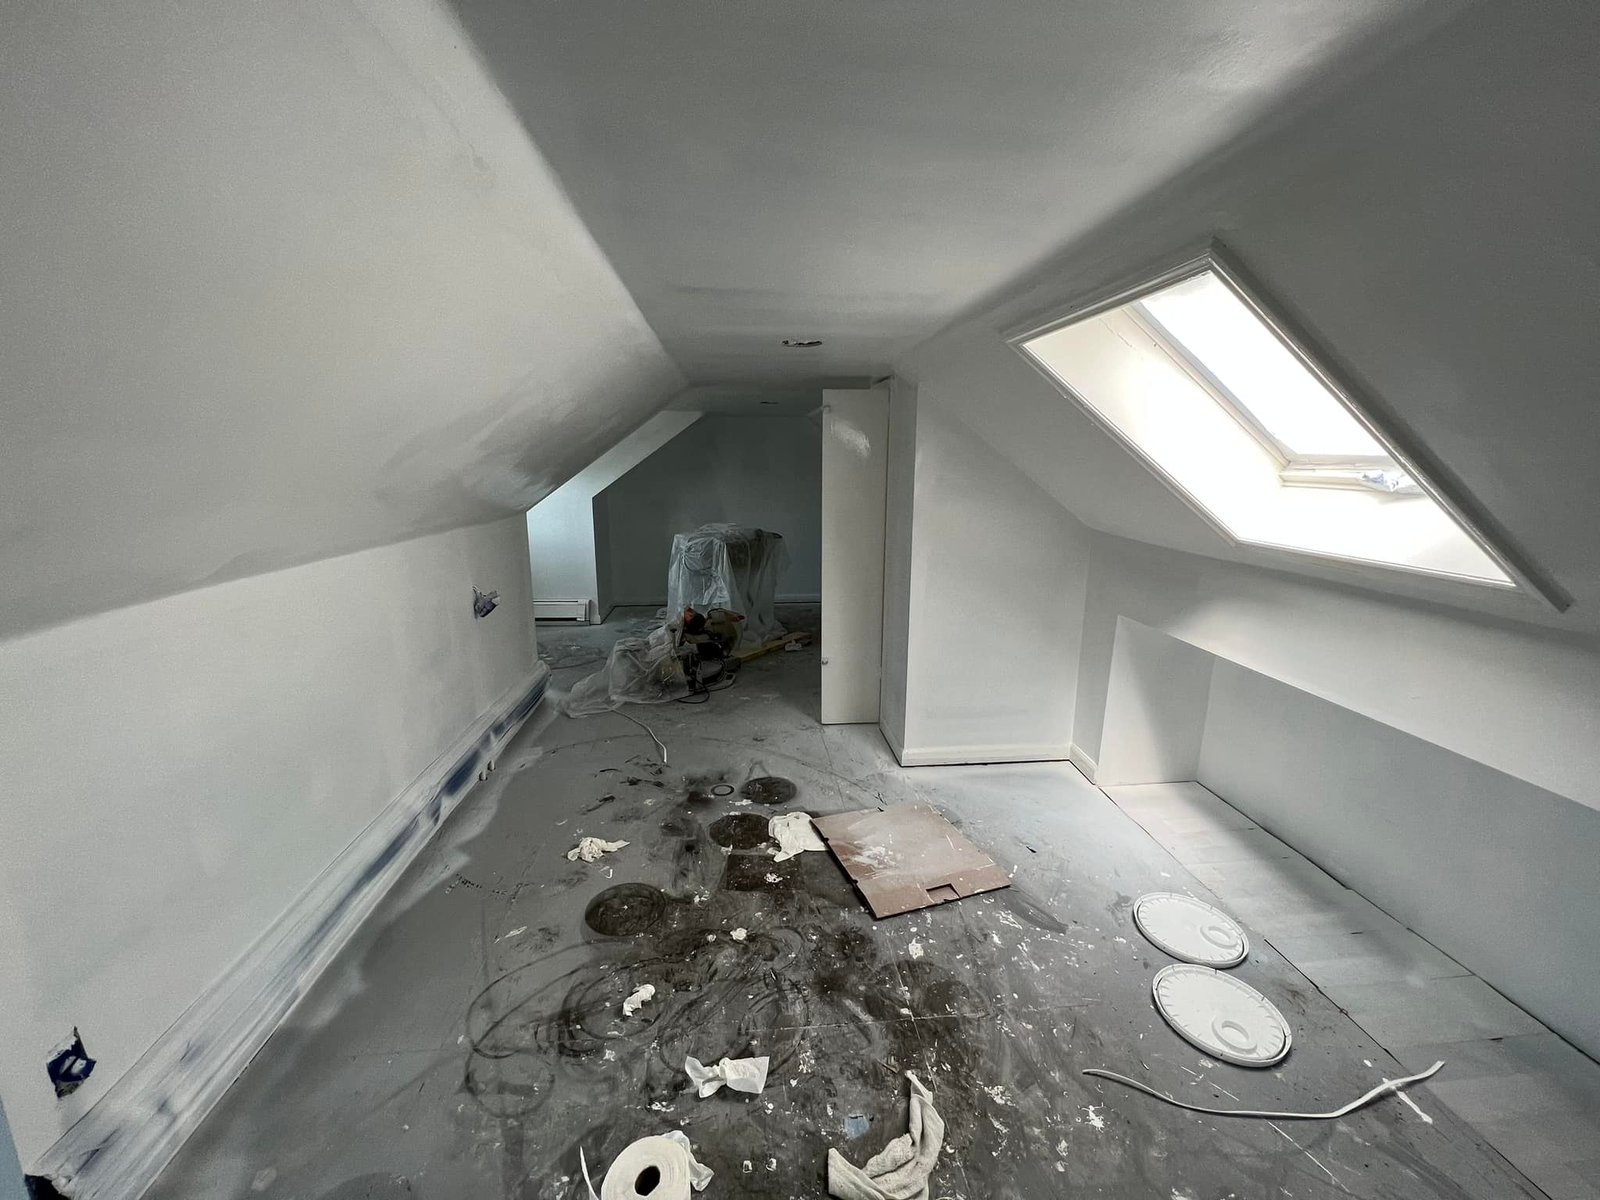
 Hung plastic from the rafters to keep insulation dust off everything while I prepped for drywall.
-
 During
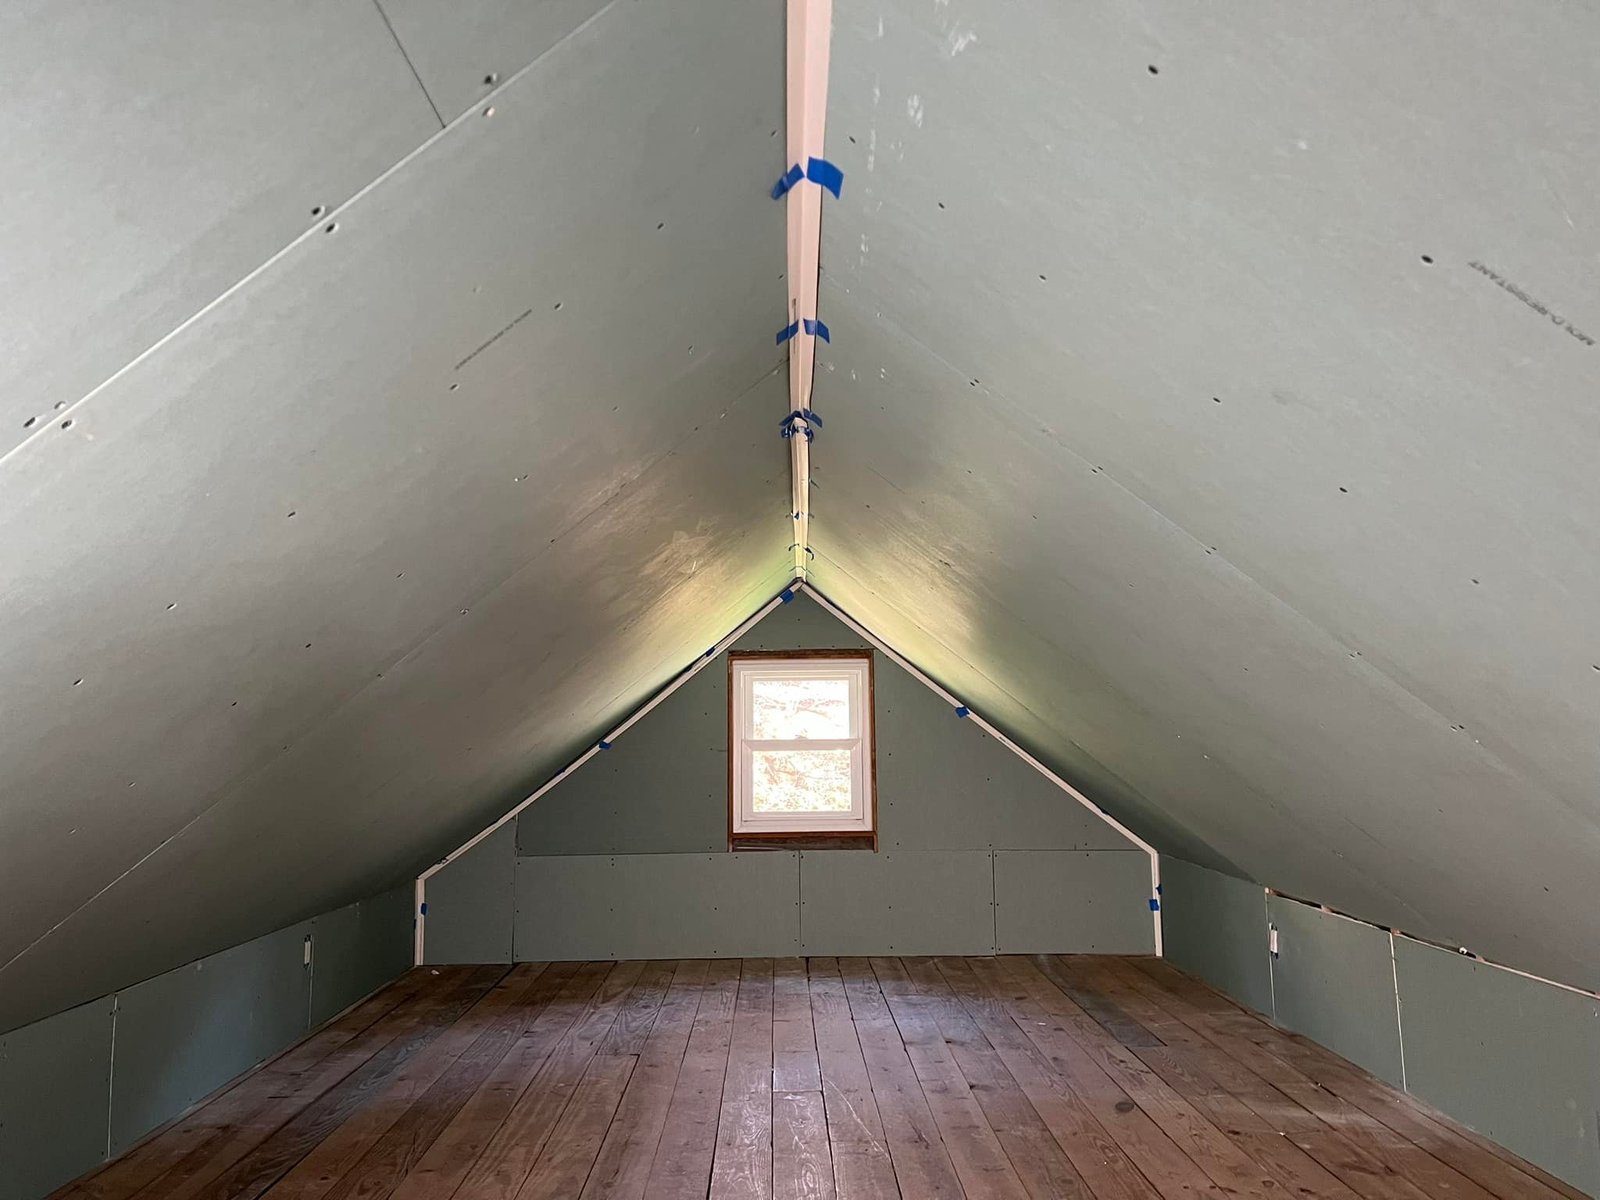
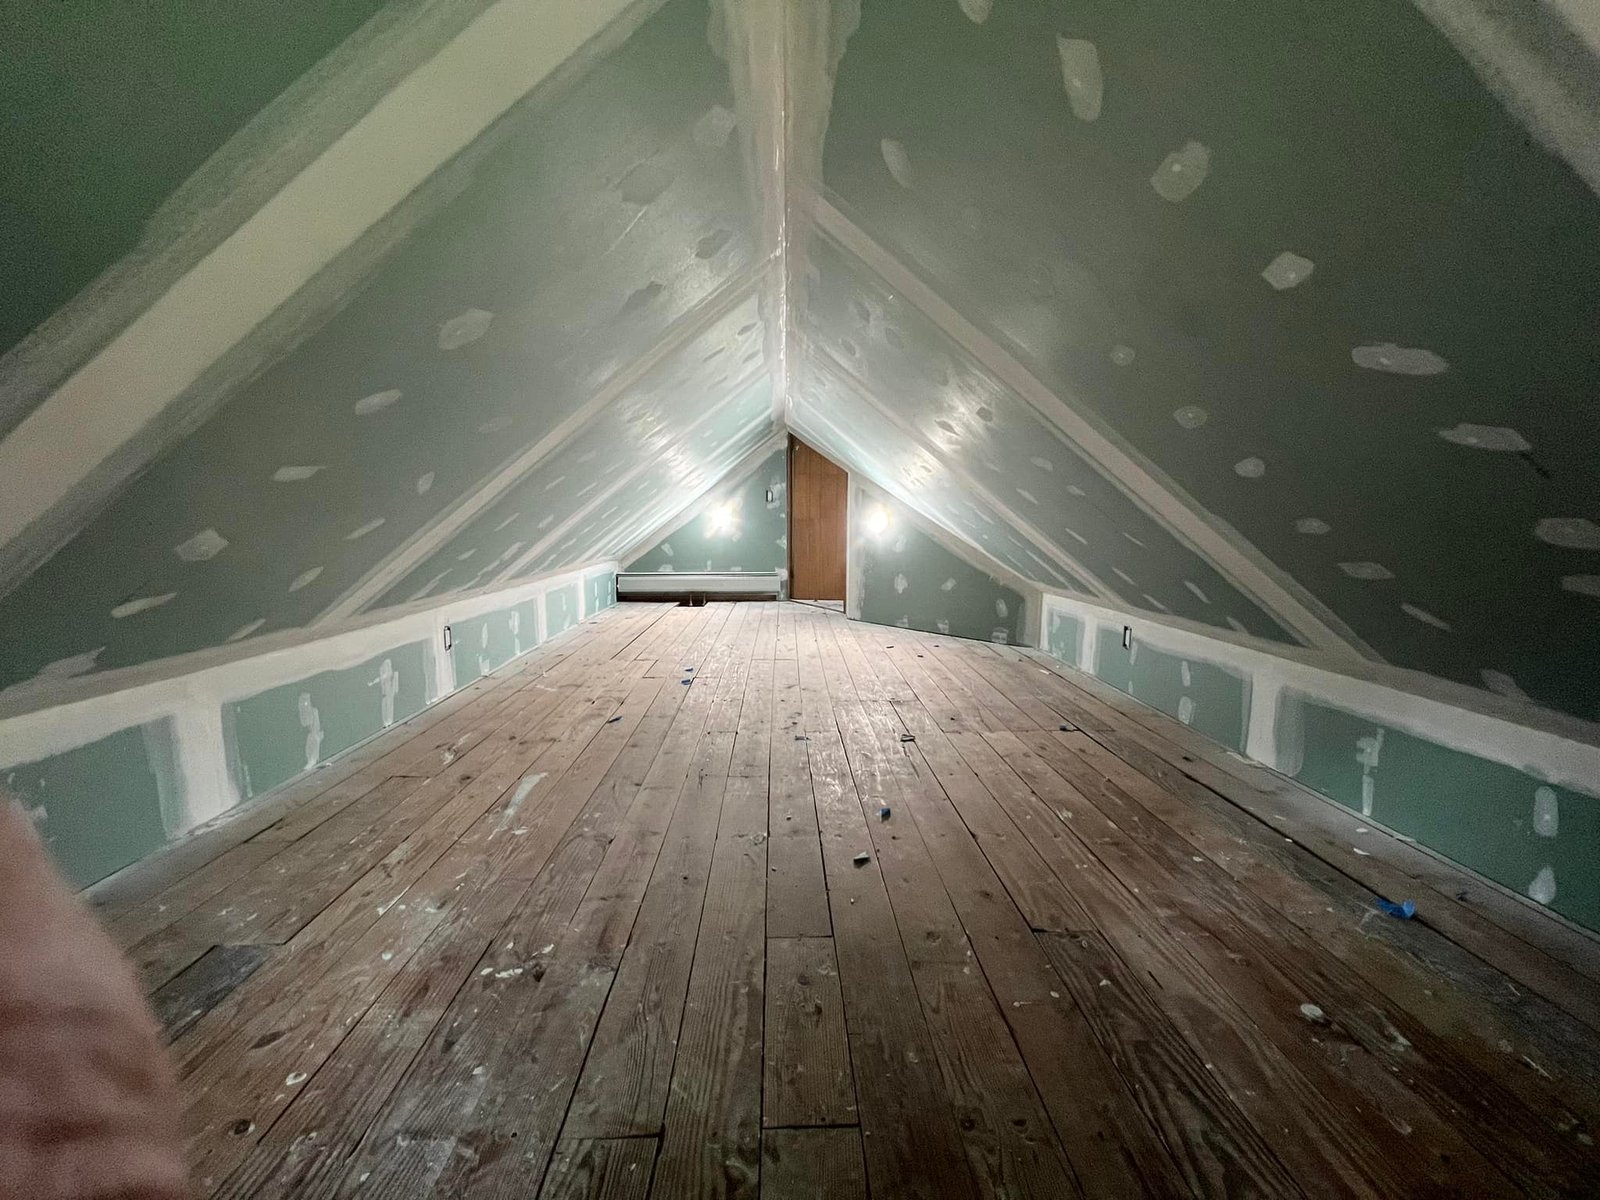
 Radiant barrier and knee-wall green board in place. Now it's actually conditioned space.
-
 During
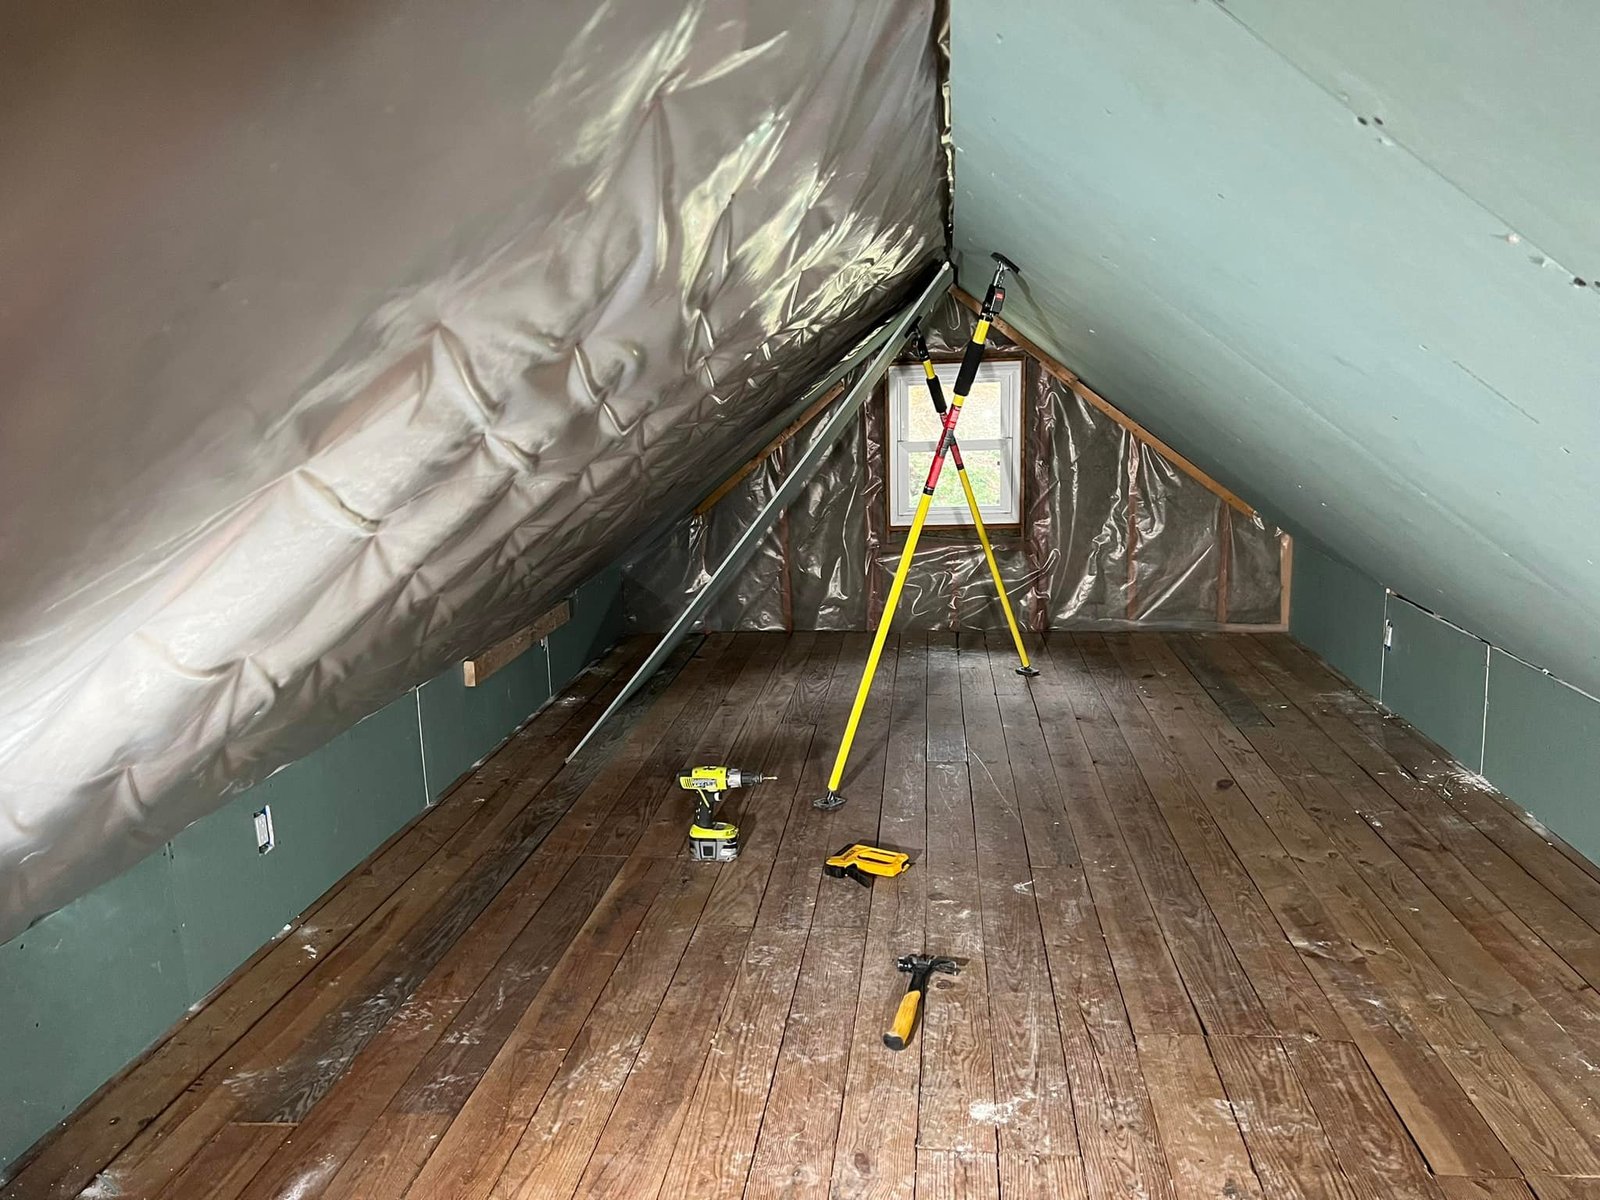
 Vapor barrier held up with support poles while I worked the ceiling alone.
-
 During
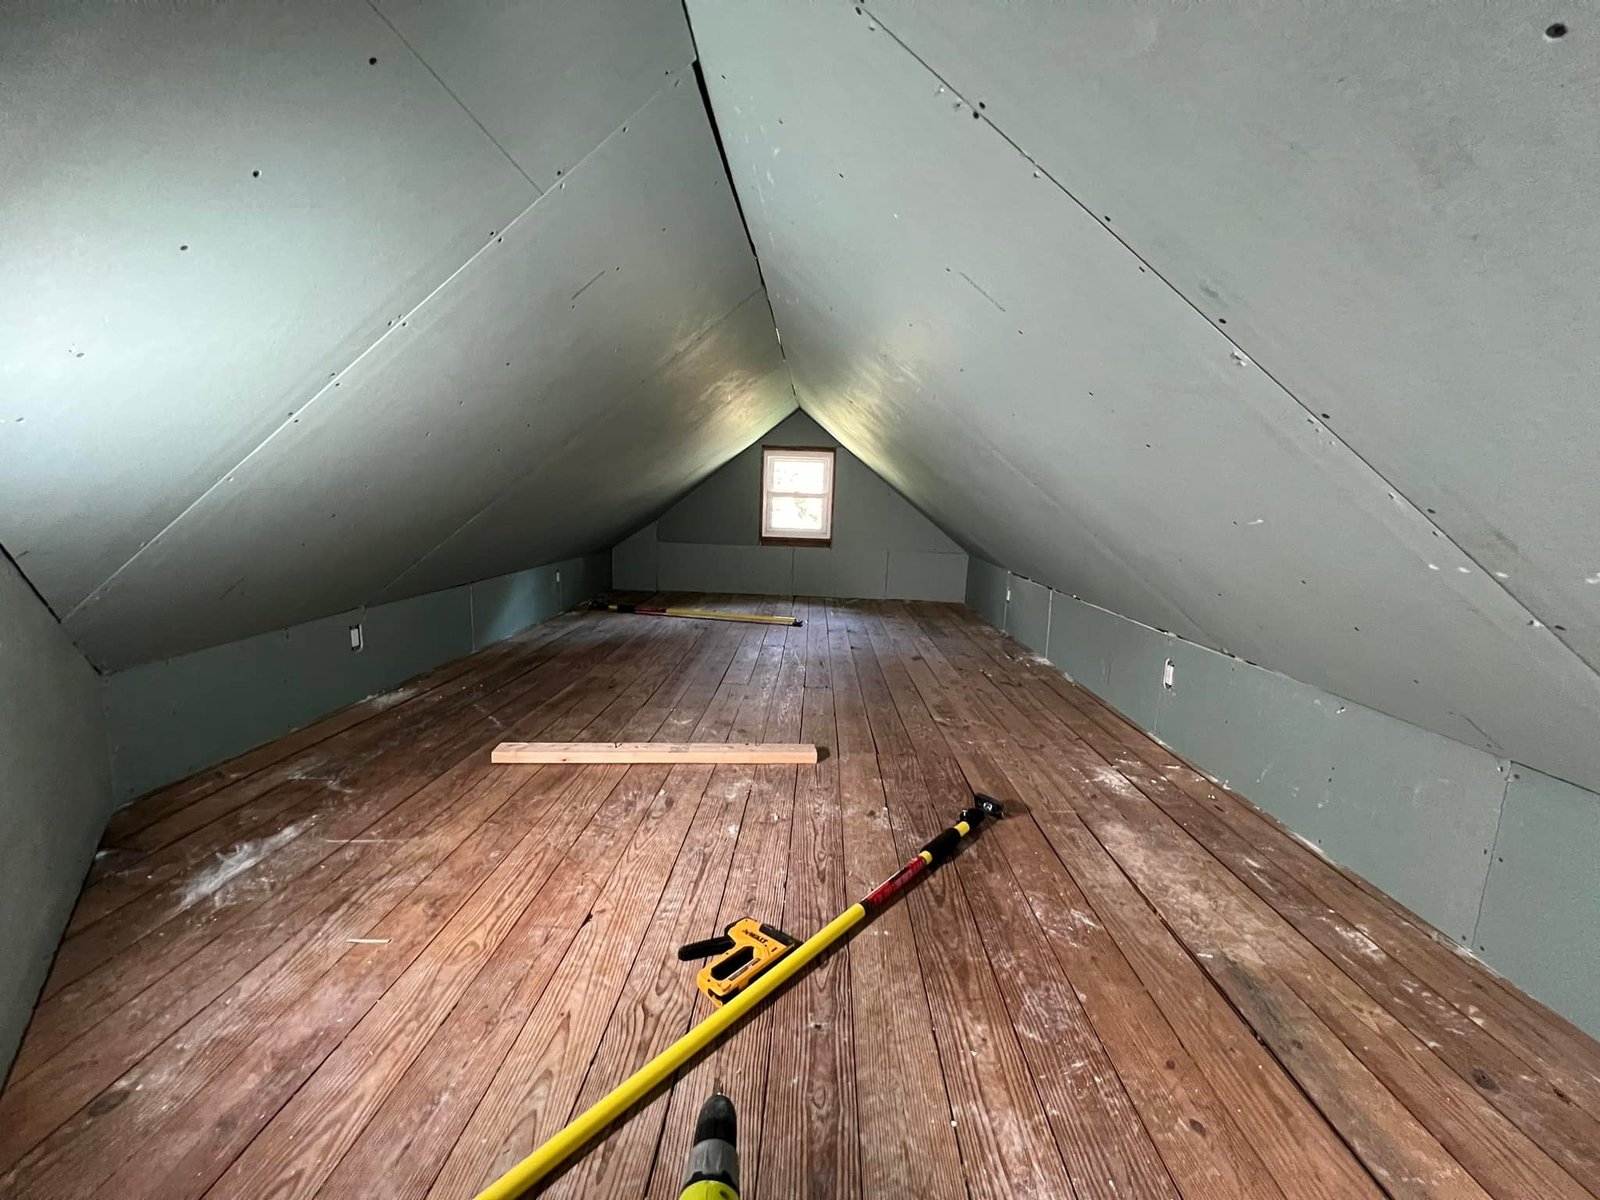
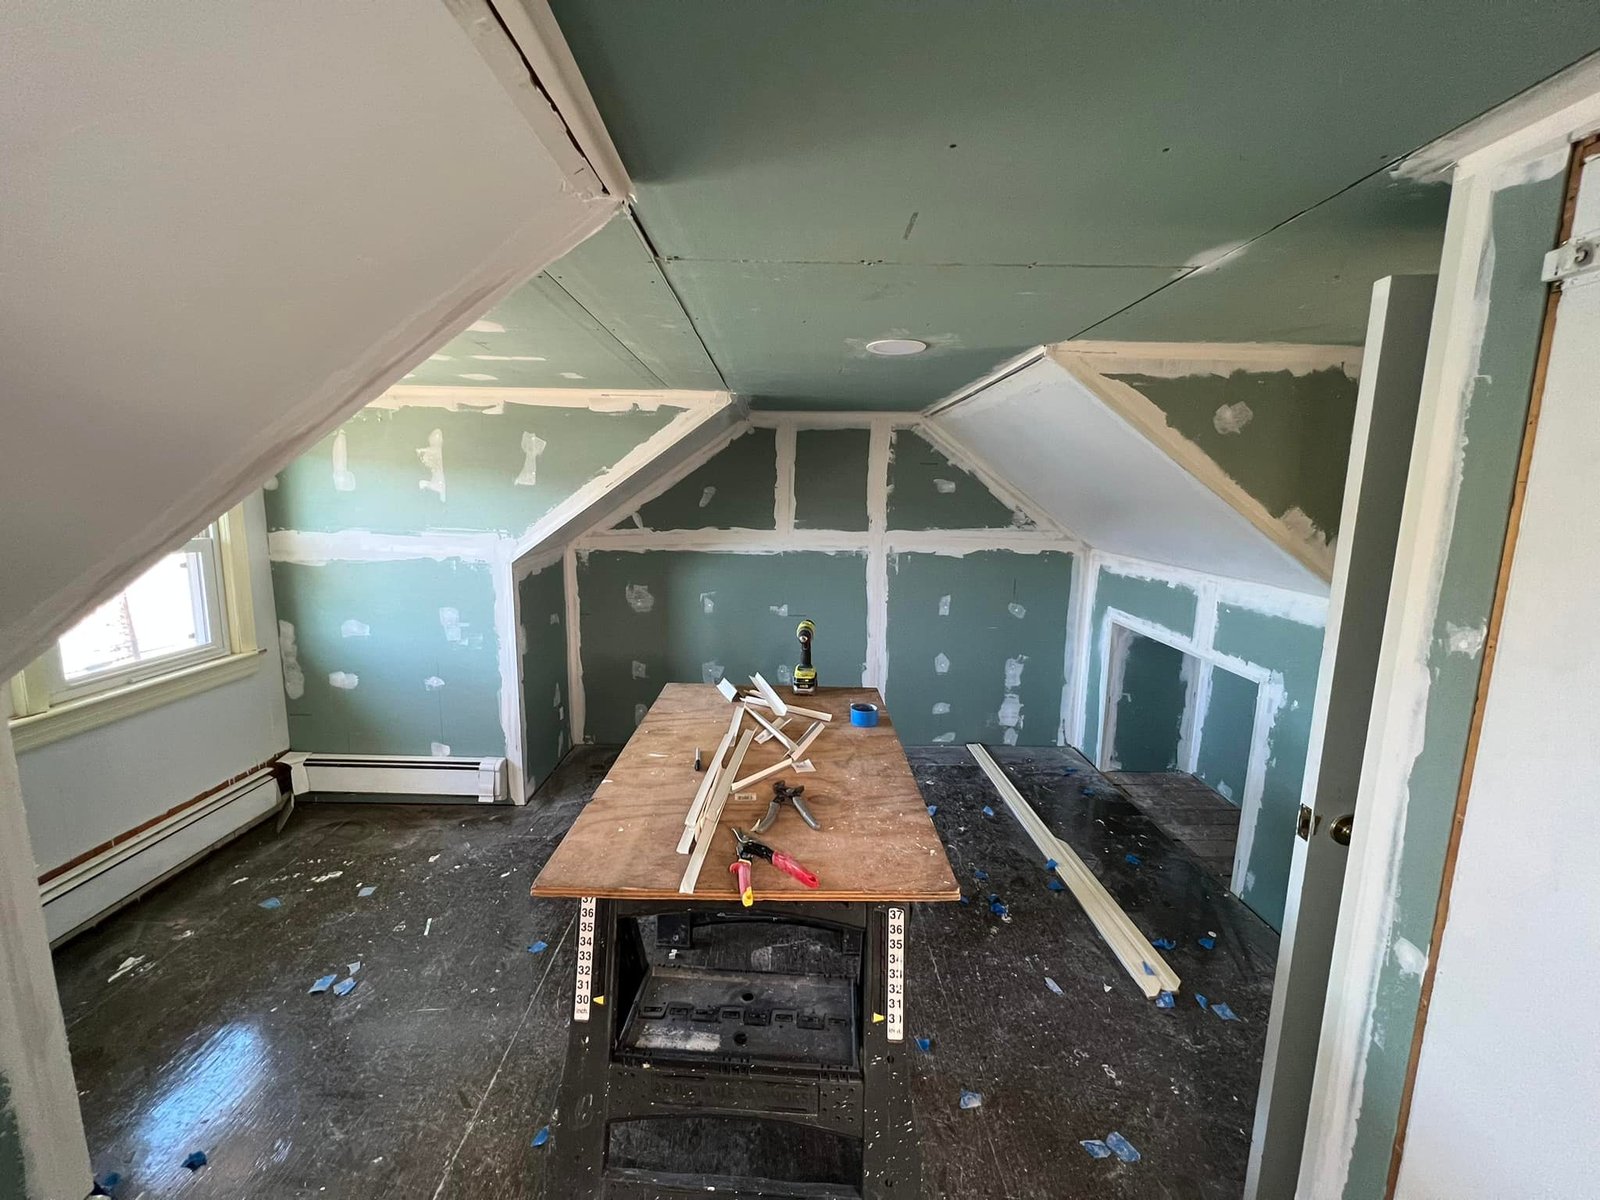
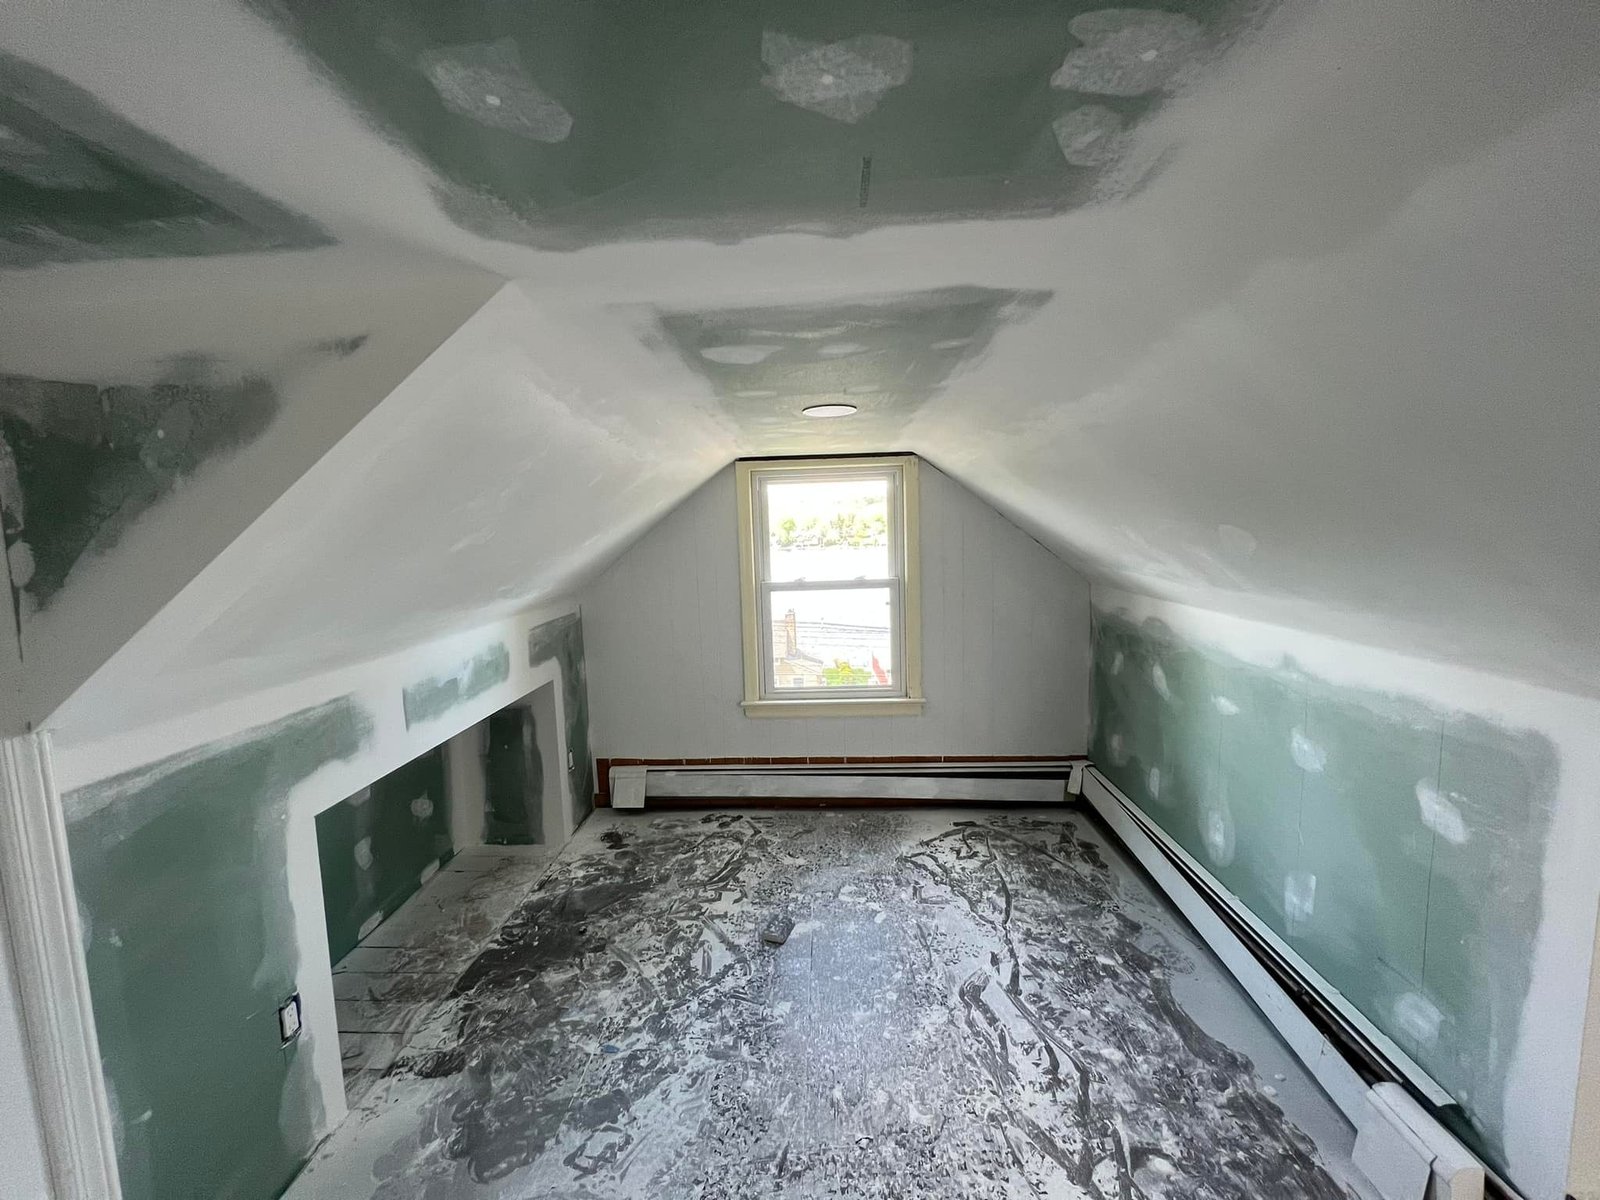
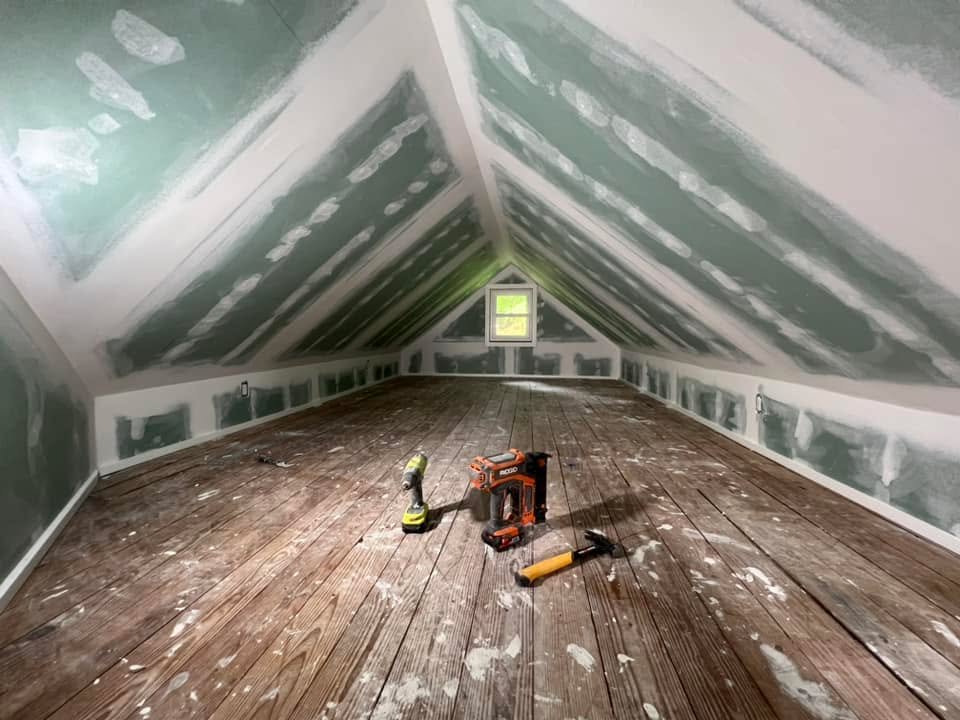
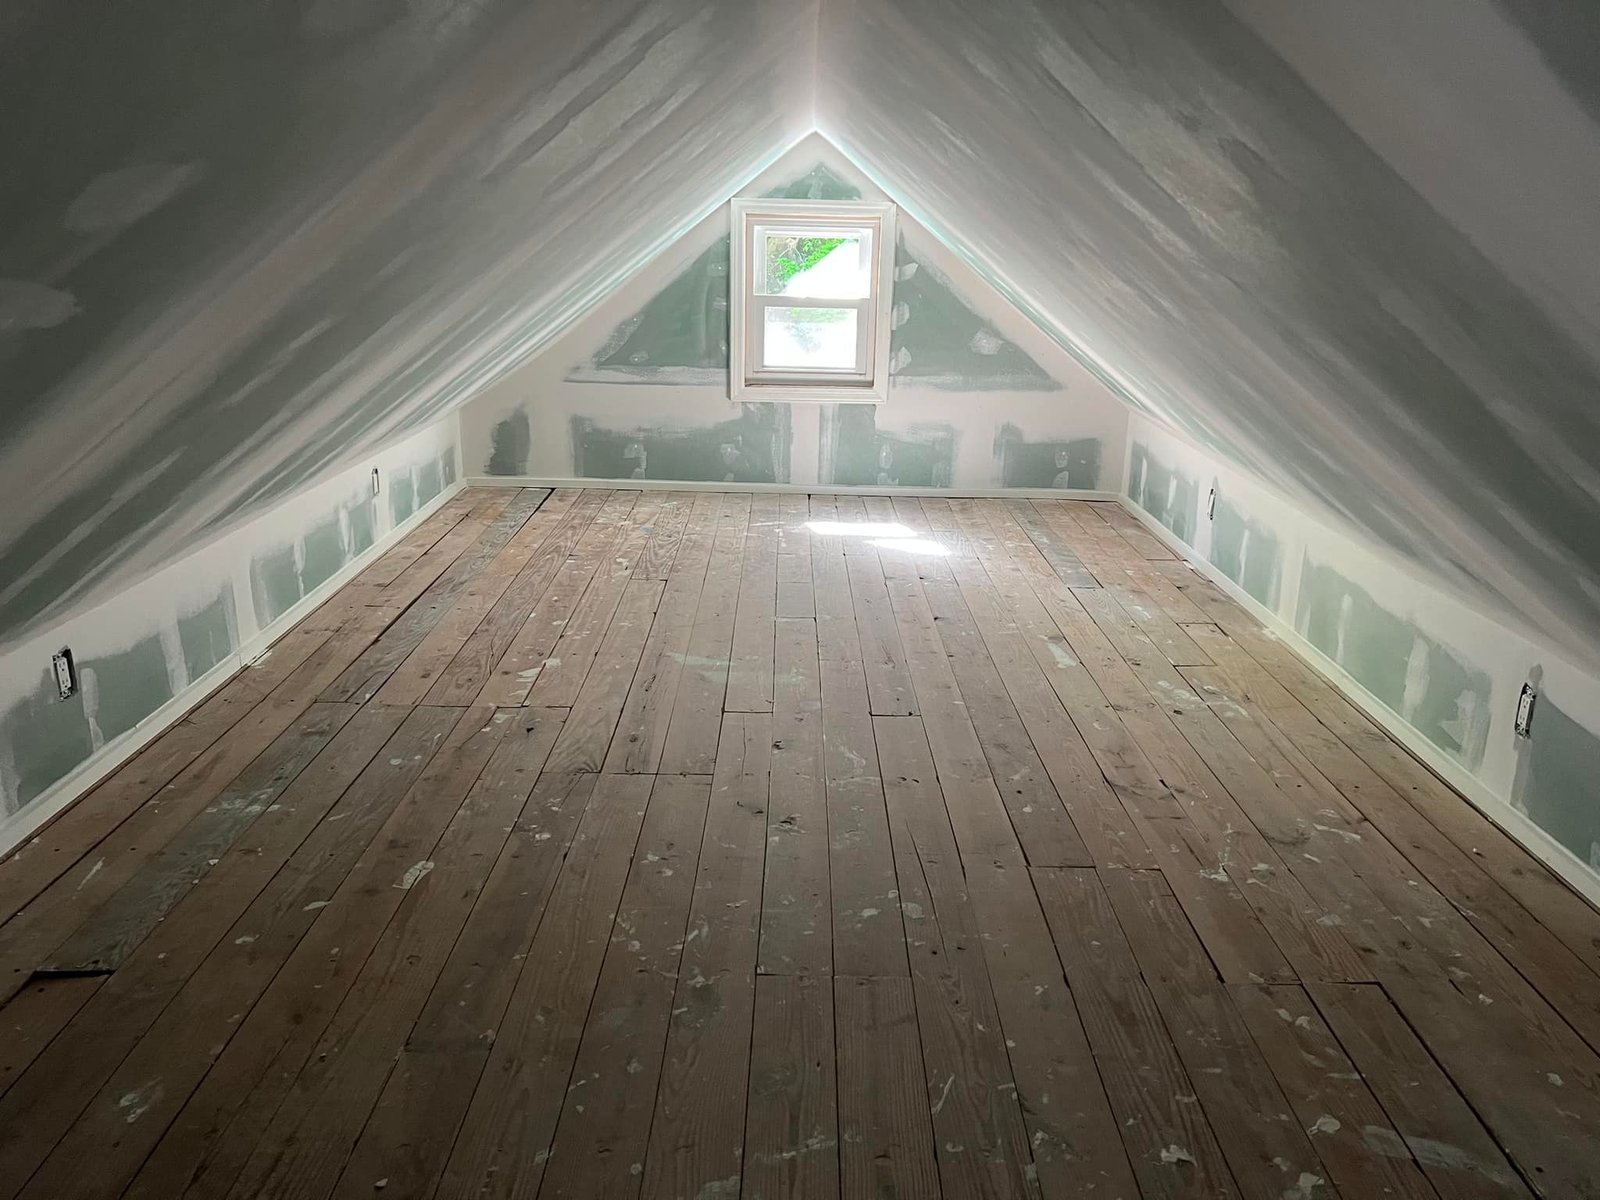
 First room up to paint-ready. Pitched ceiling drywalled, original plank floor still showing.
-
 During
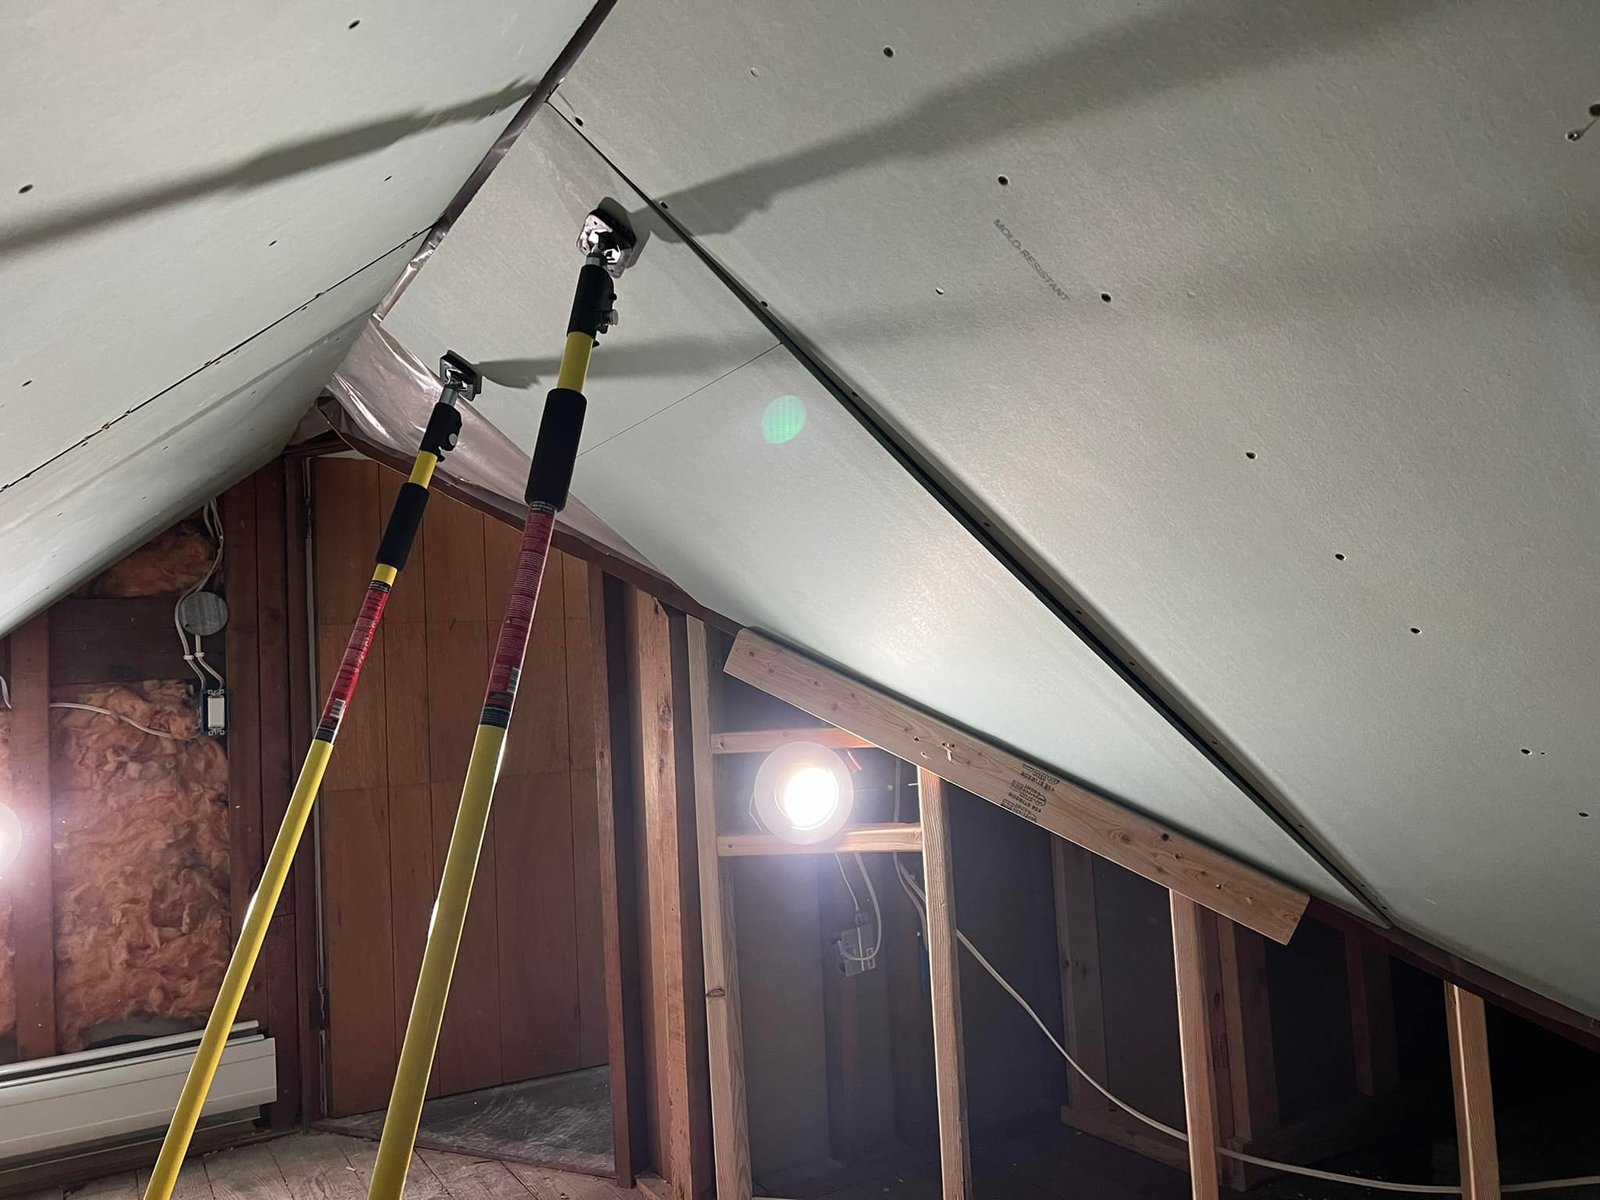
 Adjustable poles holding a sheet of green board against the ceiling so I could screw it off solo.
-
 During
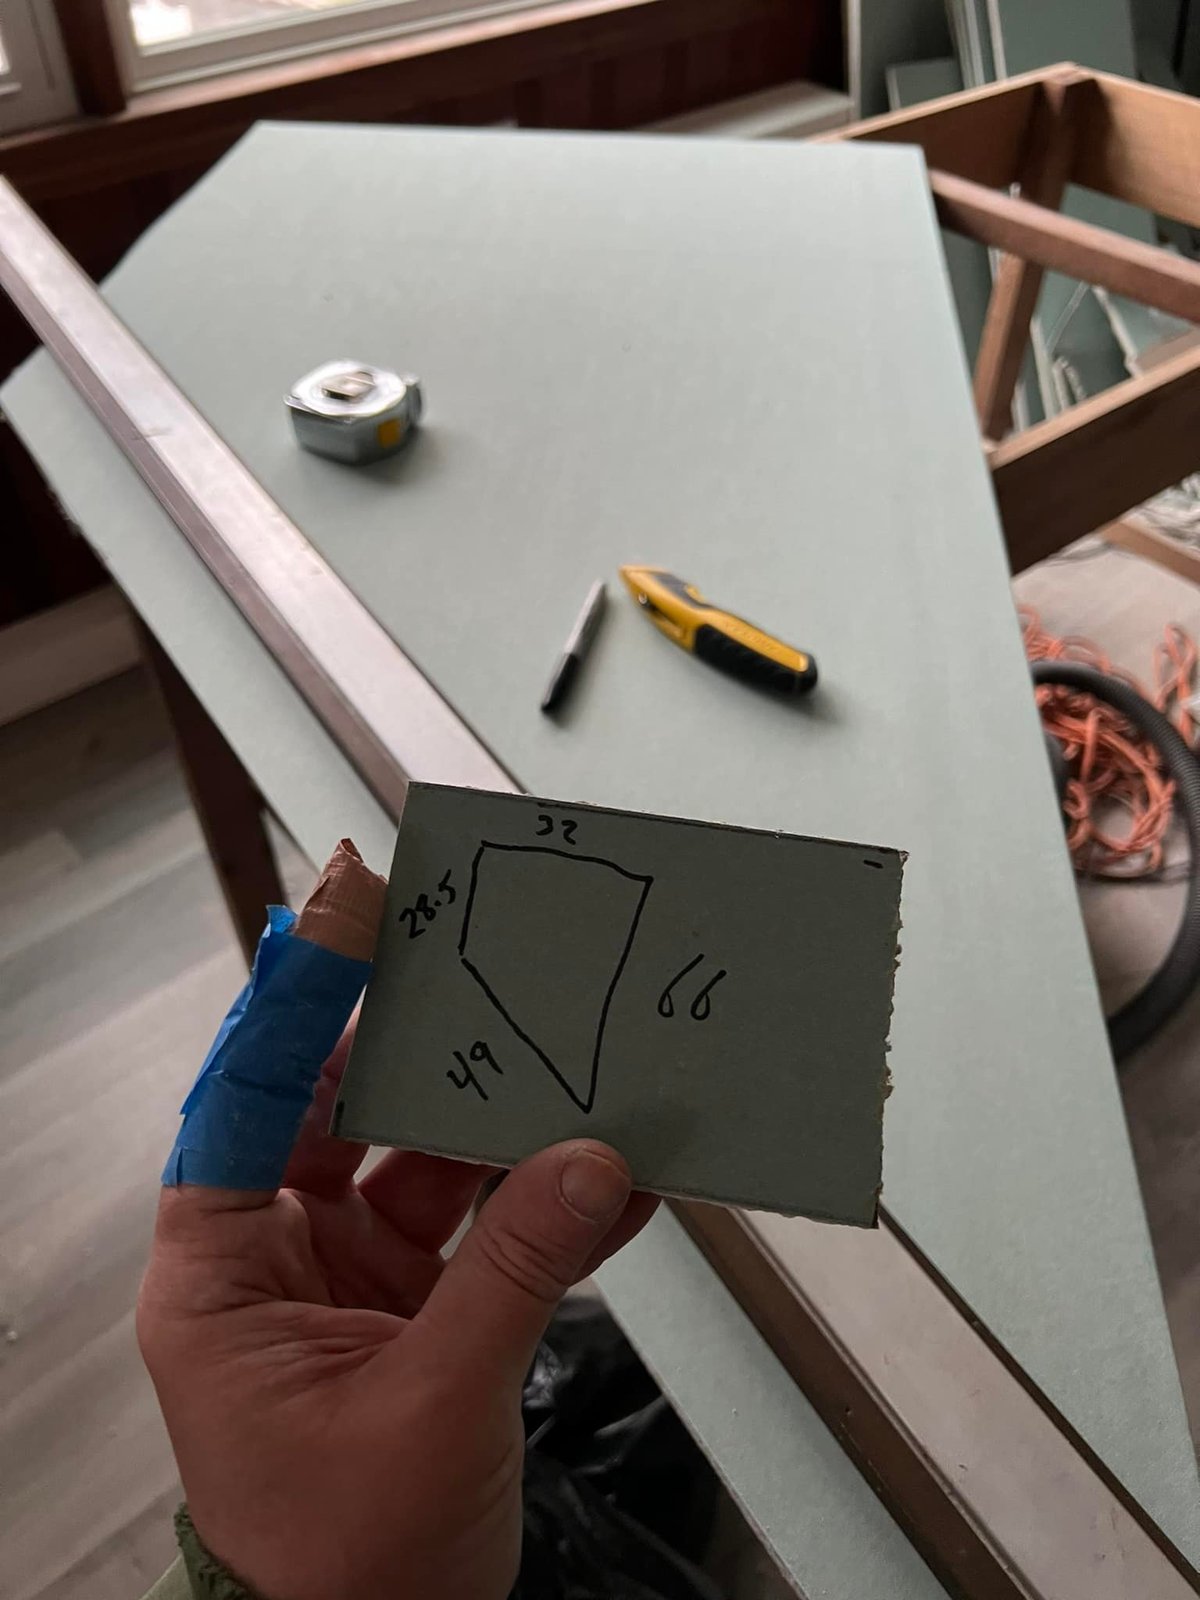
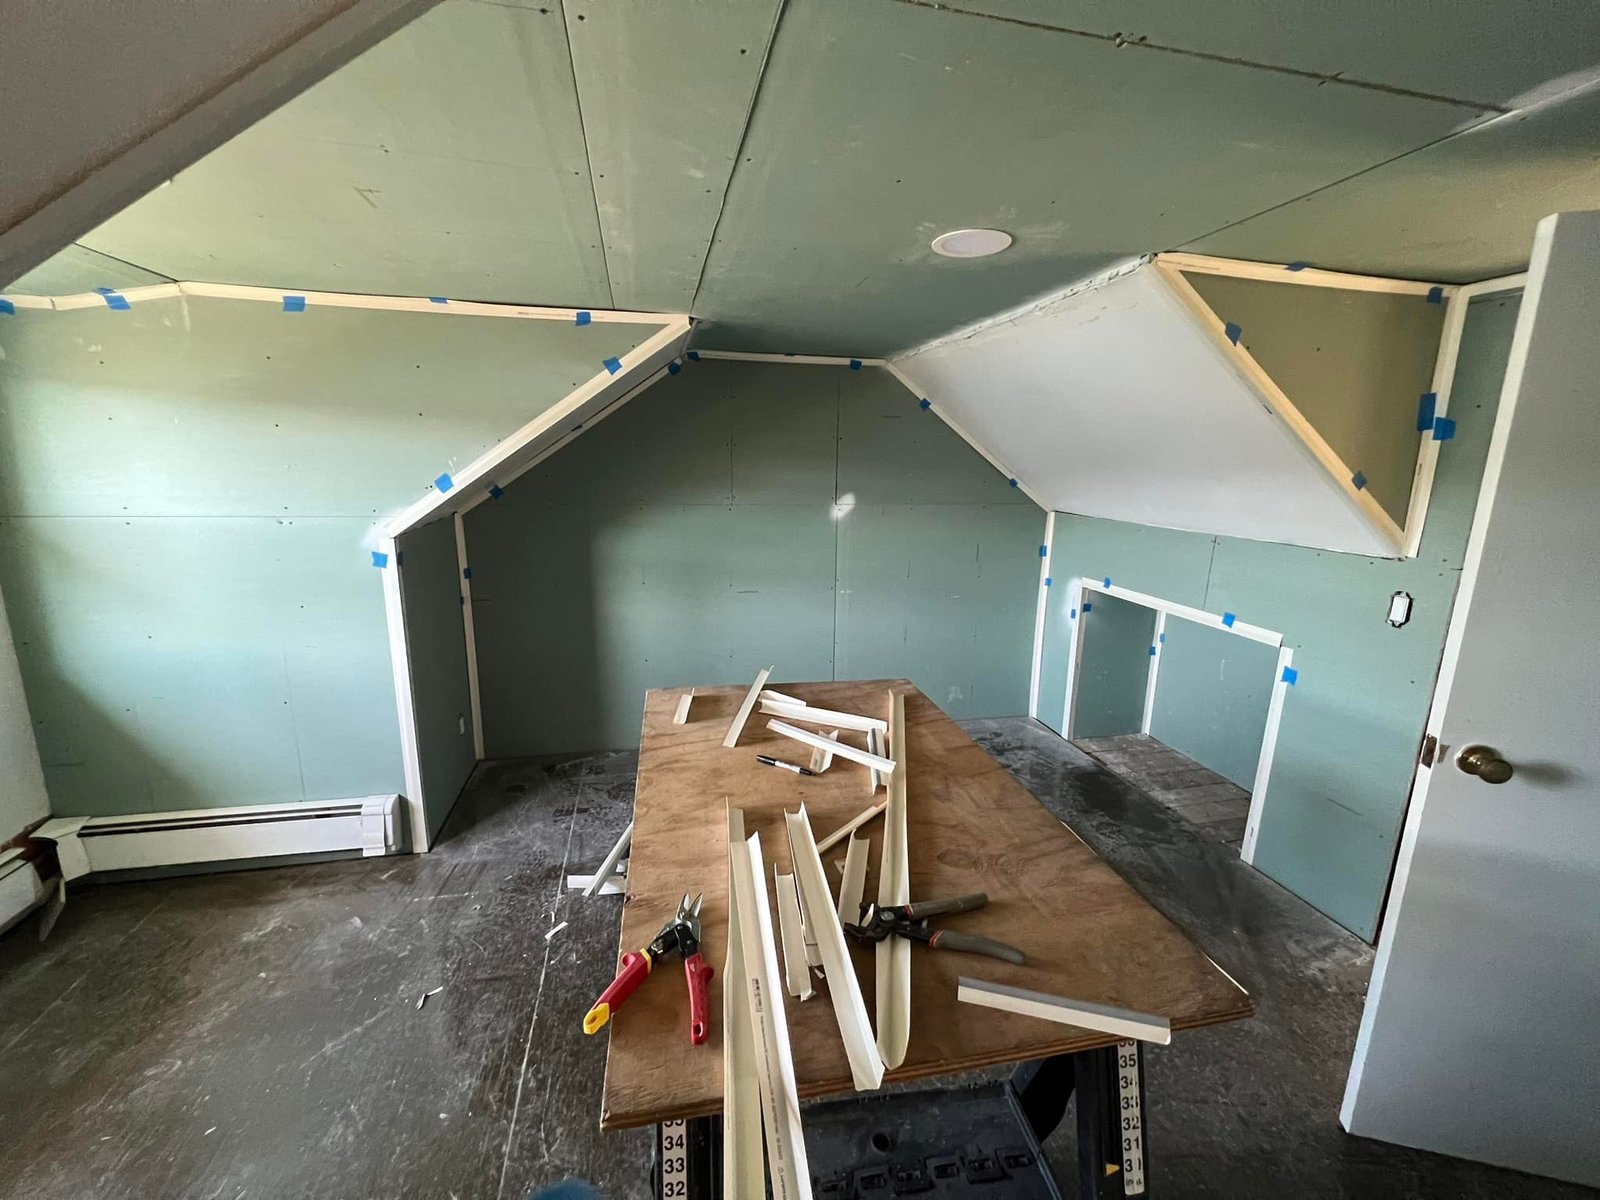
 Sketching the angled cut on a scrap before I committed the full sheet — sloped ceilings eat material fast.
-
 During
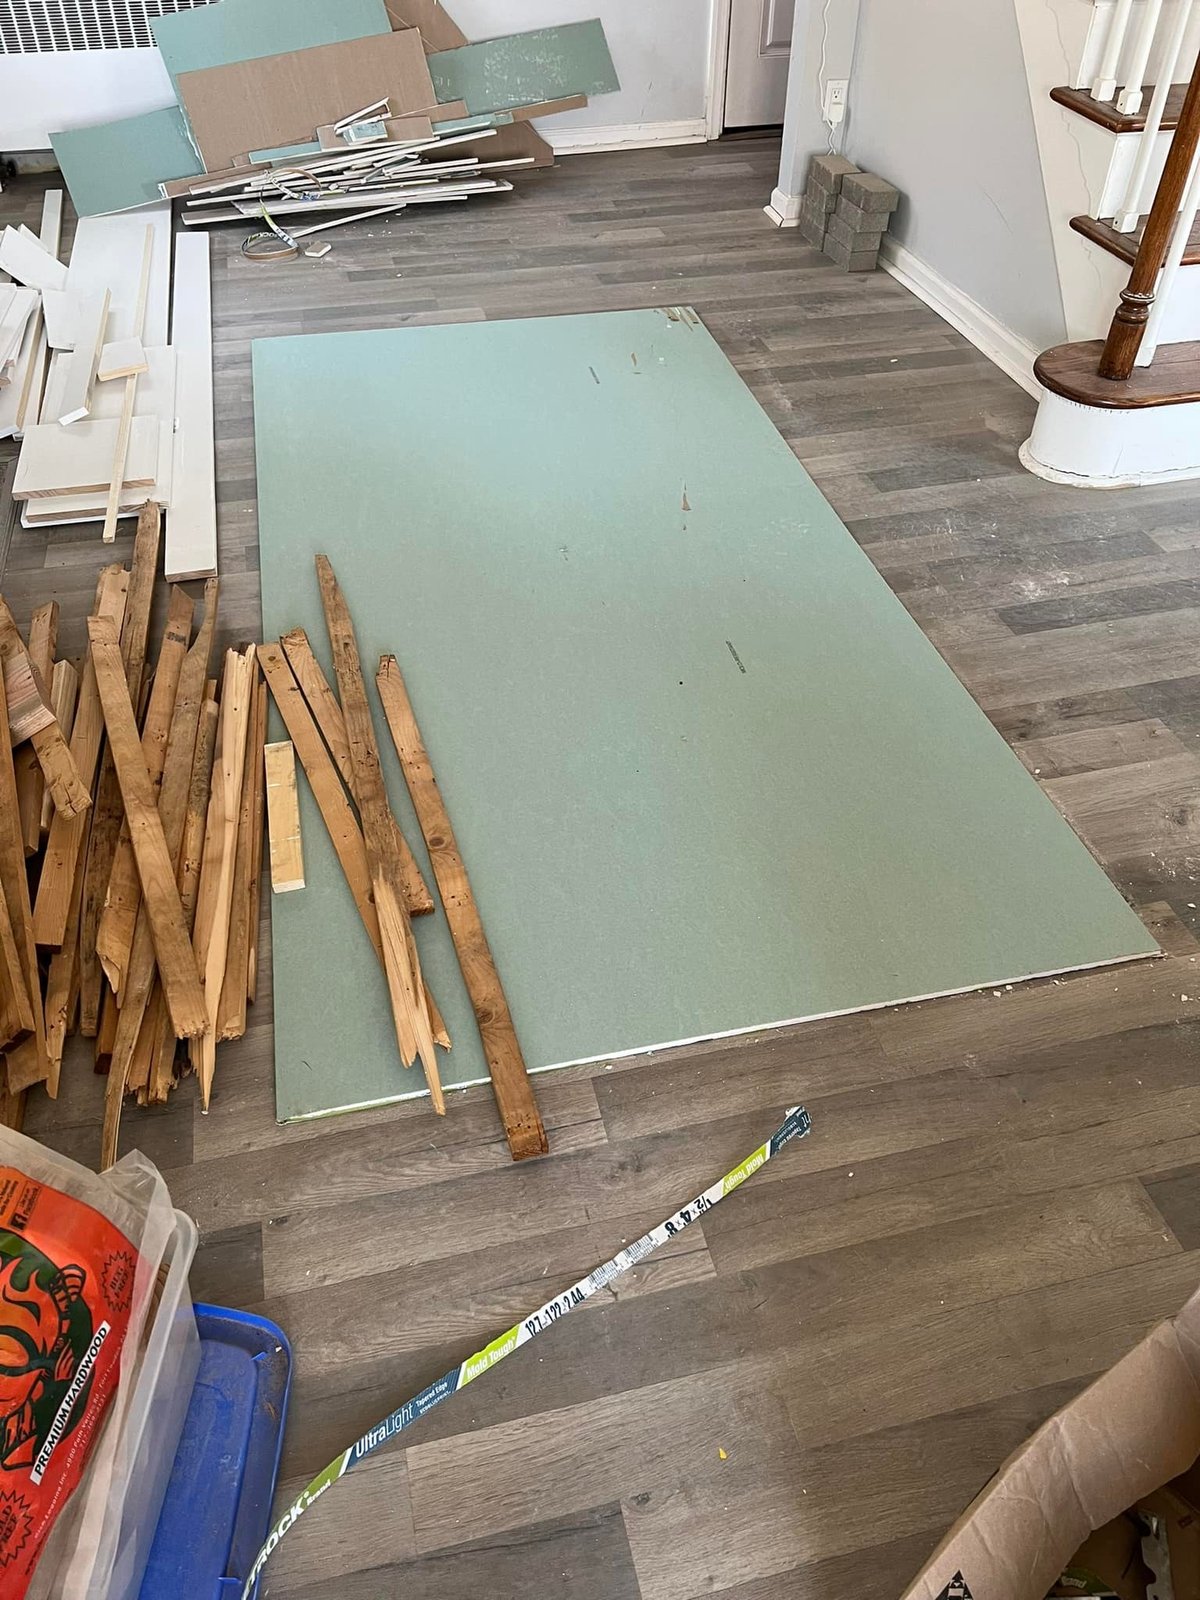
 Staging the next sheet on the floor with the demo scraps from the old finish still going out.
-
 During
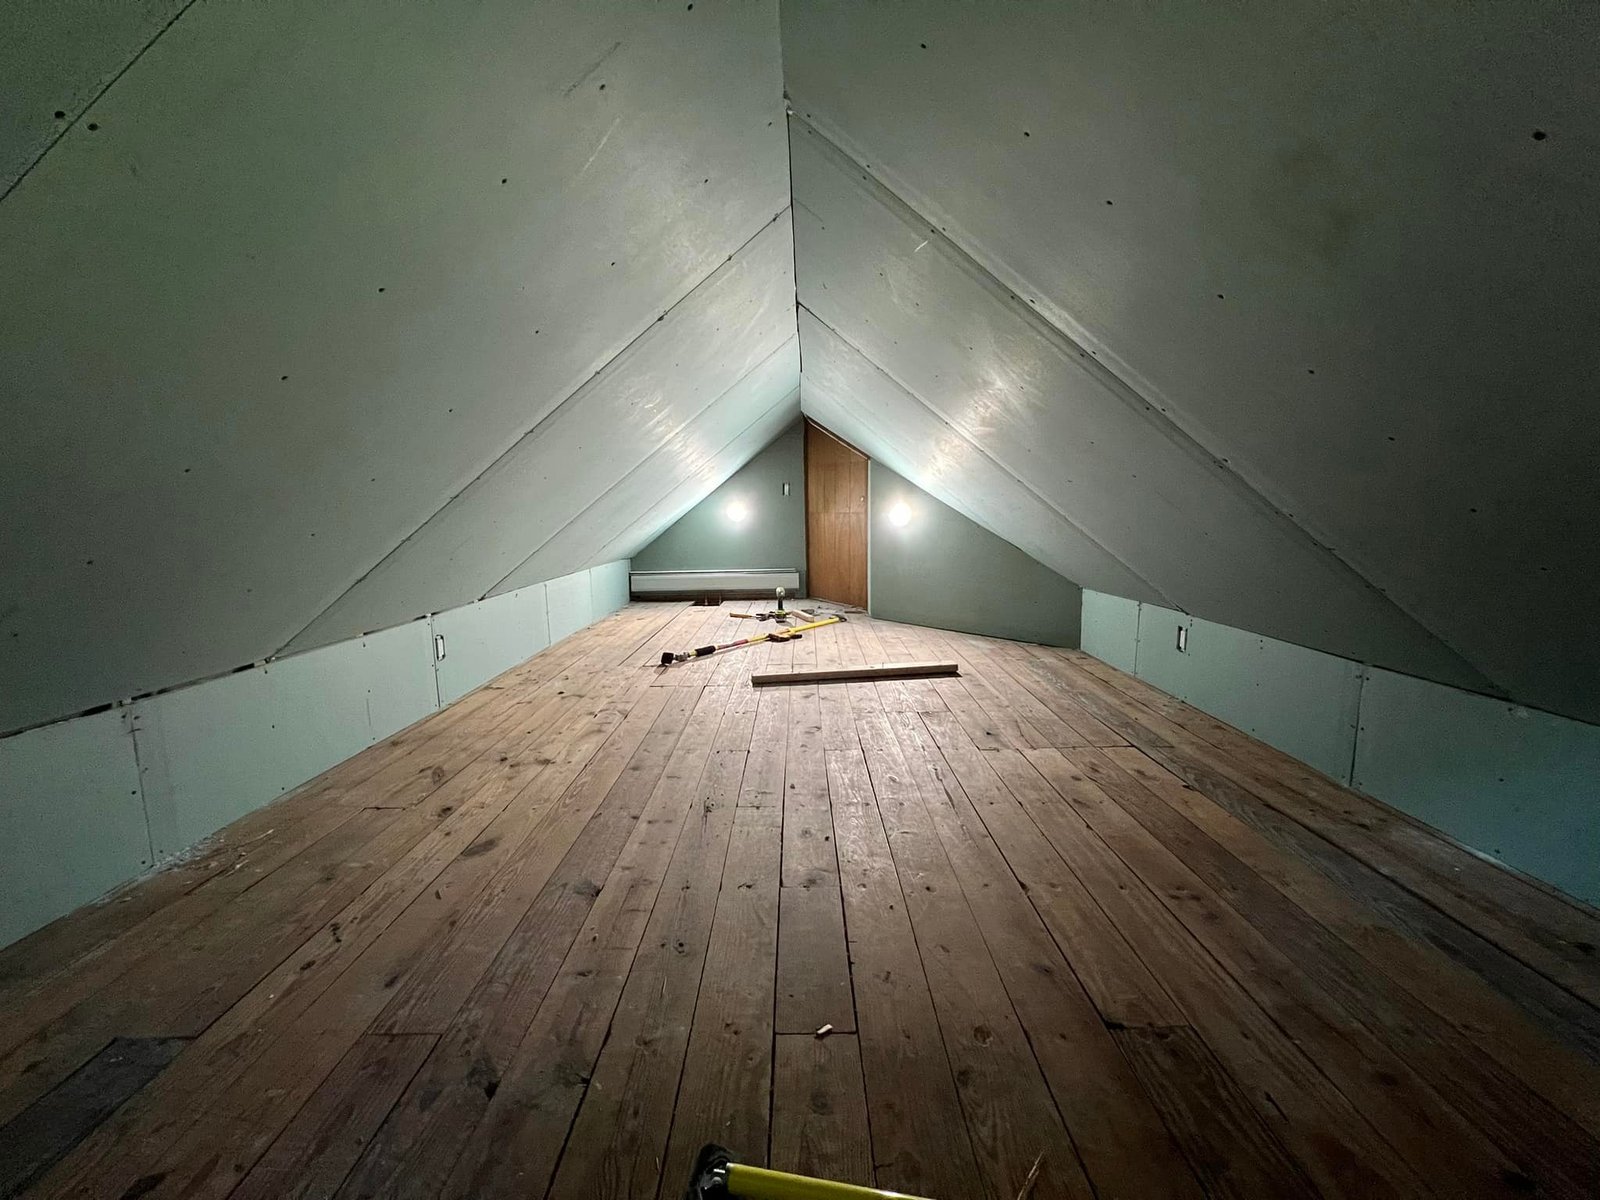
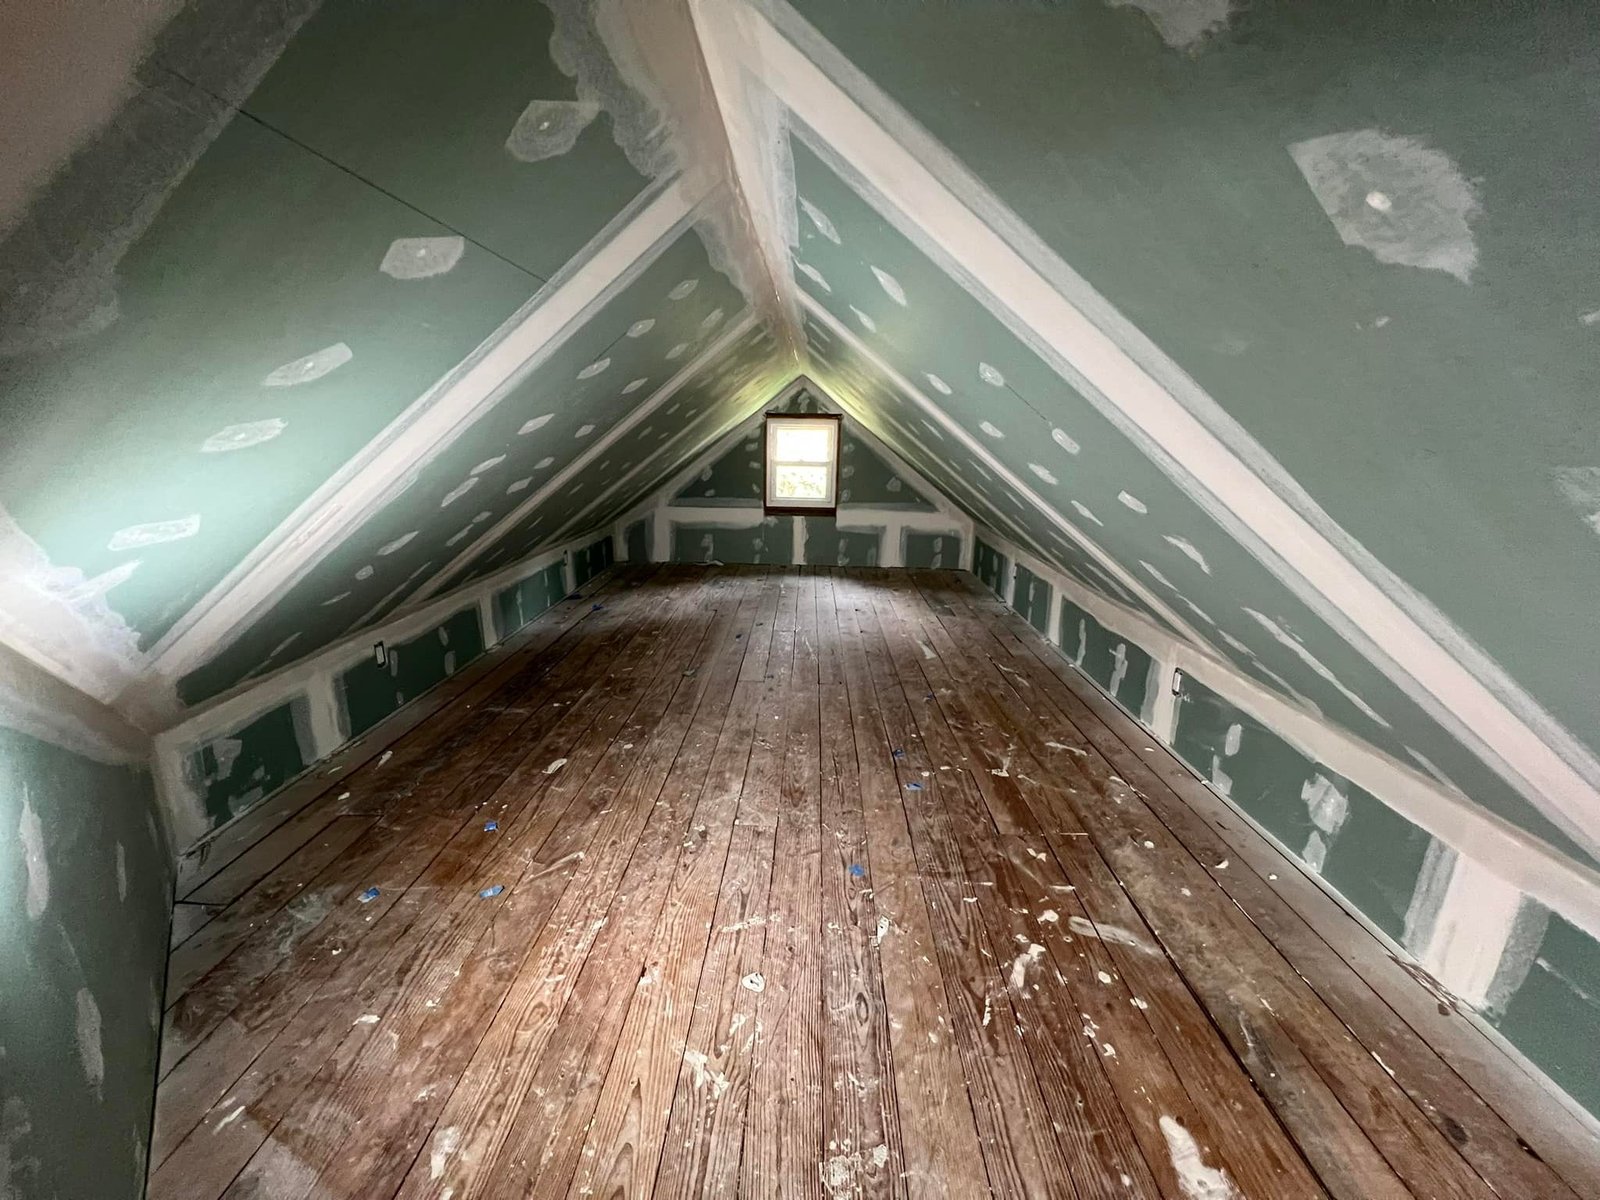
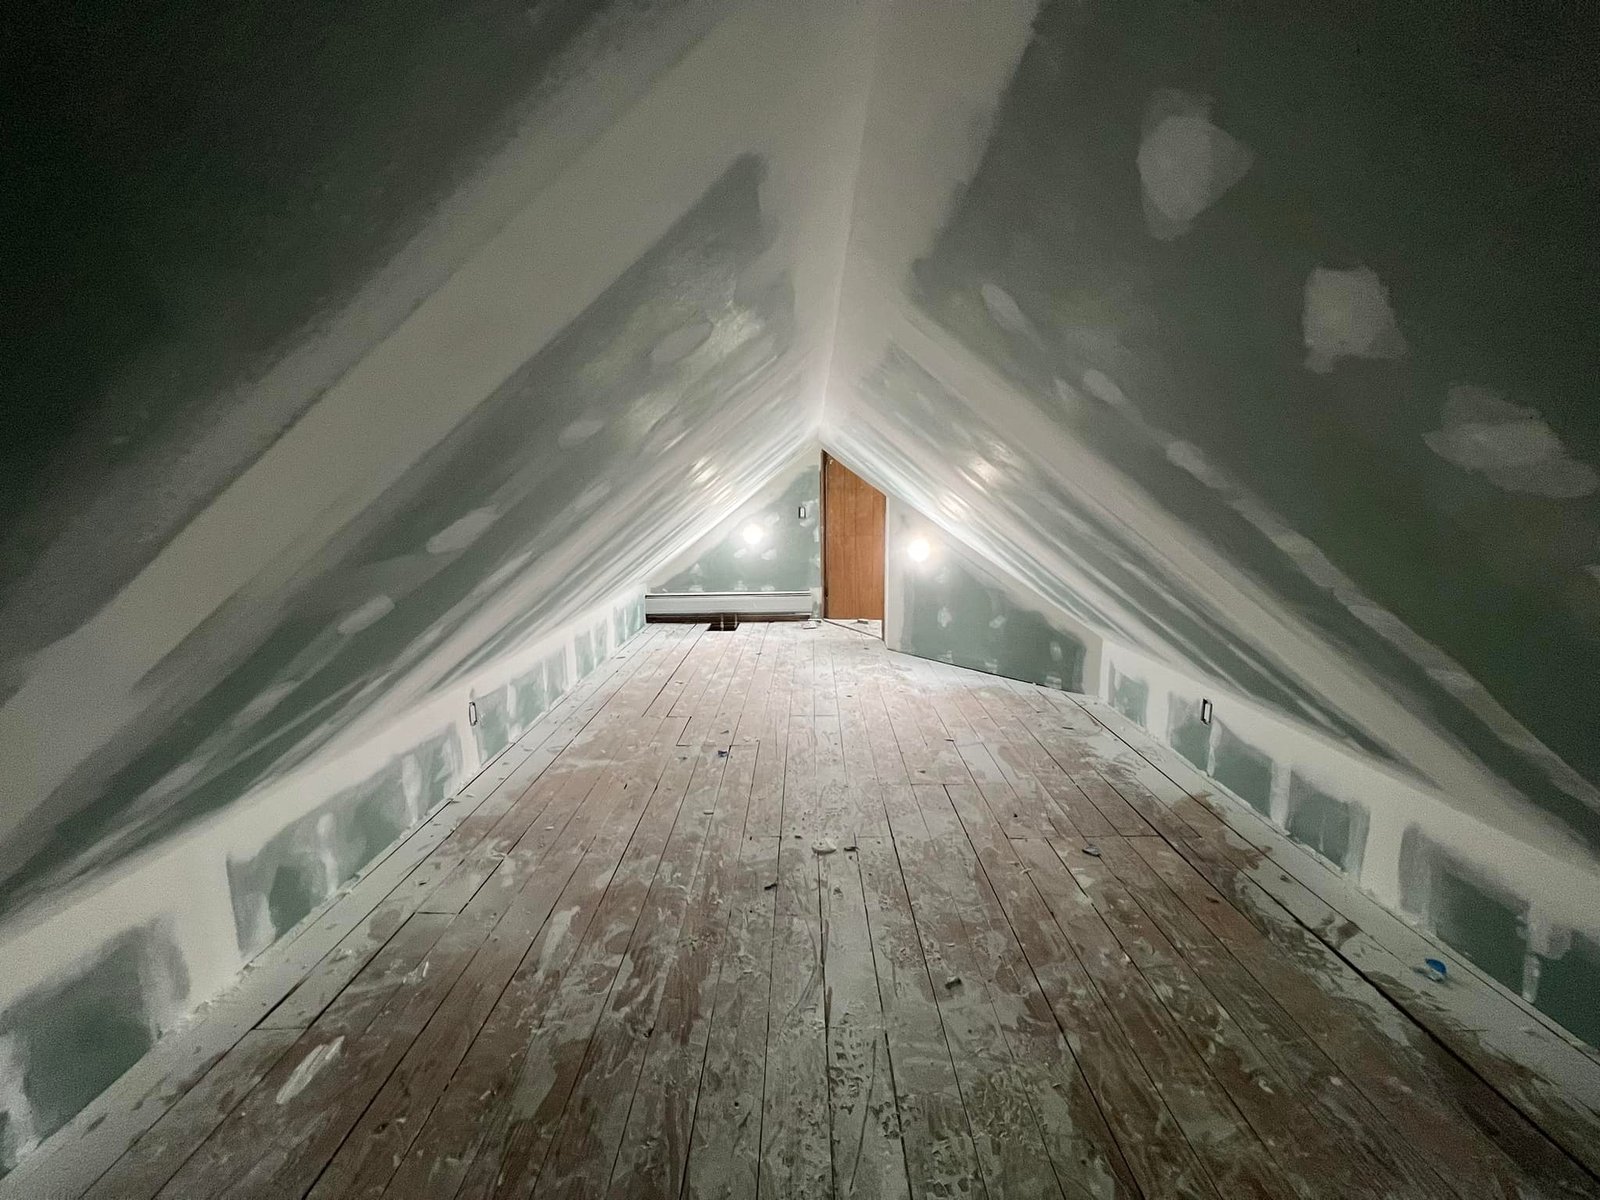
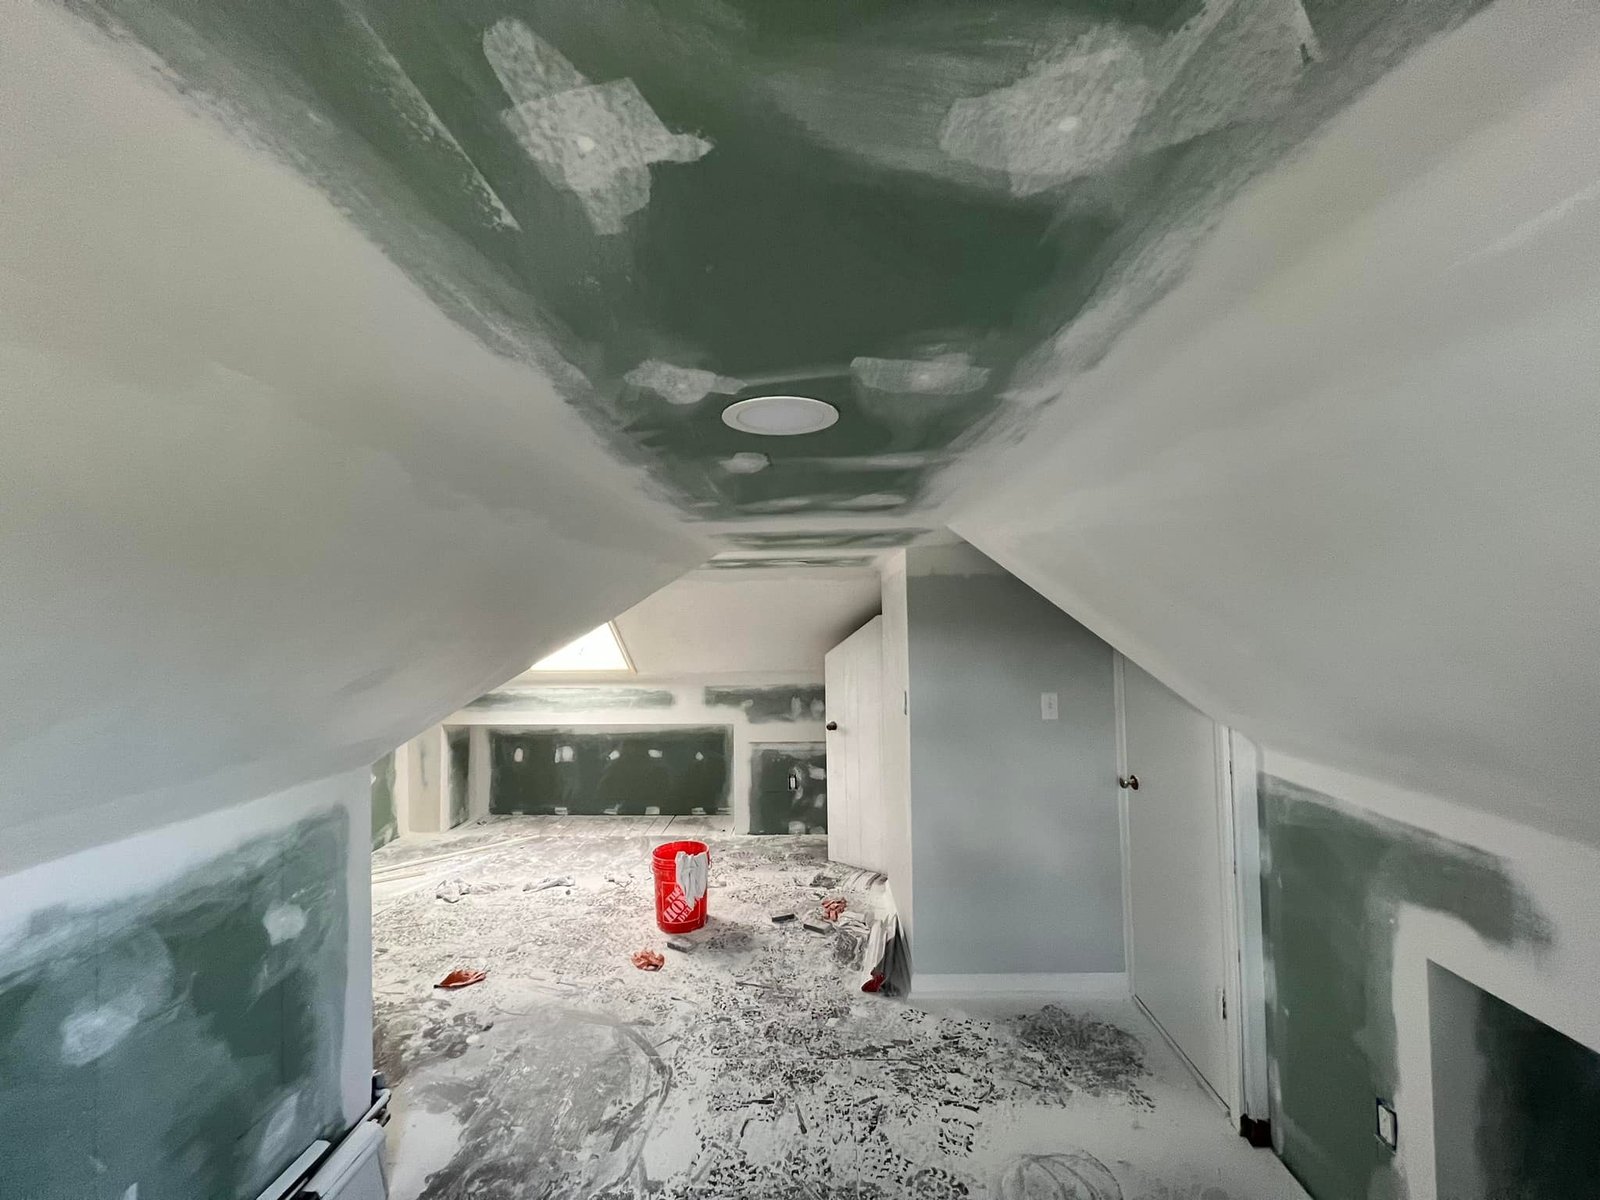
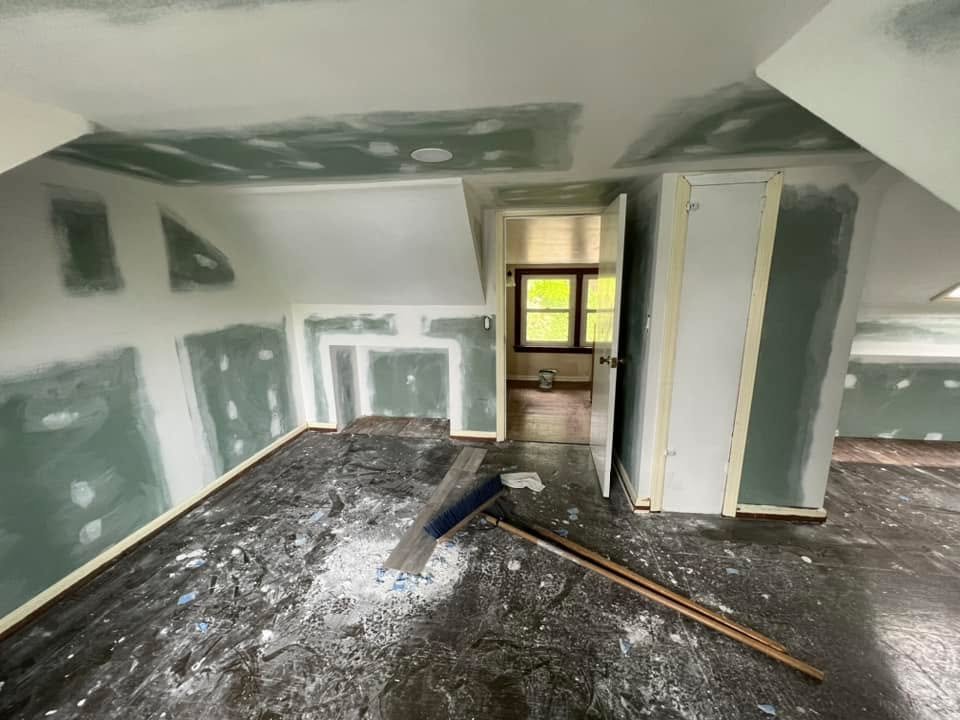
 Sloped ceilings closed in. Big jump from open rafters to a real room.
-
 During
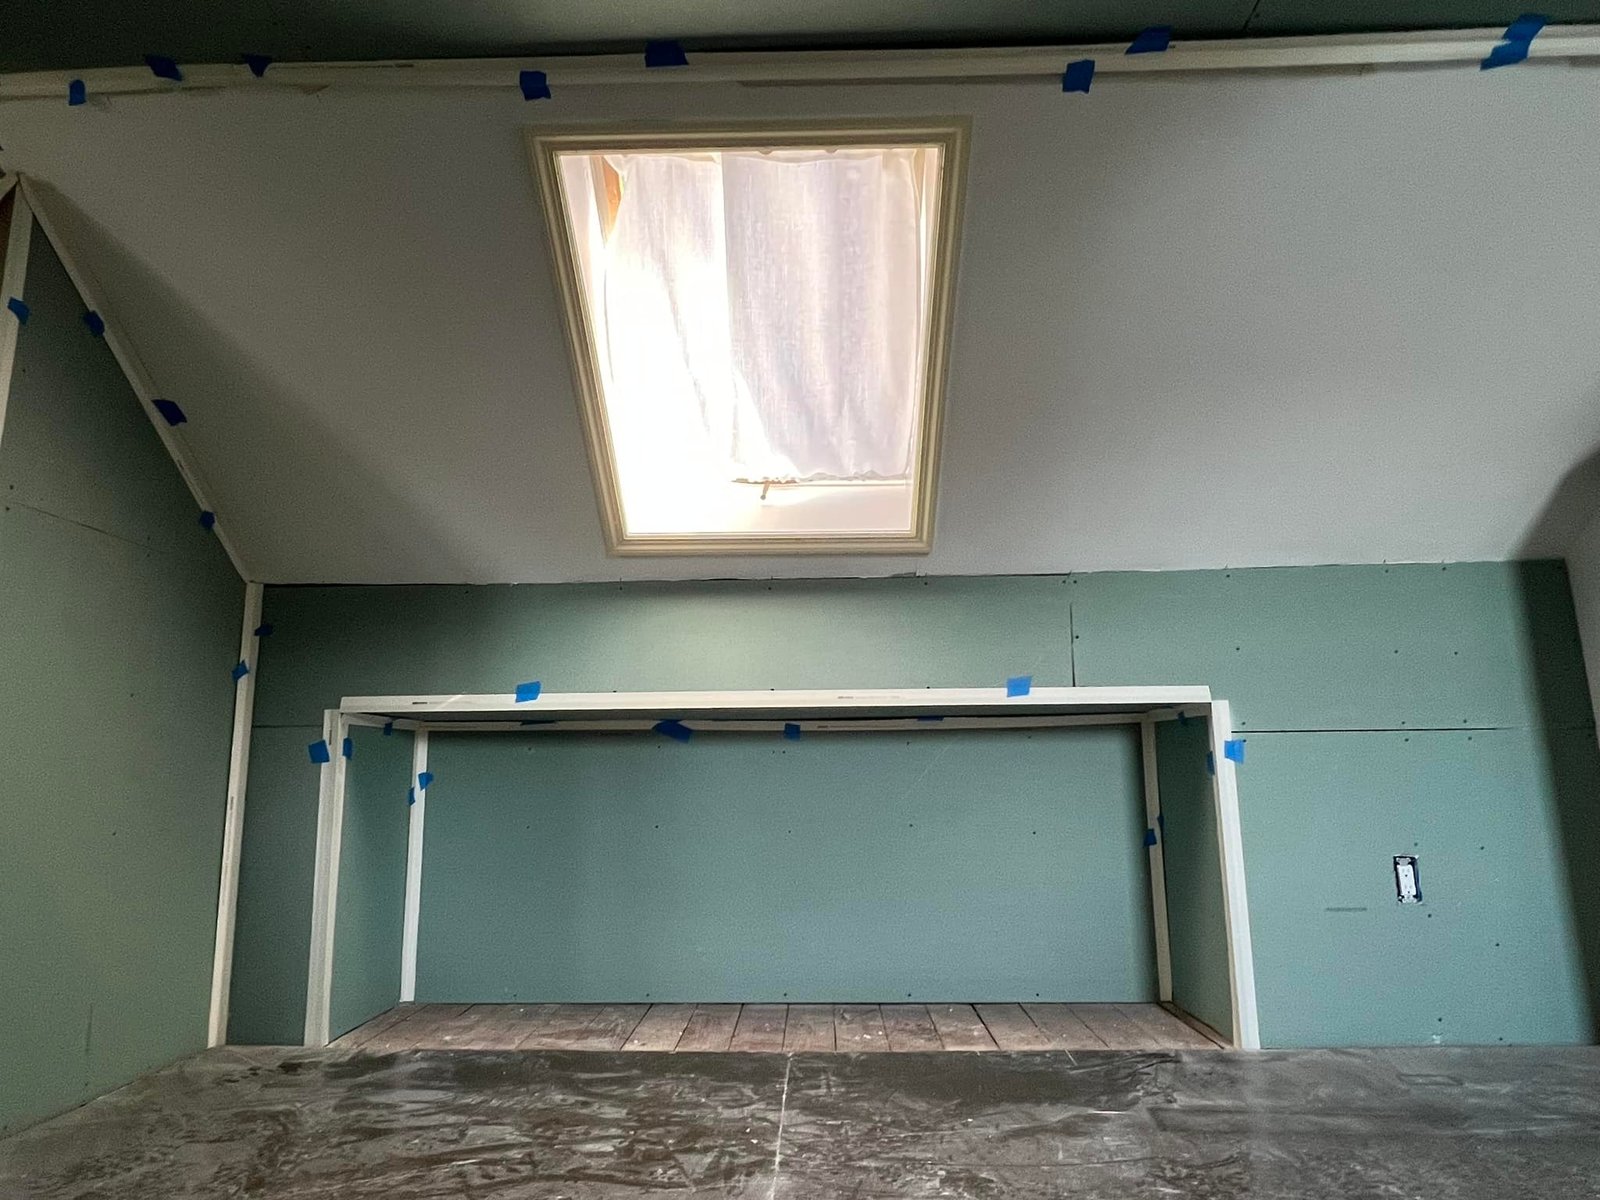
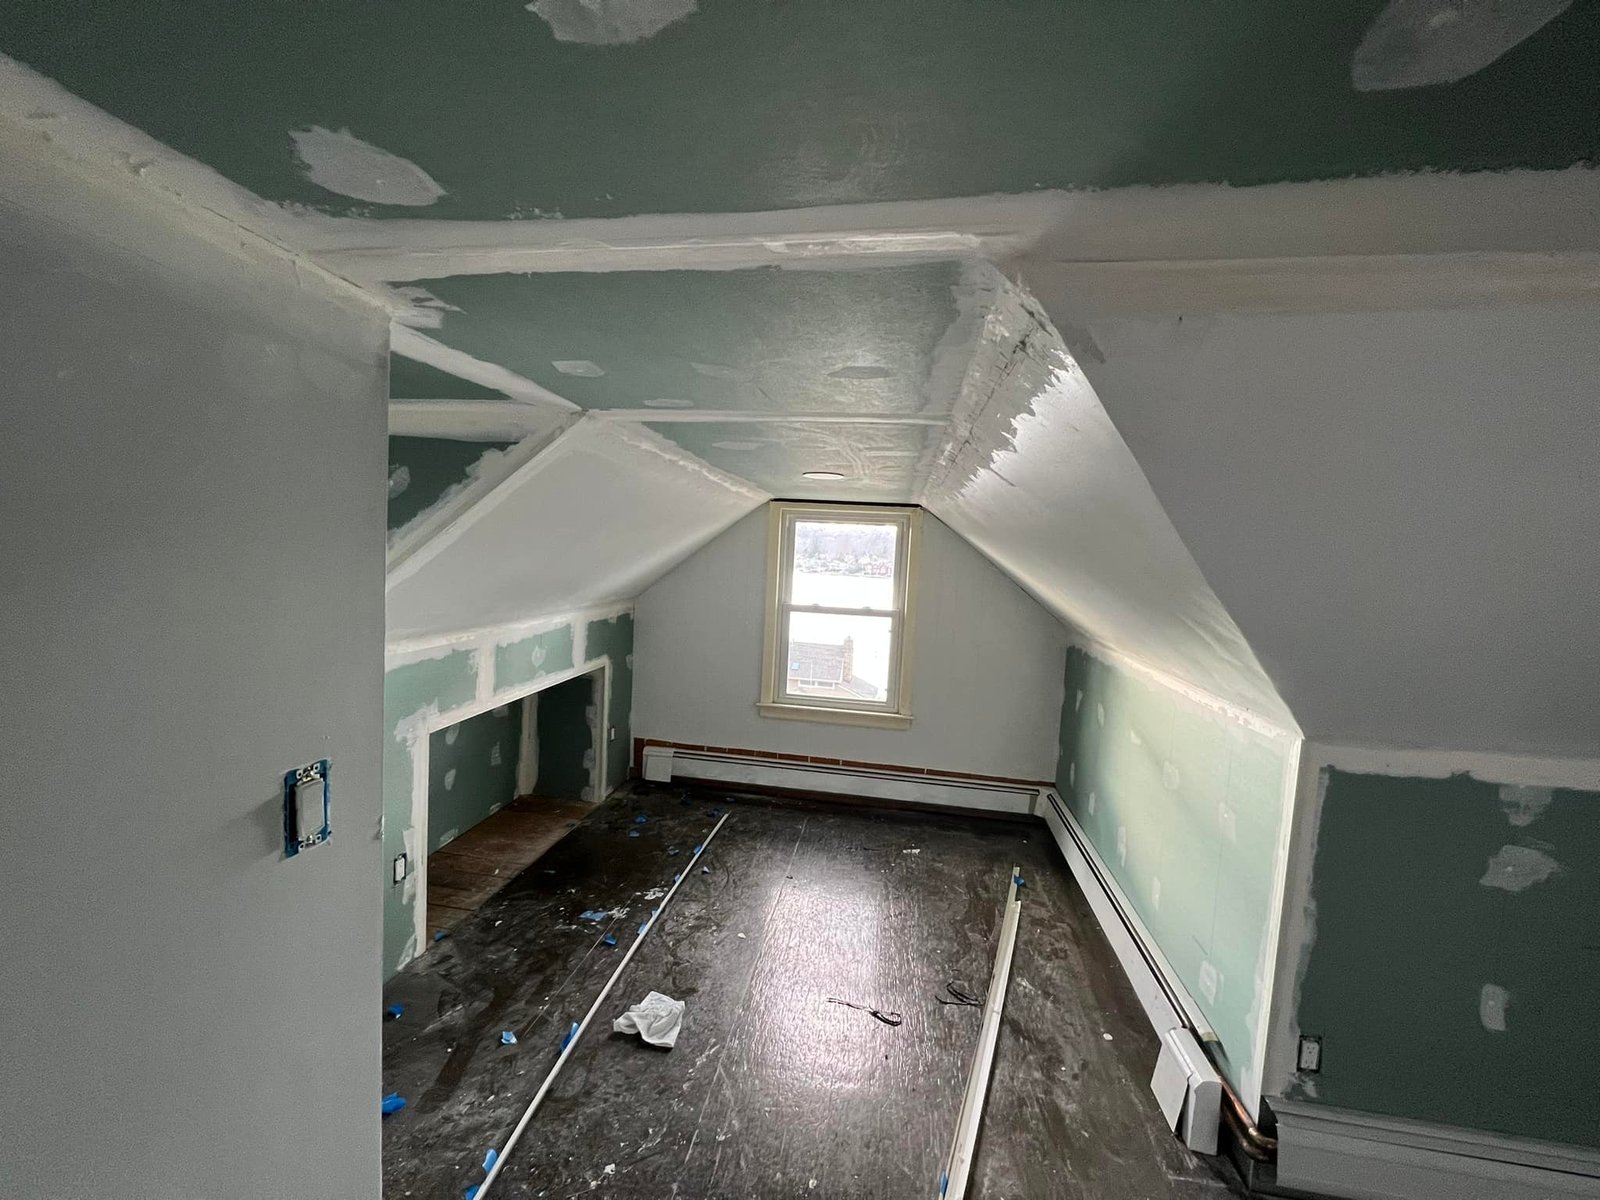
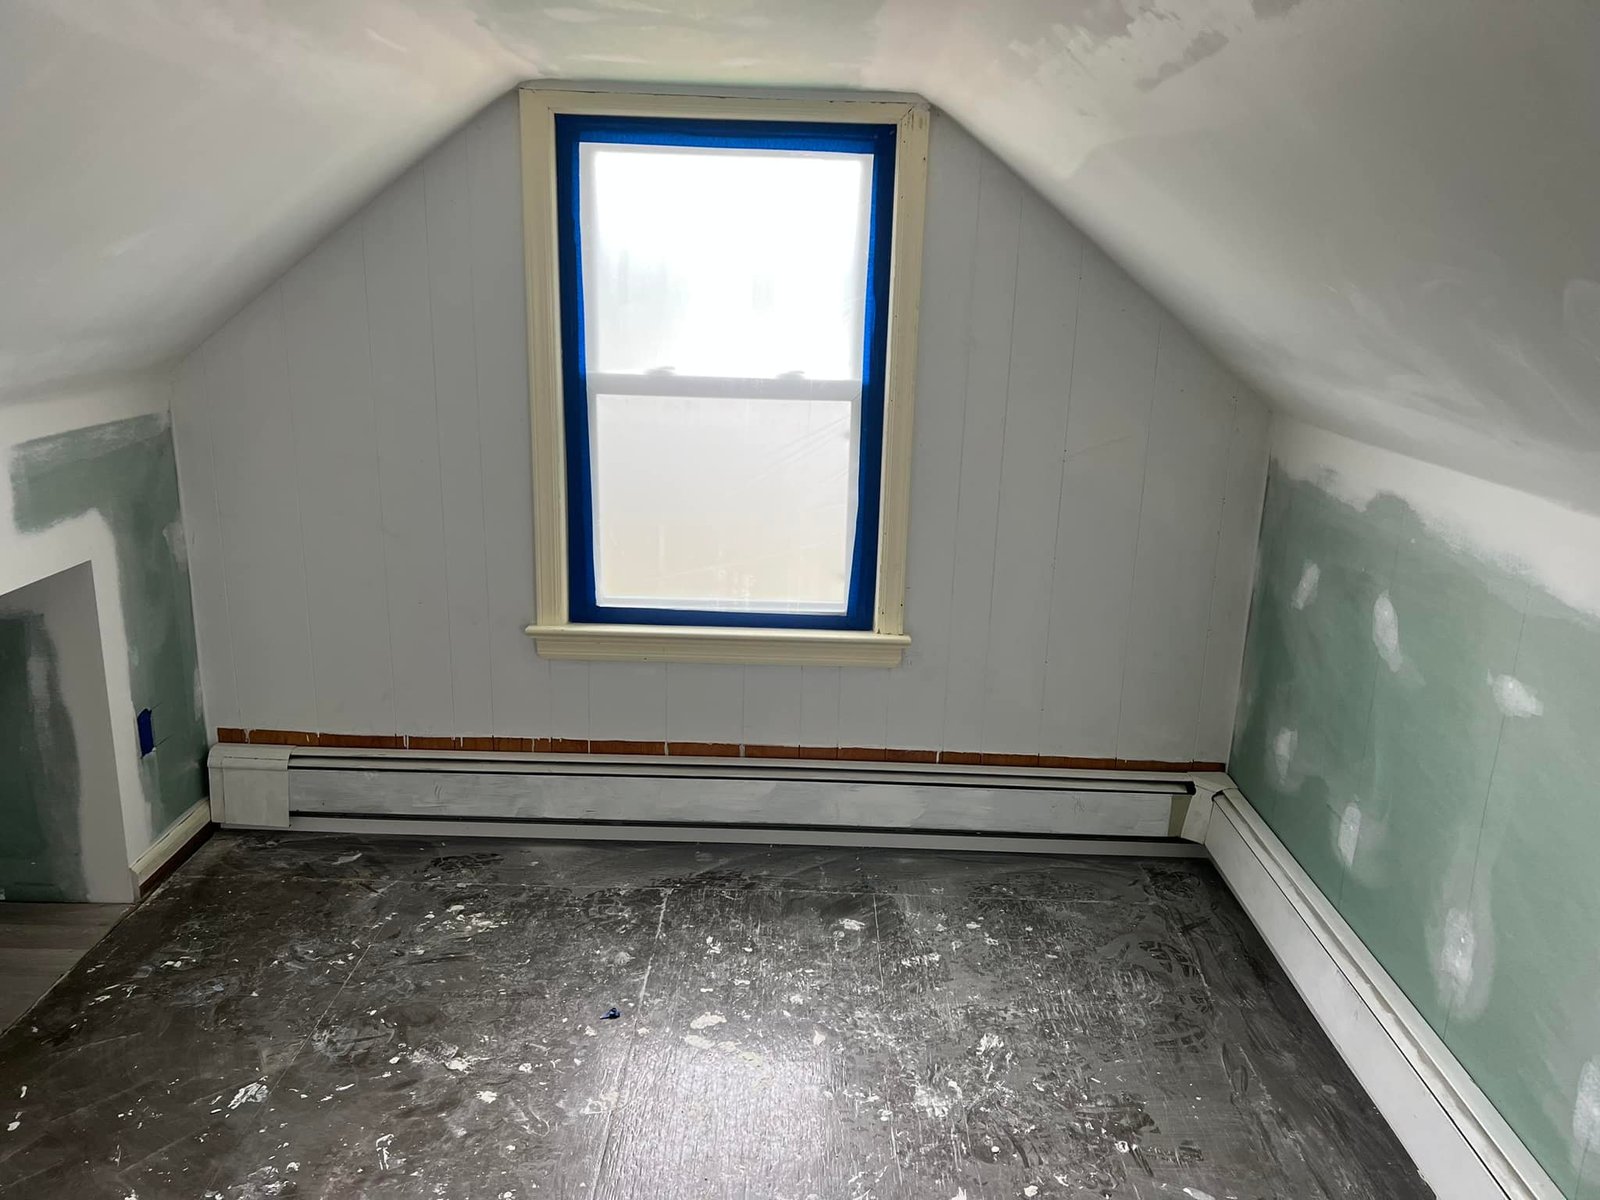
 Dormer bedroom with the skylight in and trim masked, getting ready to roll the first coat.
-
 During
 Seams taped and ready for mud. Sloped ceilings always take longer than you think.
-
 During
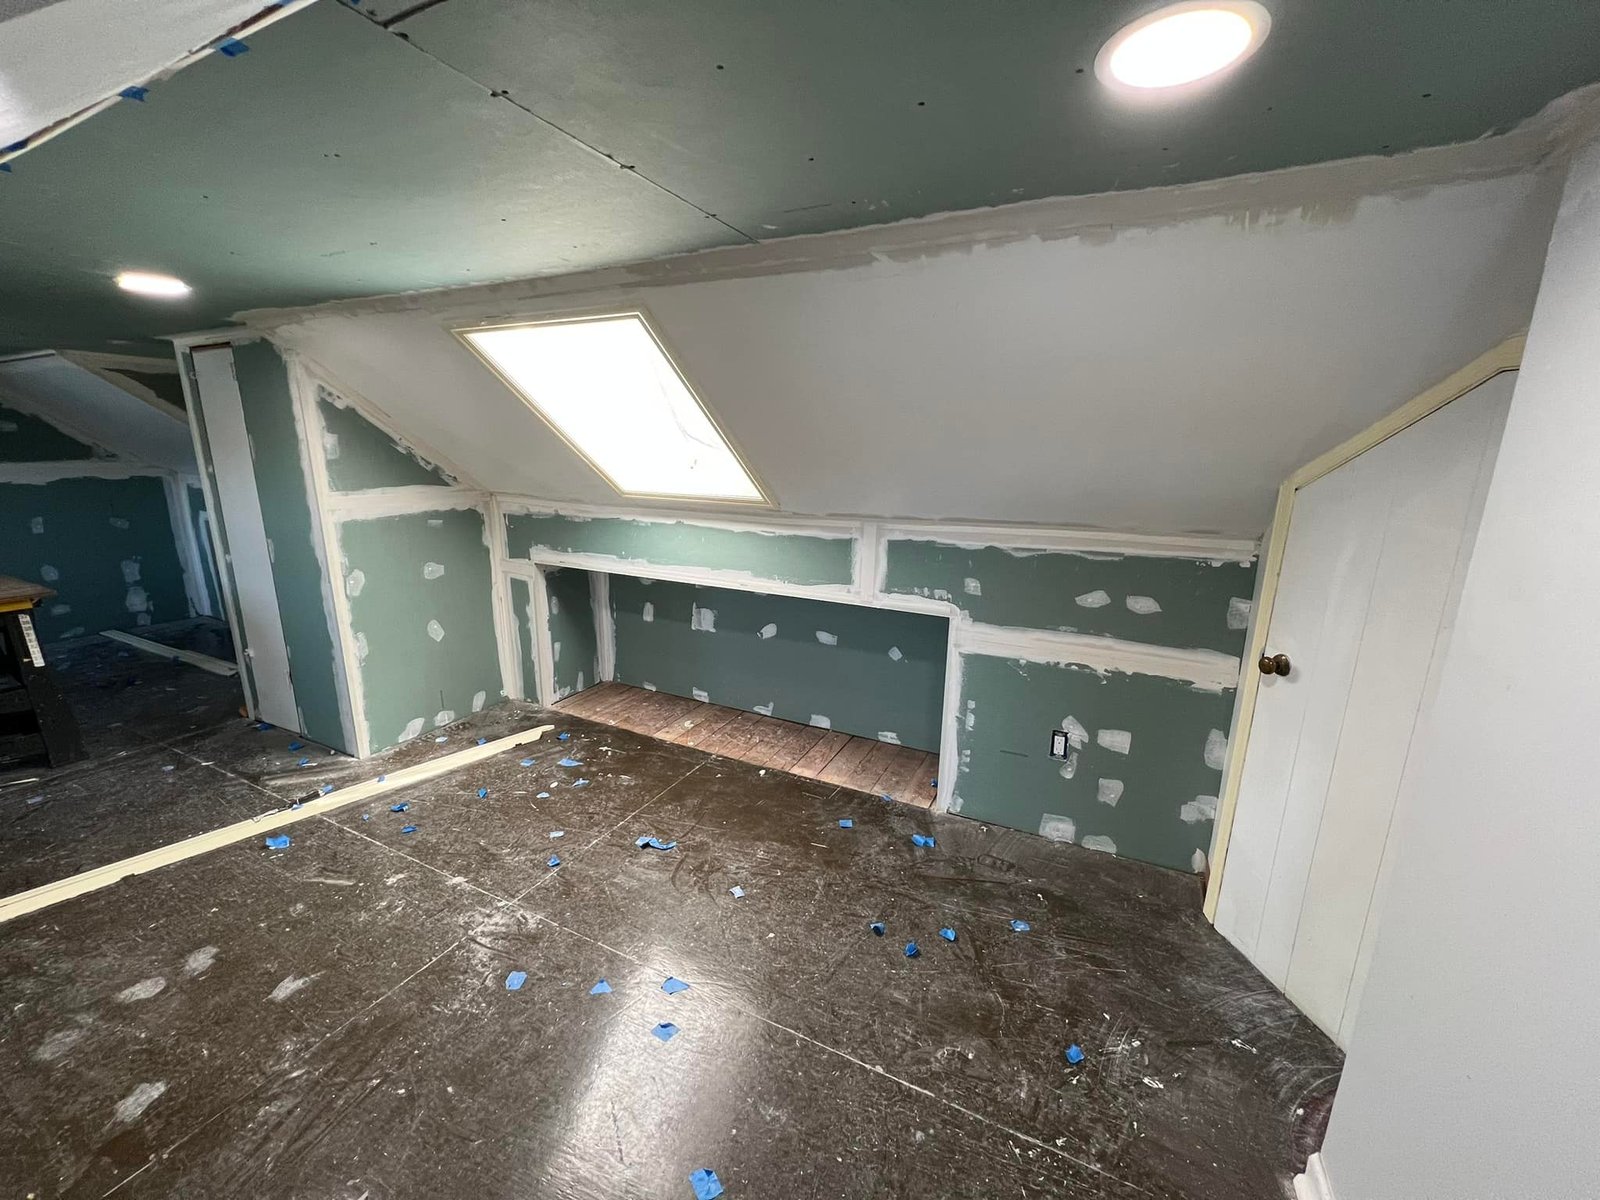
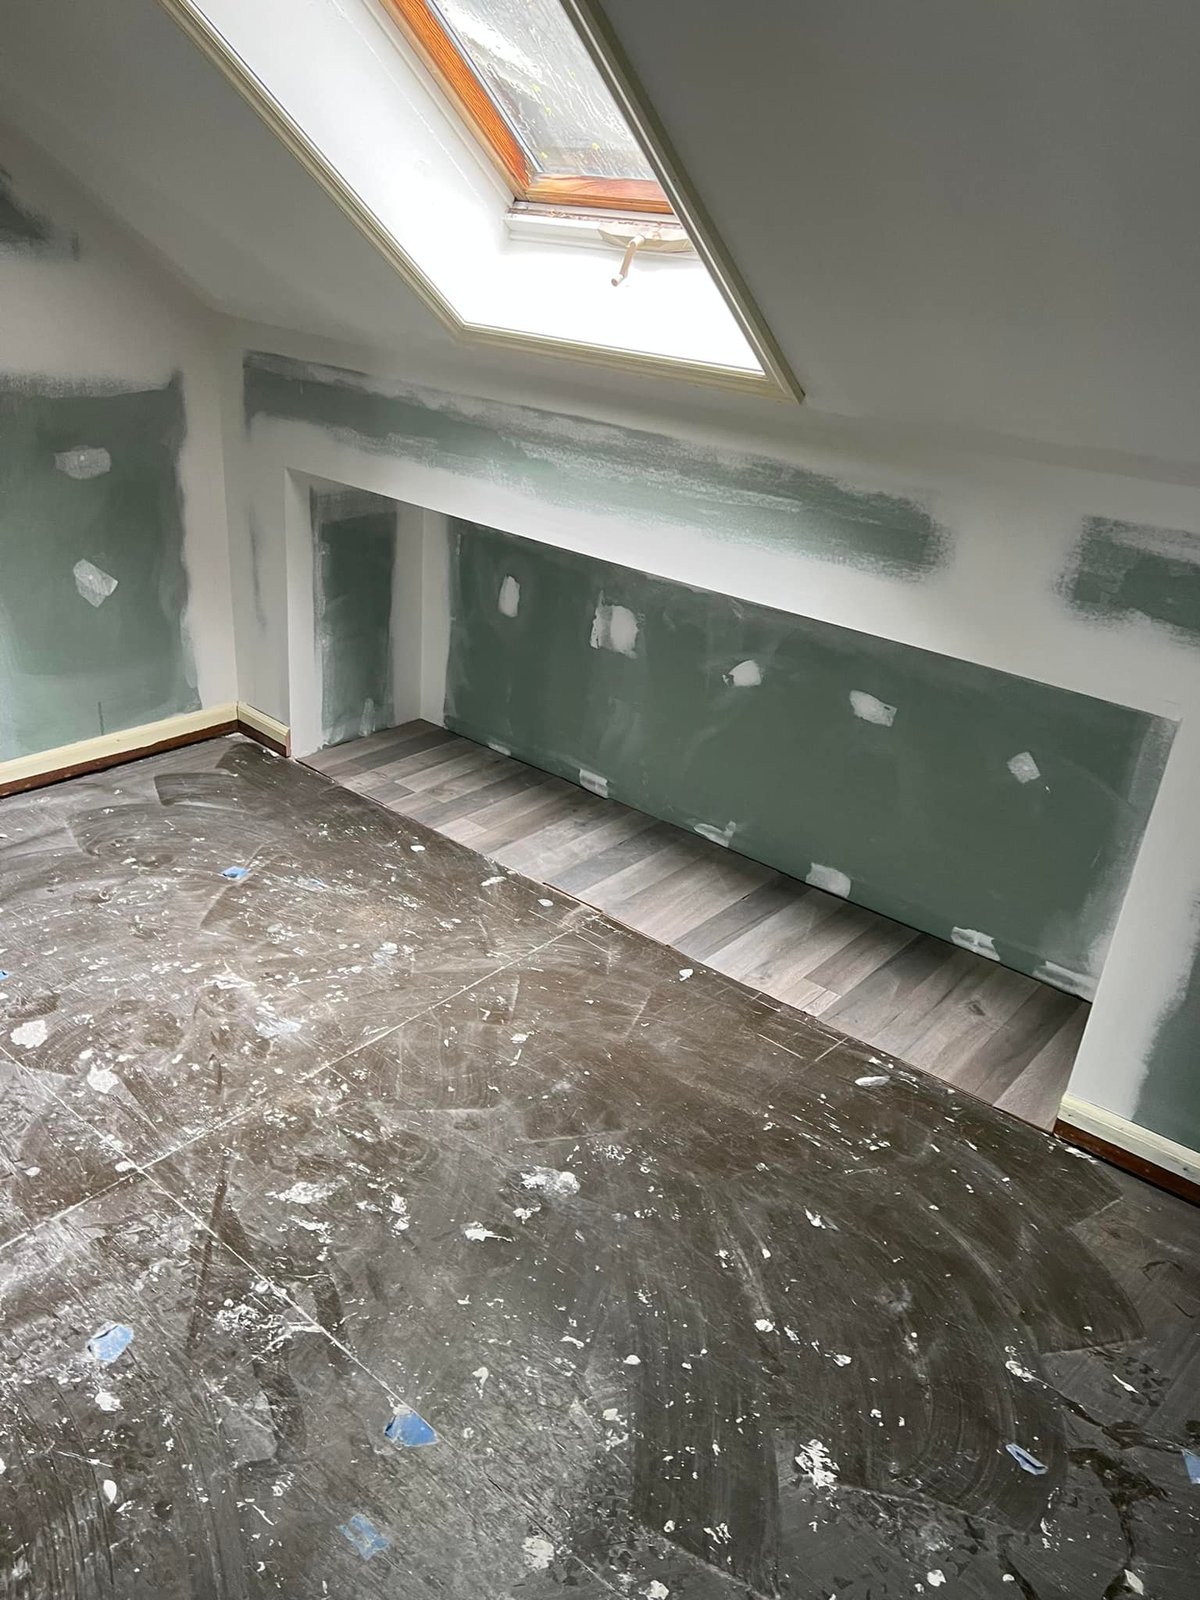
 Skylight and knee-wall opening masked off so I could keep cut lines clean.
-
 During
 Blue tape running every angle on the sloped ceiling before I cut in by hand.
-
 During
 Corner bead taped up around the dormer. Lots of geometry to deal with up here.
-
 During
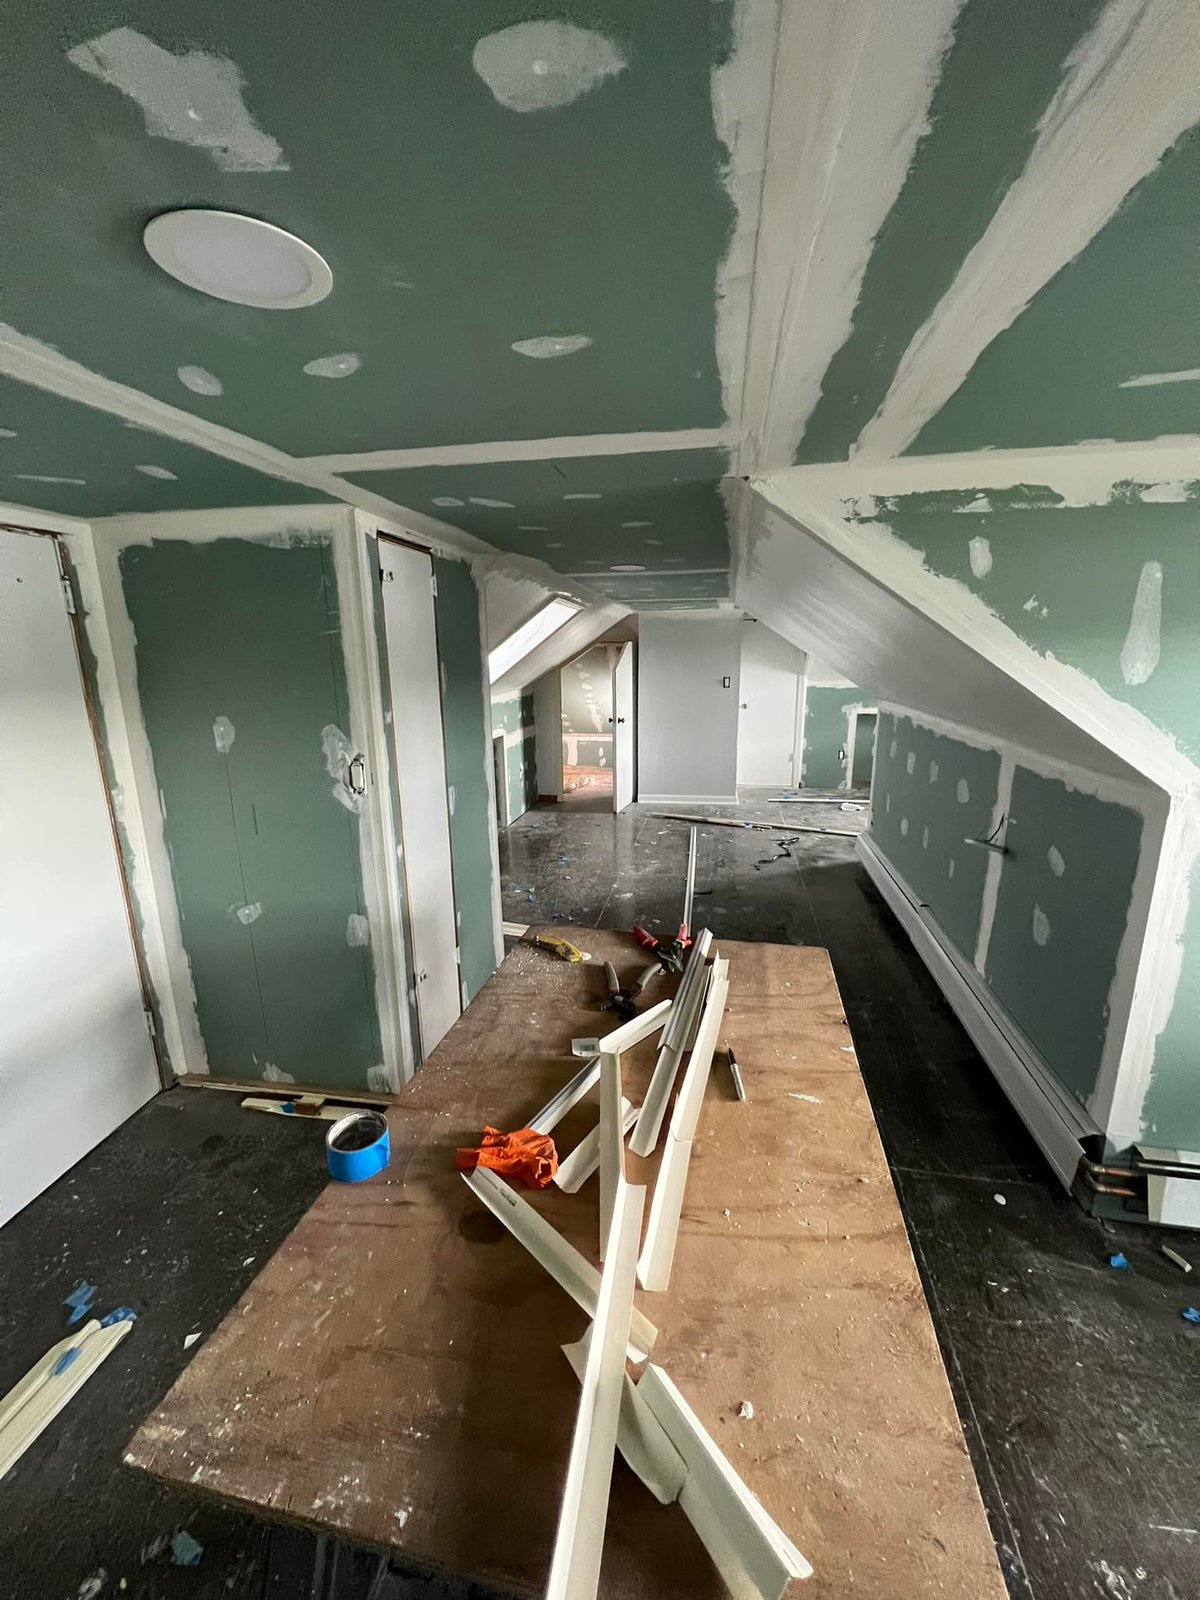
 Plywood across sawhorses for a workbench while I keep mudding and prepping bead.
-
 During
 Seams taped, sloped ceilings primed. Starting to feel like a finished room.
-
 During
 Recessed cans on, drywall patched around the skylight box.
-
 During
 First mud coat over the seams, original plank floor still in place underfoot.
-
 During
 Joint compound going on while the existing baseboard heat stayed live for the winter.
-
 During
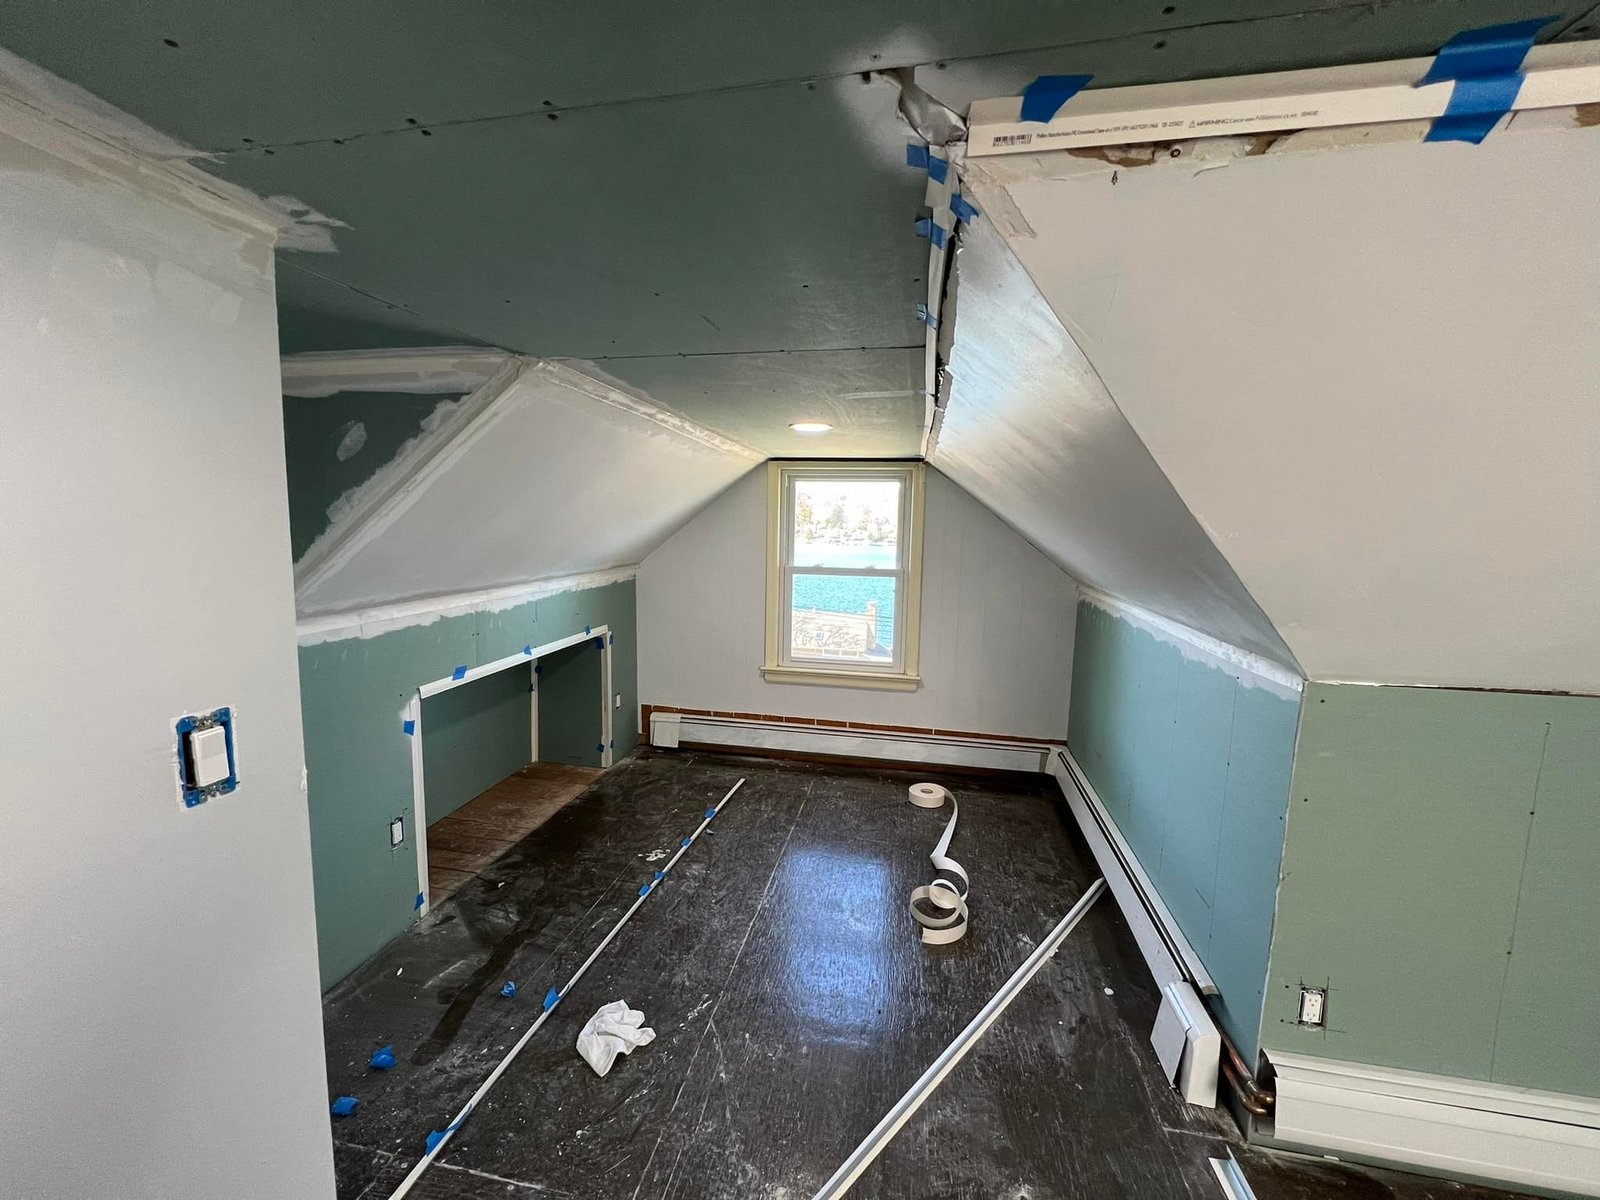
 Skylight installed and the seams around it taped tight — that's where leaks like to start.
-
 During
 Trim staged on the plywood bench, ready to cut once the mud was sanded.
-
 During
 Mud coats done on the sloped ceiling. Plank floor will get cleaned up at the end.
-
 During
 Whole room in green board with the seams taped, original floor protected for now.
-
 During
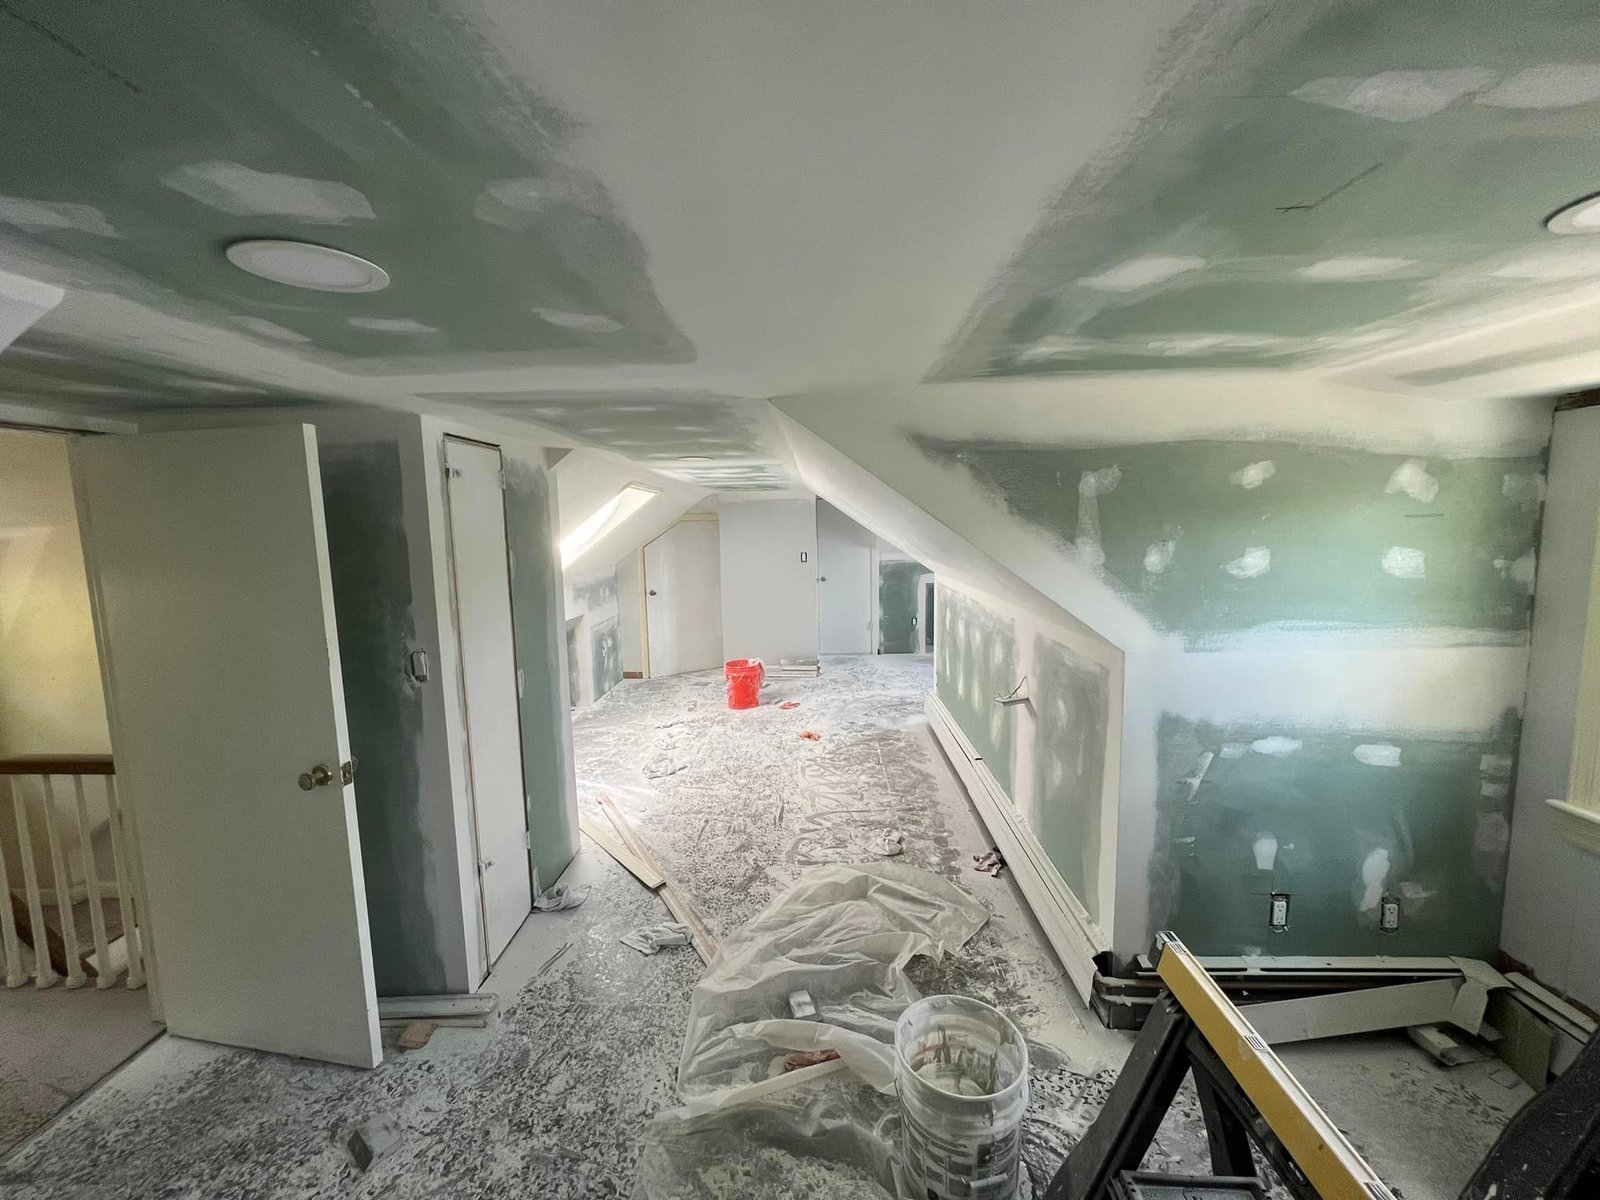
 Primer over the mudded seams. Slopes are light enough now to read the whole room.
-
 During
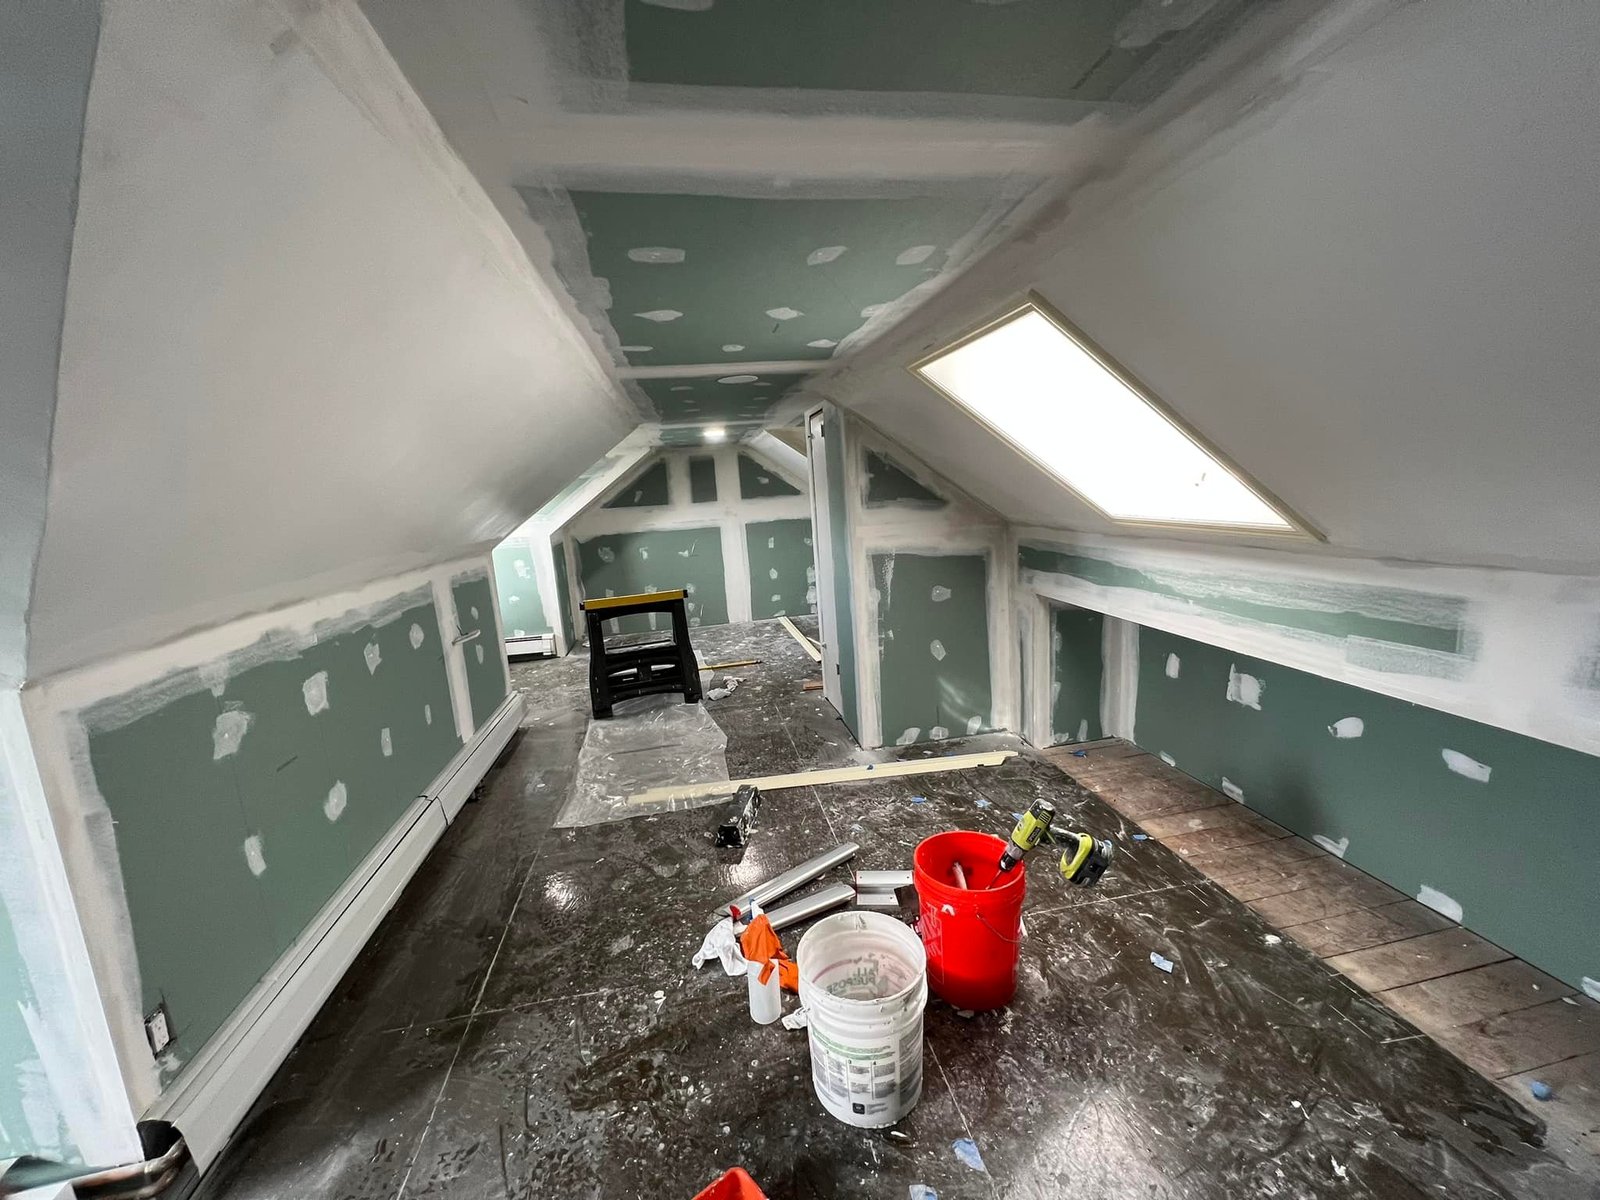
 Buckets on the floor, working through the second coat of mud one wall at a time.
-
 During
 Recessed lights wired in and screw heads spotted with mud — almost ready for sanding.
-
 During
 Seams skim-coated, waiting on me to come back and sand it all down.
-
 During
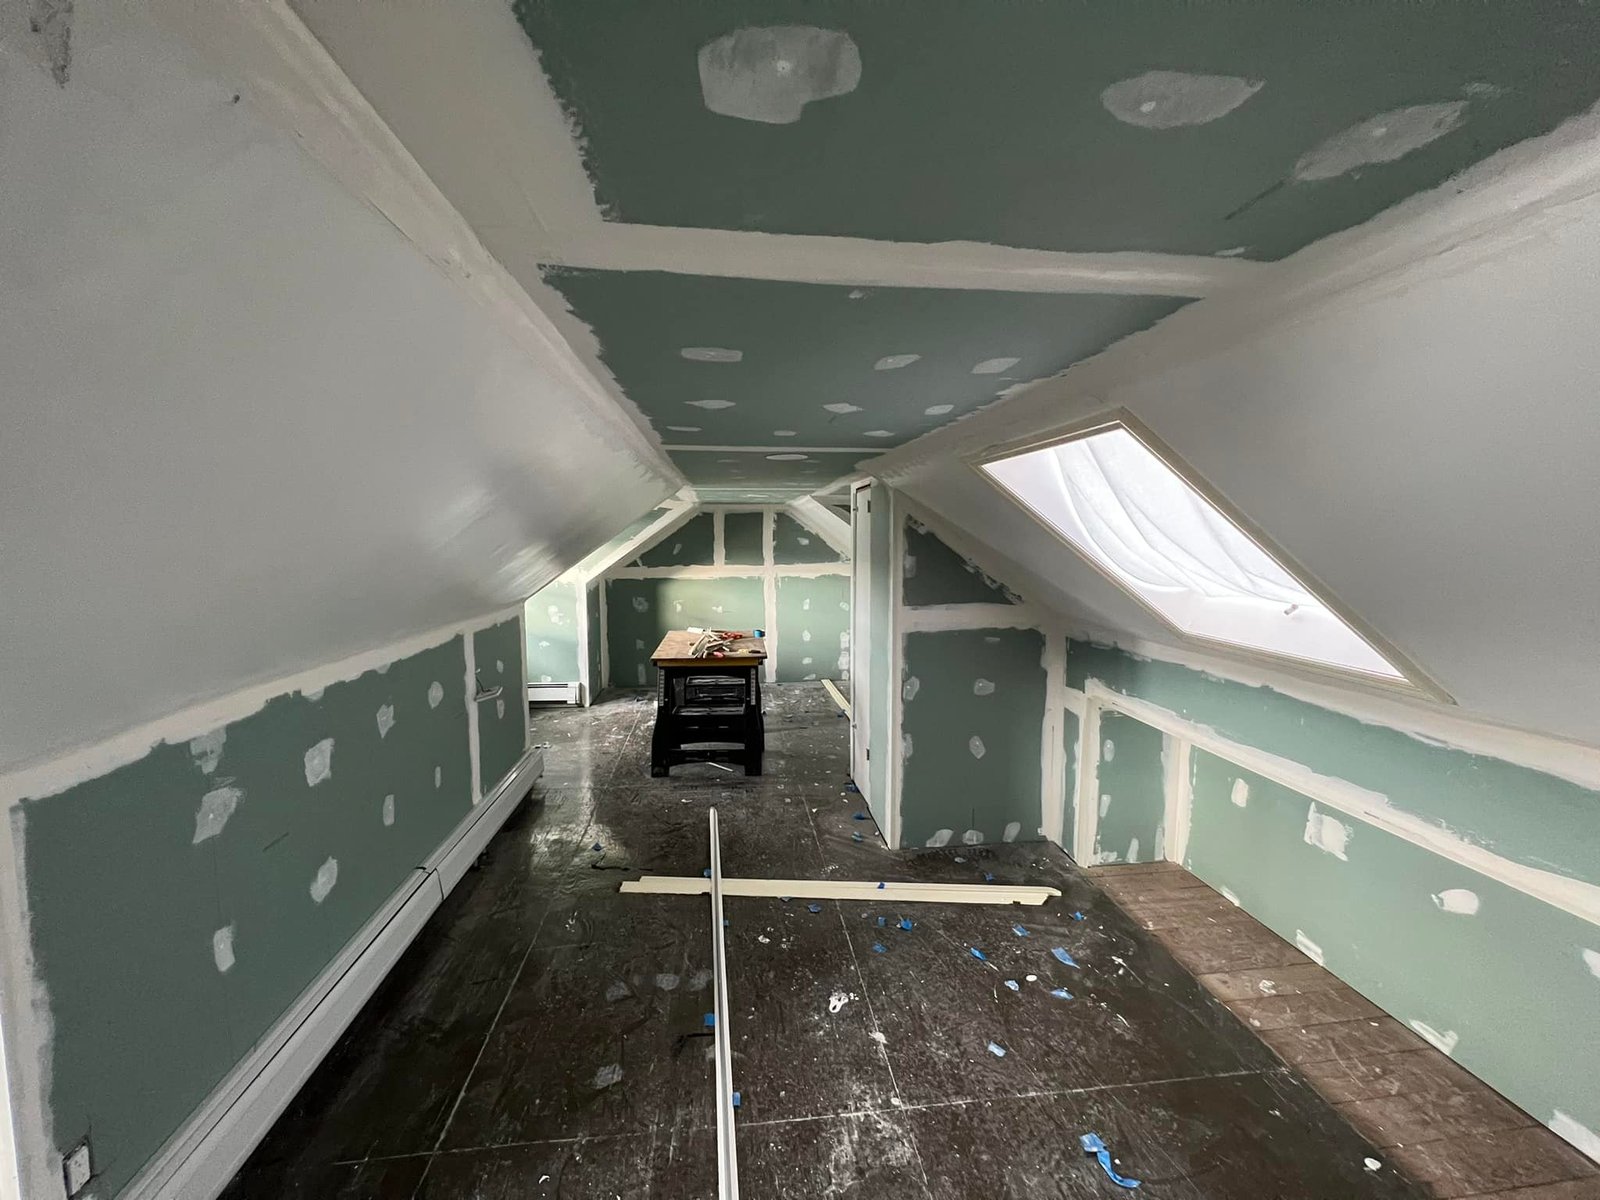
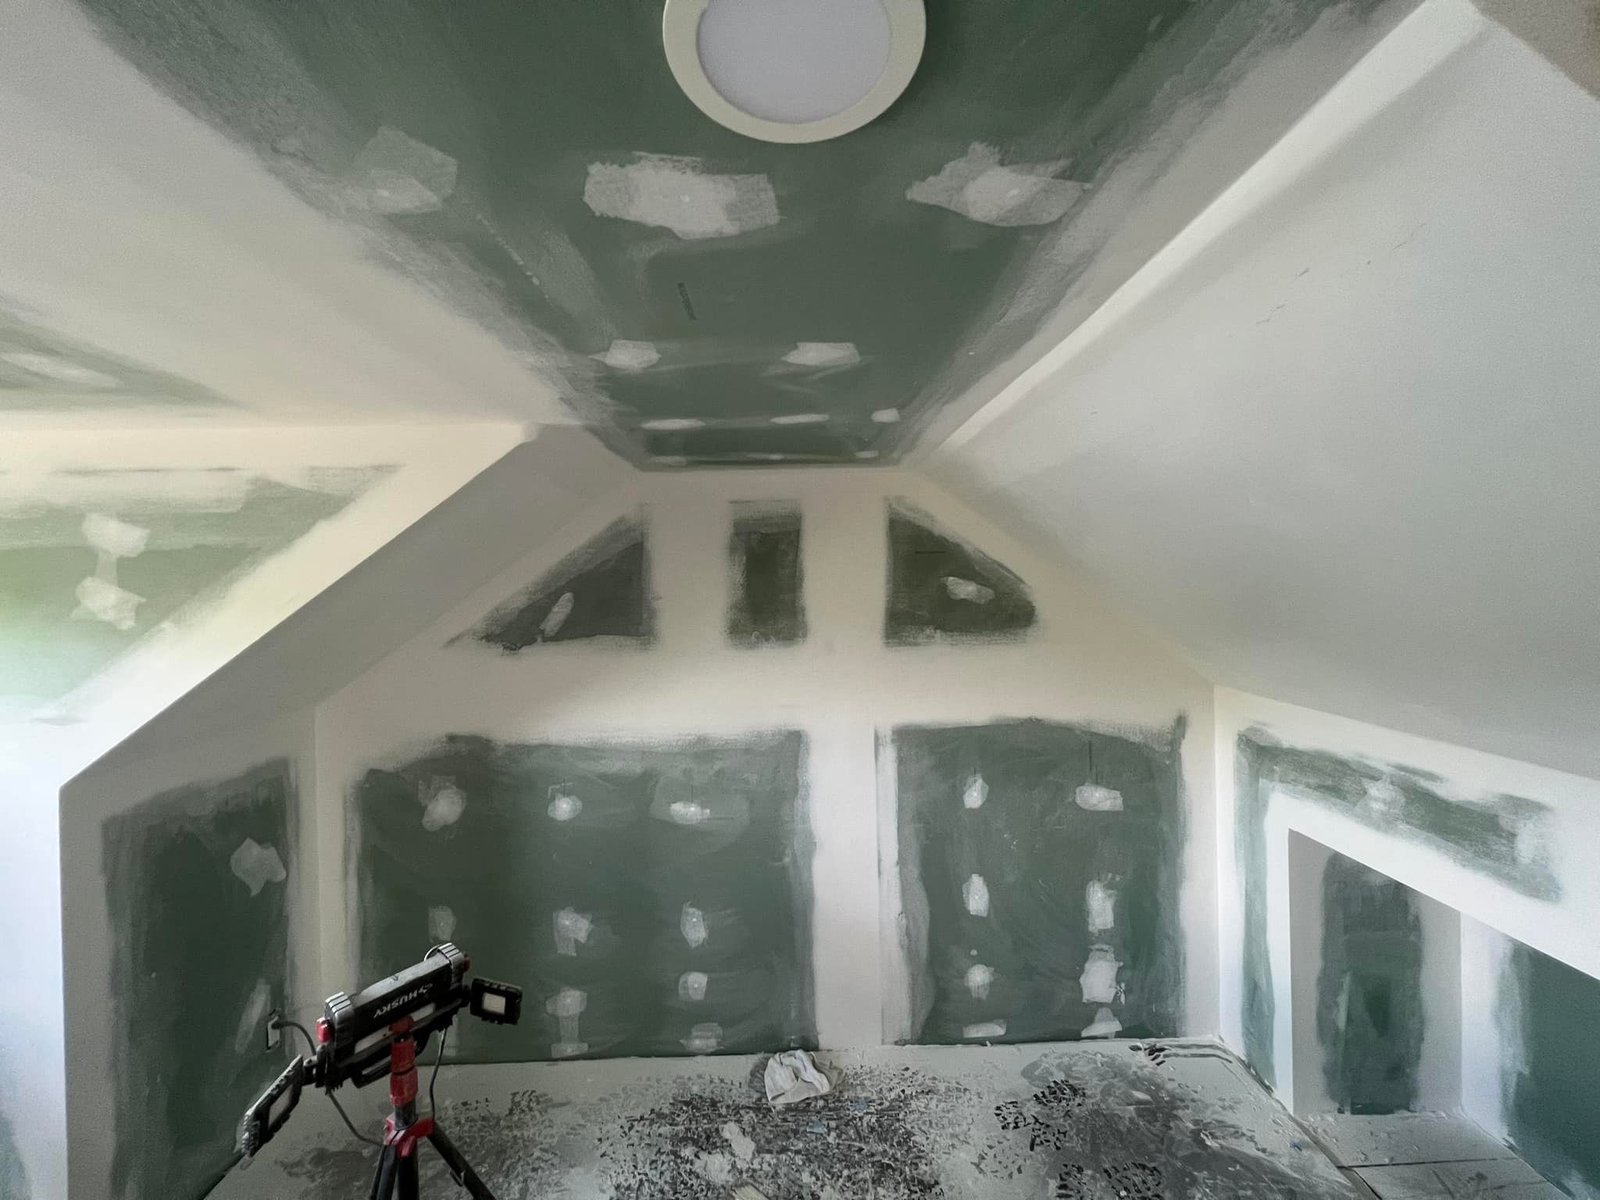
 Second mud coat across all the slopes. Big difference once the angles read flat.
-
 During
 Sloped ceilings mudded out, ready for sanding and the final paint pass.
-
 During
 Walls and slope above mudded smooth. Greenboard up here because the bath was just on the other side of this wall.
-
 During
 Skim coat going over the taped seams. Slow work but it's what makes the paint sit right.
-
 During
 First primer coat reveals the spots that still need a little more compound.
-
 During
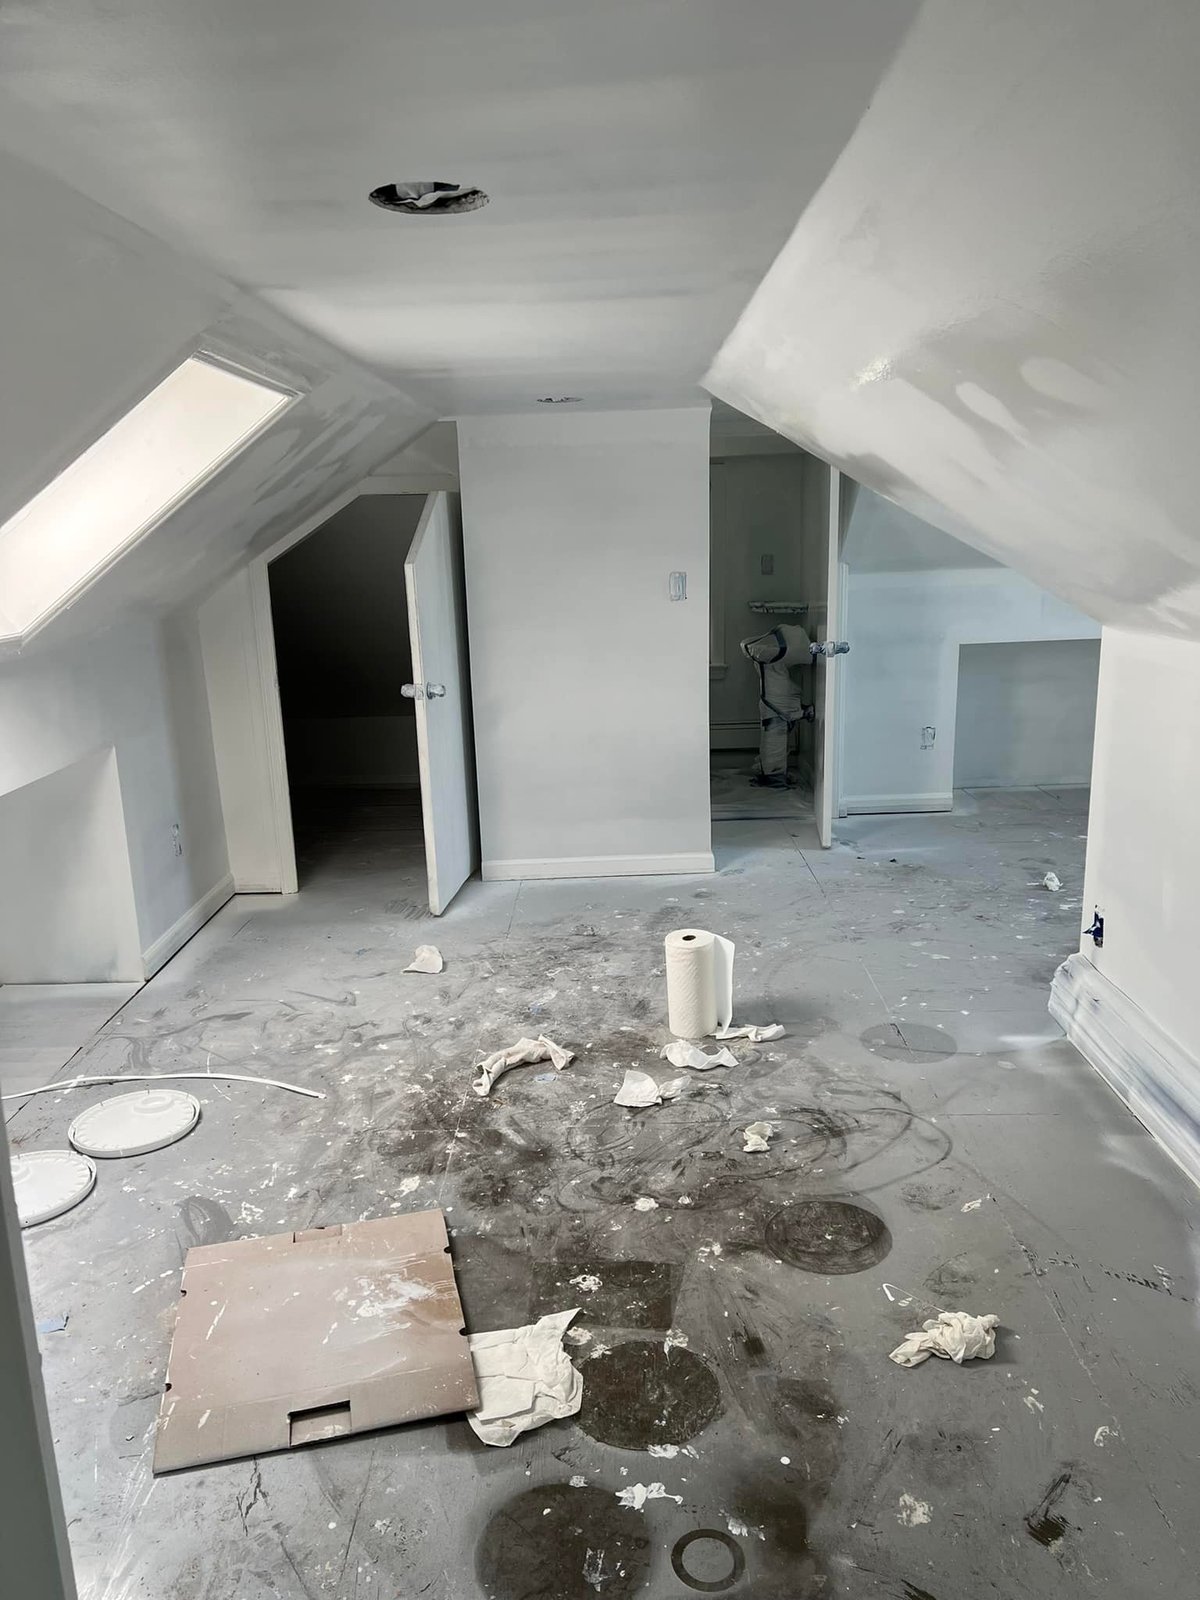
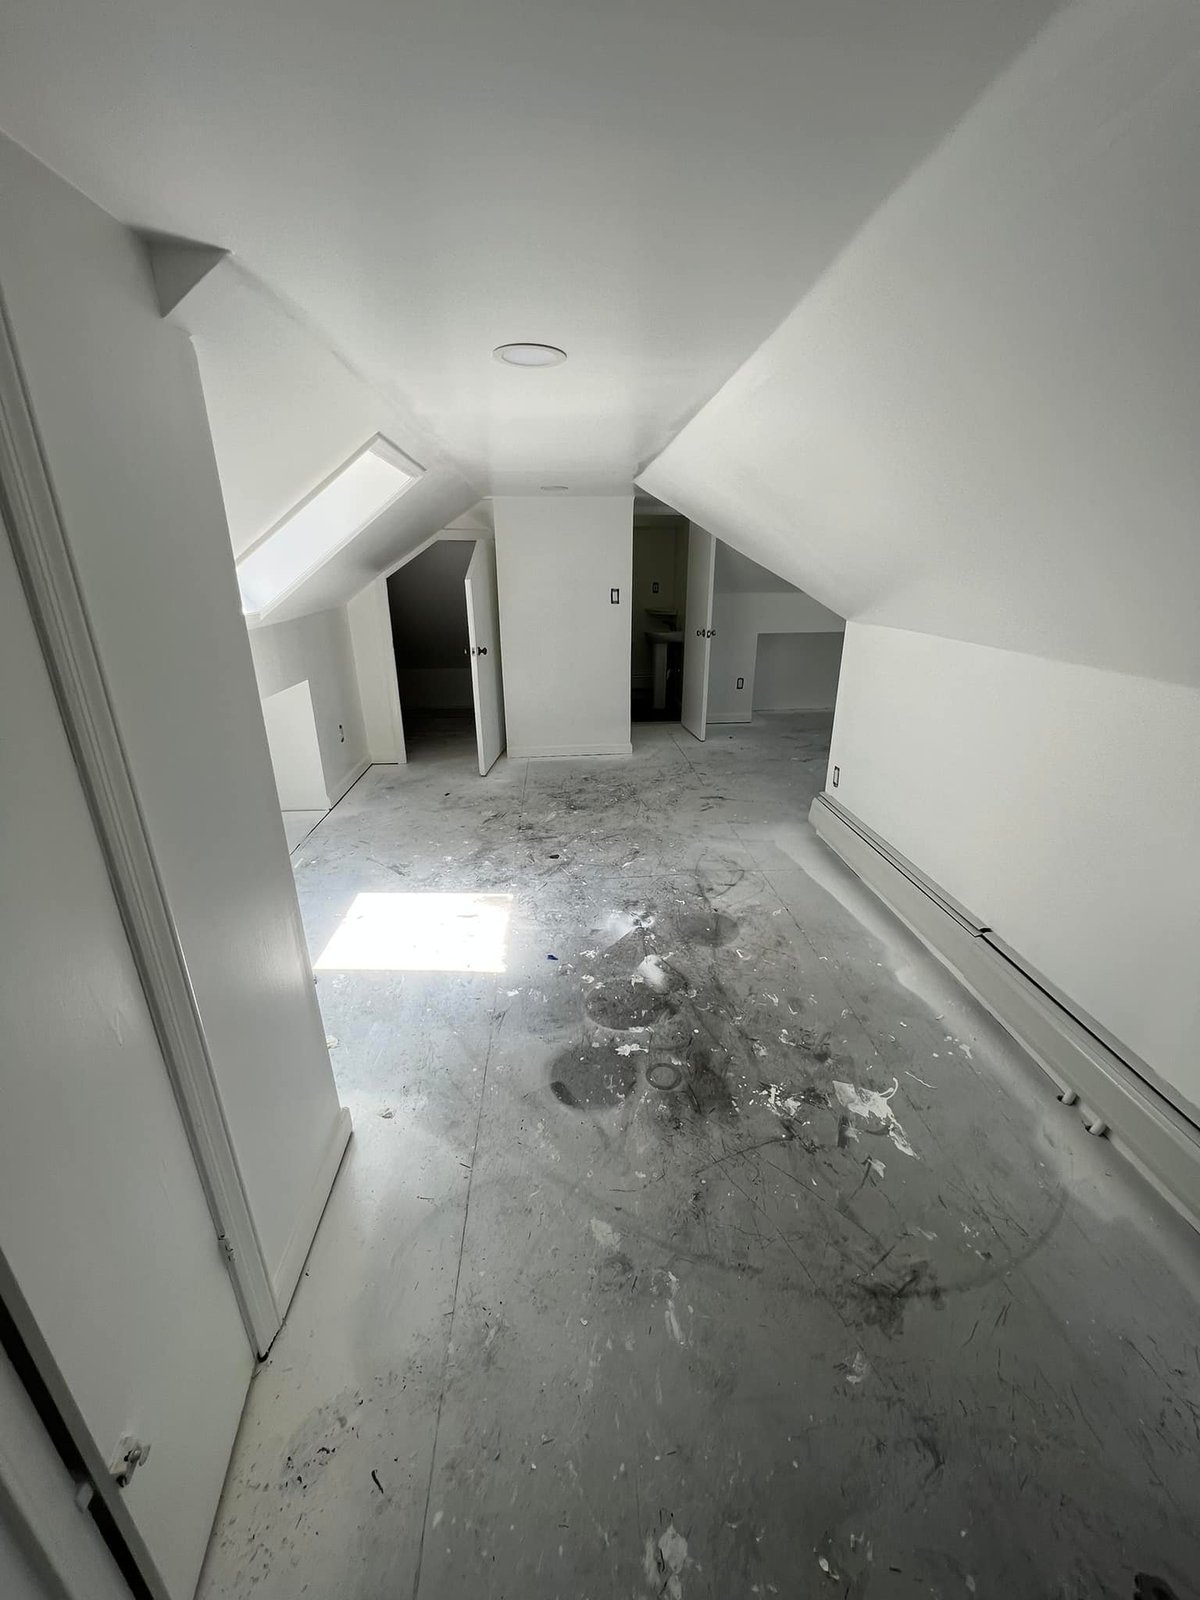
 Floor's covered in dust — that means the sanding is finally done up here.
-
 During
 Patching out the last few drywall spots before primer can go on.
-
 During
 Tools where I left them after the last mud coat dried.
-
 During
 Mudded out and waiting on a sand. Sloped ceilings always need one more pass than I plan for.
-
 During
 Floor under plastic, seams taped, skylight already in. Ready for the next mud coat.
-
 During
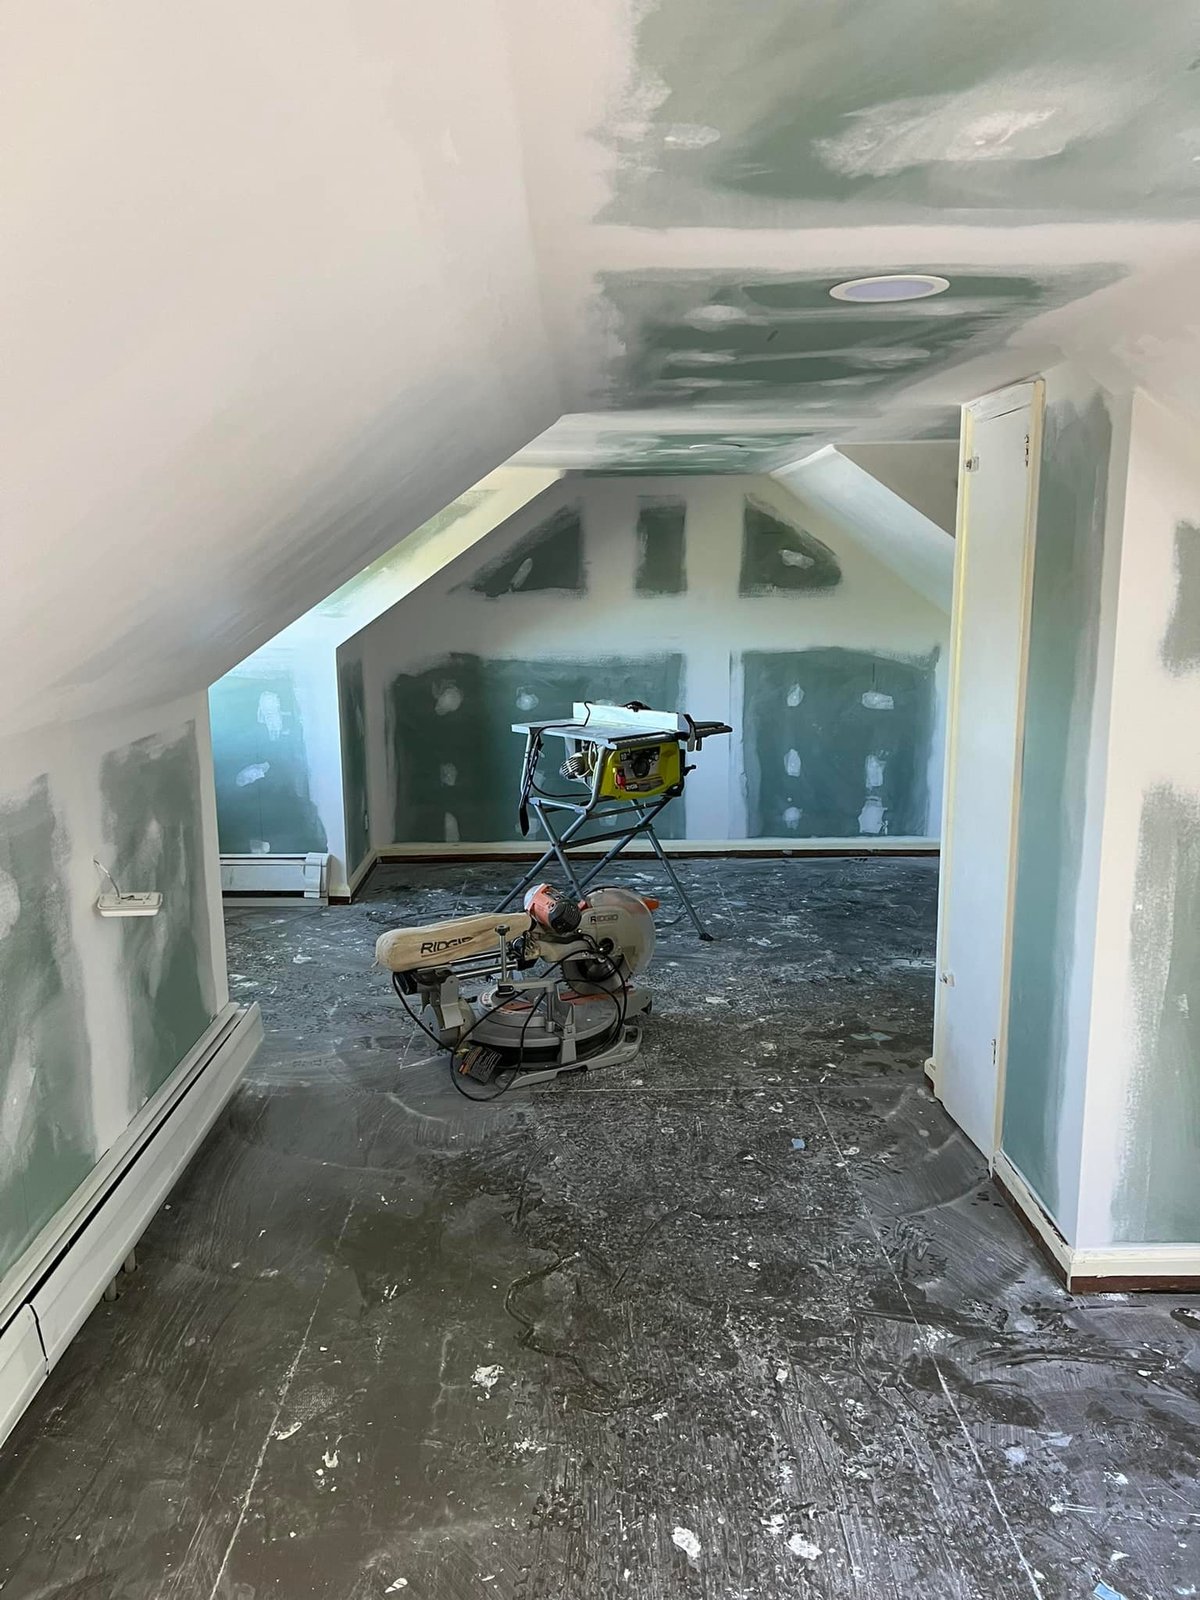
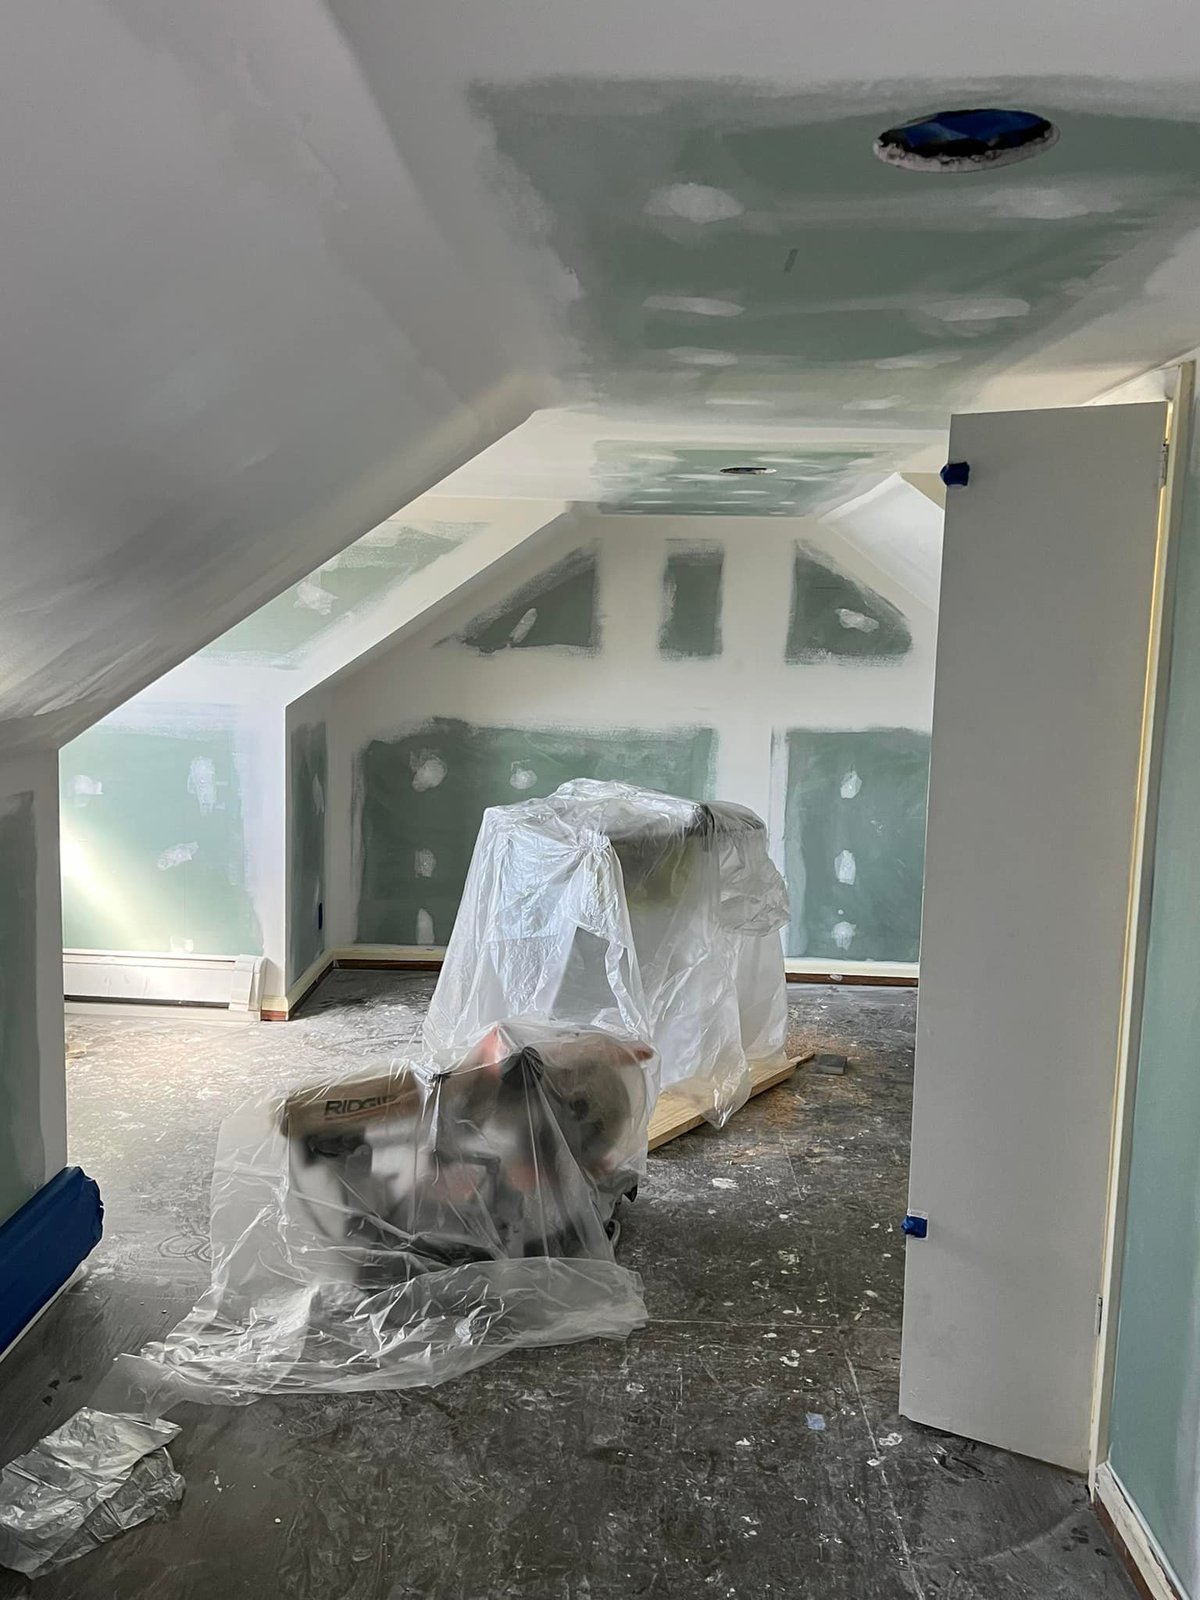
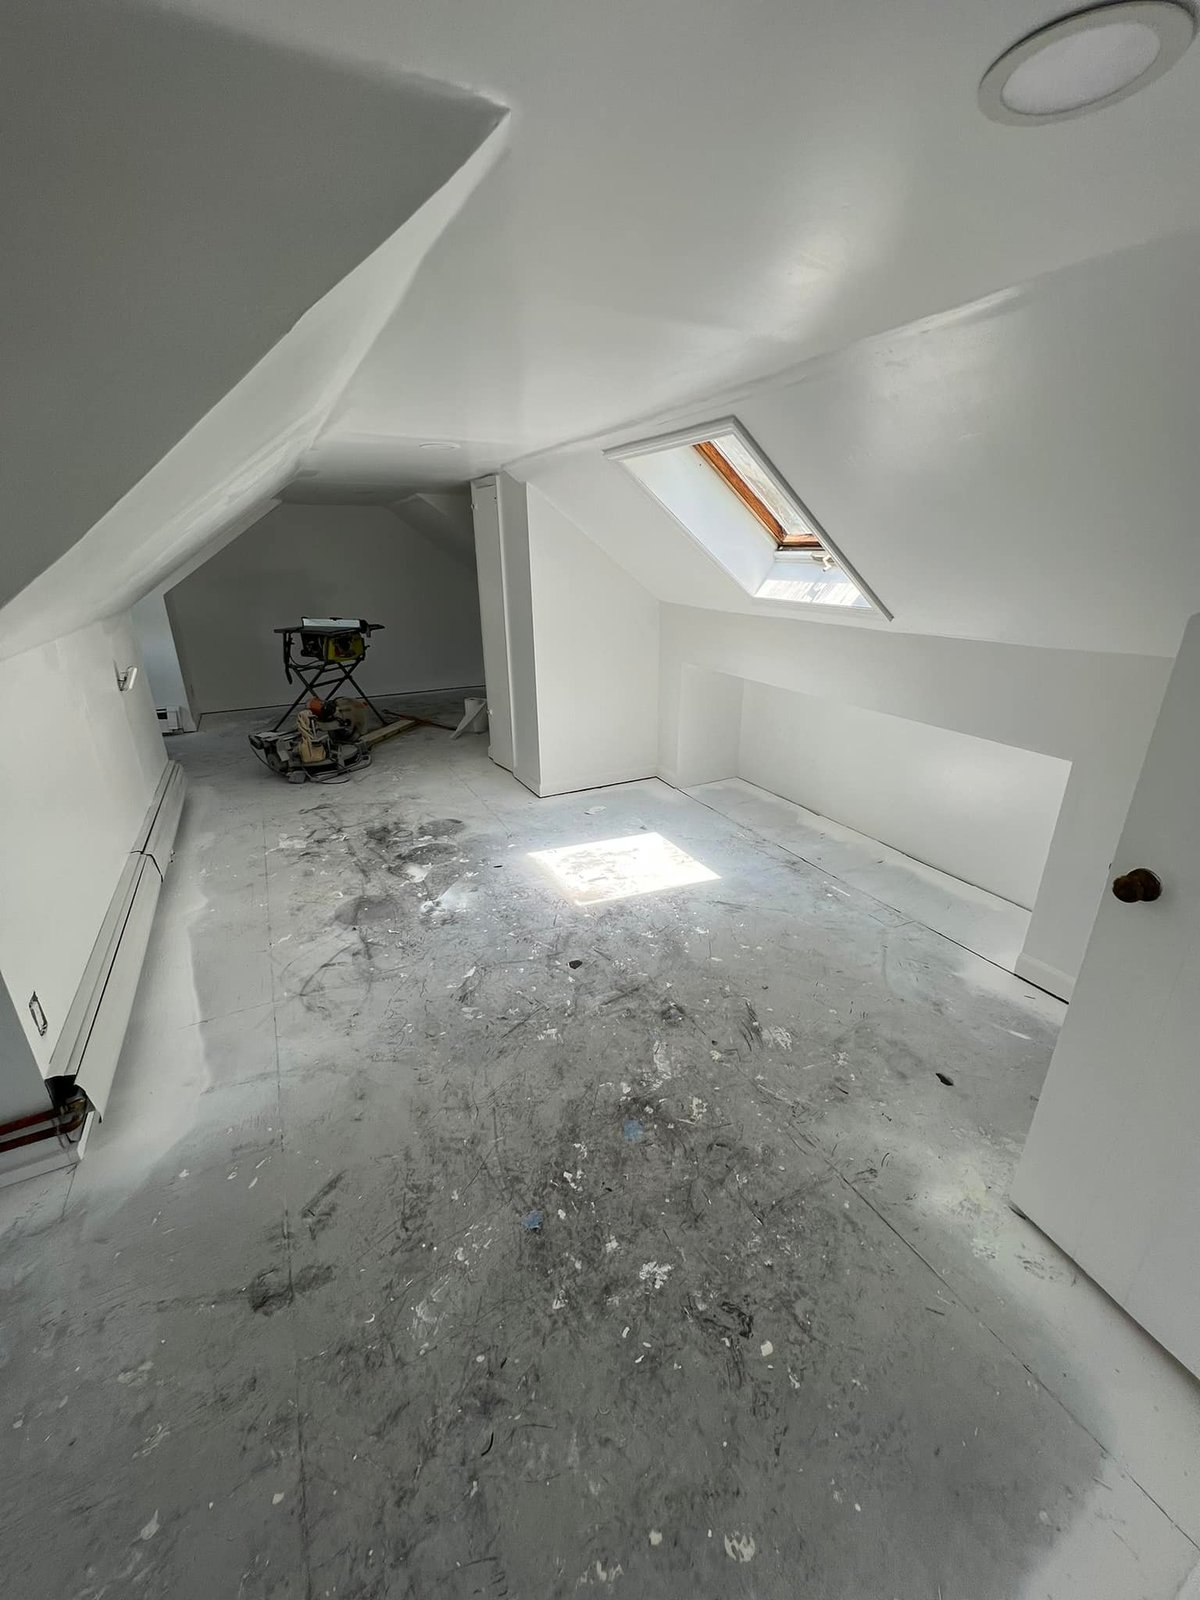
 Miter saw and table saw set up right under the slopes so I wasn't running up and down stairs.
-
 During
 Whole attic mudded out. Floors will get refinished after I sand the walls.
-
 During
 Mudded ceiling slopes over the original plank floor — this is the look I was after.
-
 During
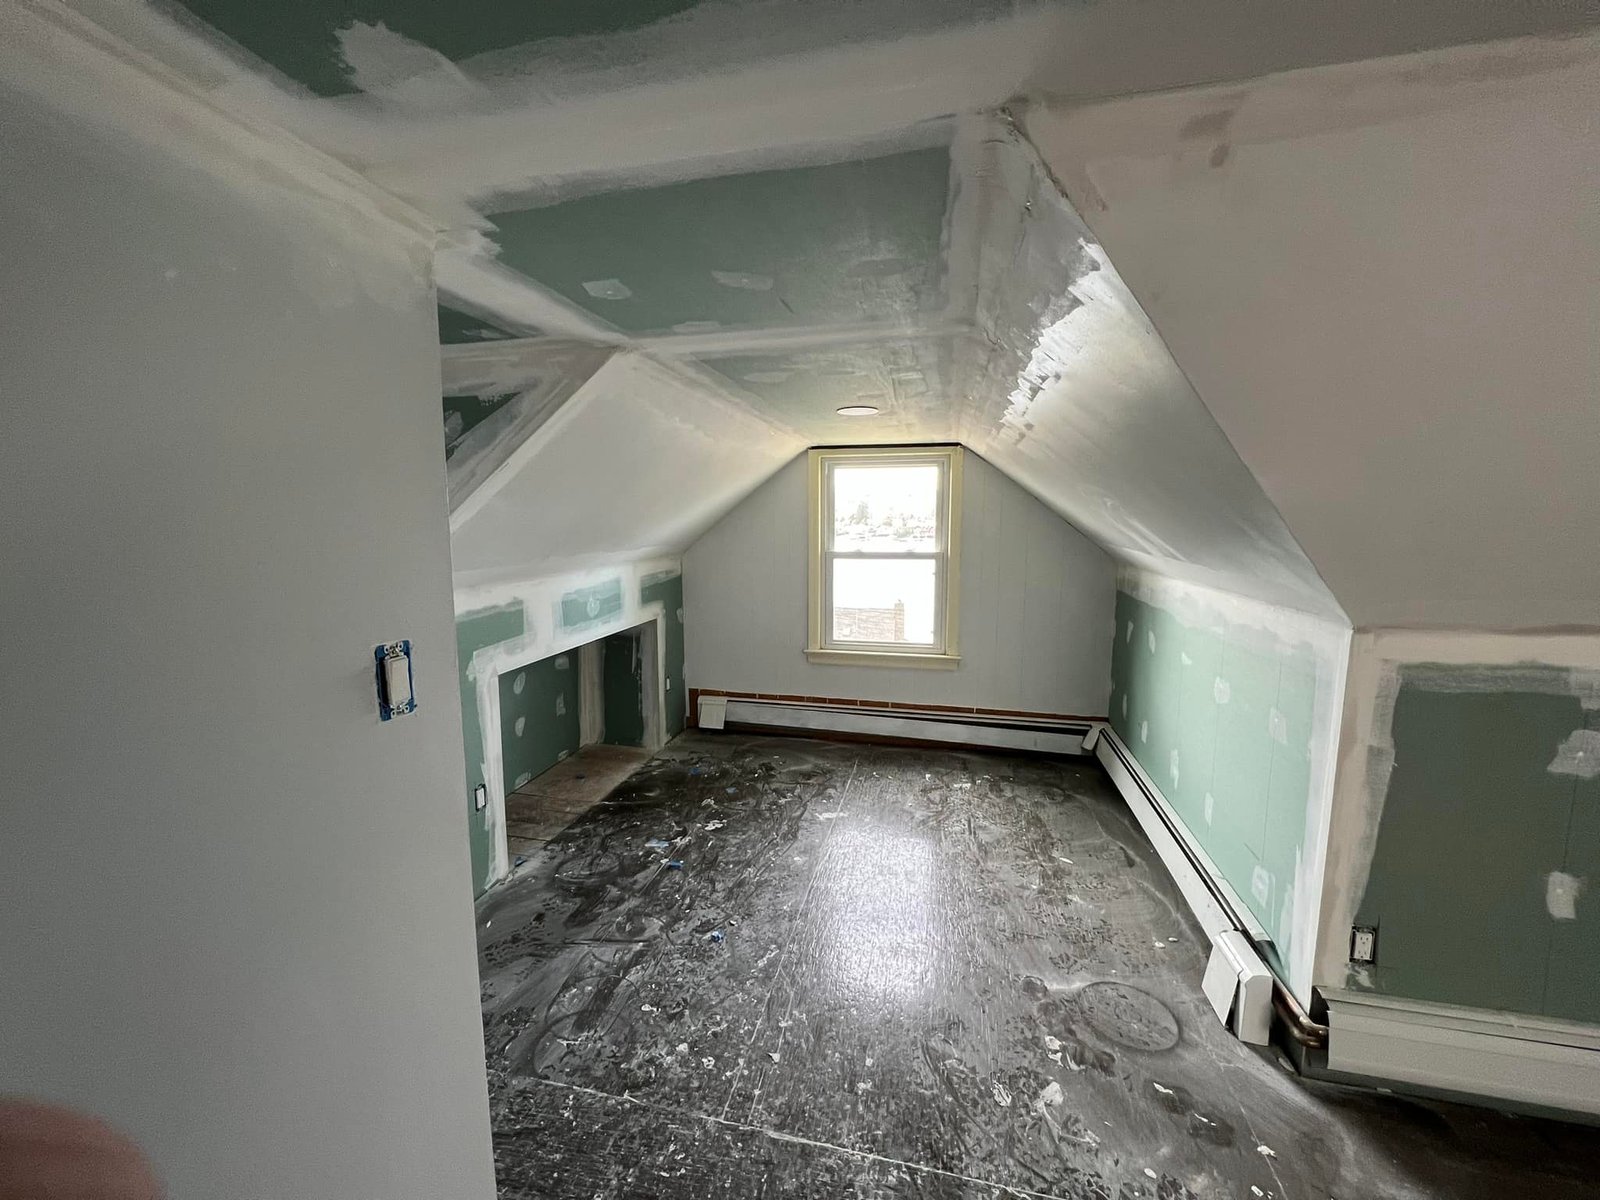
 Drywall patched, window taped off, primer up. Just paint left in this room.
-
 During
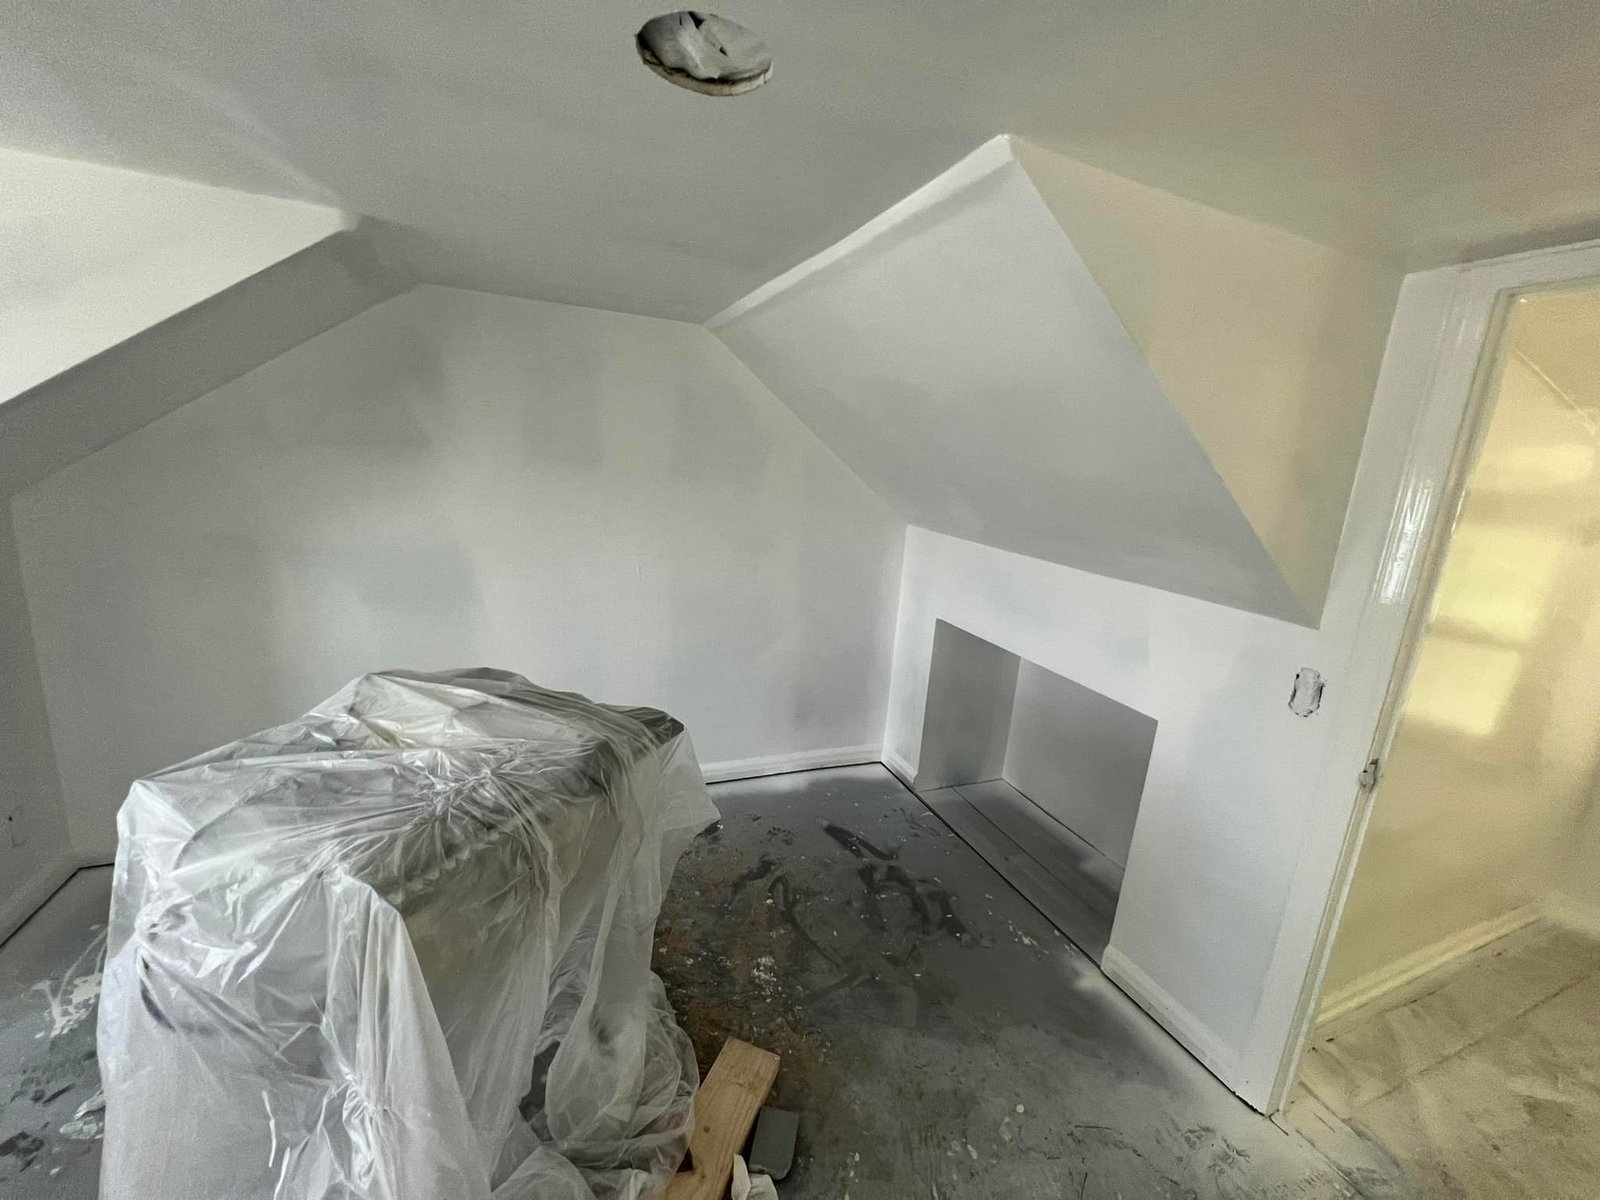
 Tools draped in plastic between mud coats so dust didn't ruin everything.
-
 During
 Sloped ceilings primed. Floor still needs cleanup but the bones are there.
-
 During
 First color coat on. Furniture I'd staged earlier still draped in plastic.
-
 After
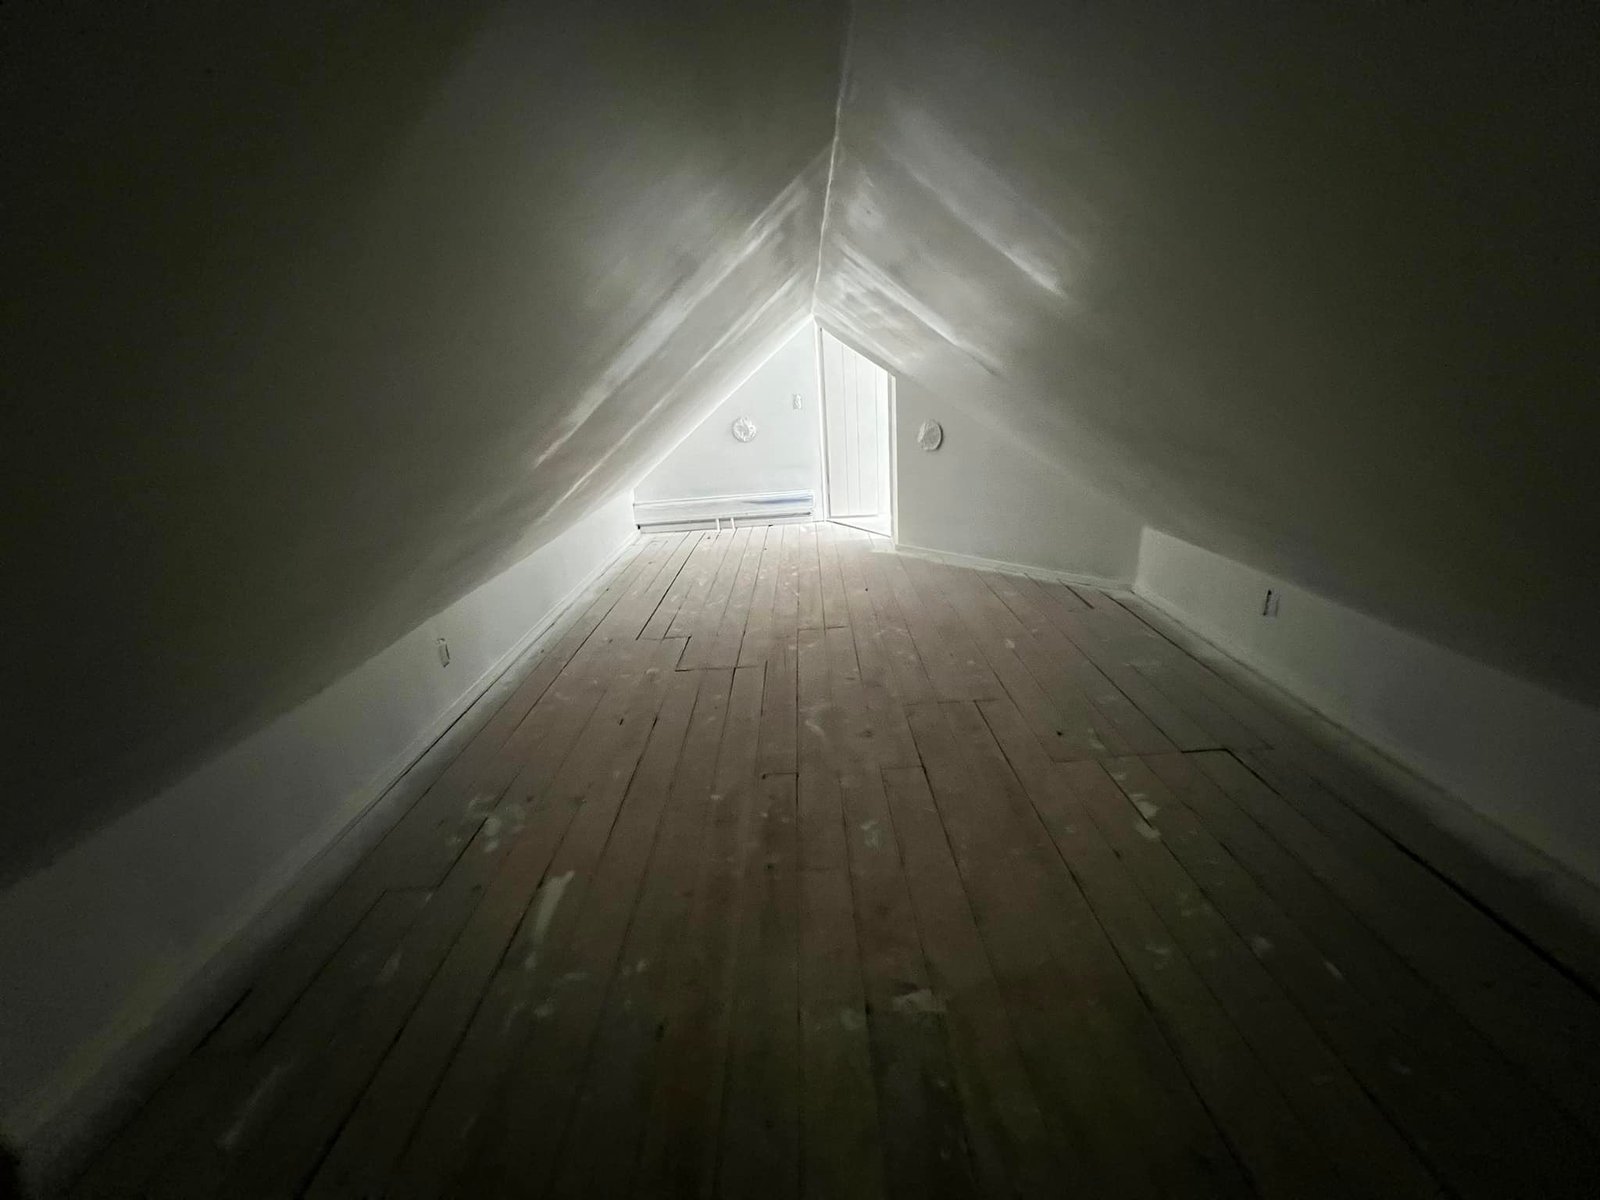
After Empty A-frame attic painted out, plank floors brought back. This was a crawl space when I started.
-
 During
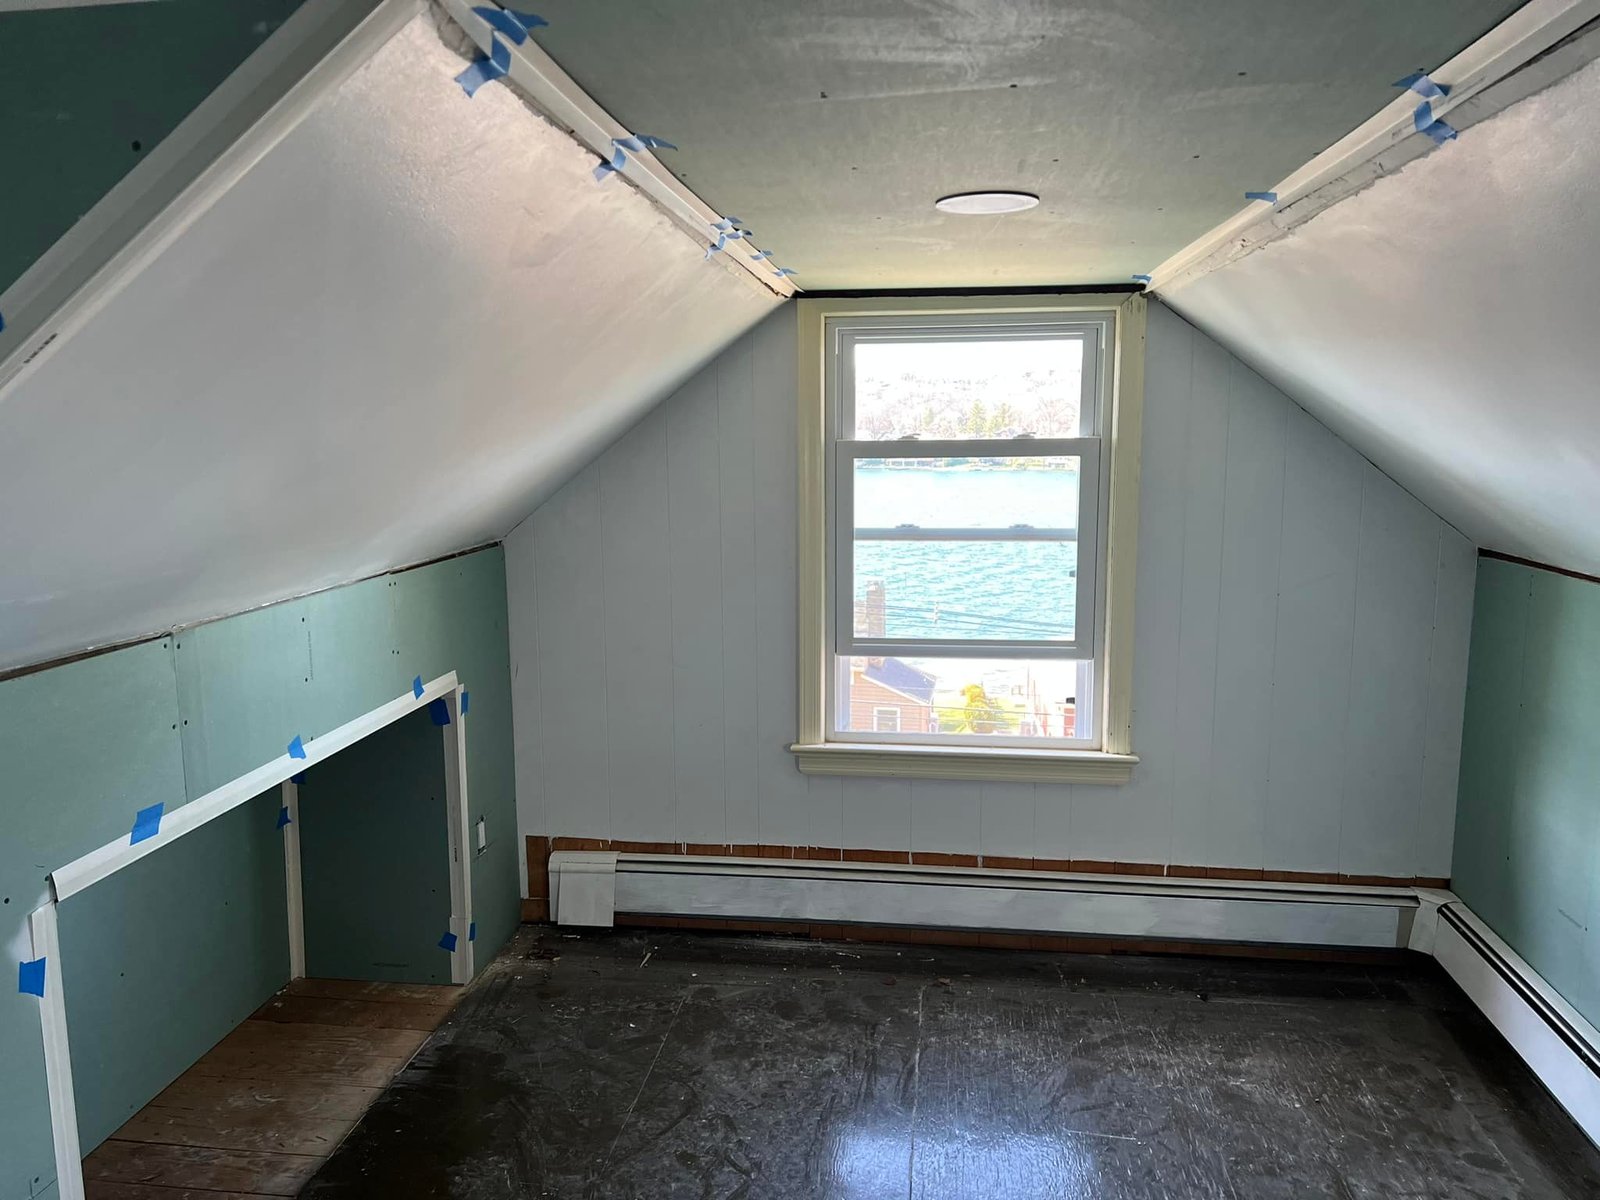
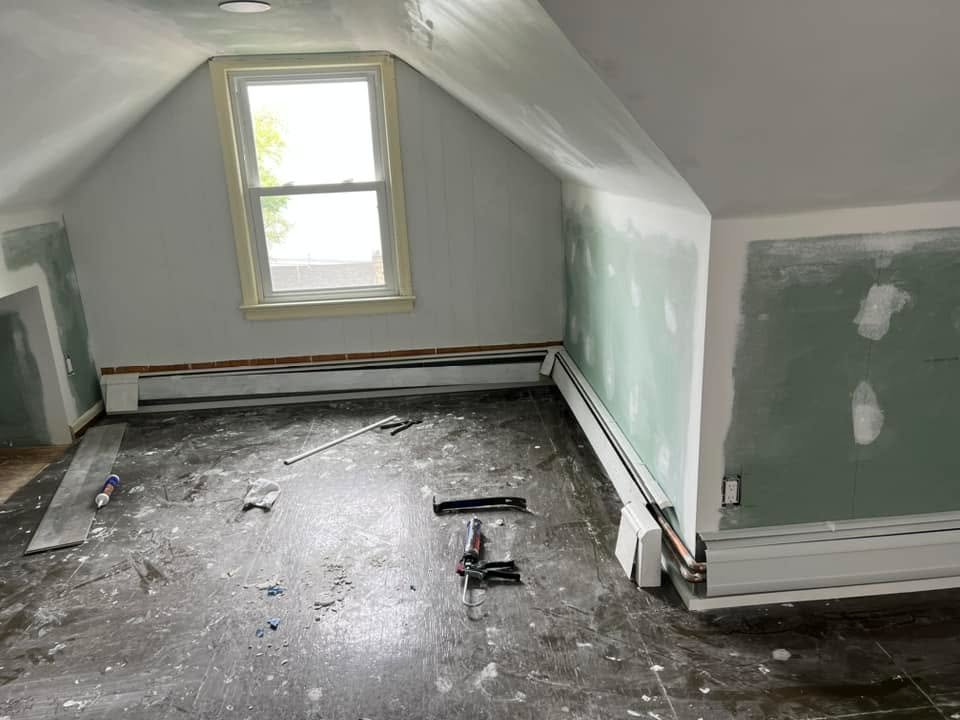
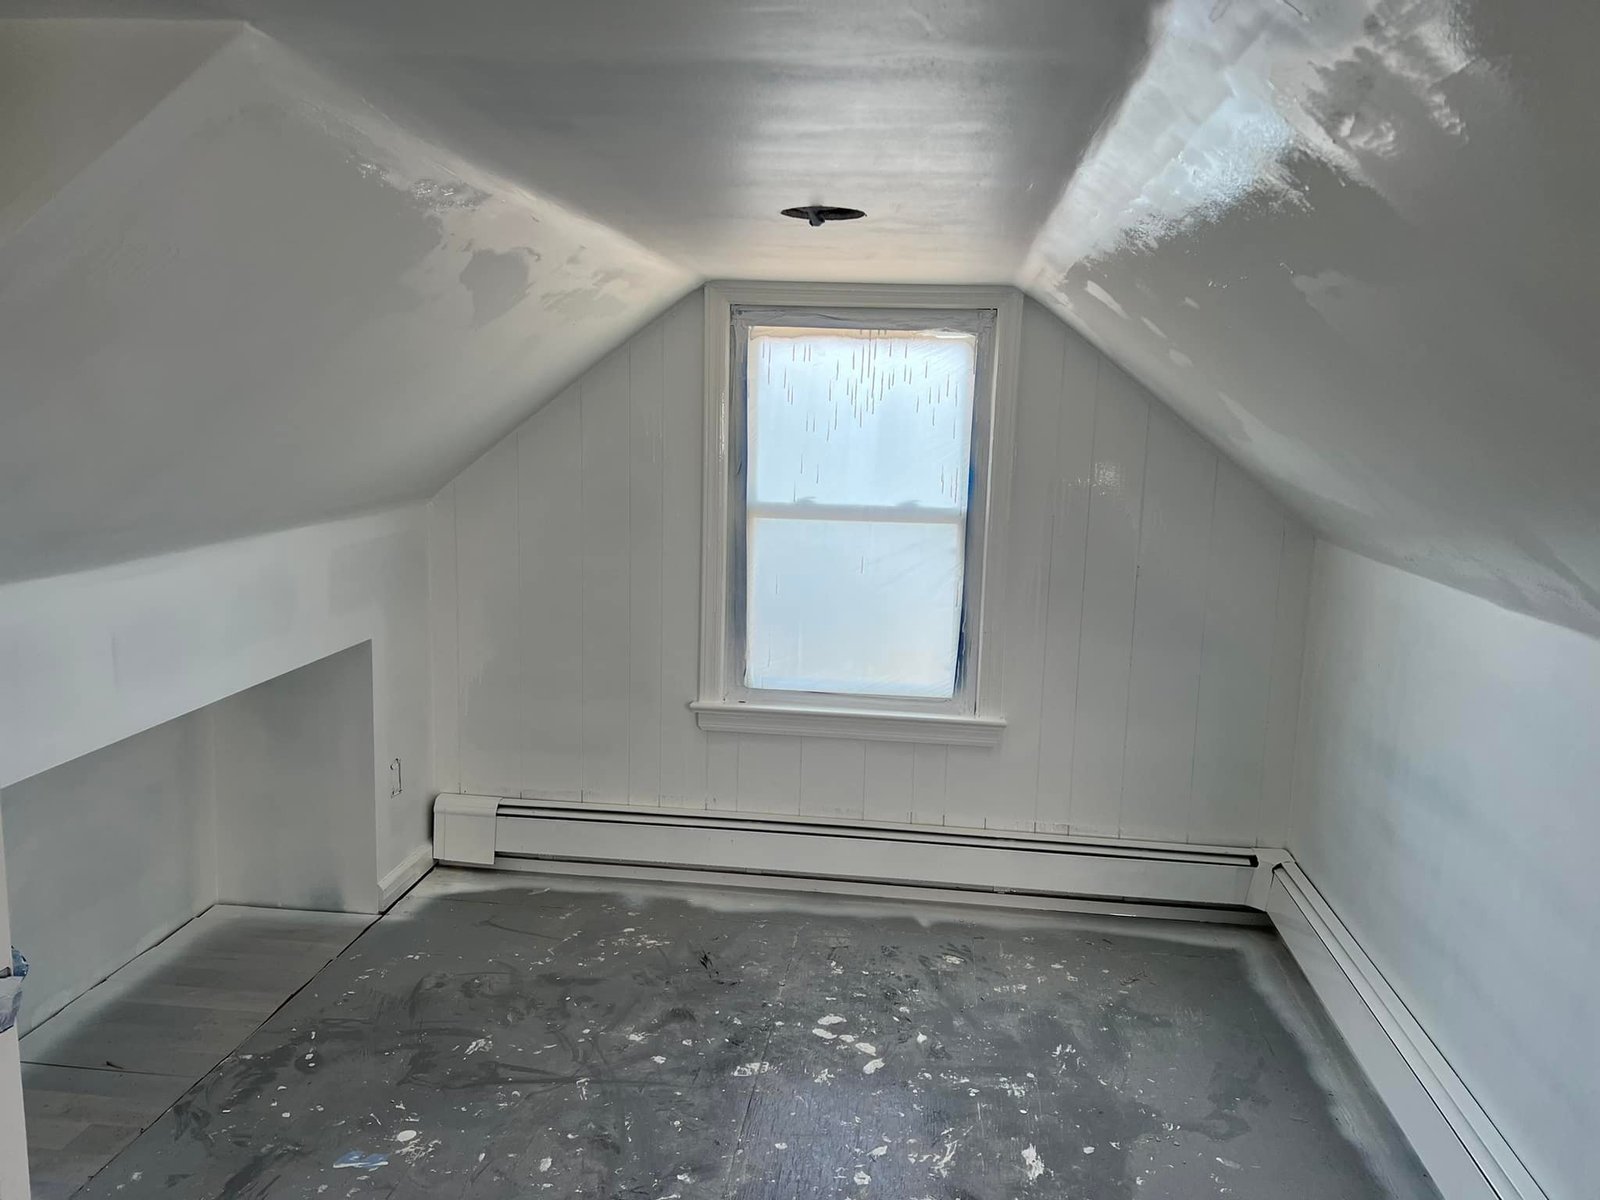
 Painted out around the baseboard heater and dormer. Ready for floor refinishing.
-
 During
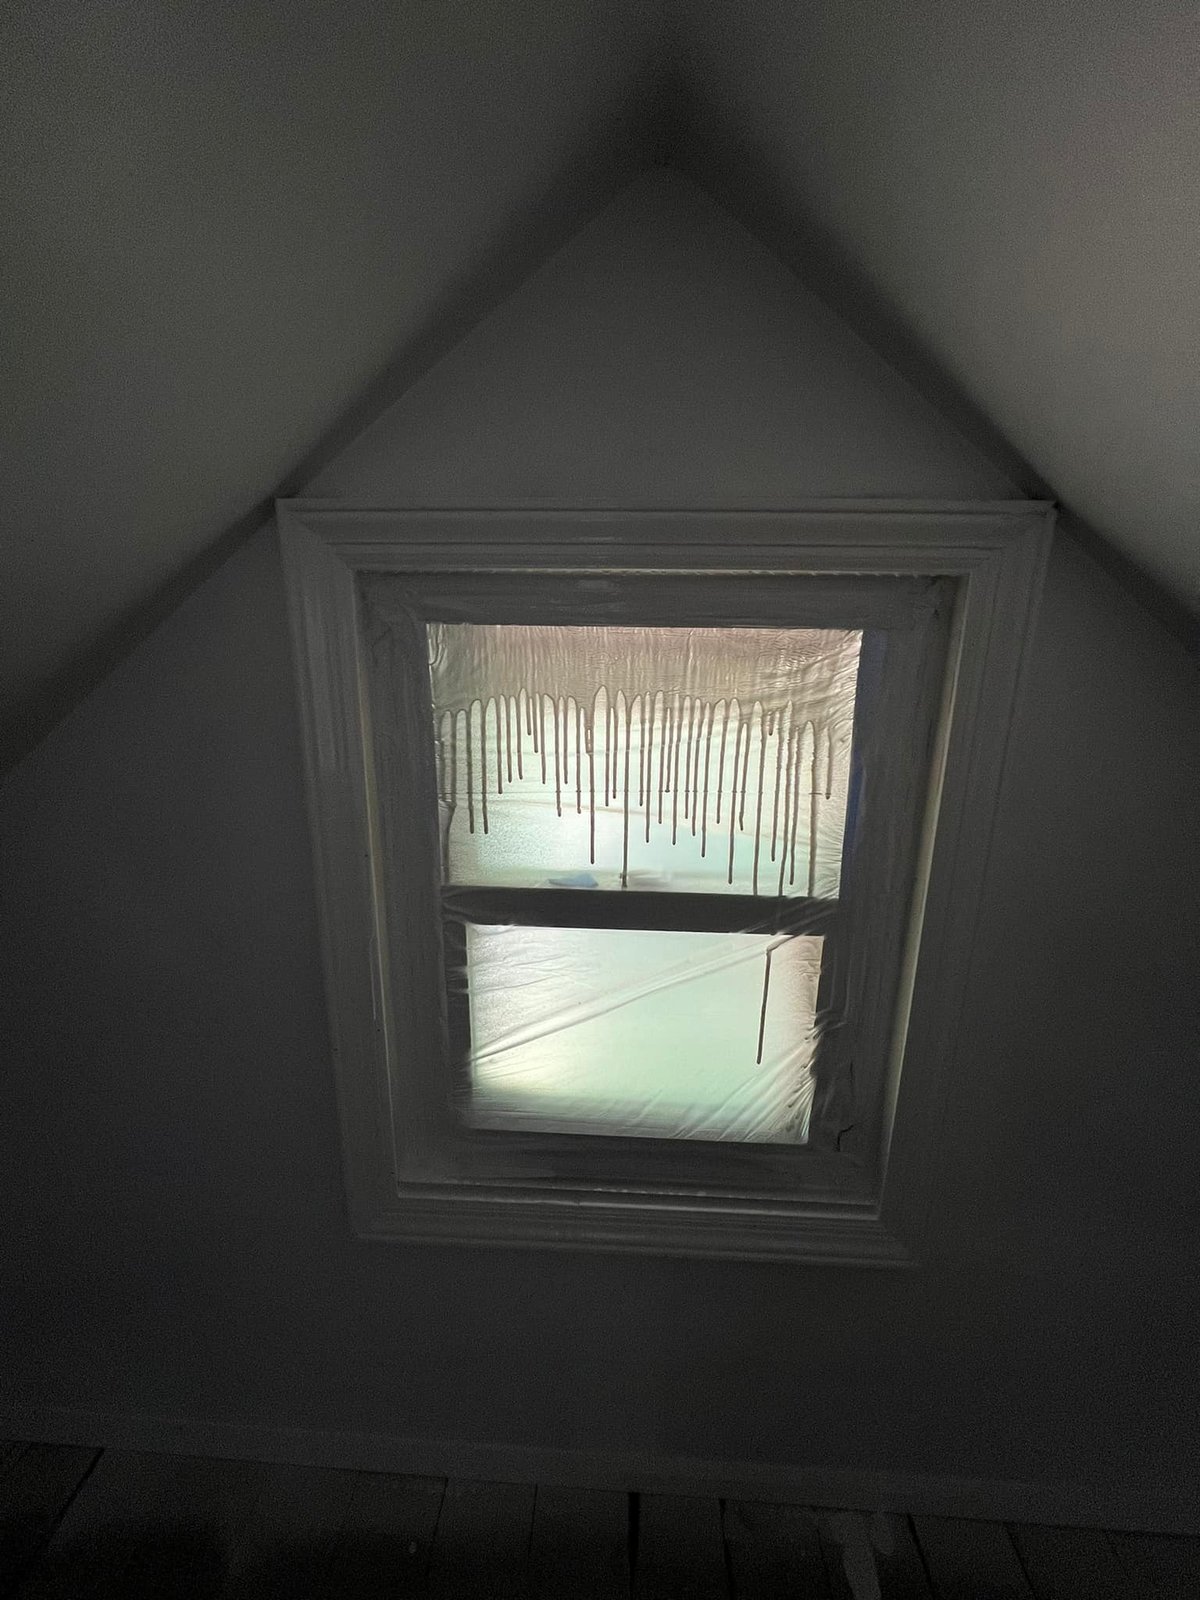
 Plastic still over the gable window — caught some exterior paint drip while I worked outside.
-
 During
 Walls, ceiling, and skylight surround all in their first finish coat.
-
 During
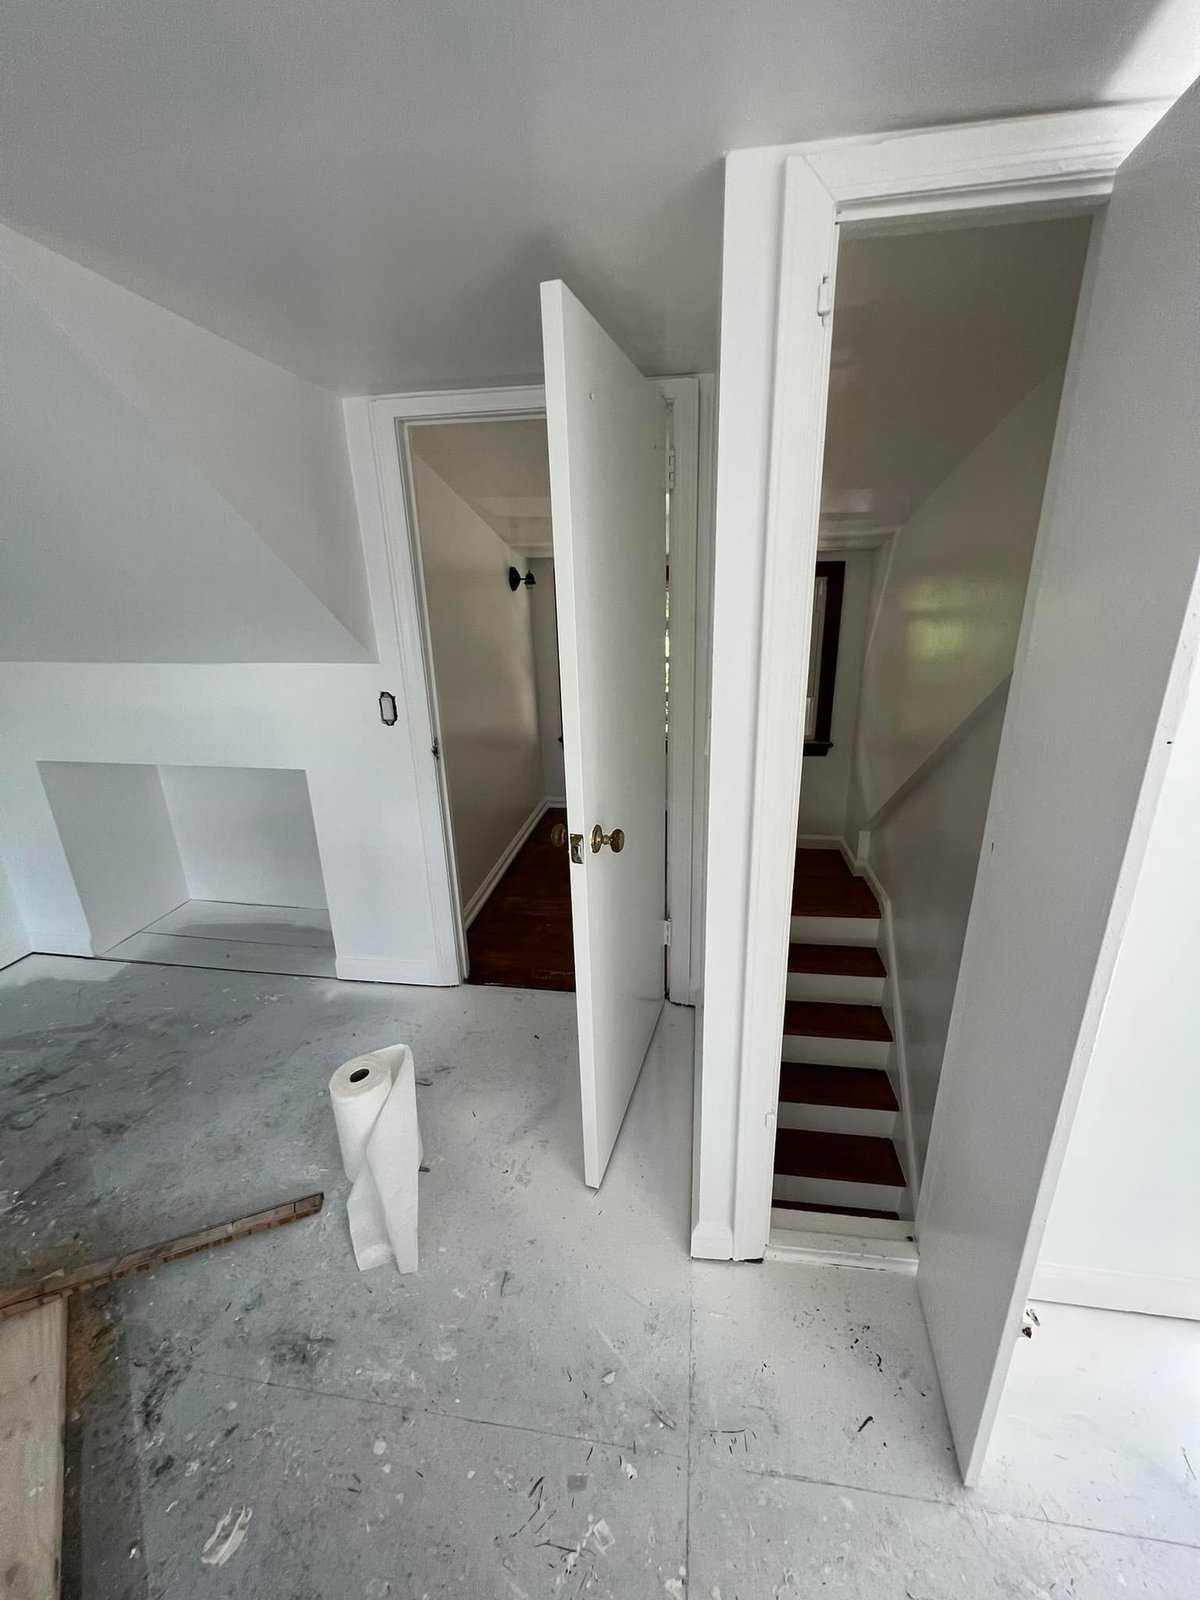
 Stair landing back in shape — fresh paint and the stairwell tied into the new attic finish.
-
 During
 Subfloor still dusty from sanding, but the dormer skylight and ceiling are done.
-
 During
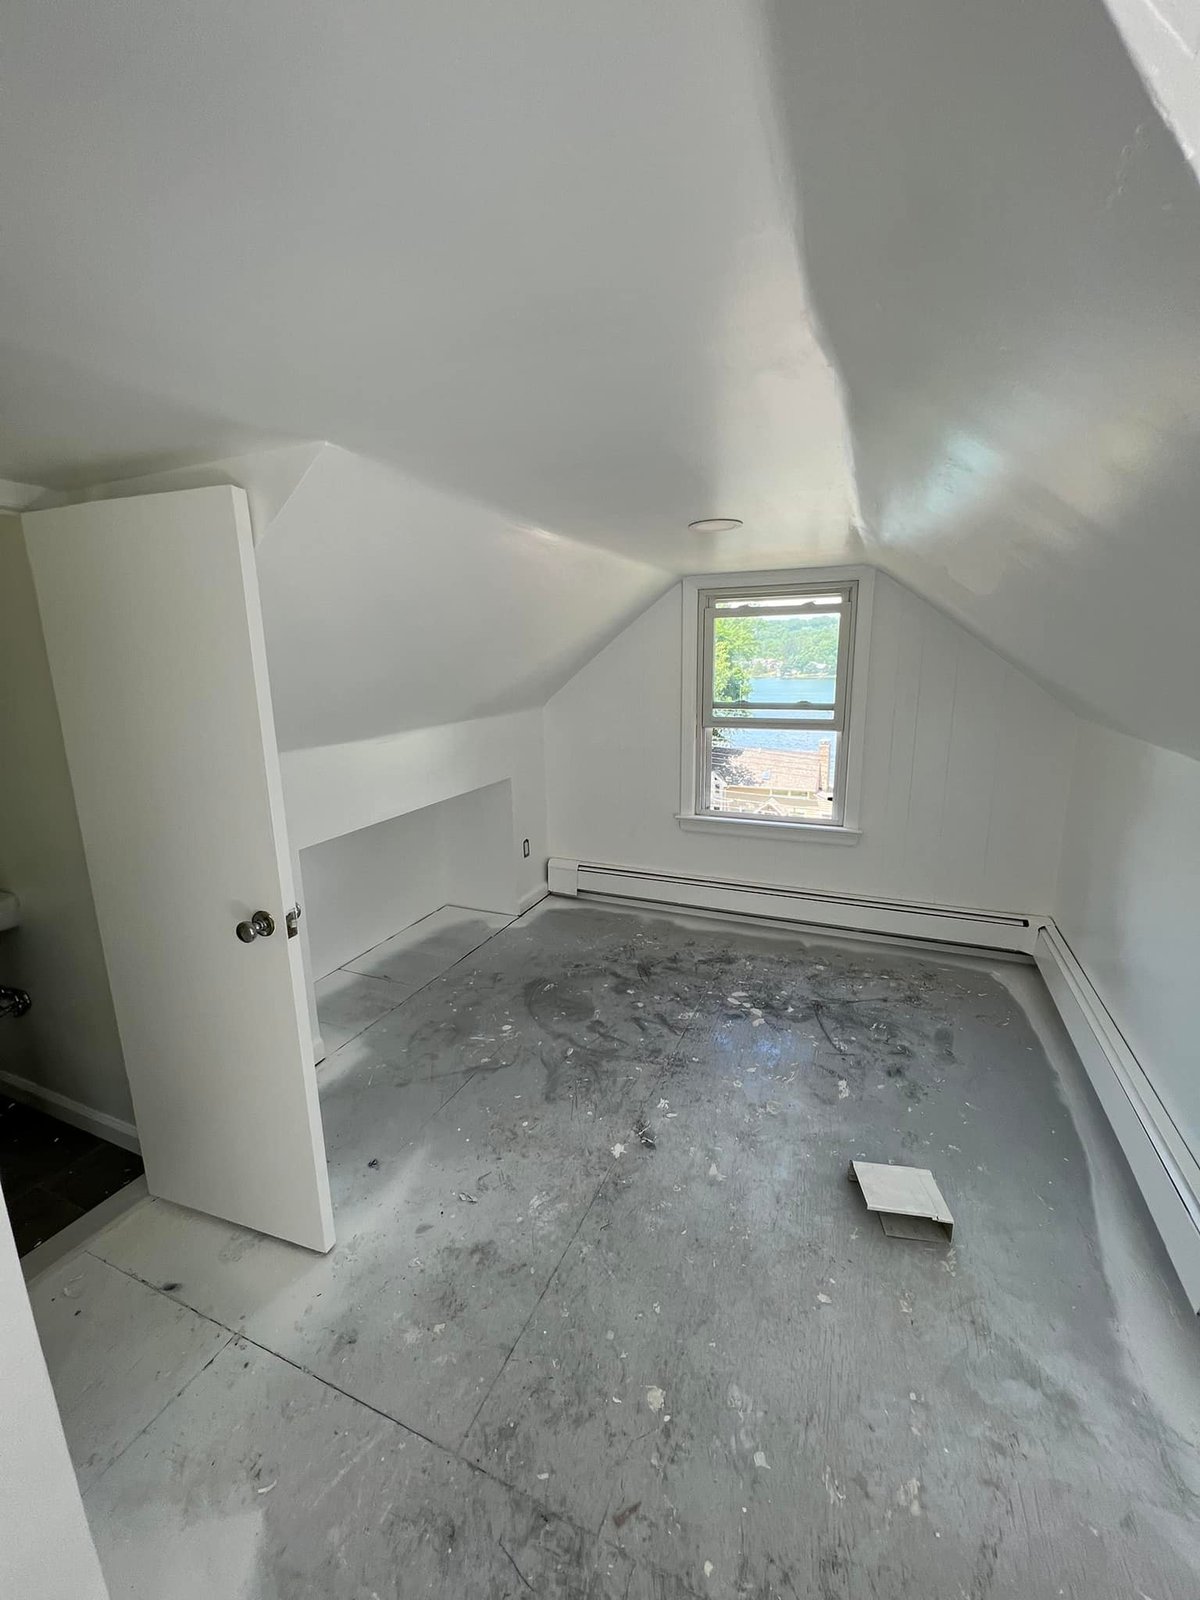
 Dormer bedroom looking out at the lake, painted and ready for flooring.
-
 During
 Drywall, paint, and skylight all done up here. Just flooring left to call this attic finished.
Want a Plan for Your Project?
Send photos and a few sentences. I'll send back a written diagnostic — what's broken, what it'll cost, and what to DIY vs. hire. $9.99, in your inbox in minutes.
Get a Diagnostic Report — $9.99 →