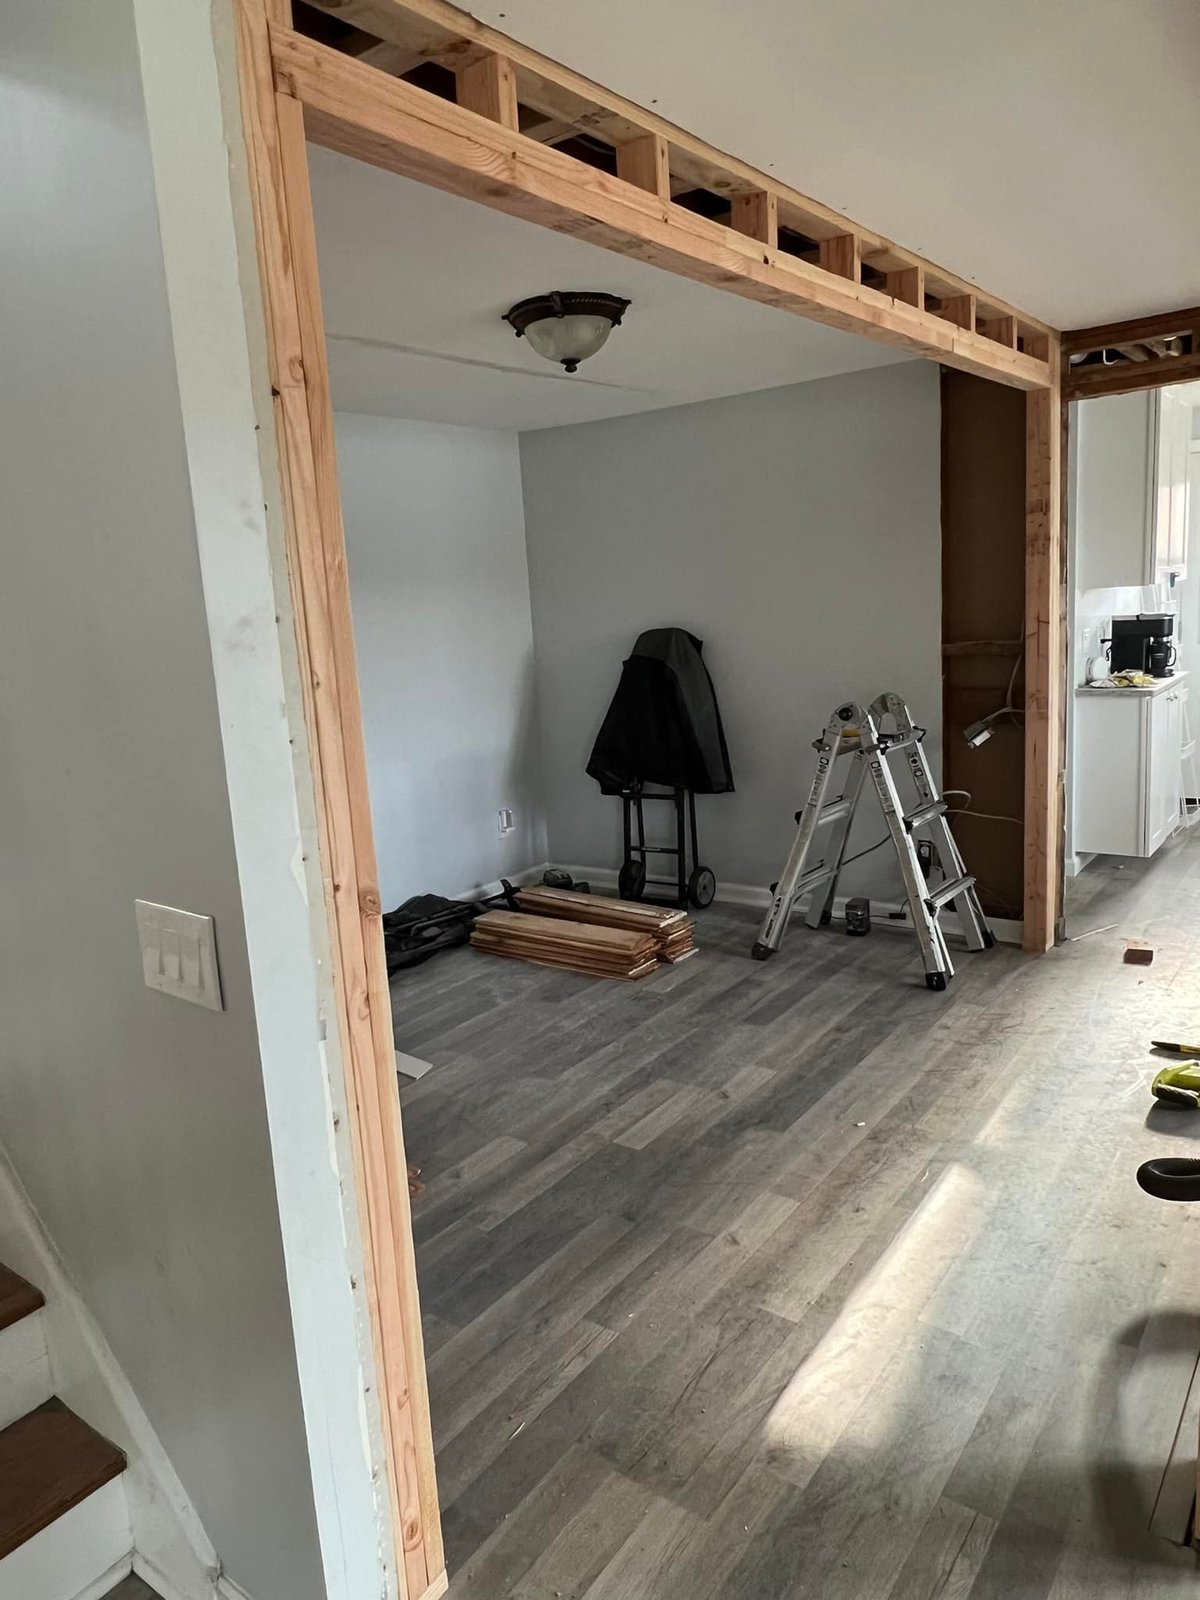
Once the demo was done I had a load-bearing wall standing between the kitchen and the living area. I jacked the ceiling on temporary posts, dropped in an LVL header, then framed the new opening wide enough to land a pair of pocket doors later. Inspector signed off on the framing, and I rerouted the outlets and BX cable that used to live in that wall.
-
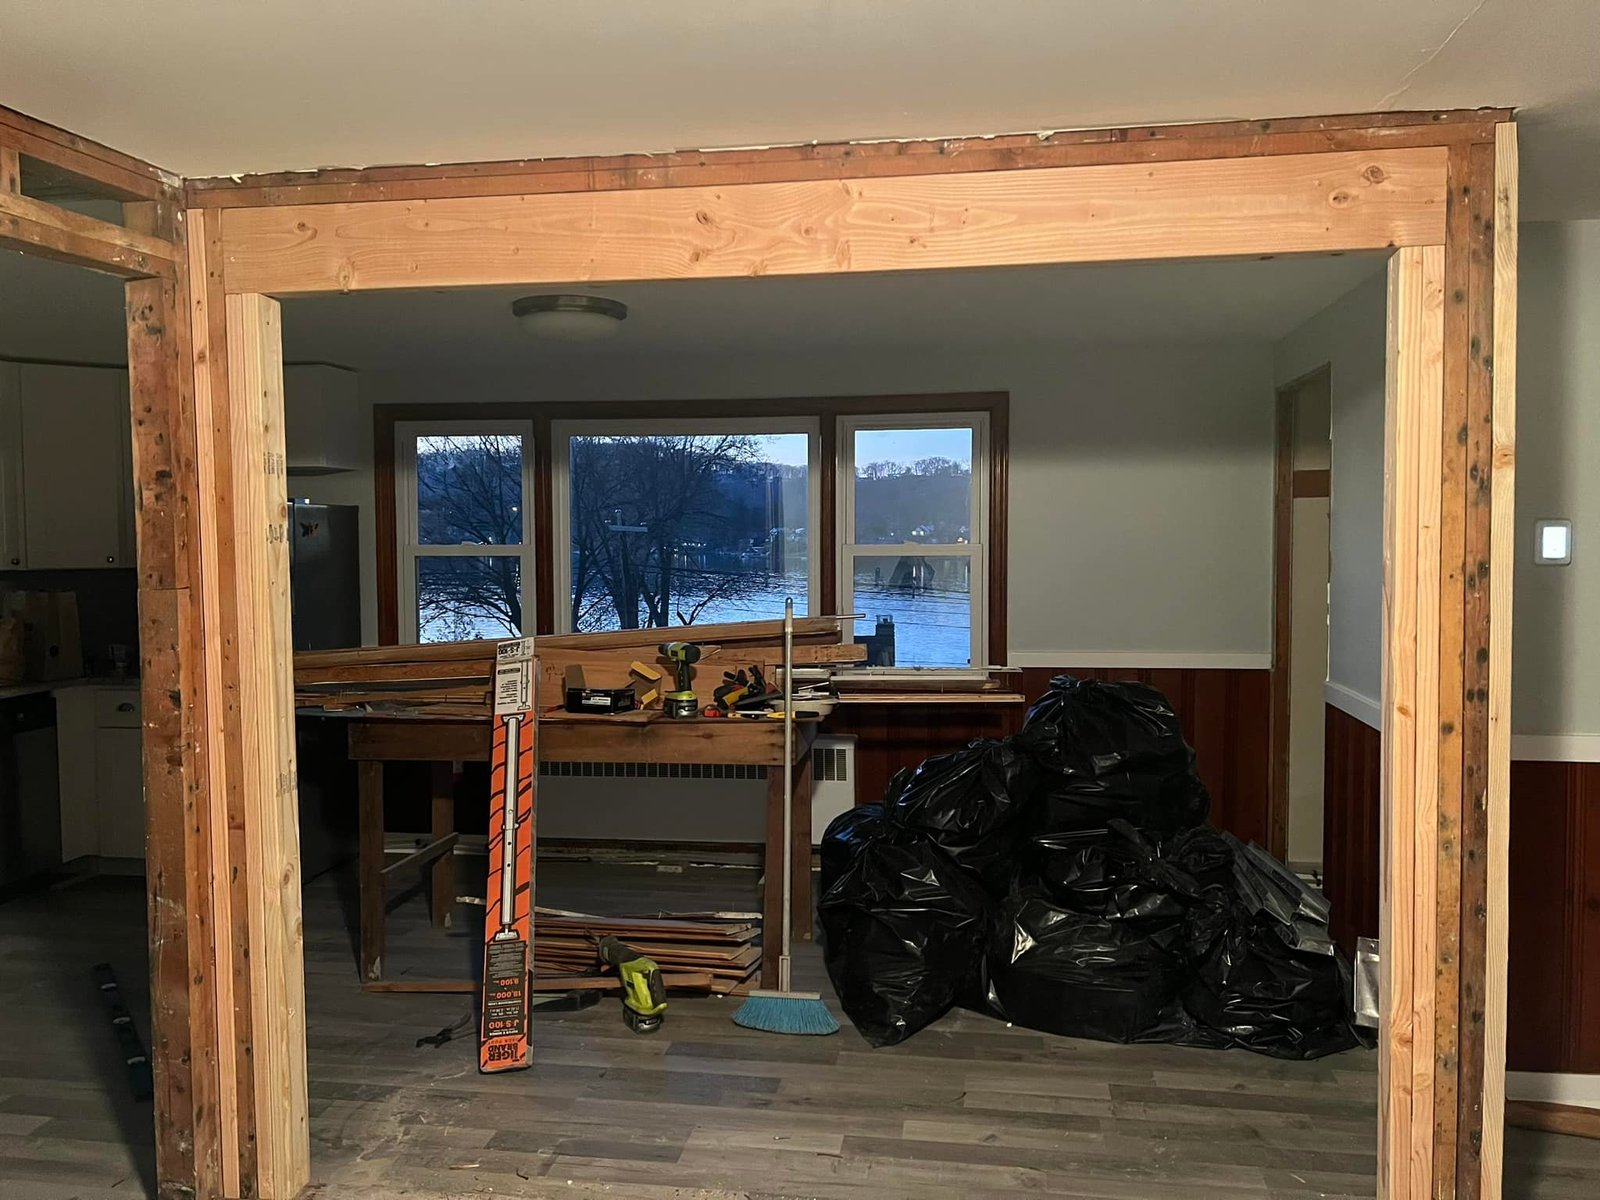 During
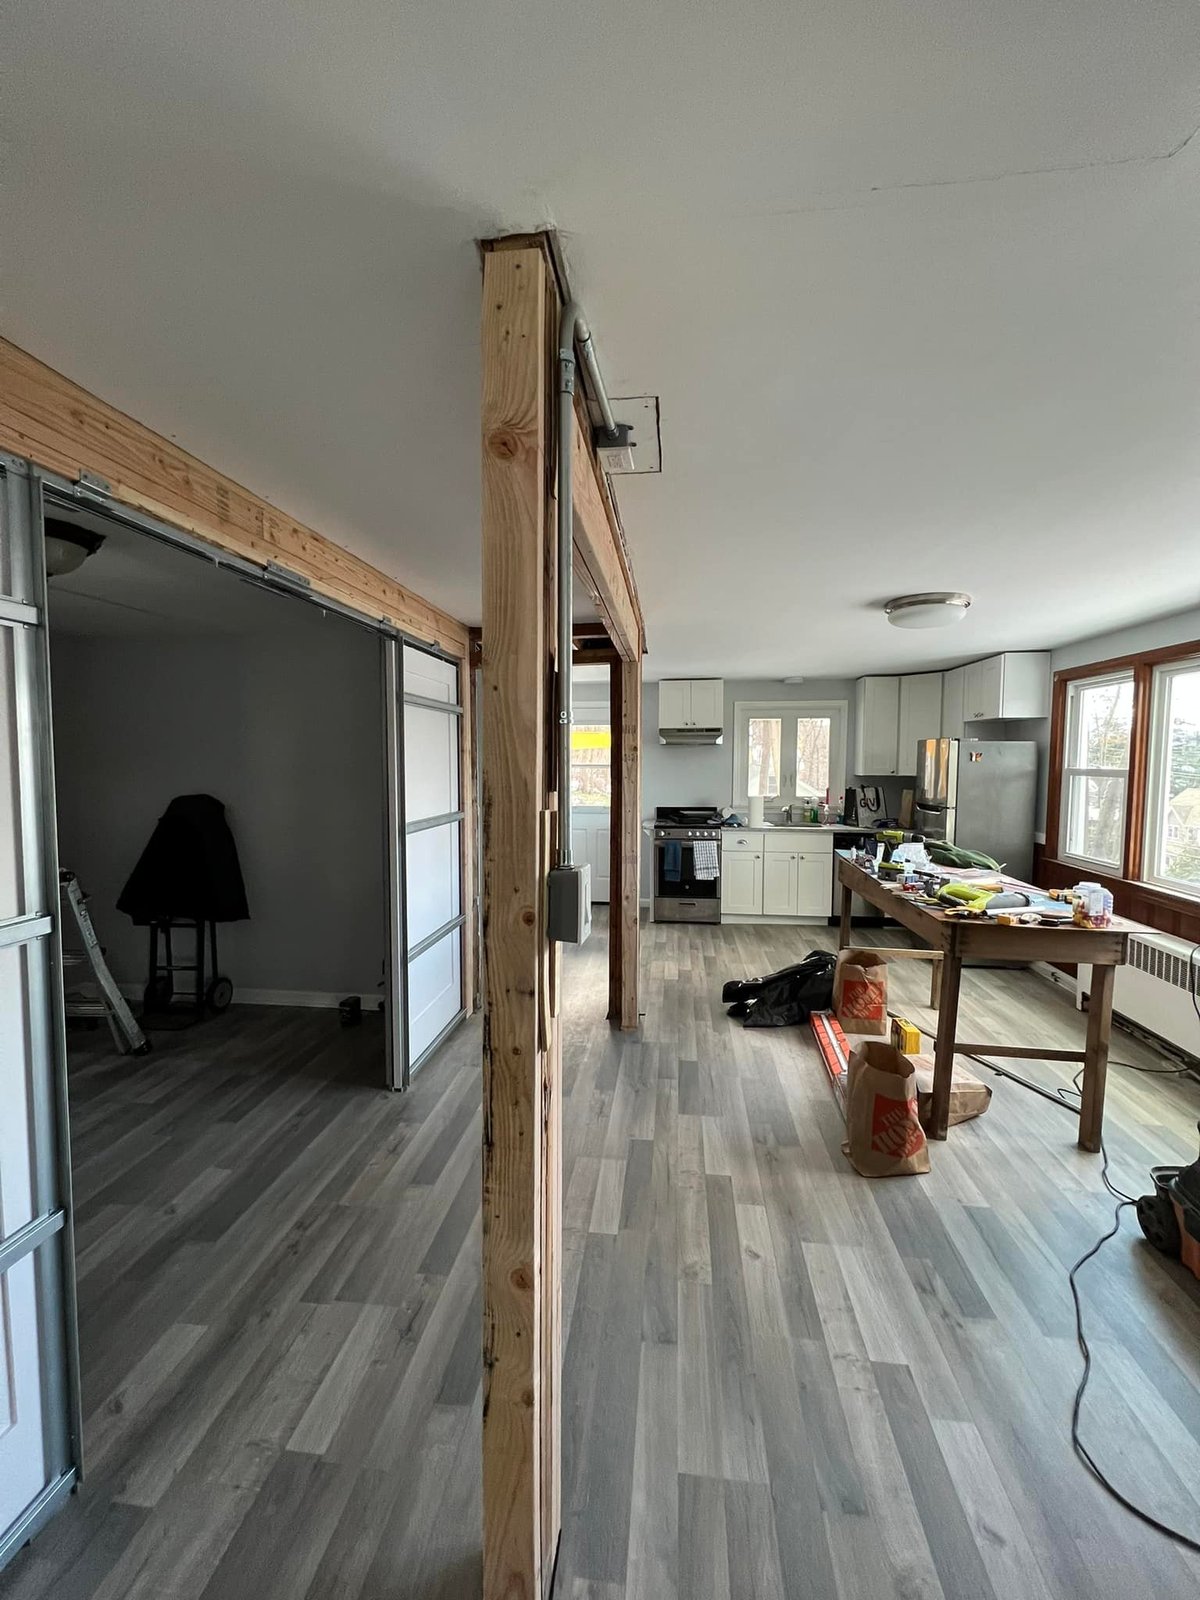
 New LVL beam set across the opening between kitchen and living room. Lake view all the way through.
-
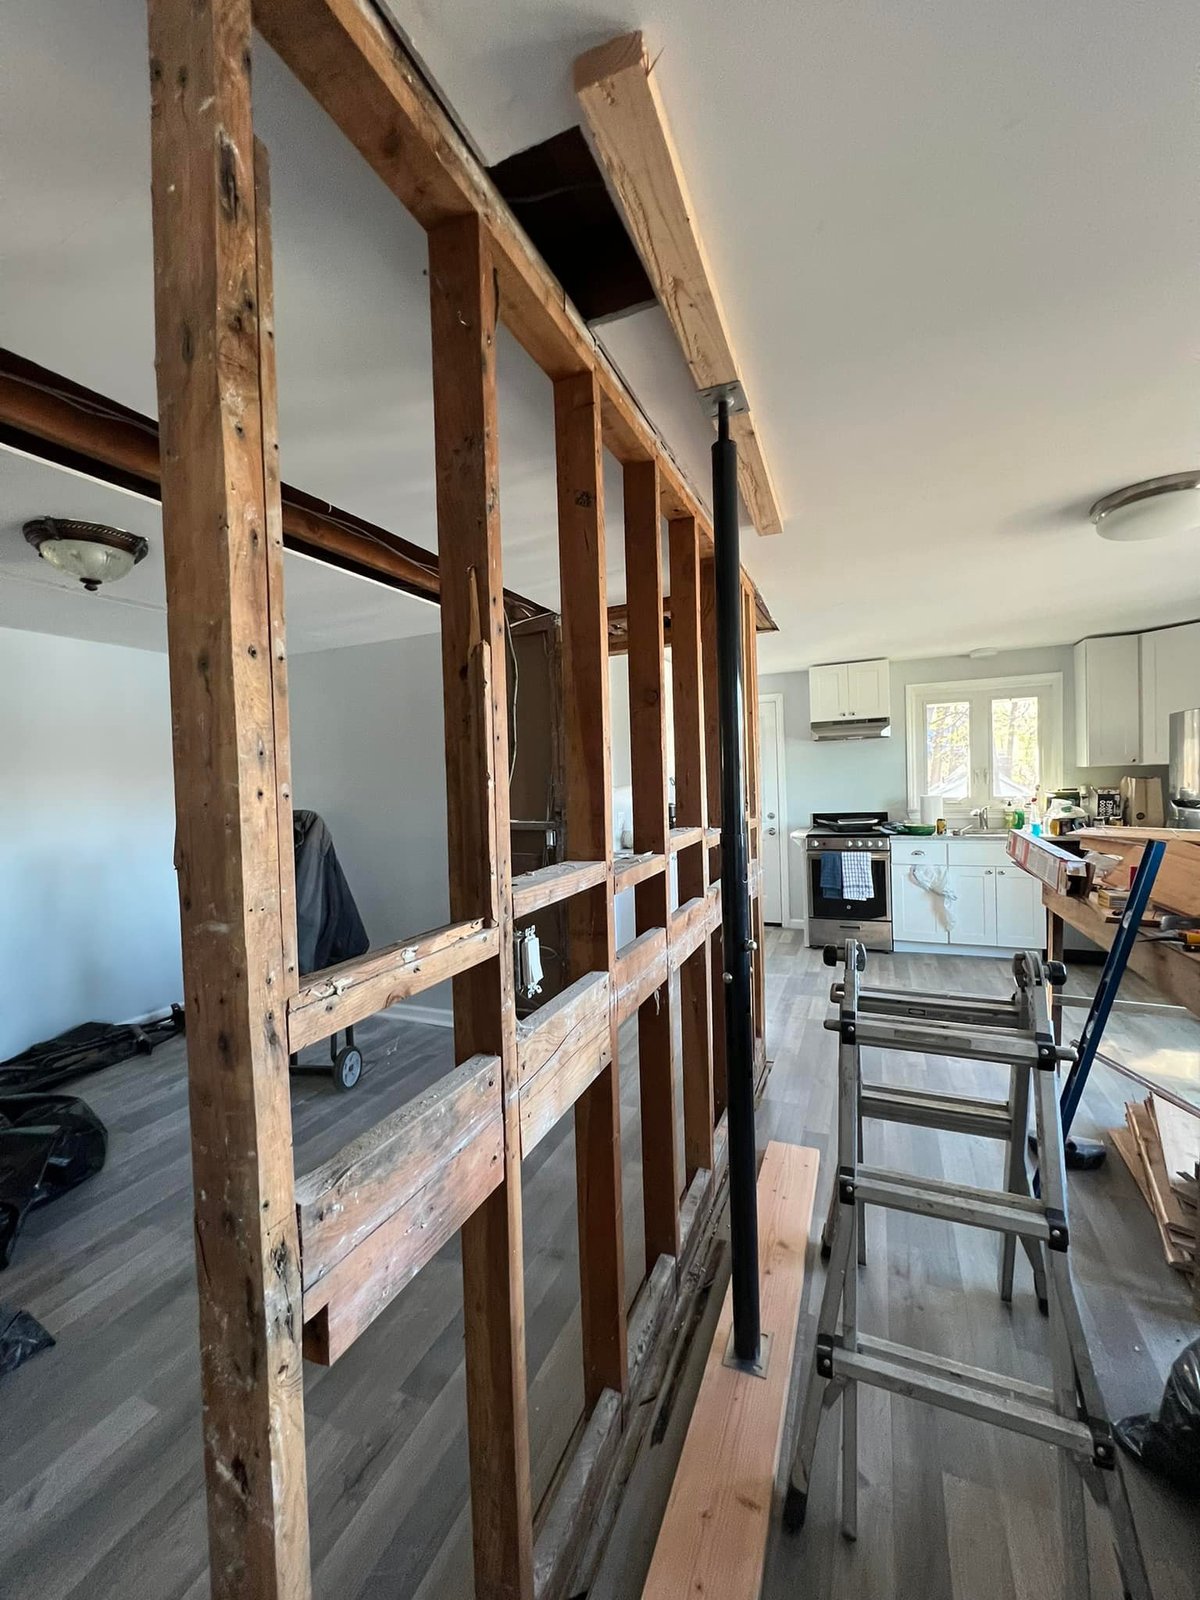 During
 Temporary jack post holding the ceiling while I cut into the load-bearing wall. Always nerve-wracking.
-
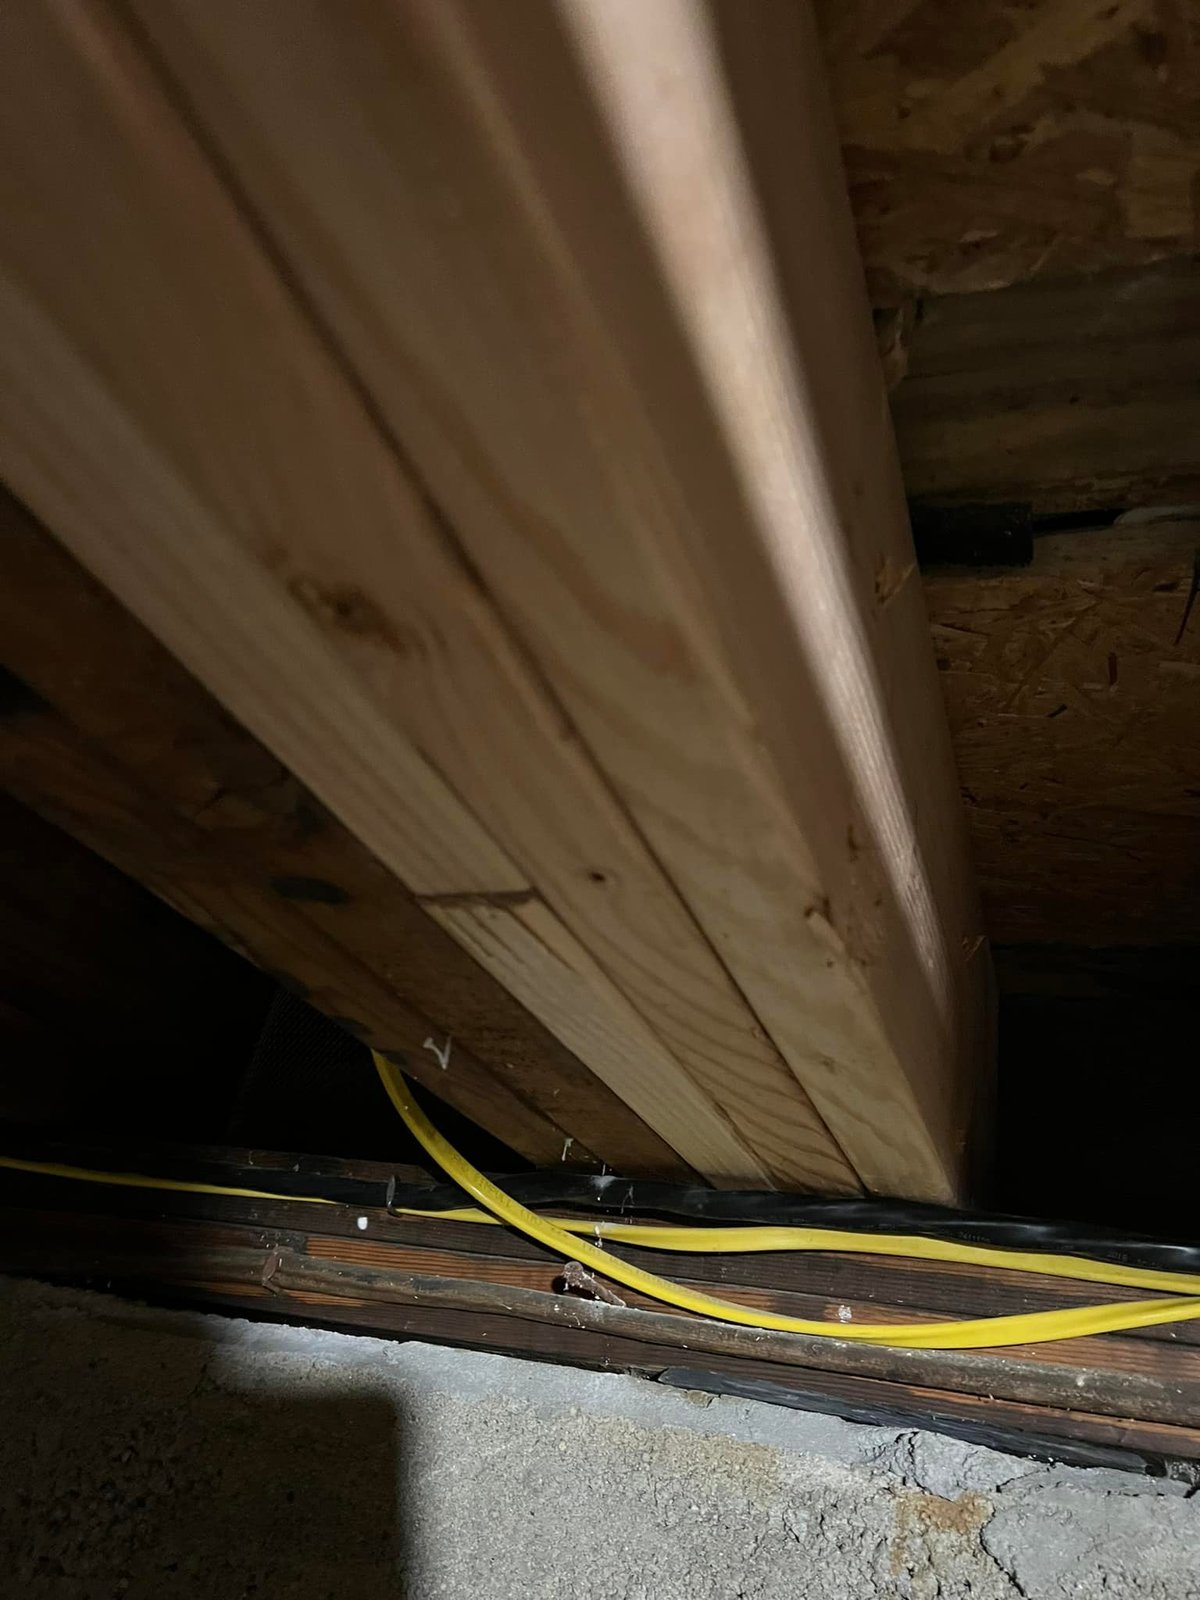
Where the new beam lands on the sill. I ran yellow Romex along the foundation to keep the run clean.
-
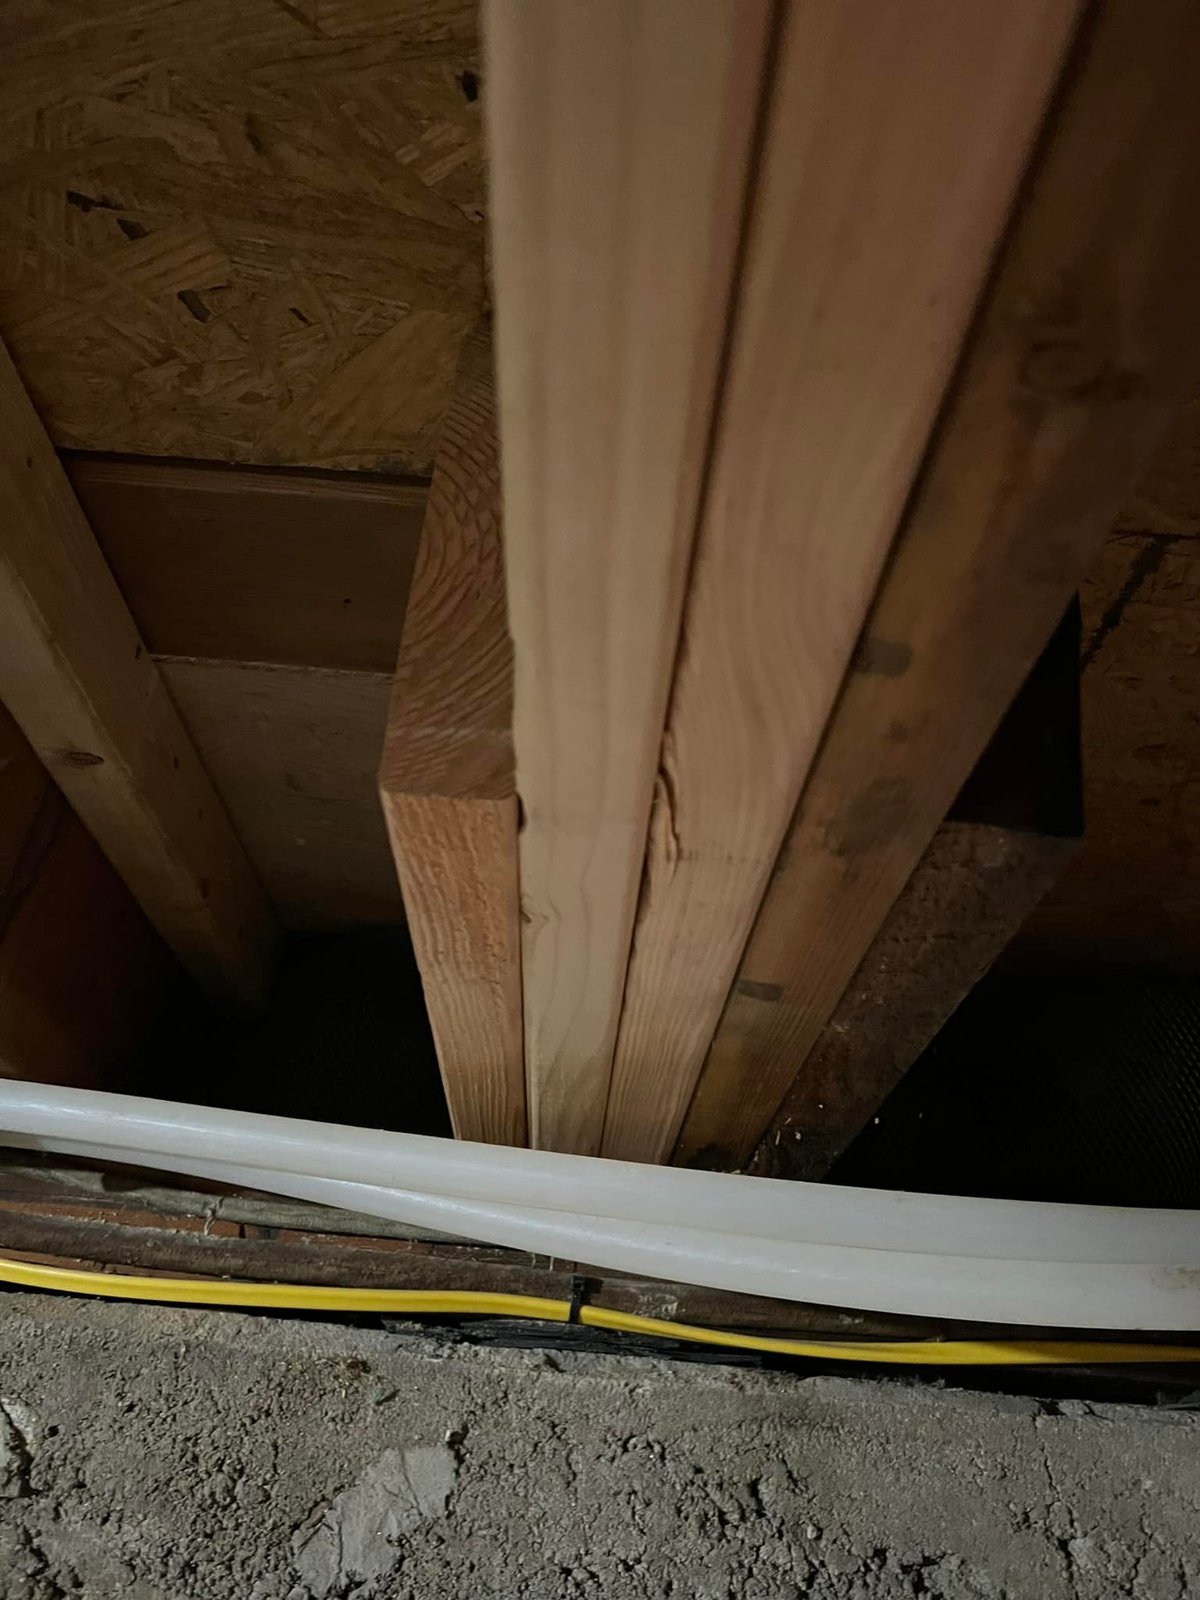 During
 PEX water line and Romex tucked into the stud bay before insulation went back in.
-
 During
 Header in place between living room and kitchen. Now the opening could go full width.
-
 During
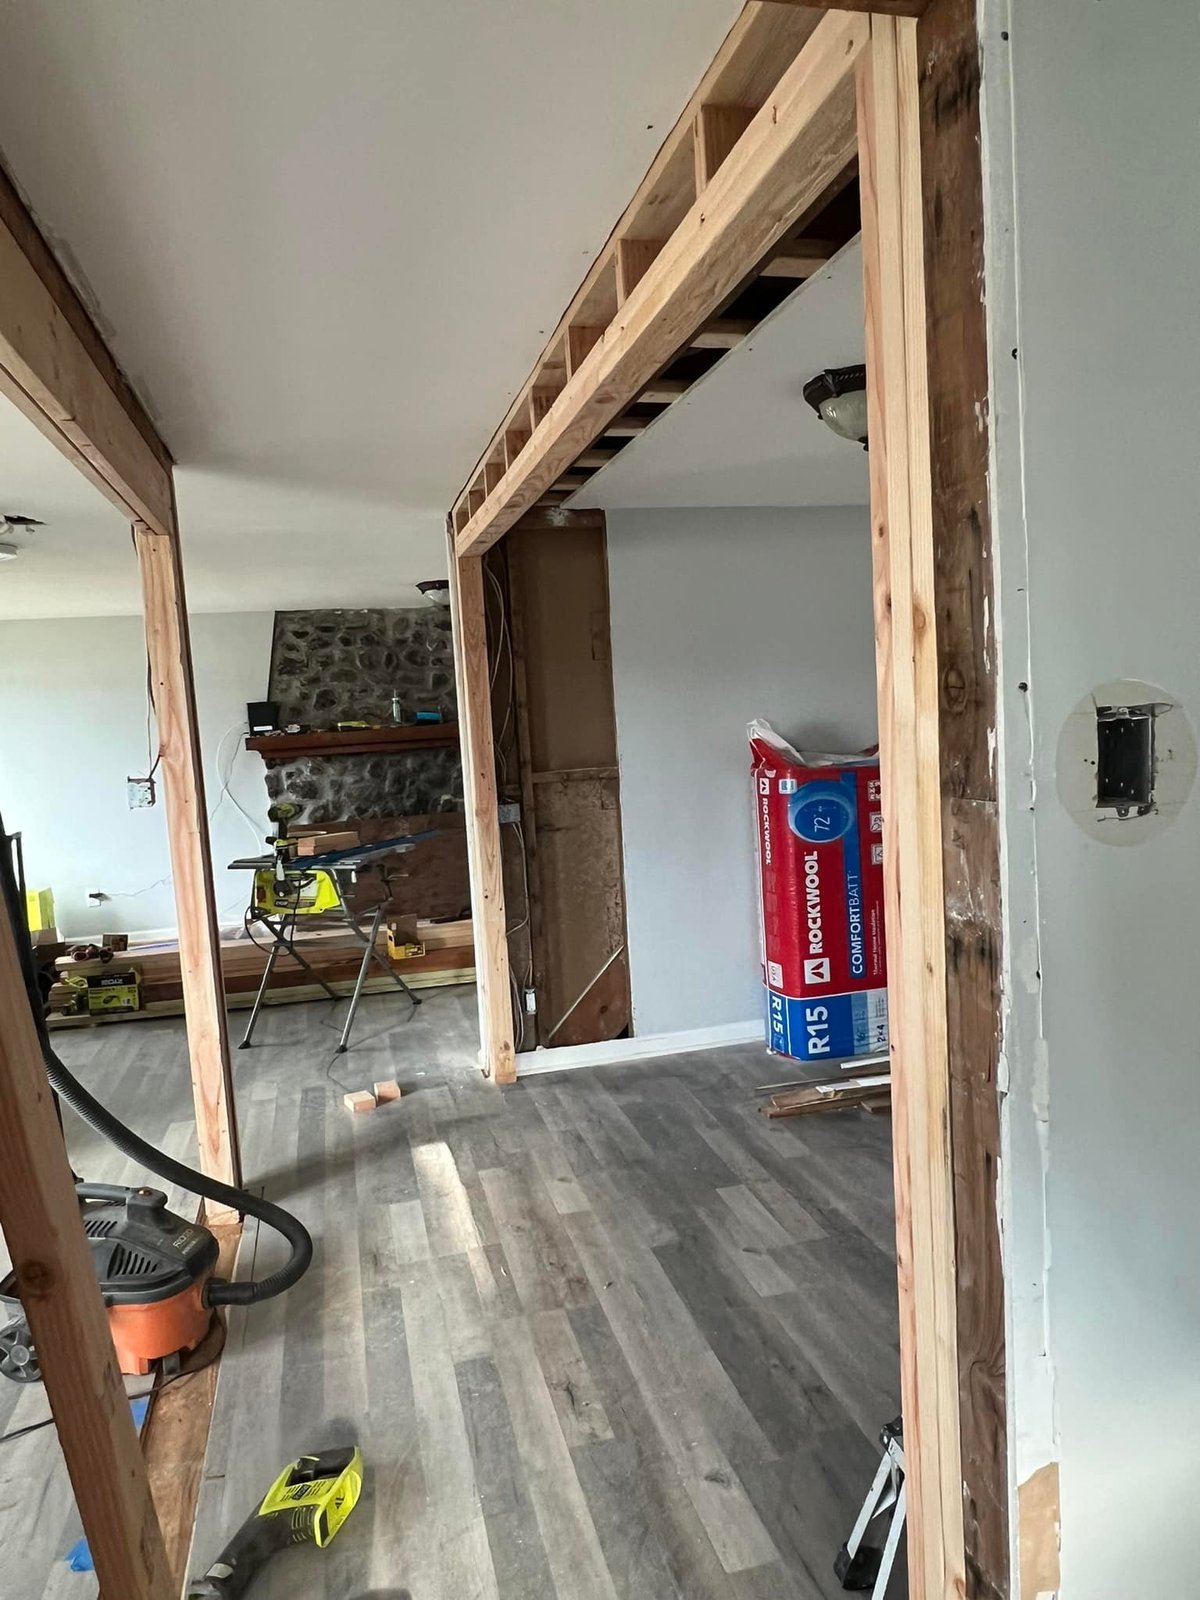
 Rough framing for the wider opening with Rockwool staged for the surrounding walls.
-
 During
 Open floor plan starting to read. Wall studs still up between kitchen and the room beyond.
-
 During
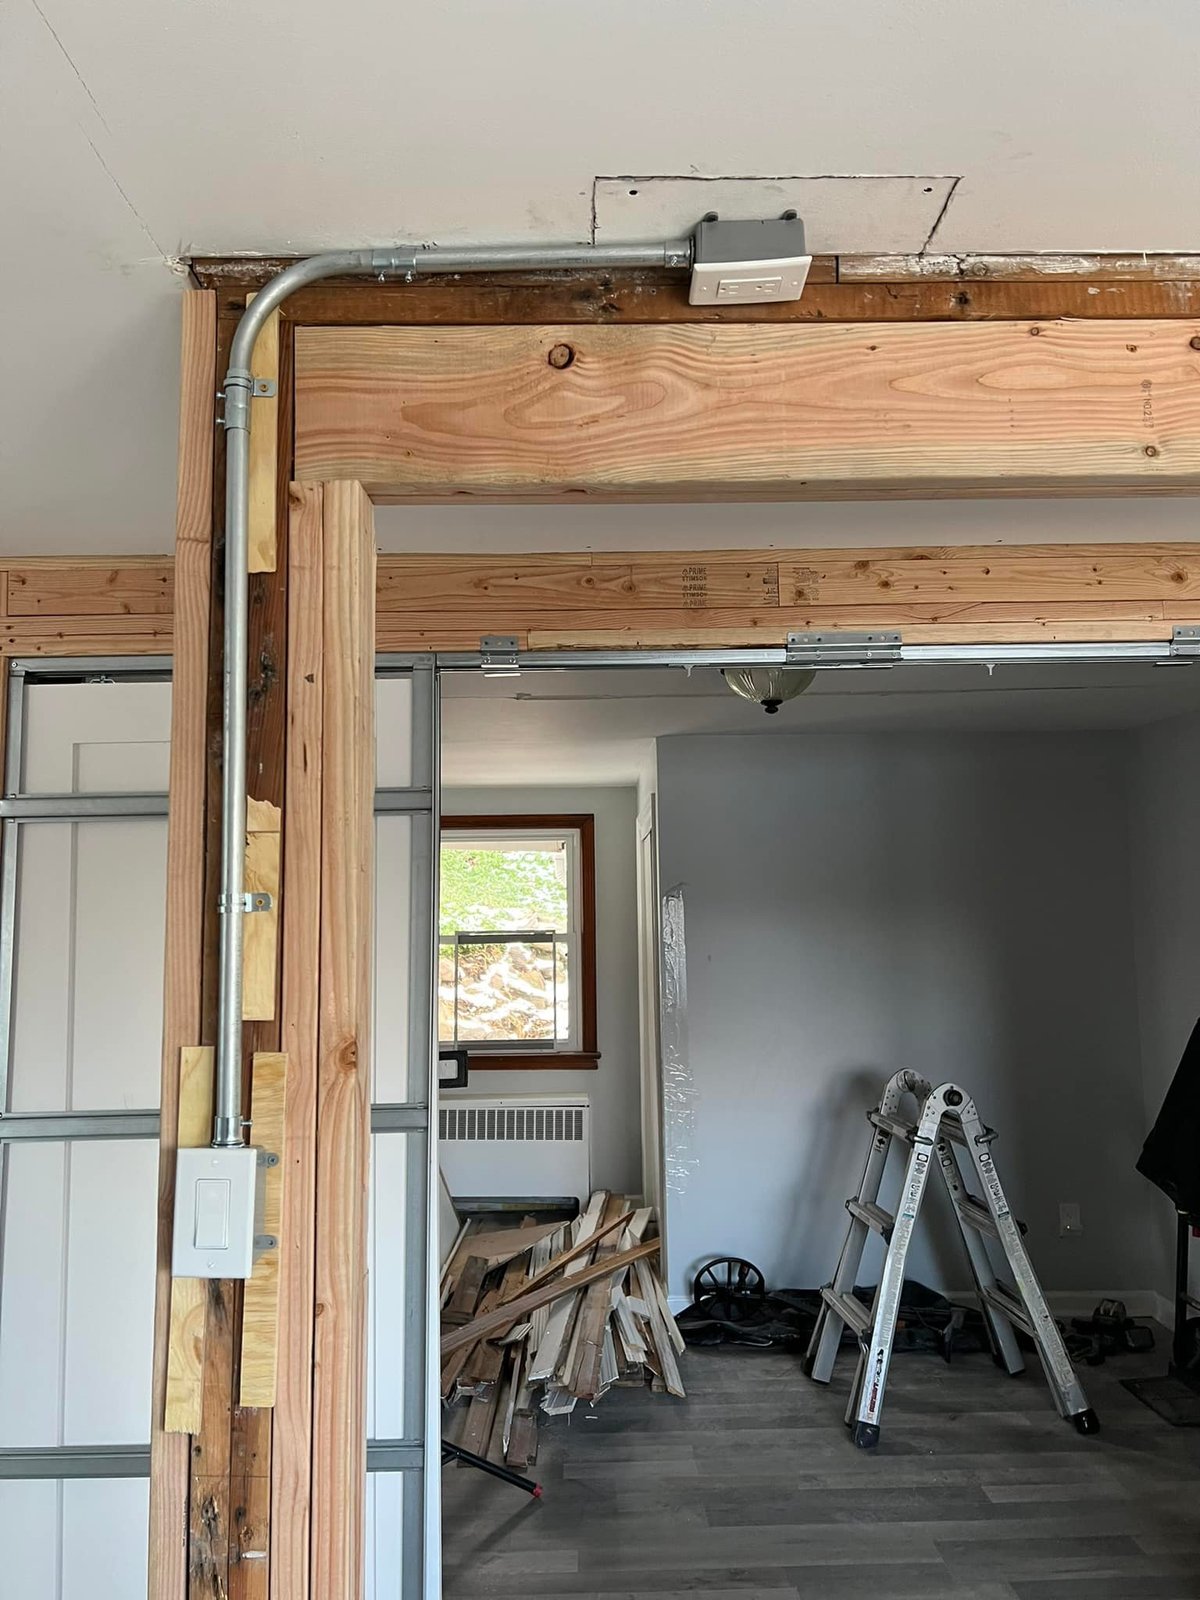
 New LVL with the conduit and outlet rerouted around the framing. No splices buried in the wall.
-
 During
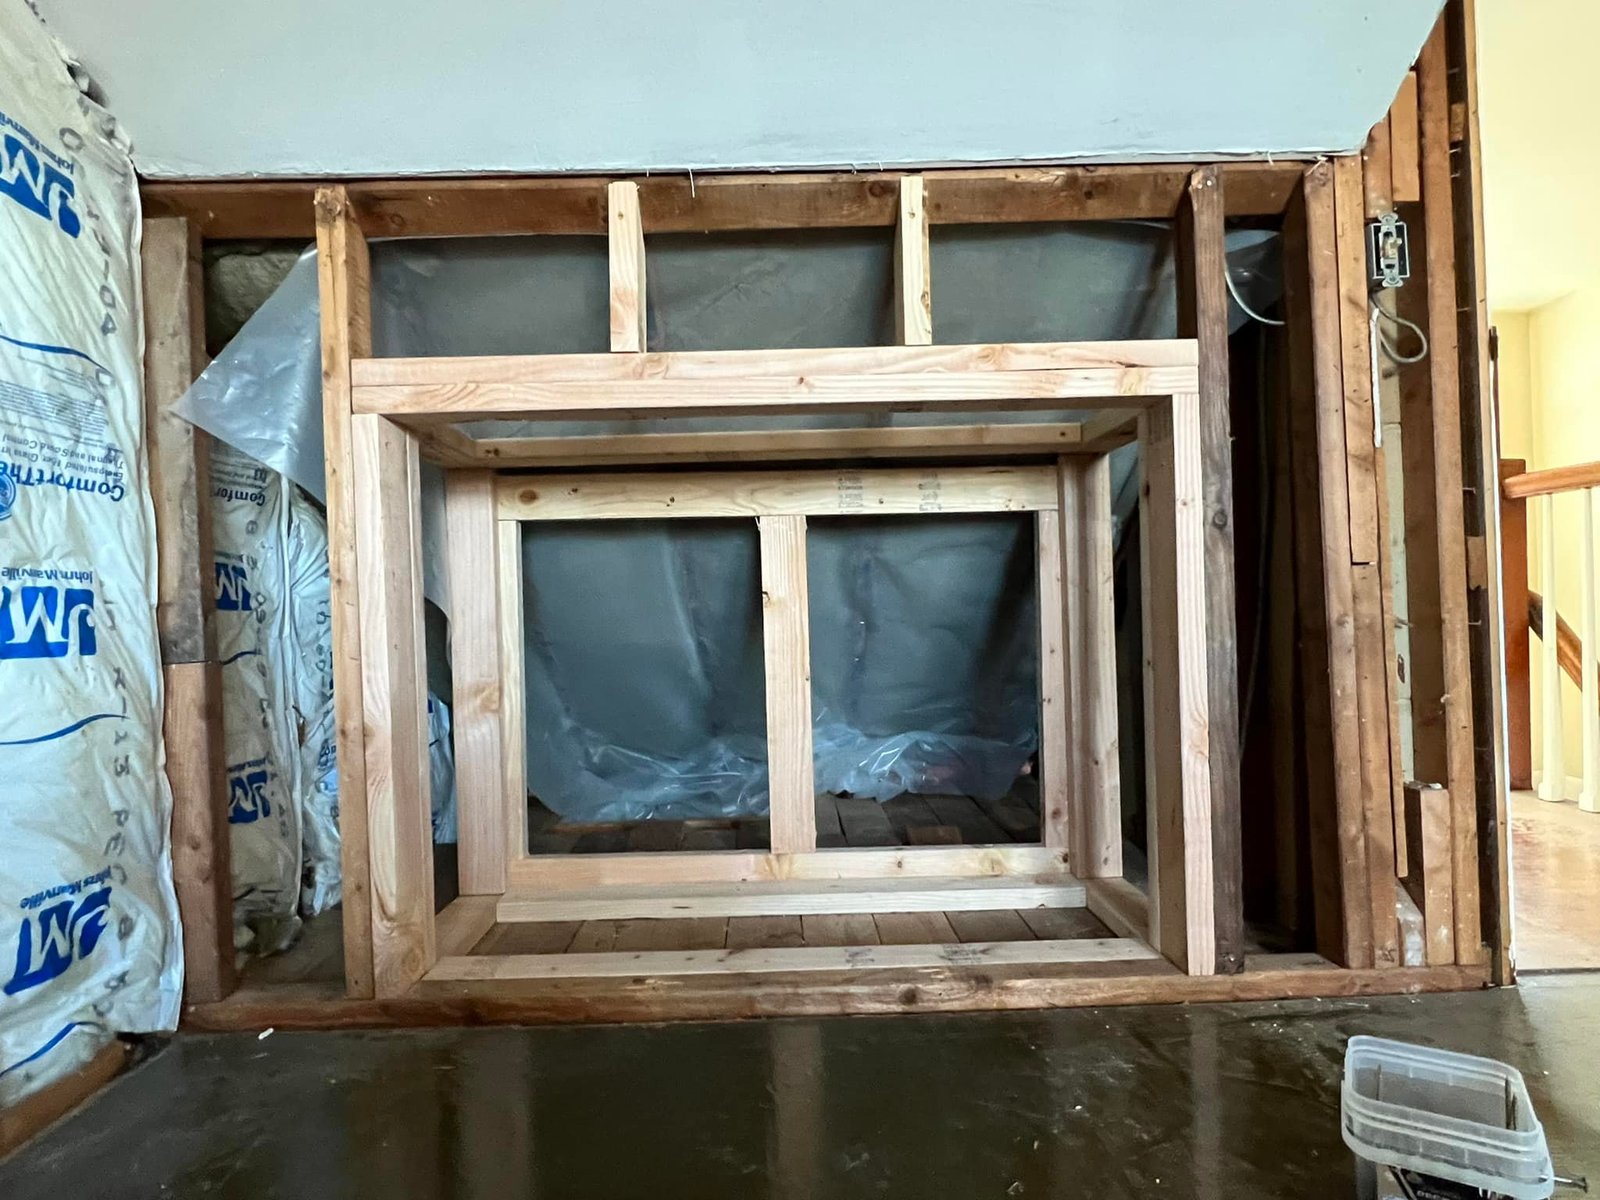
 Framed opening for the fireplace insert built into the wall I was rebuilding.
-
 During
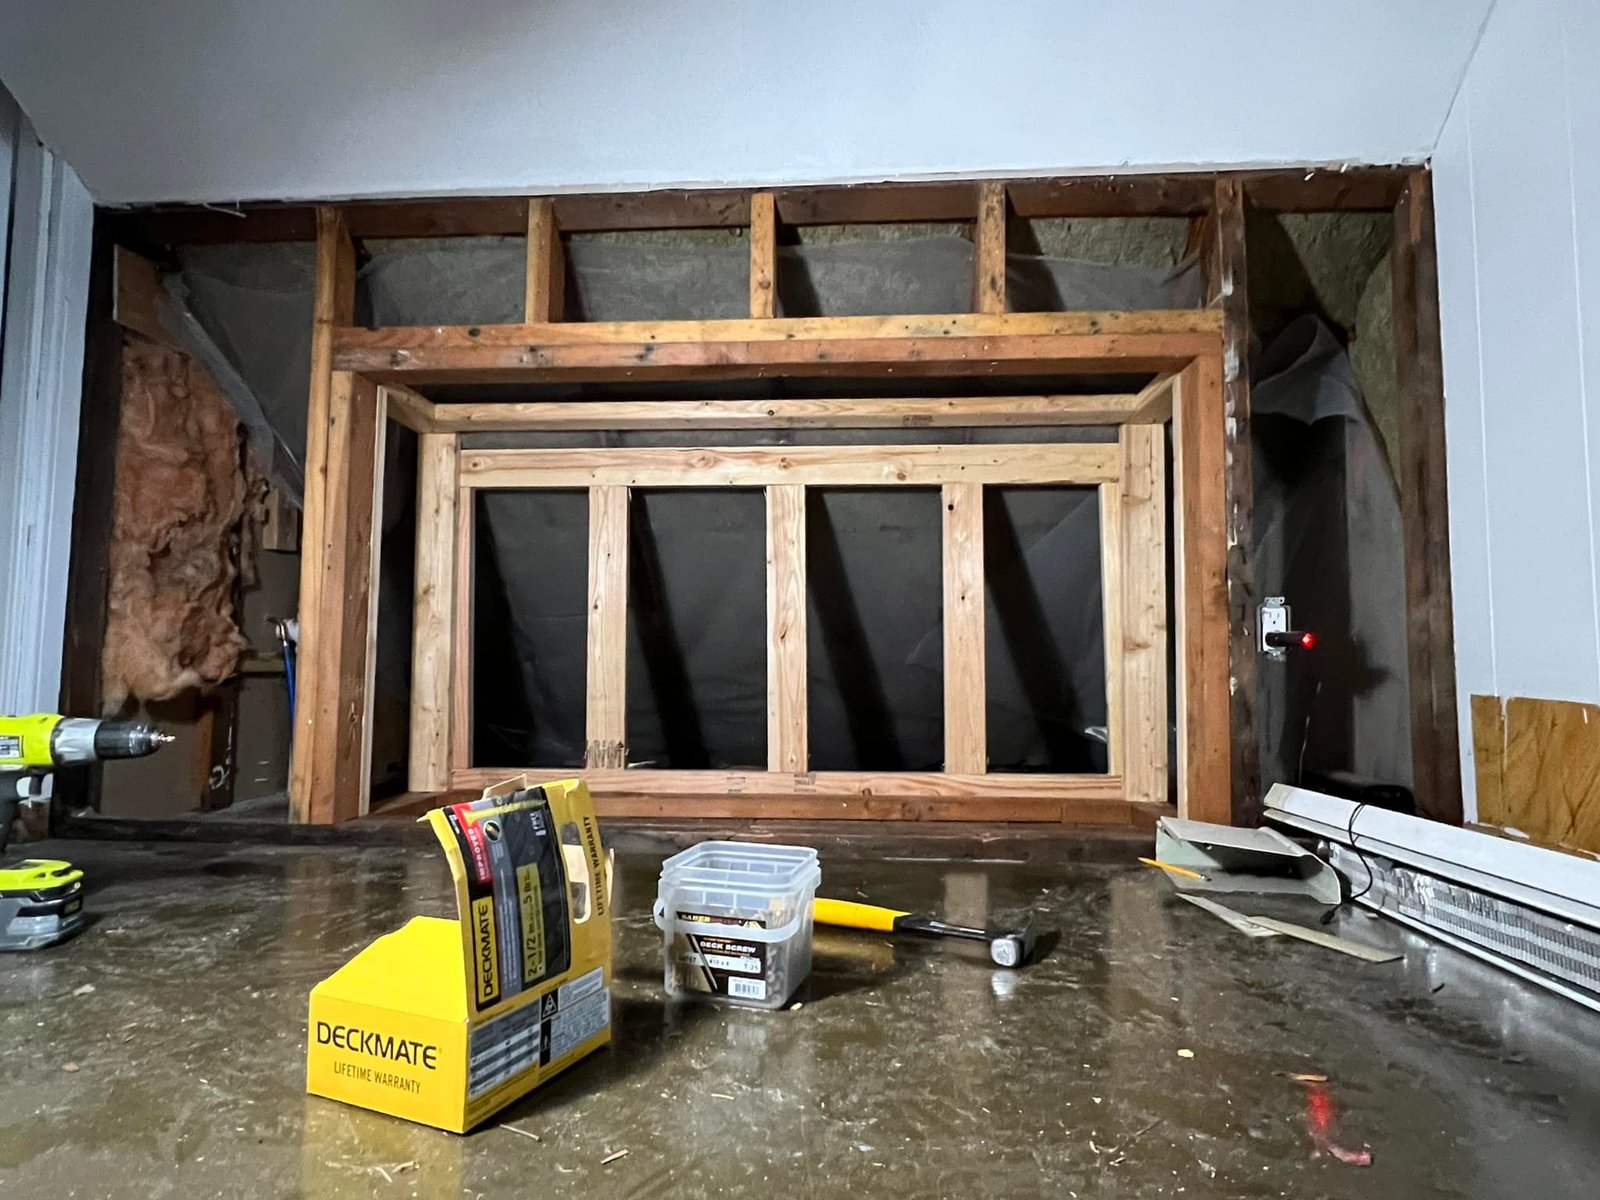
 New window opening framed with header and king studs. Brought daylight into a corner that never had any.
-
 During
 Second window opening framed in. Two new windows total on this elevation.
-
 During
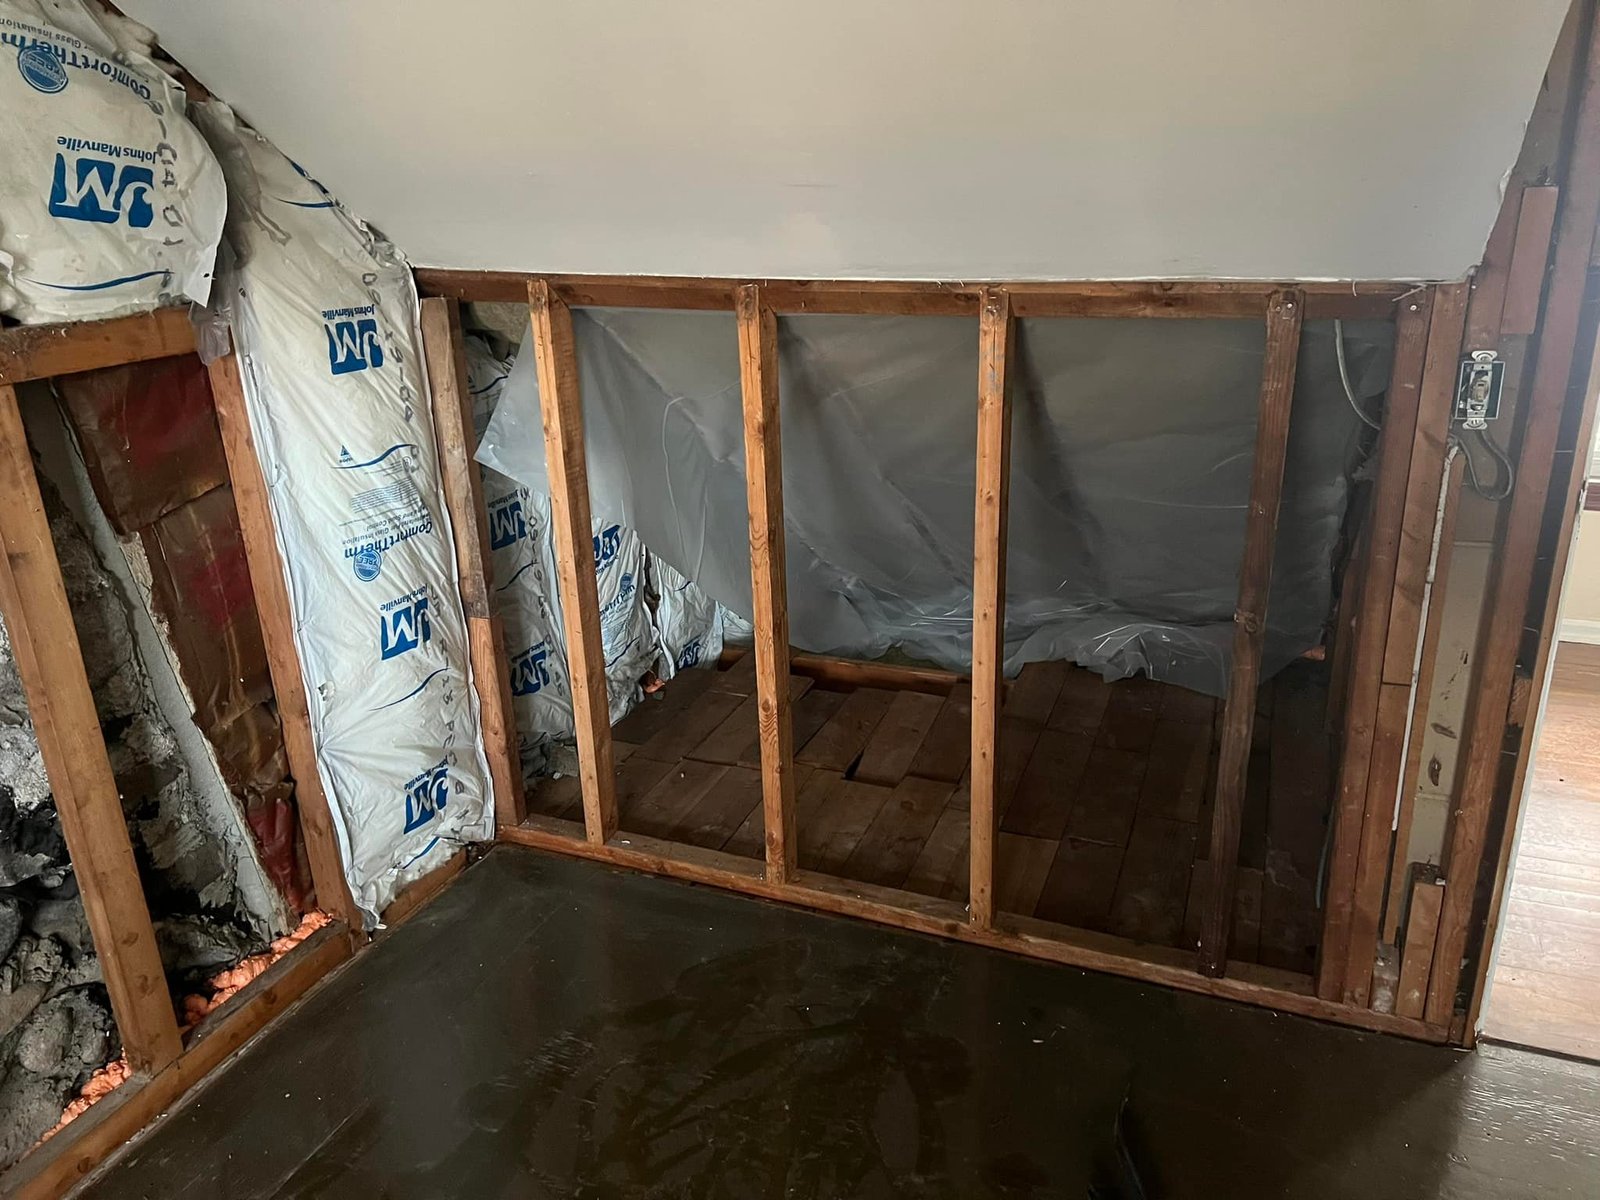
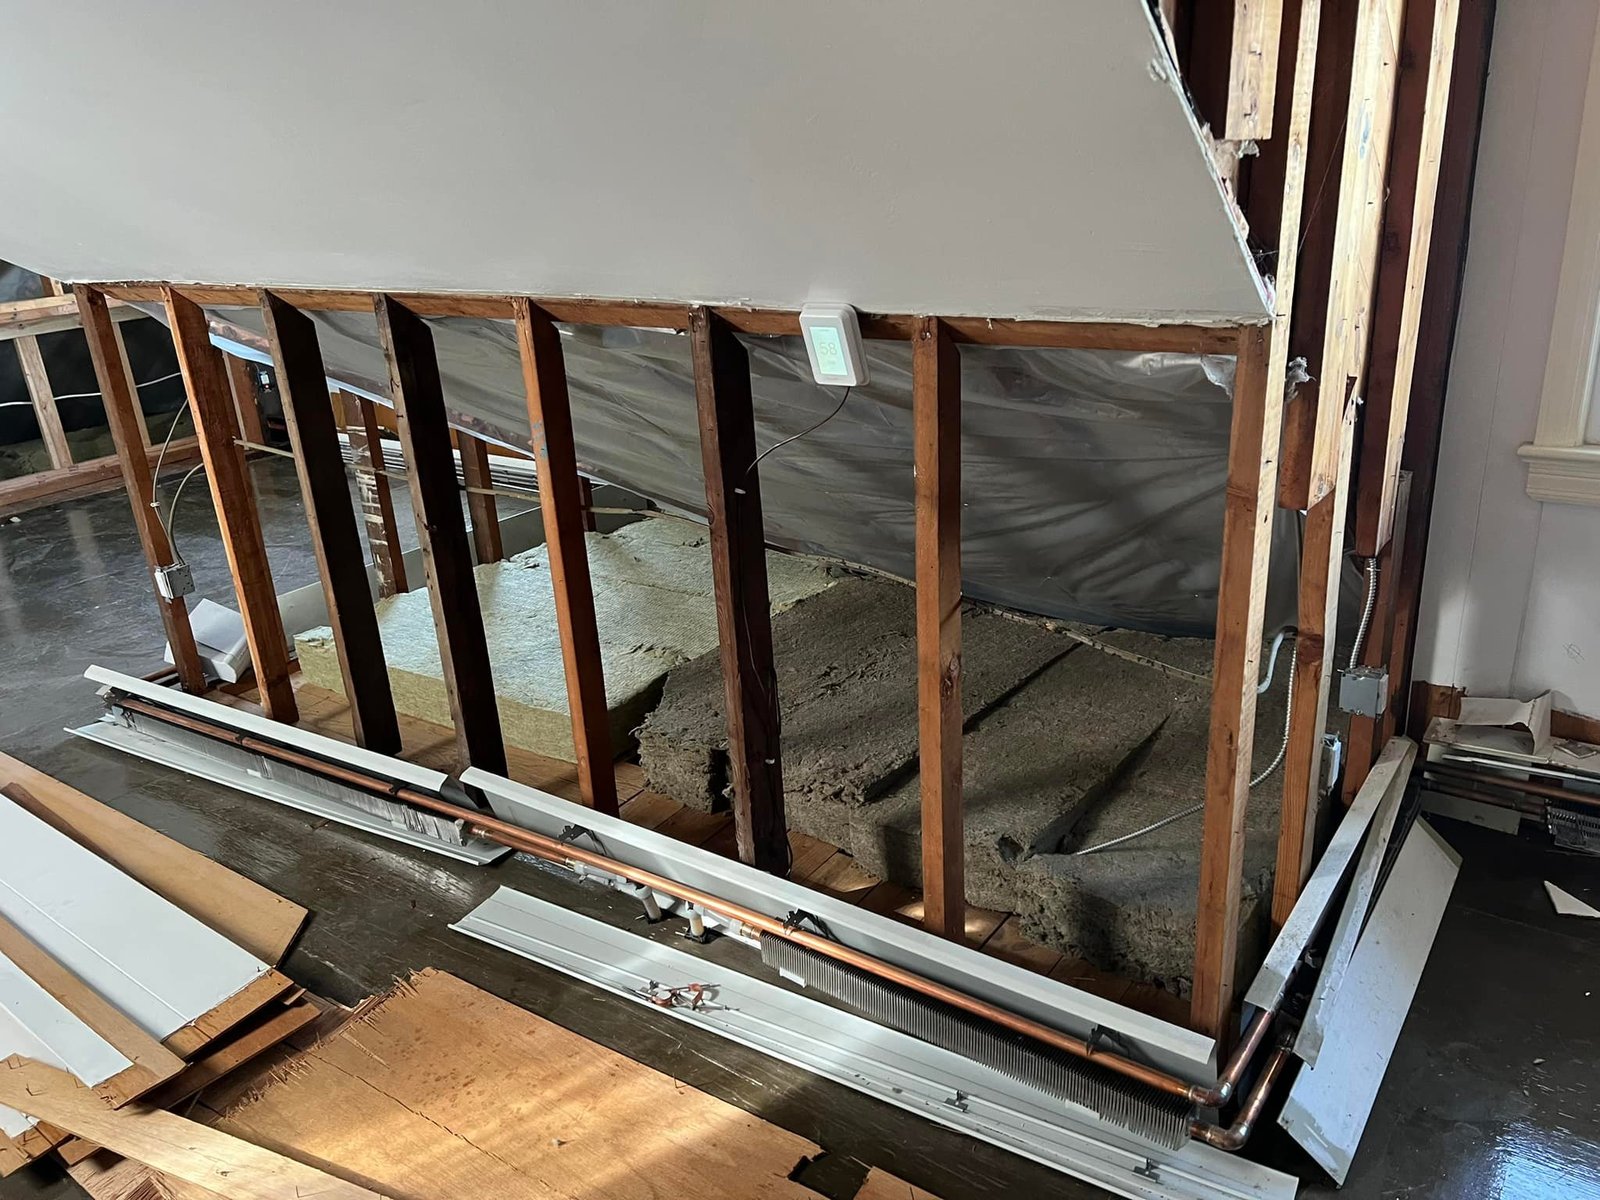
 Knee wall opened up so I could reroute and reinsulate before closing it back in.
-
 During
 Fireplace insert opening with the surrounding bays still exposed. Easier to insulate around it now.
-
 During
 Wall open showing the original plank subfloor. I left it where I could and shimmed where I had to.
-
 During
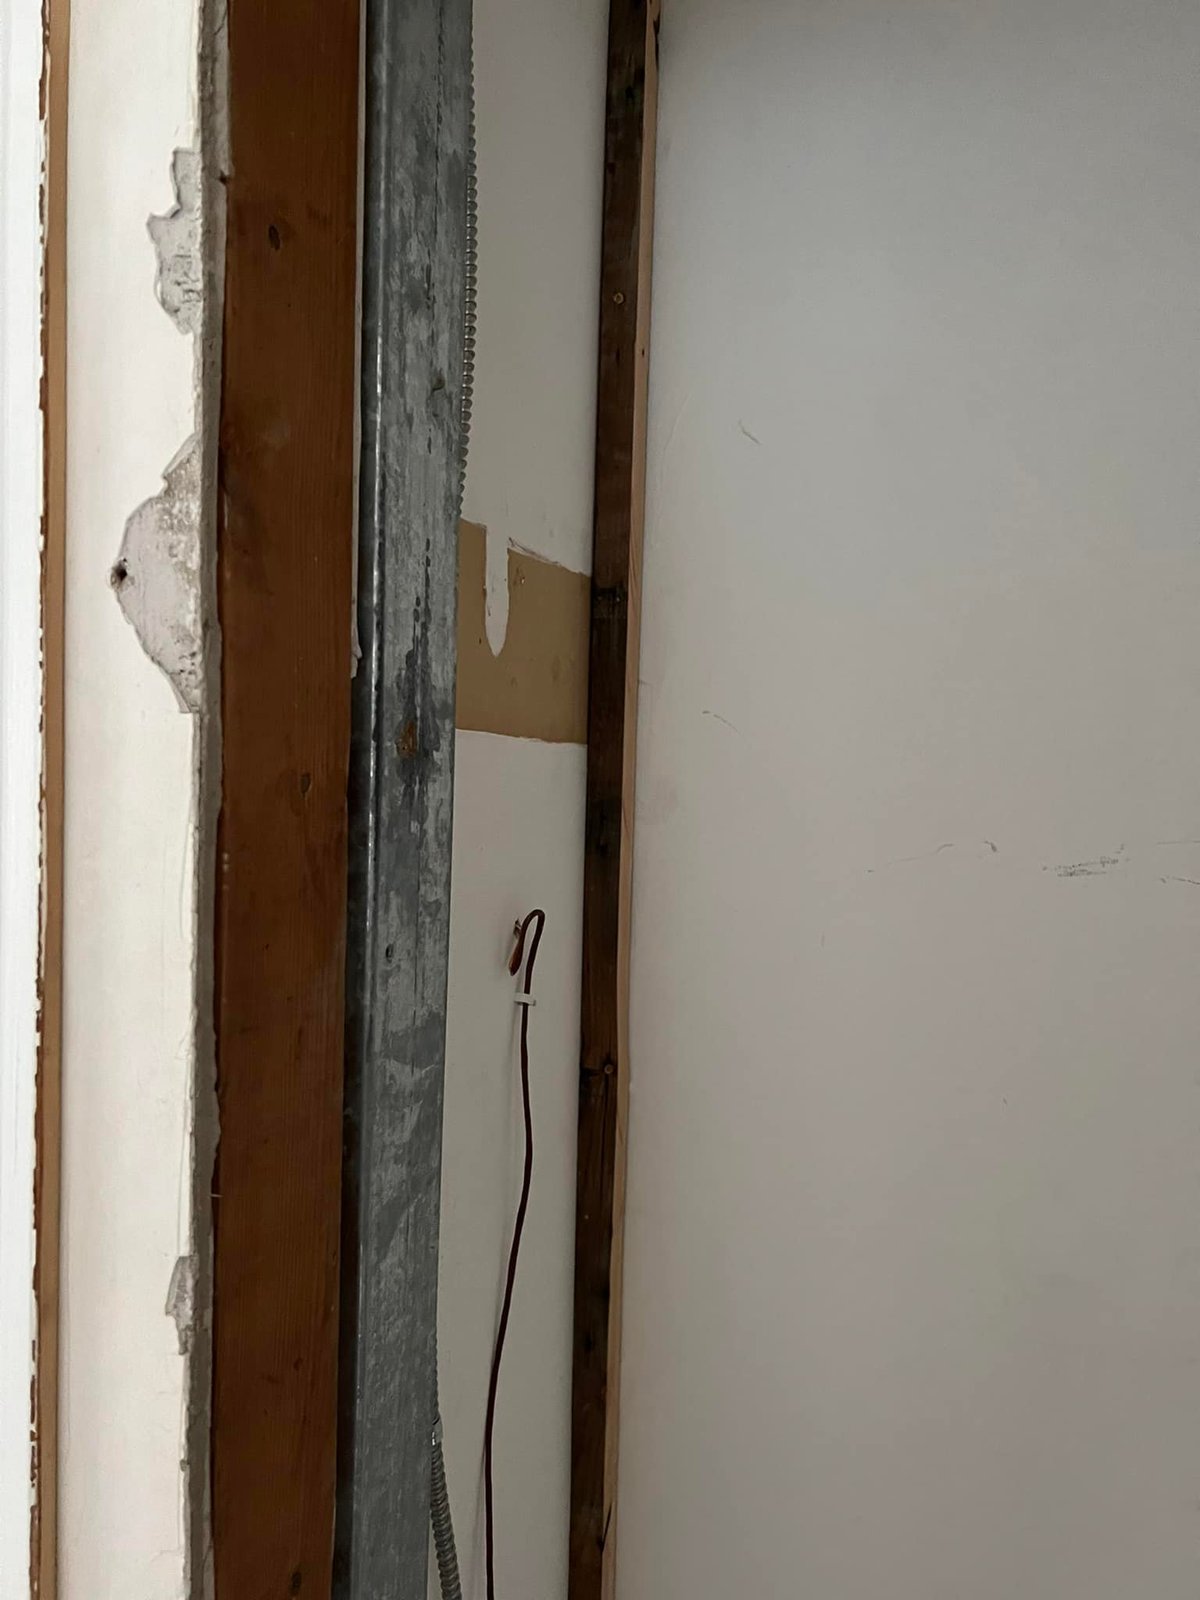
 Old steel-stud framing with BX cable feeding low-voltage wire. Pulled it all and ran new.
-
 During
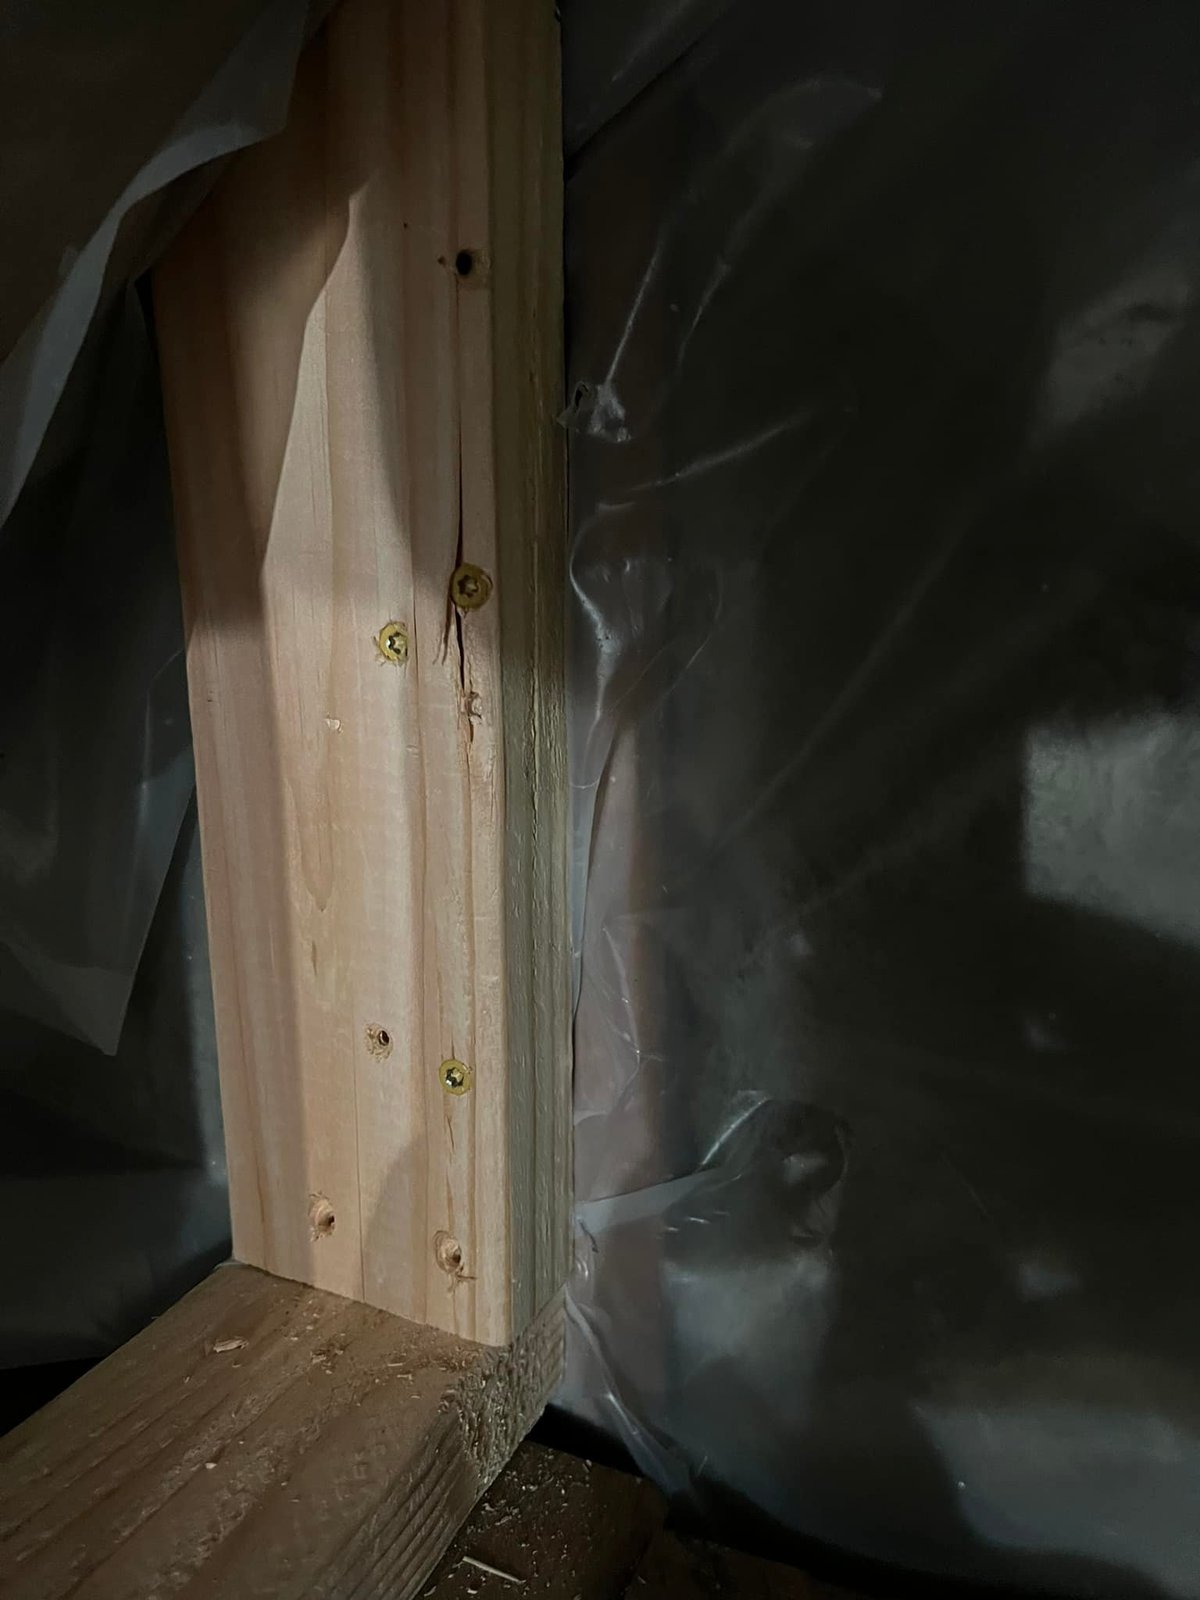
 Doubled stud screwed to the bottom plate behind vapor barrier. Solid nailer for trim and door jambs later.
-
 During
 Wall open showing baseboard copper still live. I worked around the heating loop instead of cutting it.
-
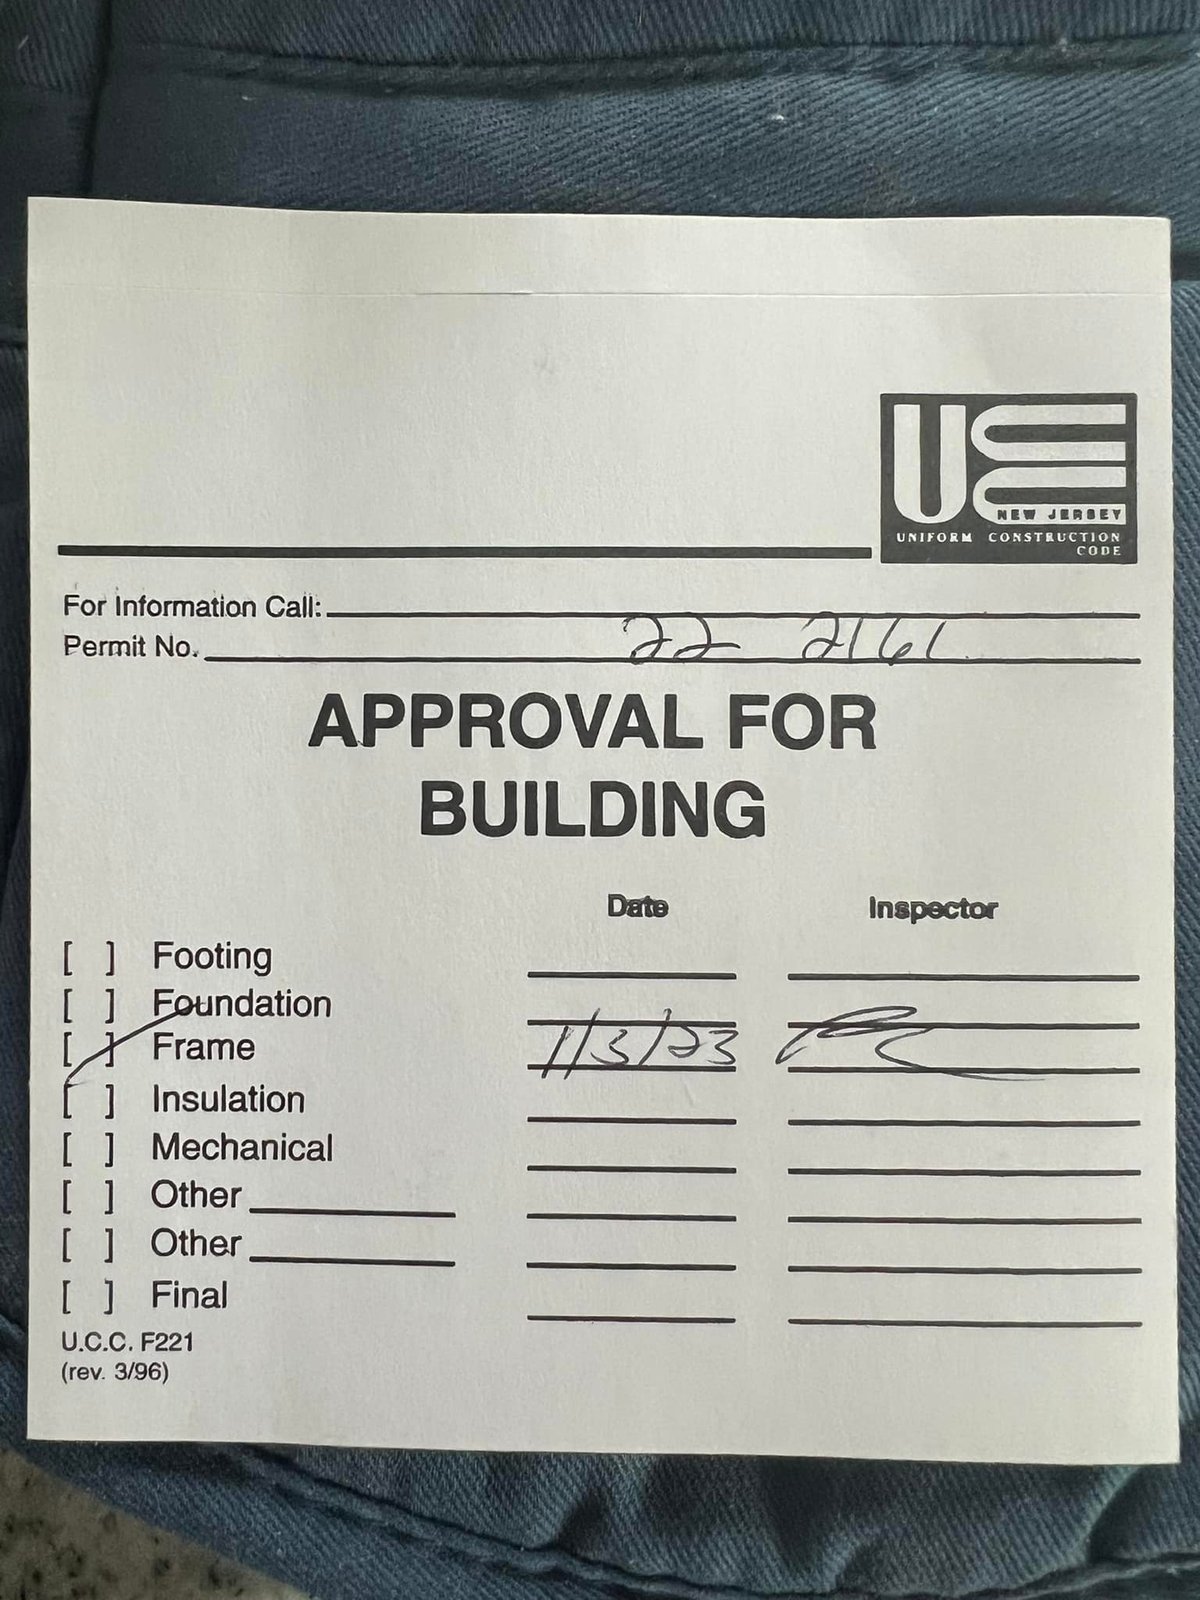
Framing inspection signed off. Once that sticker's on the wall I can start closing things in.
Want a Plan for Your Project?
Send photos and a few sentences. I'll send back a written diagnostic — what's broken, what it'll cost, and what to DIY vs. hire. $9.99, in your inbox in minutes.
Get a Diagnostic Report — $9.99 →